74Dusted
Stock Piler of 340's
Another member made me realize, I don't have a thread for this car.
Took me 12 Years to replace a '71 Demon that I let slip away to the junkyard, I was young and had no idea replacement frame rails were available. So my first demon became a Honda or some other import :crybaby:
This one was in rough shape, which made it perfect for this project, since it was pretty much an "unwanted" car by most standards.
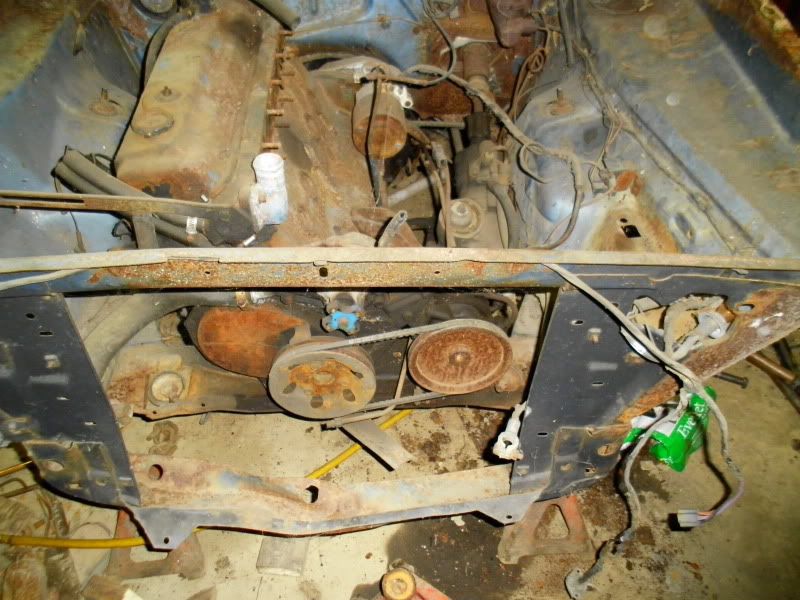
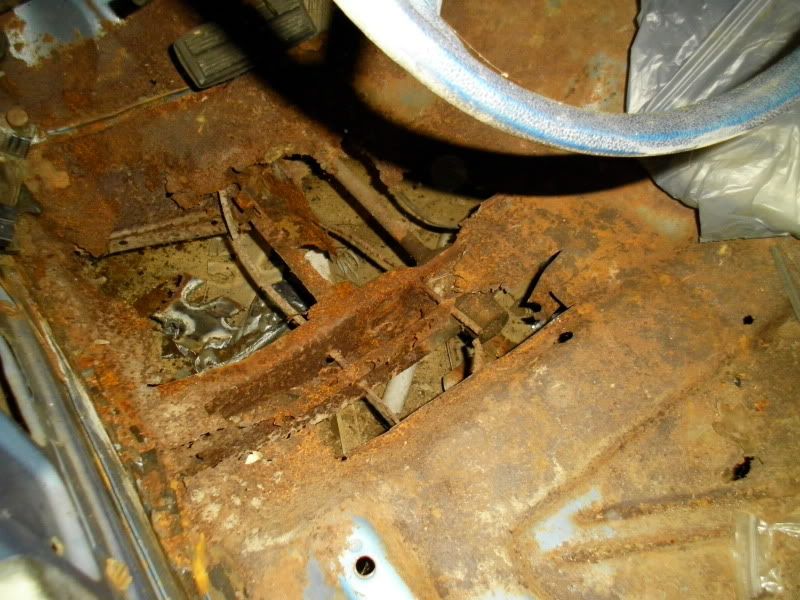
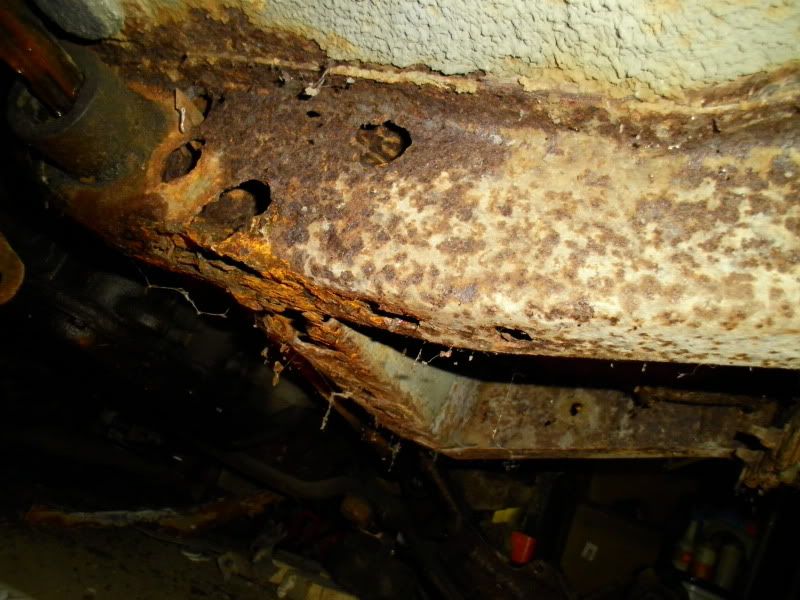
The floors were shot, The trunk floor was shot, the subframe was wasted, the quarter panels had 55 gallon drums of Bondo/Body Filler in em, The Slant 6 was missing parts and i had no idea if it even ran, The car had next to nothing in options (Power Steering and an AM Radio) It had mixed & matched parts from various A-Bodies and came with a '71 Duster, a '72 340/833 combo and an A-Body 8-3/4" Rear as a package deal (all for $1,500)
Before the car was even home, I had already decided on an Elephant engine :glasses7: and it slowly changed from a 426/727/8.75" to a Supercharged 426+/833/Dana 60 (undecided on what size engine yet). First thing though, I had other things to do before i could even consider throwing a monster under the hood.
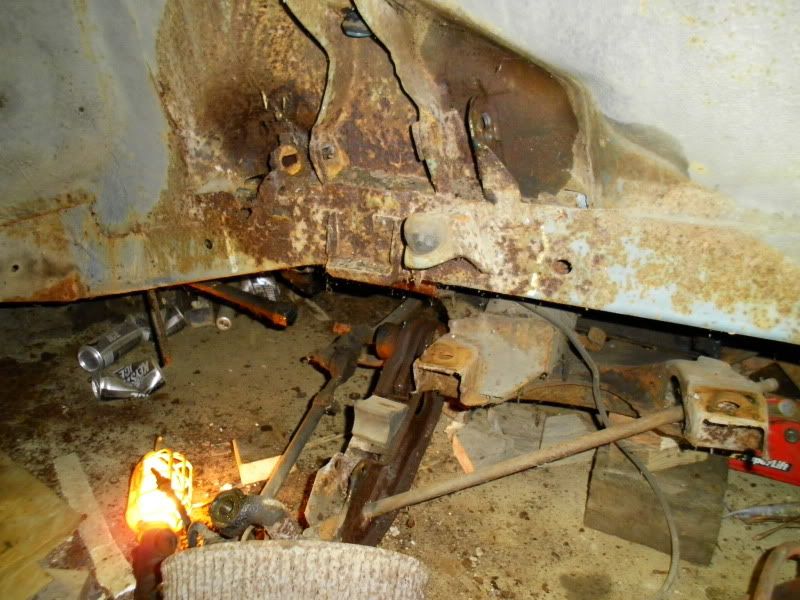
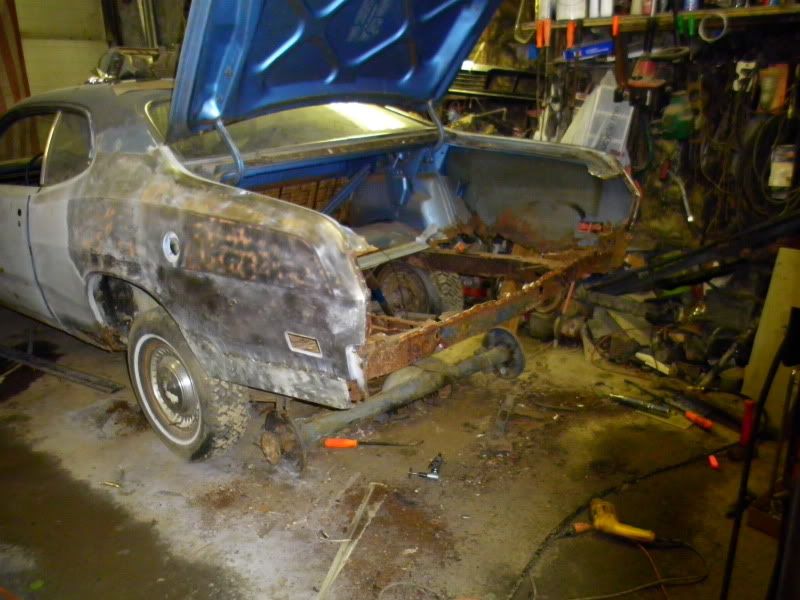
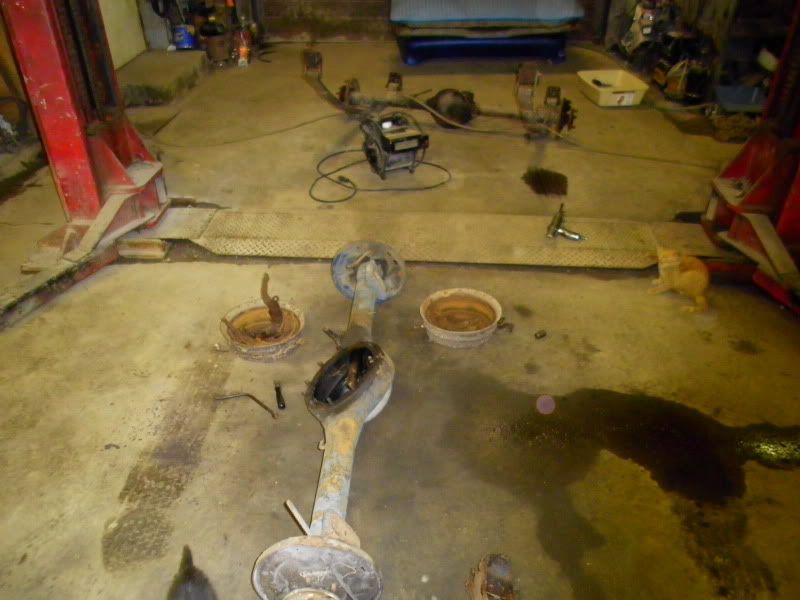
I started at the rear of the car, gave the bumper a kick and it all but fell off :wack: And then i pulled out the trusty Air Saw with a Nicholson Bi-Metal Alloy Hacksaw Blade and started chopping away rusty metal. (this thing will destroy metal FAST! I once cut an entire minivan in half in about 10 minutes) Salvageable metal got the spot welds drilled out with a Spot Weld Cutter. By the way, to anyone who has never had the chance to remove a Demon Tail Panel, it is held on with 100+ Spot Welds (it sure doesn't look like that many, but take the time to stop and count them)
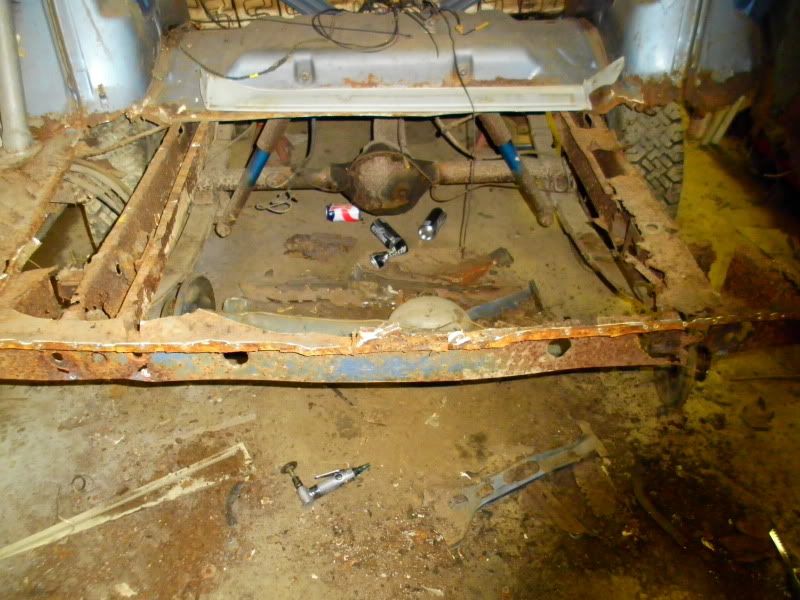
After annihilating the trunk floor and fugly rear subframe rails, i started to put in my own rails (2.5" wide x 4" Tall)
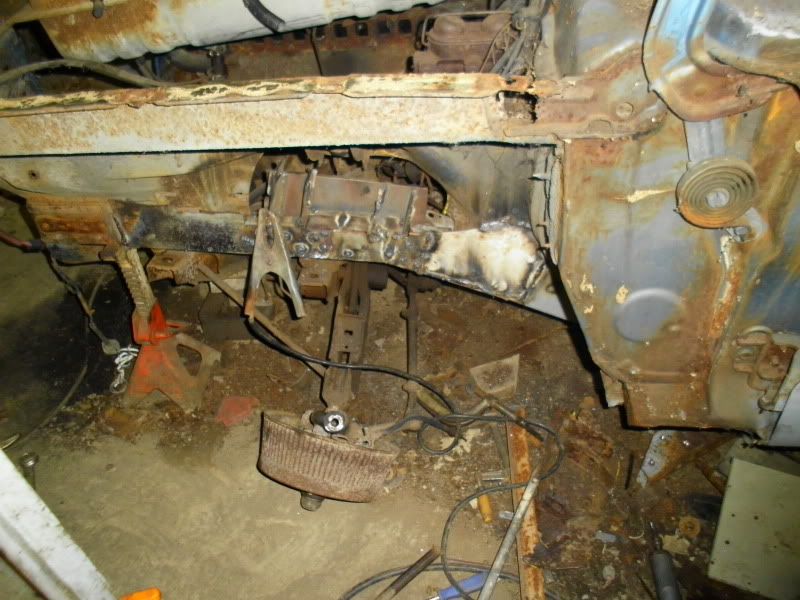
The rear crossmember is made from metal used to stamp Unibody Frames :thumrigh: My dad bought a huge roll of the stuff at the junkyard many years ago and it works great for this kind of stuff. I only sandblasted the welding surfaces at the time, once the car is outside everything gets blasted.
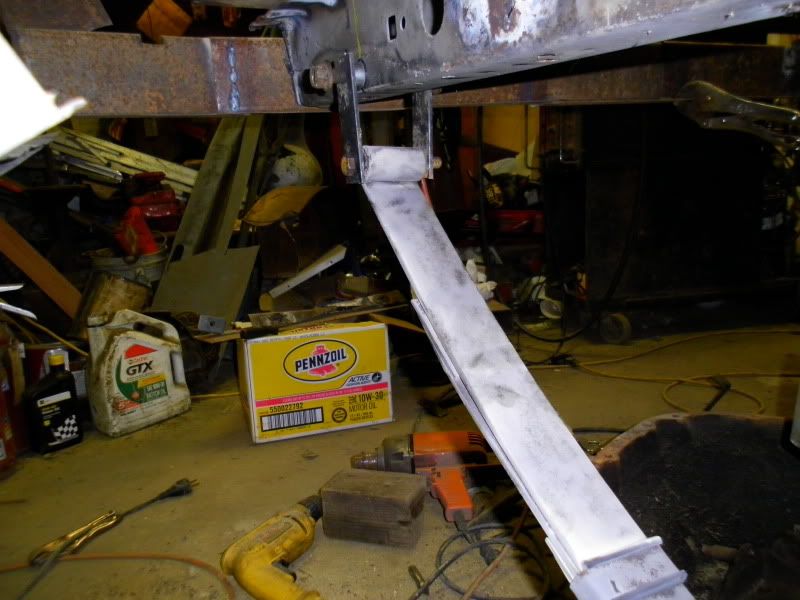
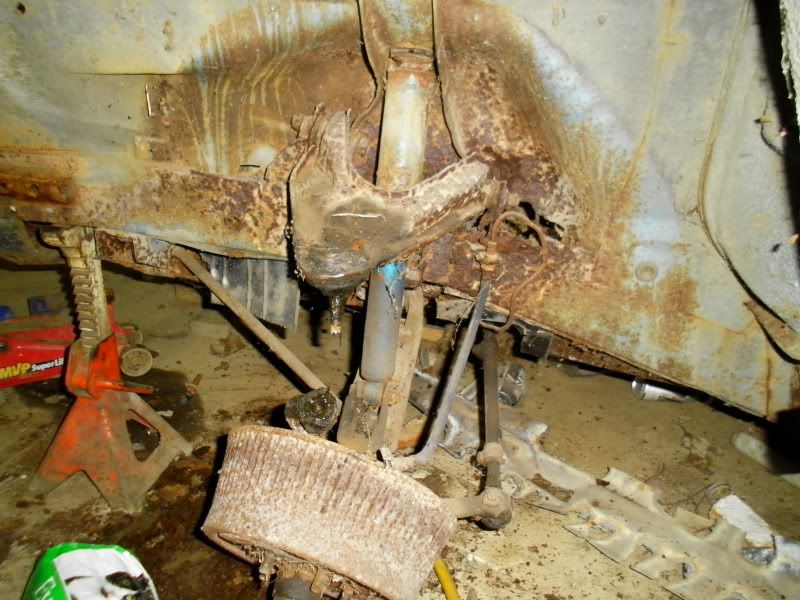
Rear Rail (semi clean) with a 3.5" Spring Relocation in the mock up stages. Old worn out bushings in that picture, and a freshly sandblasted leaf spring pack with new spring hangers.
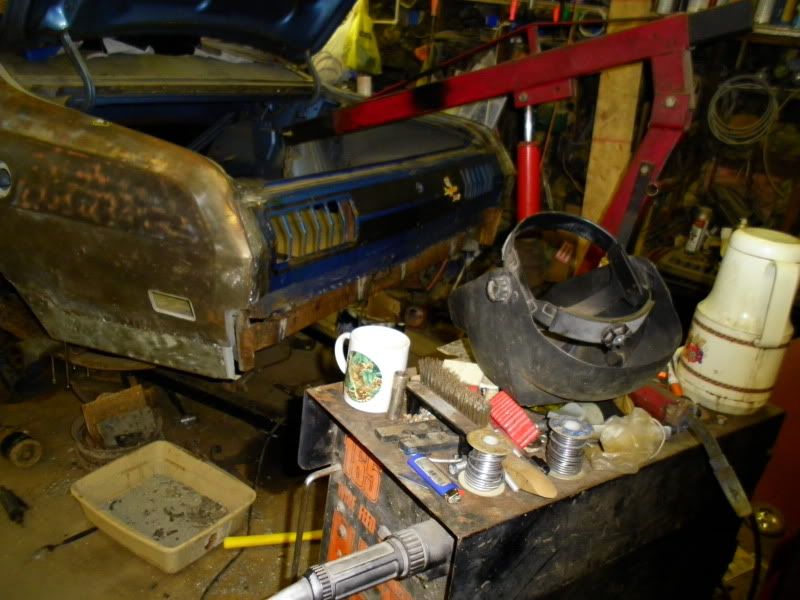
And the car as it sits at the moment. Flat Trunk Floor, Rear Crossmember, 3.5" Spring Relocation, Tubbing in progress, etc. nothing is "finish welded" (just spot welded, like a normal a-body) at the moment. I've gotta set the car back on its wheels and roll it out of the shop for some serious clean up inside. Also while the car is outside it gives me the chance to go crazy with the sandblaster and take everything to shiny metal, then all the body seams and so forth will get a nice bead of weld.
Then it comes back into the garage to do reinforcements on the front rails. Install subframe connectors, torque boxes, floor pans, additional supports and structural work at the rear rails & crossmember.
After all that, it gets a Rollcage, the Fenderwells removed in favor of the Cage & Tubing (and then a set of plastic wells, like a newer vehicle). I could go on for a long time, but i'll be honest, i'm actually forgetting stuff at the moment. And sorry about the shortage of pictures. It's just myself working on this car, and I only manage to get pictures when i actually remember to do so (and half the time the batteries in the camera are dead anyway ops: )
Oh? The intended purpose for the car? Strictly a Street Car
Took me 12 Years to replace a '71 Demon that I let slip away to the junkyard, I was young and had no idea replacement frame rails were available. So my first demon became a Honda or some other import :crybaby:
This one was in rough shape, which made it perfect for this project, since it was pretty much an "unwanted" car by most standards.
The floors were shot, The trunk floor was shot, the subframe was wasted, the quarter panels had 55 gallon drums of Bondo/Body Filler in em, The Slant 6 was missing parts and i had no idea if it even ran, The car had next to nothing in options (Power Steering and an AM Radio) It had mixed & matched parts from various A-Bodies and came with a '71 Duster, a '72 340/833 combo and an A-Body 8-3/4" Rear as a package deal (all for $1,500)
Before the car was even home, I had already decided on an Elephant engine :glasses7: and it slowly changed from a 426/727/8.75" to a Supercharged 426+/833/Dana 60 (undecided on what size engine yet). First thing though, I had other things to do before i could even consider throwing a monster under the hood.
I started at the rear of the car, gave the bumper a kick and it all but fell off :wack: And then i pulled out the trusty Air Saw with a Nicholson Bi-Metal Alloy Hacksaw Blade and started chopping away rusty metal. (this thing will destroy metal FAST! I once cut an entire minivan in half in about 10 minutes) Salvageable metal got the spot welds drilled out with a Spot Weld Cutter. By the way, to anyone who has never had the chance to remove a Demon Tail Panel, it is held on with 100+ Spot Welds (it sure doesn't look like that many, but take the time to stop and count them)
After annihilating the trunk floor and fugly rear subframe rails, i started to put in my own rails (2.5" wide x 4" Tall)
The rear crossmember is made from metal used to stamp Unibody Frames :thumrigh: My dad bought a huge roll of the stuff at the junkyard many years ago and it works great for this kind of stuff. I only sandblasted the welding surfaces at the time, once the car is outside everything gets blasted.
Rear Rail (semi clean) with a 3.5" Spring Relocation in the mock up stages. Old worn out bushings in that picture, and a freshly sandblasted leaf spring pack with new spring hangers.
And the car as it sits at the moment. Flat Trunk Floor, Rear Crossmember, 3.5" Spring Relocation, Tubbing in progress, etc. nothing is "finish welded" (just spot welded, like a normal a-body) at the moment. I've gotta set the car back on its wheels and roll it out of the shop for some serious clean up inside. Also while the car is outside it gives me the chance to go crazy with the sandblaster and take everything to shiny metal, then all the body seams and so forth will get a nice bead of weld.
Then it comes back into the garage to do reinforcements on the front rails. Install subframe connectors, torque boxes, floor pans, additional supports and structural work at the rear rails & crossmember.
After all that, it gets a Rollcage, the Fenderwells removed in favor of the Cage & Tubing (and then a set of plastic wells, like a newer vehicle). I could go on for a long time, but i'll be honest, i'm actually forgetting stuff at the moment. And sorry about the shortage of pictures. It's just myself working on this car, and I only manage to get pictures when i actually remember to do so (and half the time the batteries in the camera are dead anyway
ops: )Oh? The intended purpose for the car? Strictly a Street Car