AlV 69 Dodge GTS project

-
Thanks sirmopar and welcome! btw. you were right :) it is the one from the D/S trunk lip.

trunk%20lip_zpspl3cmntd.jpg


I think that's all of them which I guess makes this a basic numbers car.

Stay tuned.... were about to flip this thing over and see what shakes out. lol[/QUOTE]
 
Just got thru reading this entire thread and your skills are as impressive as the documentation!
Son-stick close with your Dad on this build. You are learning/gaining valuable info and skills.

Oh ya Dad.....I gotta call BS on this being your 1st build too!

Oh boy... you made my day LOL thank you! This is truly my first car... I've done some bikes over the years but no cars.

I have two boys 9 and 14, My oldest has been working with me and I think the younger guy wants to get in also (I hope).
Thanks for the kind words and motivation I'm sure Jake will be stoked when he reads this tomorrow.

:cheers:
 
I always thought this car was bad.... I just didn't know how bad.
Then I found these hidden the trunk extensions.


1471950_541623079253404_1076153148_n_zpssflido4n.jpg


578489_541623065920072_440320637_n_zpsyhlvgnpn.jpg


1467468_541622972586748_1771965903_n_zpsxhzo6zmk.jpg


To the BONE!! :glasses7:
 
Nice work so far and awesome attention to detail.....you will have a sweet car when done and thanks for the great pictures with directions...they will help many members with their own cars :glasses7:
 
Nice work so far and awesome attention to detail.....you will have a sweet car when done and thanks for the great pictures with directions...they will help many members with their own cars :glasses7:

Thanks Kieth! :cheers:

We're doing our best to make it as nice as we can and sharing the lessons we learn along the way. LOL Lord knows I've learned a lot from the great people and posts here on FABO.

Keep checking in there's more to come.:D
 
We are preparing to load the car on to the trailer...

While I was bagging and tagging the last bits trim, seals and light assemblies, Jake was pumping down the fuel tank.

The little homemade DC setup removed 18 gallons in about 35 minutes.

1456544_542040175878361_770642457_n_zpsmbihd3cv.jpg


1468581_542040199211692_1184039090_n_zpsjlmkrlbg.jpg


1452306_542040402545005_1046413518_n_zpskk85pjyz.jpg


He was diligent even though it was smelly and kind of boring.

Now that he's emptied the tank it won't be long before it comes down so we can sort it out.

We're having a good time. :)
 
Awesome that your sons are interested.

My nephews were interested, even told one that if he came over and worked on a 340 car, he could have it when he was ready to drive.... They got poisoned by their father that all old cars are junk and you don't want to bother with that stuff... Coming from a guy that has a hard time figuring out which end of a screwdriver to hold! :)

Keep at it, you're doing nice work.

What? Old cars are junk!! That's lame! lol Even if I felt that way I wouldn't deter my boys from any positive interests especially something that would help them grow. Oh man I know the type... but even then they can appreciate the classics.. These are bread and butter cars you can learn a lot from and enjoy them.

Thanks man we sure will keep trying :)
 
And It's off...

We loaded the Dart onto the trailer Tuesday night so we could take it to the body shop Wednesday.

1235010_543816052367440_937871885_n_zpsszlo7u5x.jpg


Met with the guys and we came up with the following plan.

The first step is strip and inspect, followed by the metal work then seal and primer.
Once the primer is laid they'll cut in the engine bay and door jambs then it's back to my garage.
While it's at home we'll do some assembly, engine, suspension, drive line, door glass etc then it'll go back to the shop for touch ups and final paint.

We are hoping it goes just smooth like that. lol

I want to save as much of the original metal as possible But it's a tradeoff because even though most of it can be saved the labor could go past my budget quickly.
I'll have to decide whether it makes sense for me to pursue saving the metal, or buy new pieces from AMD.

I've decided to purchase the following
D/S quarter skin
D/S Door skin
D/S Door Jamb
P/S Door Jamb

First Pic from the shop. lol

1462876_543817405700638_149517109_n_zpsfsoysizf.jpg


stay tuned...
 
Picked up a set of HP exhaust manifolds for the 340 68/69 casting.
1463203_545001525582226_614043423_n_zpsx9o9o8bb.jpg


1472010_545002982248747_808129603_n_zpsfk6unxl1.jpg


Cleaned and peened to raw cast.

1505309_562082257207486_1136773398_n_zpswnc3oozq.jpg


And a Pic of the 340 with some color on it, getting ready for a first run. Sorry about the pic I didn't realize how blurry it was but you get the idea.

1463961_544705222278523_1730986177_n_zpst5wswohp.jpg

Chipping away. :burnout:
 
Well, its official Mark has the GTS.

Got the word that the AMD metal arrived along with a pic of the quarter skin.

1469887_548964648519247_1009028253_n_zpsojkyvyvk.jpg


Phase 1 stripping and metal on deck.
I'm stoked :)

Stay tuned.
 
Fluid, That is the nature I need to embrace with this and most any project.

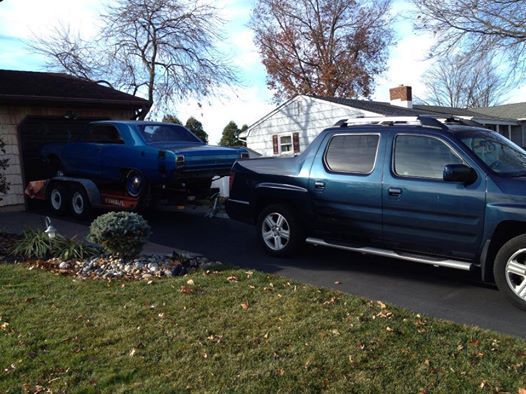
The Dart has been out of my garage for about a week now and I've been a little out of sorts since. Nothing terrible just that I was used to going in with some sort of agenda or plan, but there is no car to work on and the agenda has altered slightly.

My plan was to work on the front end while the car was away in the body shop. But when you introduce another party into the project the scope needs to change to account for the introduction of new requirements.

The team (Mark and Tom) thought it would be better to transport the vehicle with the suspension still in the car and that made sense to me. They also want to be able to fit the panels as the car sit on the suspension (all of which makes sense to me) needless to say I will not be rebuilding the front end for a while.

In a previous post I mentioned the strategy. They will strip and do metal repair. Followed by Seal and Primer. Then they will cut the color into the interior, door jambs and engine then the car comes back and that's when we'll do the suspension. Over the next few months we'll work on reconditioning the door window assemblies and cleaning up the trim.

If all goes to plan...When the car comes back we'll take care of the suspension, install the reconditioned windows and assemblies. Mate the engine and transmission mounting them on the rebuilt front end and put it all back into the car so we can send it back for final paint.

Ha! if that all goes without a hitch I'm buying beers!

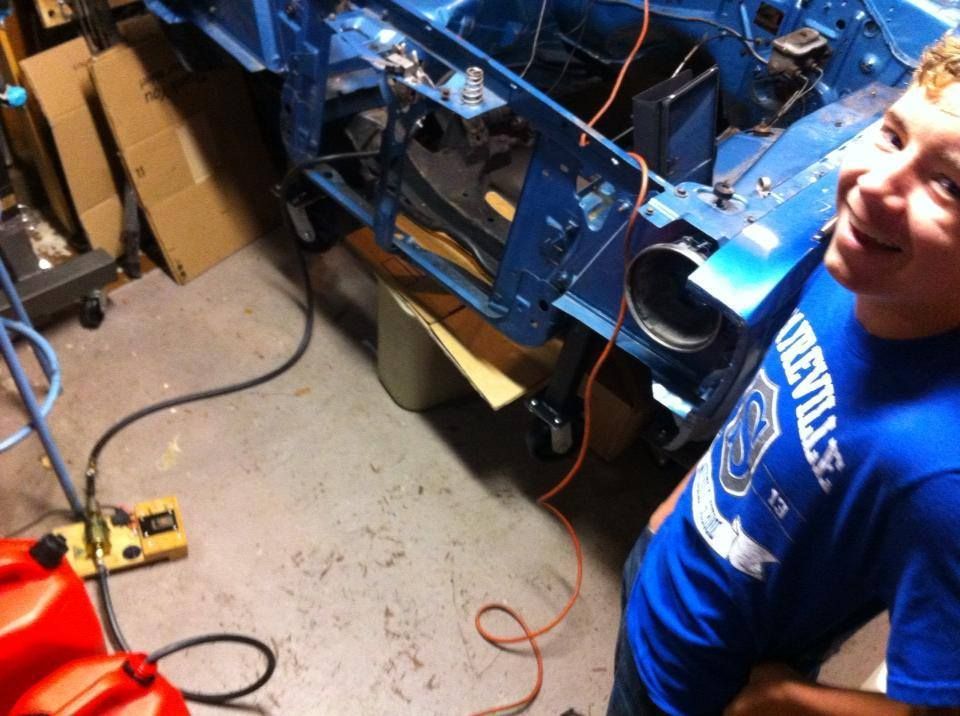
in the mean time Trim is what's been happening not exciting but it's work that has to be done.

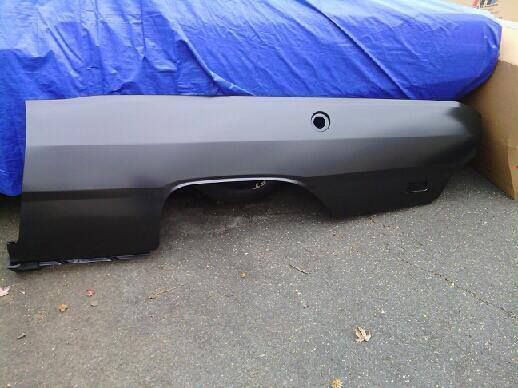
I'm Straightening out (best I can) the tail panel (not sure if I'll detail it yet).

1452531_550255418390170_377507273_n_zpswrxqvgg7.jpg


Ill post a broader pic with before and after later.

I did order and receive the U channel weather strip for the side windows I'm still putting together a list of parts that I need to rebuild the window assemblies ( rollers, pins, stops, etc).

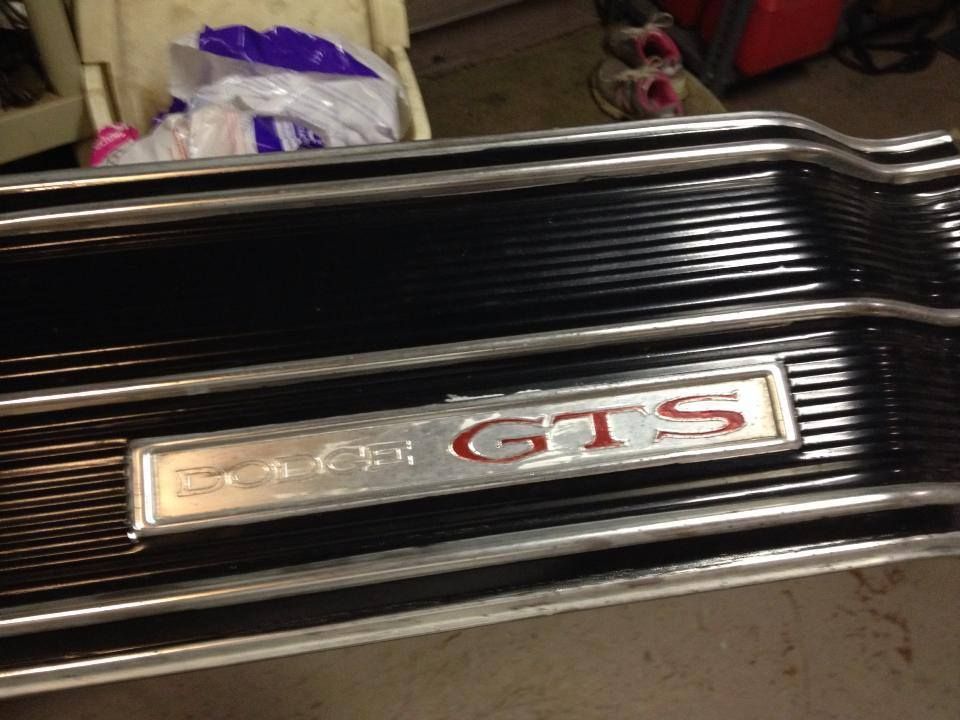
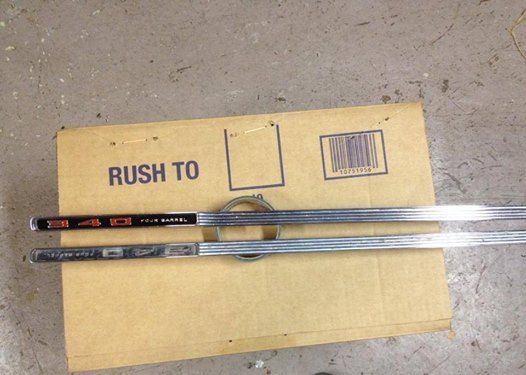
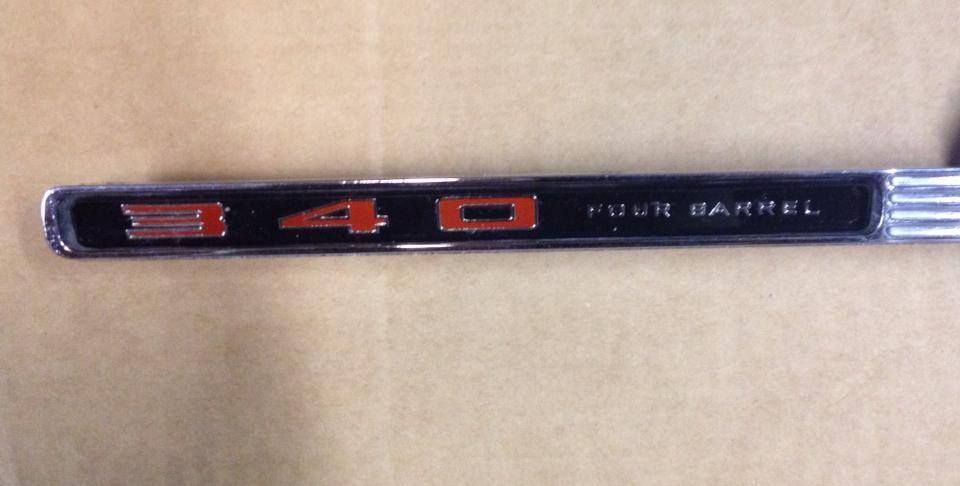
With the order I picked up some new call outs for the hood inserts. mine were shot and year one had a 30% off deal for Cyber Monday.

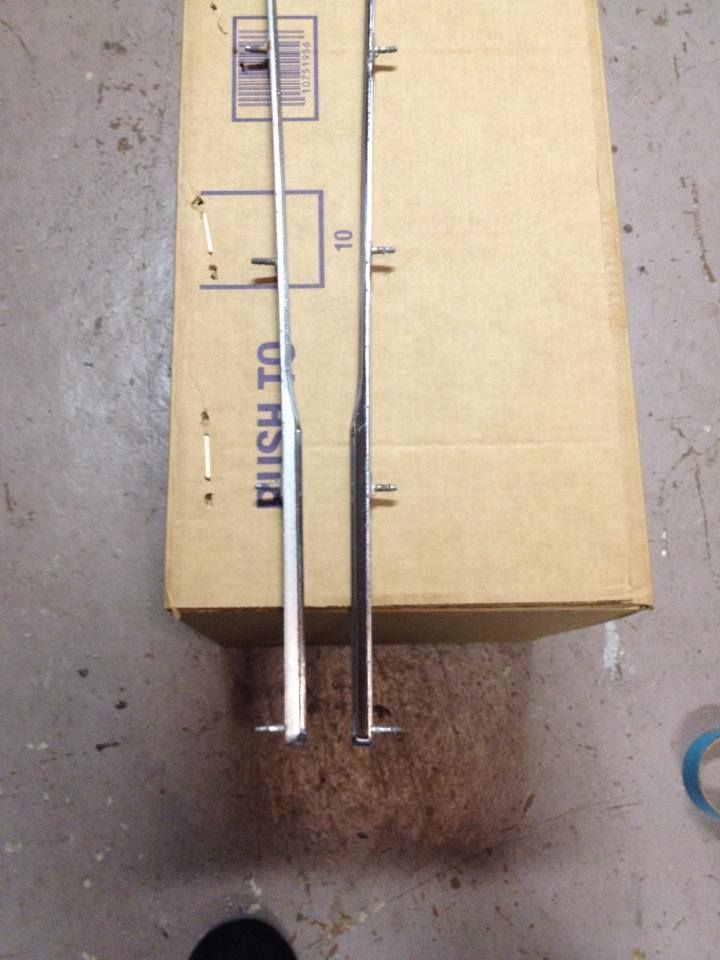
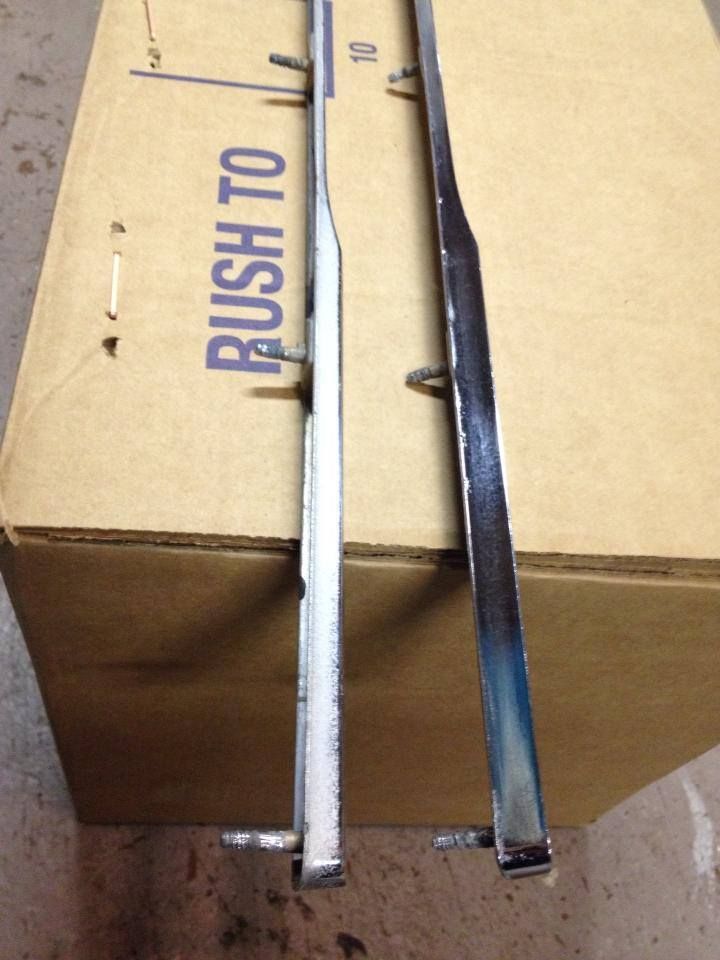
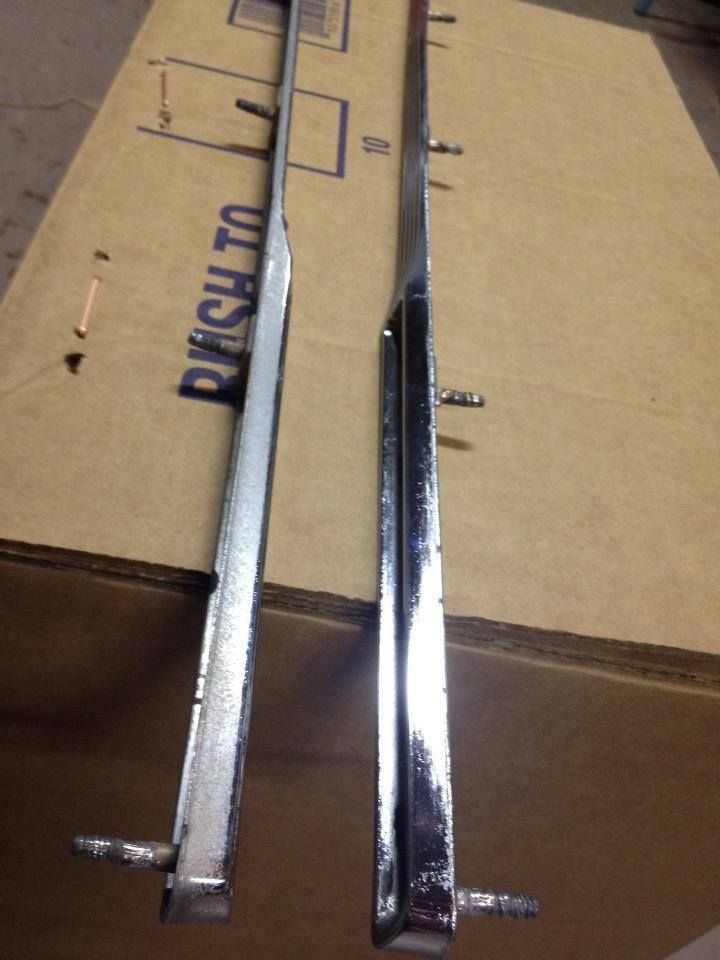
Using various grades of steel wool then polish and a polishing wheel they actually came out better than I thought.

In these photos one was started and the other was as is.

1491726_550479898367722_1285857649_n_zps7ytt42hz.jpg


1455118_550479961701049_1199692032_n_zps3sieuhk4.jpg


996996_550479941701051_153765618_n_zpsu7cde8yr.jpg


1474618_550479881701057_894902686_n_zpsxaiivoti.jpg


Repop call out

1497774_550480018367710_1088058685_n_zpsze1mohdj.jpg


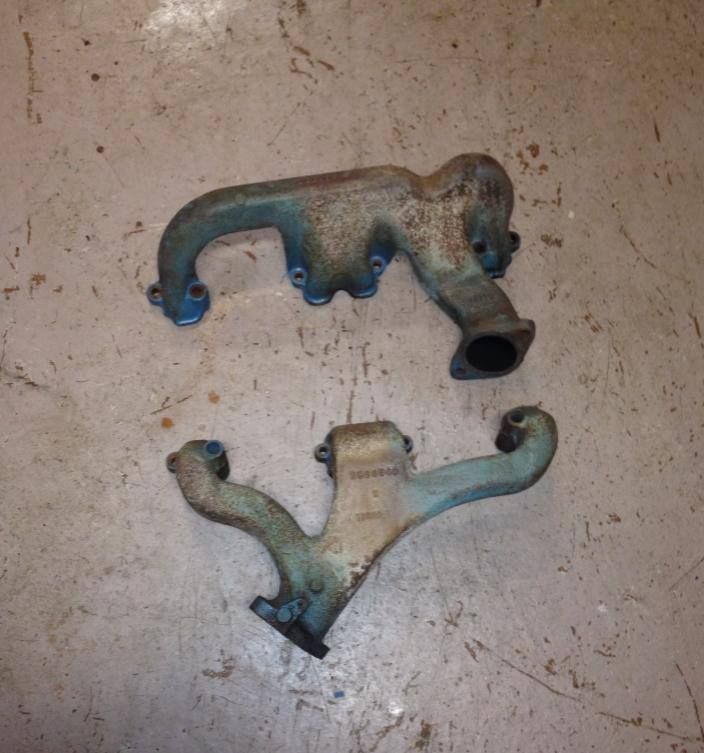
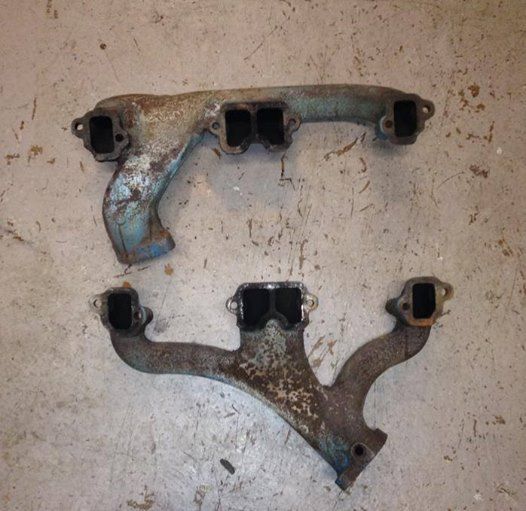
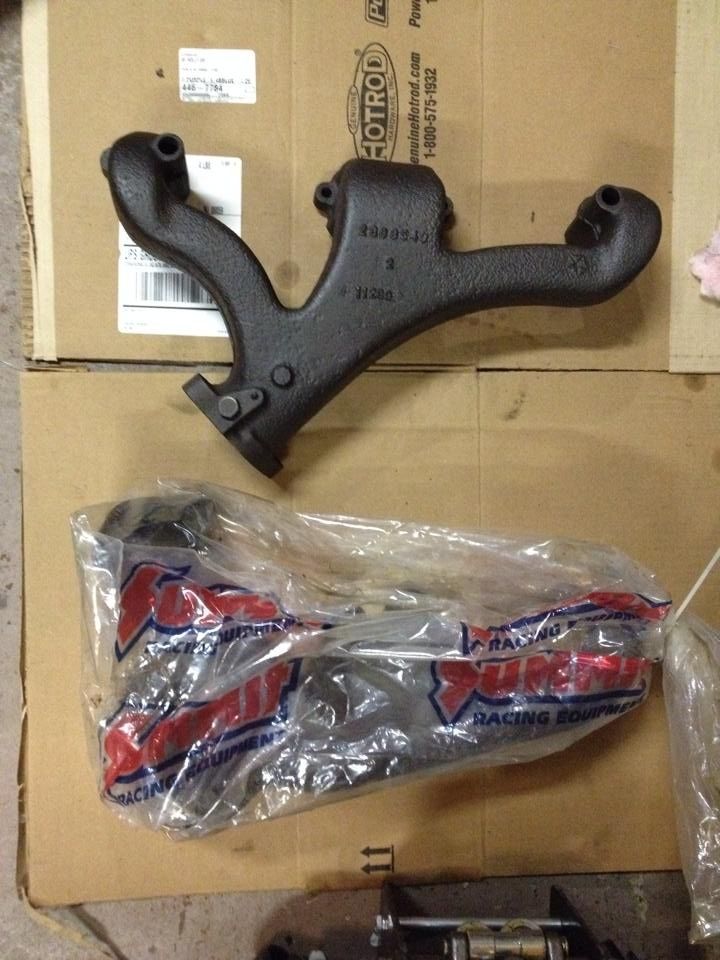
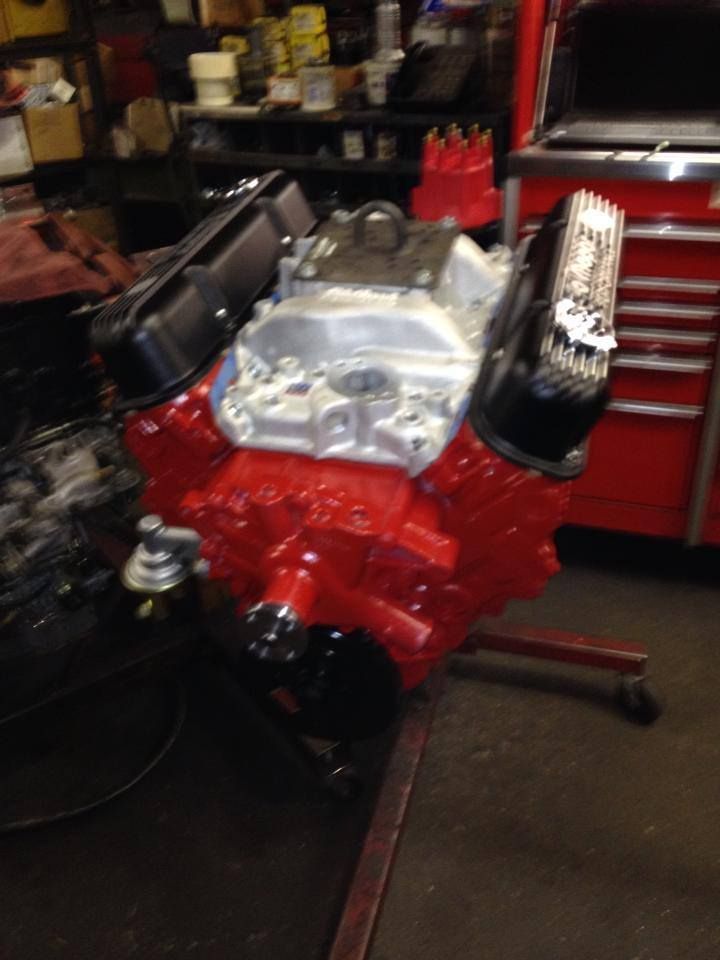
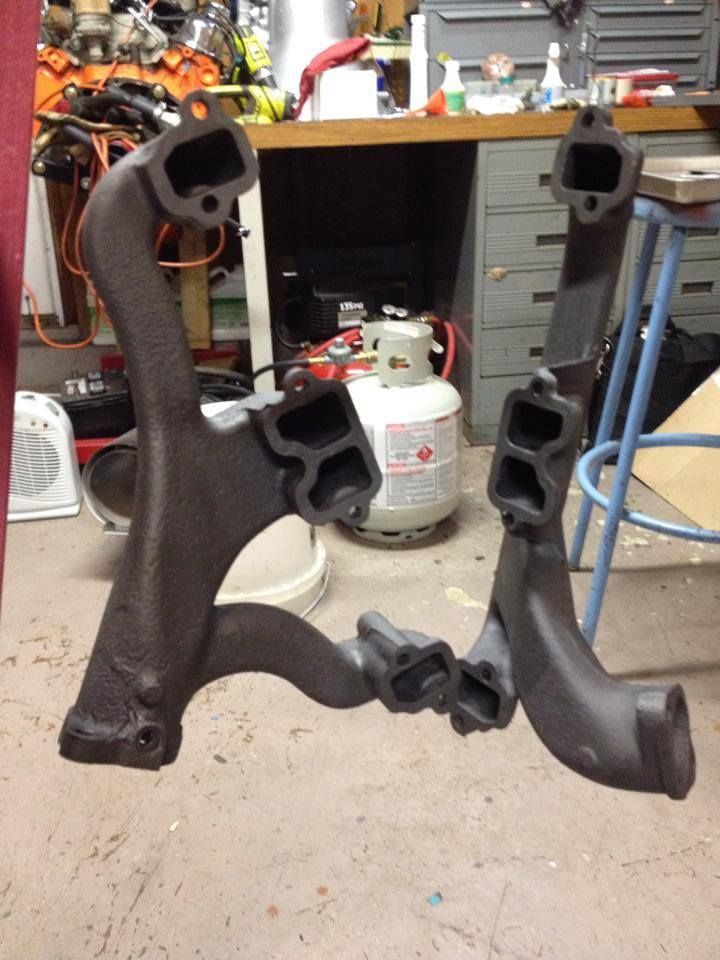
All done with the base. All I need are the gaskets.

1461180_550480051701040_1118128865_n_zpsprhkcwwy.jpg


The Swami tells me there's more trim in my future. lol
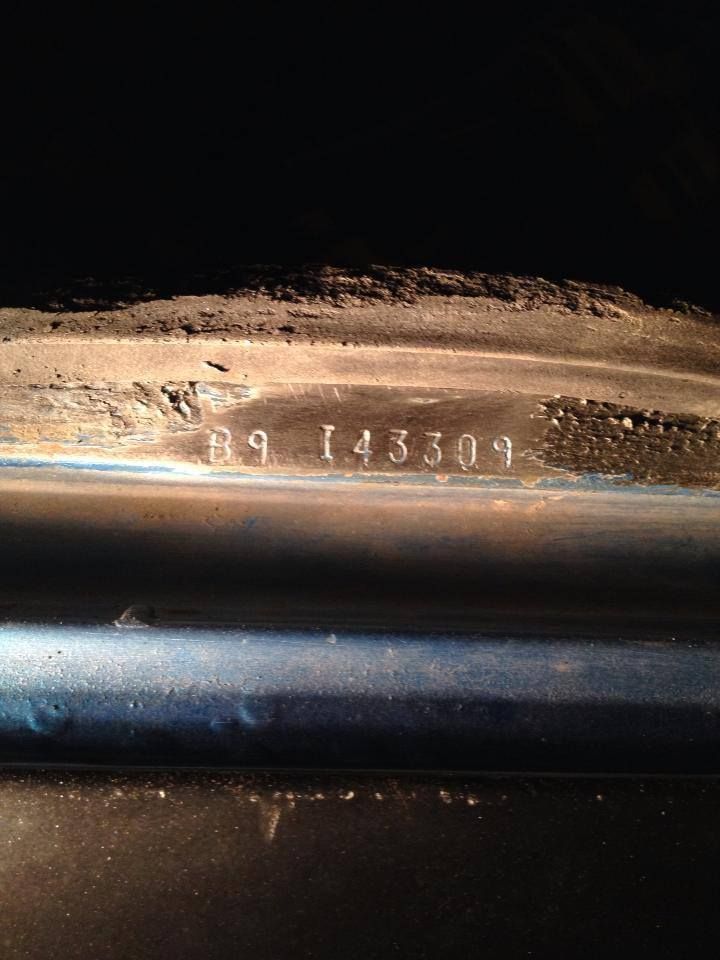
 
Man you are making some serious headway. I like your attention to detail. I'll follow this post to the finished product.
 
Man you are making some serious headway. I like your attention to detail. I'll follow this post to the finished product.
Thanks! still stumbling along lol

Sad to say that I may have hit a plateau for the moment.
To Quote Ned Stark "Winter is coming!" and spent the last few times in the garage putting up insulation. lol
 
Man it's a mess outside.. 8" inches of snow fell last night and it's currently 12*F but my garage is holding a balmy 55*F.

While I was driving home I noticed that the NAPA parts guy by me started selling POR-15.

I stopped in and picked up a starter kit to give it a try. I also picked up an 8oz can of exhaust manifold coating to treat the HP set for the dart.

It's an easy 3 step process that's a bit time consuming. The result was very nice.


My first step to prep the manifolds was to remove the oil using the Marine clean degreaser. I treated manifolds and rinsed off the cleaner then completely dried em. After, I hit them with the prep and ready treatment. This chemical etches and primes the metal to receive the coating. I sprayed on the prep and ready and kept the manifolds wet for 30 minutes. When the time was up I rinsed them thoroughly with water then dried them using a heater. You can see that the etching treatment turned the manifold chalky looking once it dried.

With the prep work done I hit them with the POR manifold coating and then baked them at 500 for a half hour. I added the baking step it's not required. The end result is a serious bond between the coating and the metal surface that should last a long time.

The coating is rated for 1400*F.

Compare the final color to the natural color in the First picture and you'll find it's pretty darn close.

A second coat can be applied after 24 hours.

This is how they looked when I first received them.


1463203_545001525582226_614043423_n_zpsx9o9o8bb.jpg


1472010_545002982248747_808129603_n_zpsfk6unxl1.jpg


Here manifolds were peened and cleaned then treated with oil to prevent rust.

1505309_562082257207486_1136773398_n_zpskmaxf24m.jpg


Got the starter kit and the can of coating.

1521559_563466730402372_1795661718_n_zpsruxdqtny.jpg


Hit them with the "Marine Clean" then the "Prep and Ready".

1524888_563466740402371_75620439_n_zpsy2jjjzkh.jpg


Rinsed thoroughly and Dried and hung for paint.. notice how the prep and ready etching makes the metal look chalky.

1554430_563466767069035_1283679833_n_zpsipw00rpj.jpg


First coat on and Baked at 500*F

1489128_563466800402365_841160448_n_zpsvaviy1pf.jpg


1514945_563466823735696_1077453280_n_zpszbhkxge0.jpg


I'll apply another coat tomorrow.

Other than that we're still polishing trim.

We hope everyone has a great new year! :cheers:
 
with the space you have to work with you and your son are doing a great job. love the car. I will be watching the progress. Wes :happy1:
 
I just saw this thread and subscribed to it. Great job on documenting the work. I'm with crackedback on your skills, you're definitely not a beginner! Thanks for sharing with us.
 
Hey "V",
The manifolds look great. Your attention to detail shows me that you are defiantly not a beginner. Great work!!
 
-
Back
Top