'Twill be glorious.
You are using an out of date browser. It may not display this or other websites correctly.
You should upgrade or use an alternative browser.
You should upgrade or use an alternative browser.
Biohazard
- Thread starter Teeth & Tires
- Start date
-
needsaresto
Well-Known Member
- Joined
- Nov 13, 2004
- Messages
- 7,618
- Reaction score
- 278
Im sure it'll be a sweet ride. And I really love how you dared to be different and leave it stock.Myself,can't resist tweaking a lil bit...
SNKEBIT
Spending $$ on Mopars
Im sure it'll be a sweet ride. And I really love how you dared to be different and leave it stock.Myself,can't resist tweaking a lil bit...
That's my illness, can't leave them alone. :violent1:
I'm like that with guitars and amps.
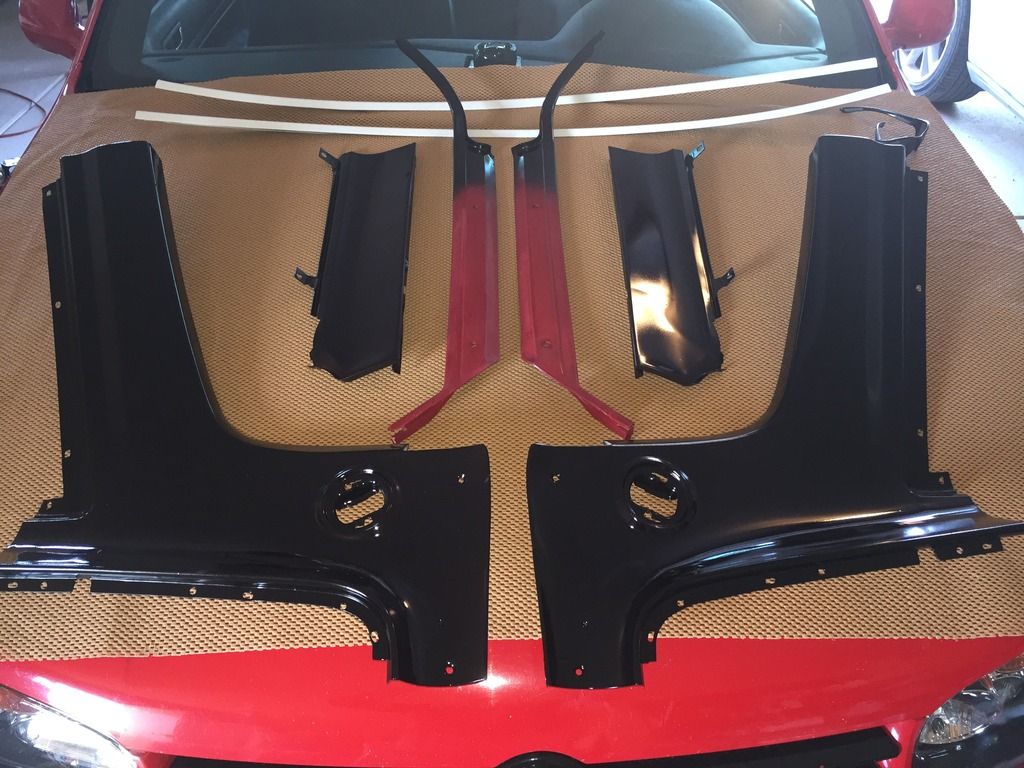
Focusing on the back seat area; I have the seat done but there's things that must be done before it is installed. Most of the interior paneling back there is detached but there is this strip which is visible between the vinyl card and the carpet strip. Got them sanded and painted.
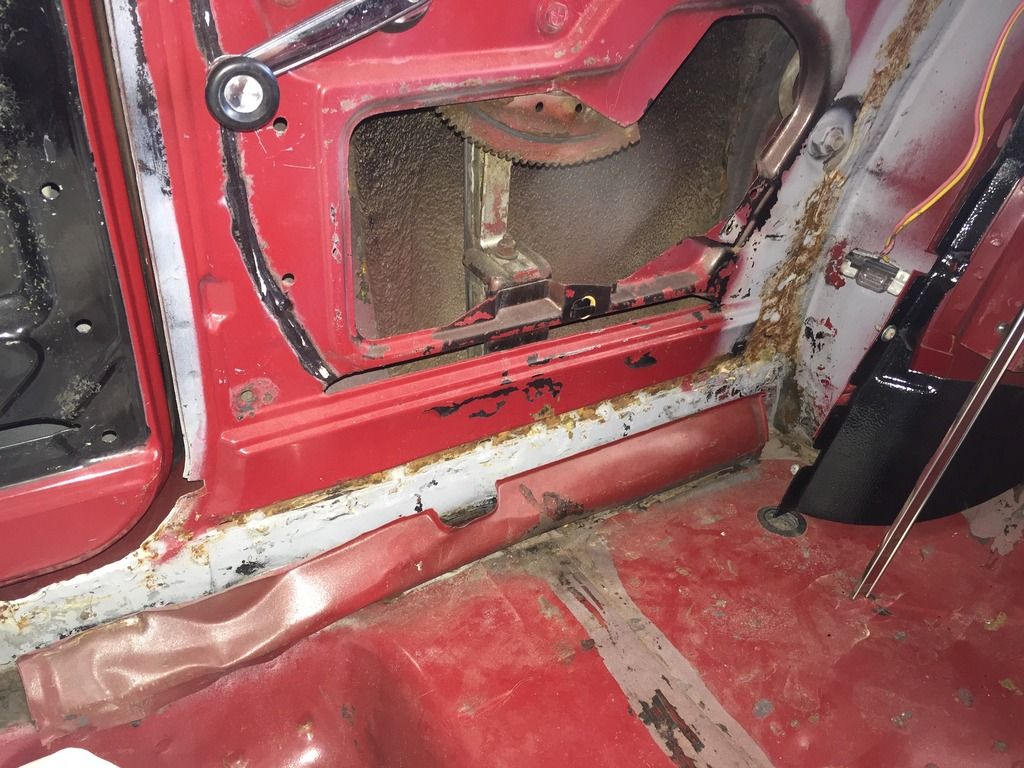
In the above, you can see scars from the quarter panel replacement surgery. After painting, I sealed the gaps with self-stick flashing. Really handy stuff and I'll probably seal up all seems with it.
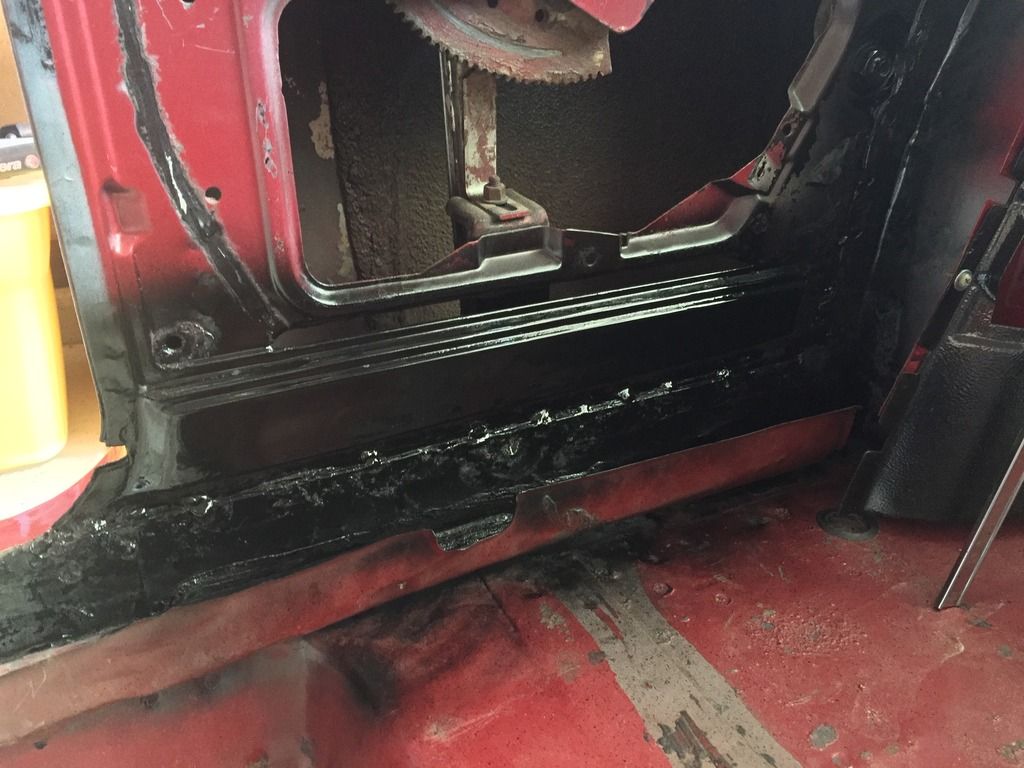
...and the driver's side...

In the above, you can see scars from the quarter panel replacement surgery. After painting, I sealed the gaps with self-stick flashing. Really handy stuff and I'll probably seal up all seems with it.

...and the driver's side...

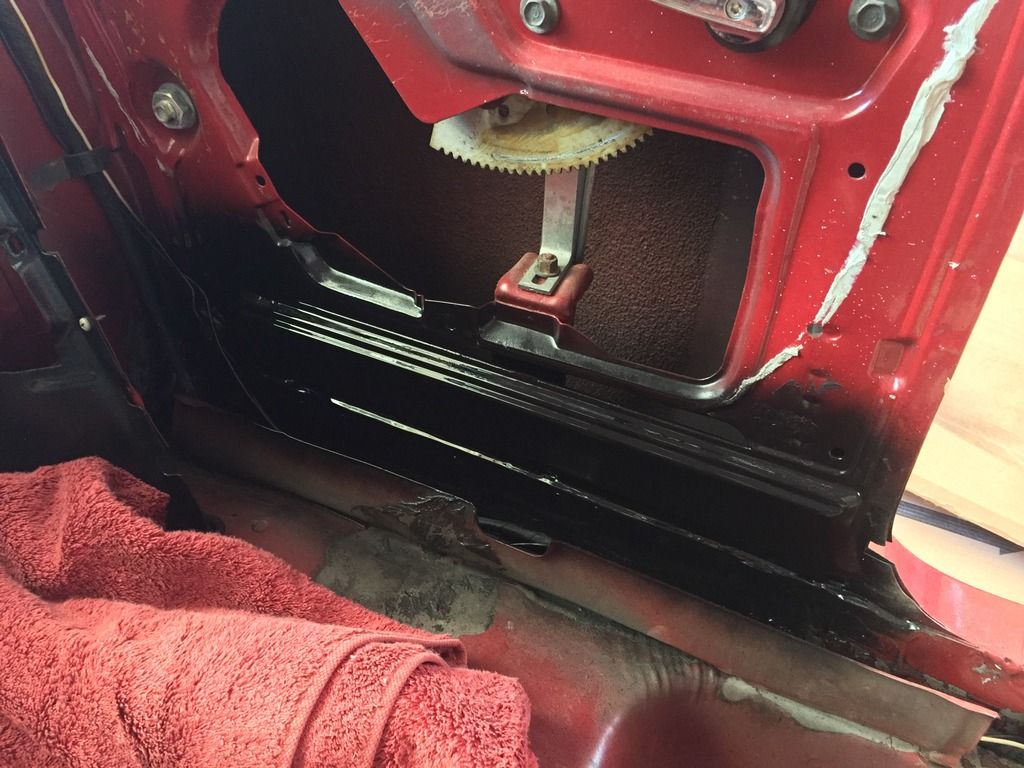
Now - any tips for making the quarter windows roll up and down like buttah??
Well, I guess its the shop manual + common sense on the windows.
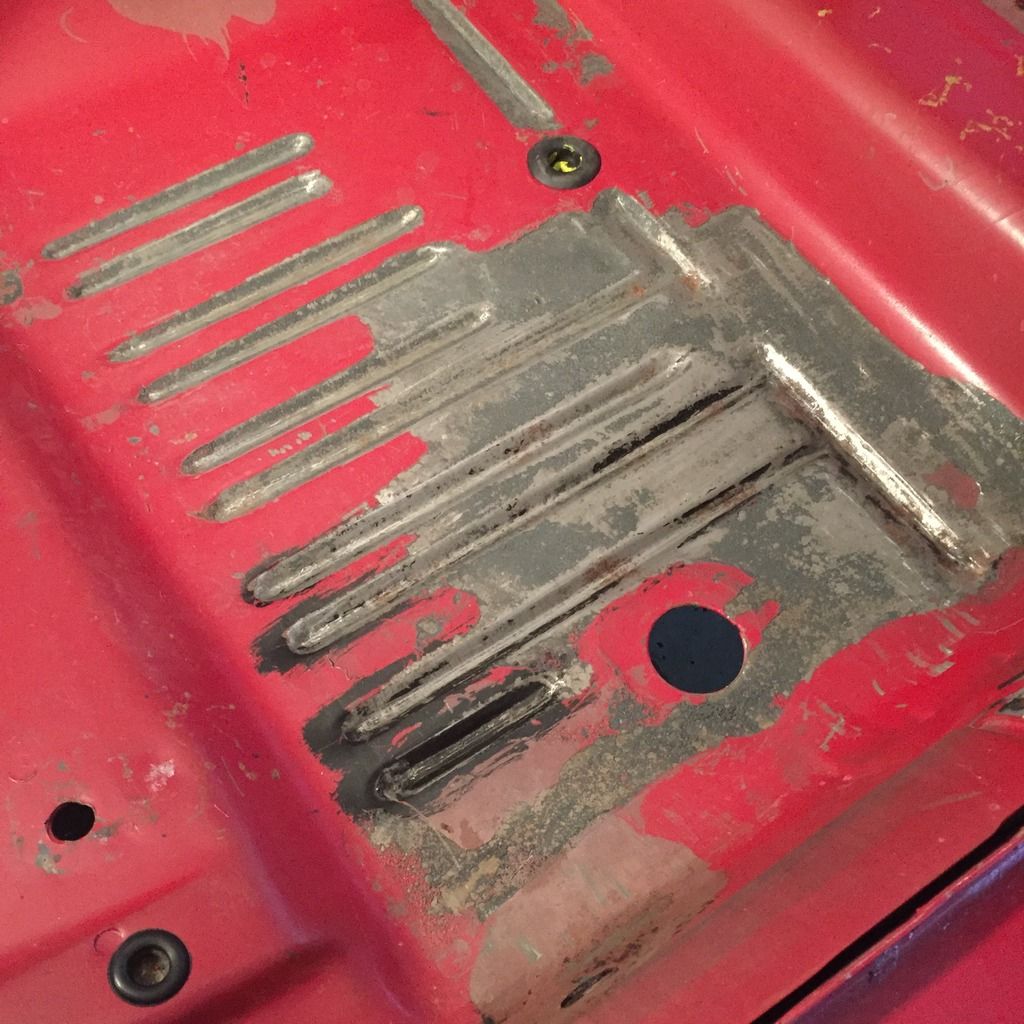
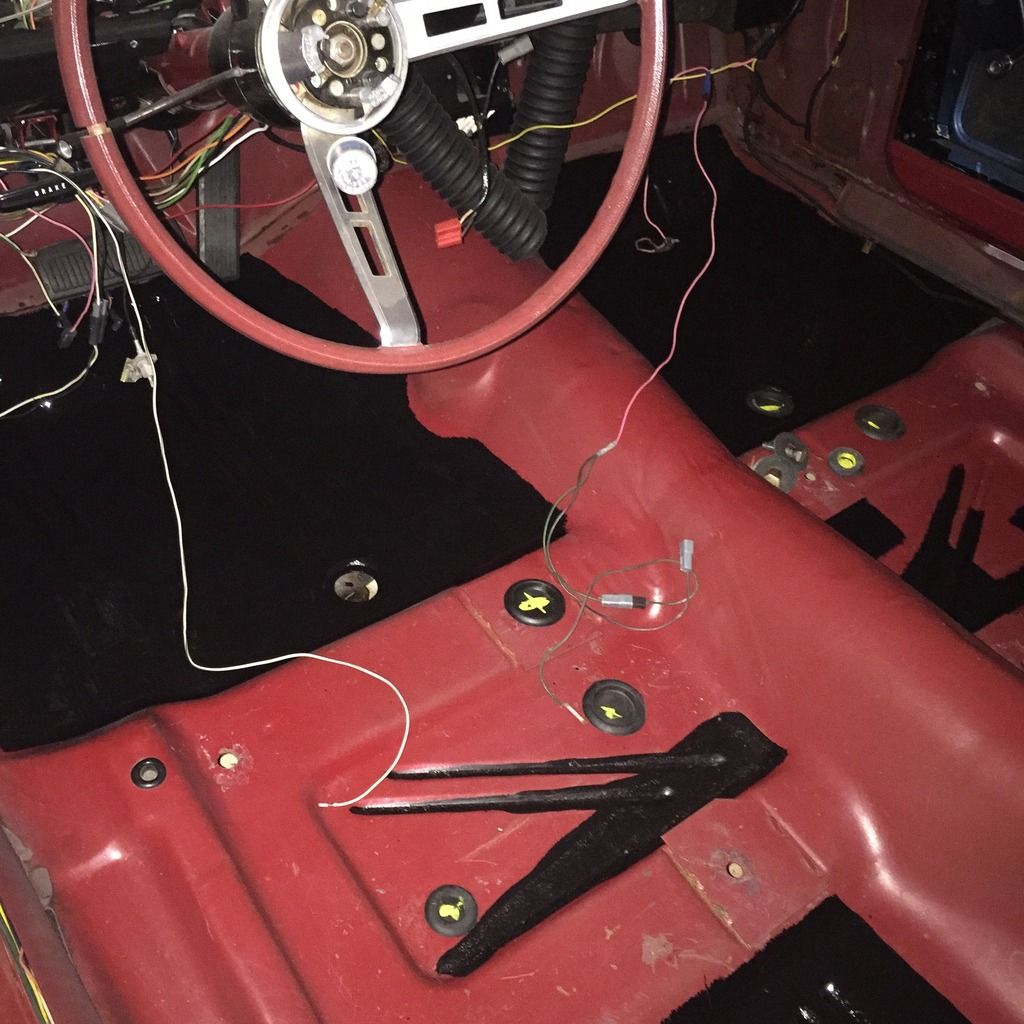
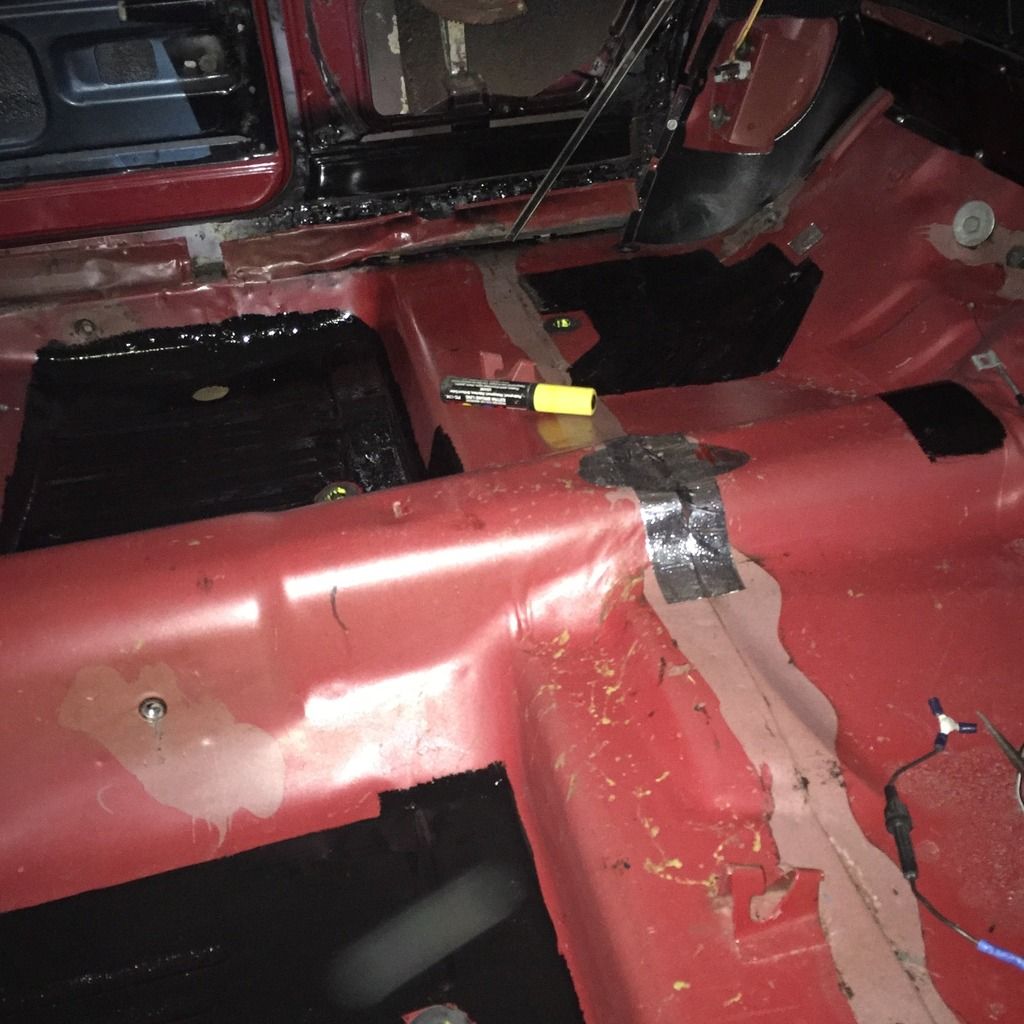
Meanwhile, I'm ready to drop the carpet in the back seat area but wanted to do a little clean up work on the floors first. The application of [I'm assuming] sound deadener was done in a very haphazard fashion and, 47 years later, was just a lot of brittle, porous gunk on the floor. I decided to scrape it all out but, since it was added before the paint, scraping it meant exposing bare steel so I would then have to throw down some paint to prevent rust. Let's get started!
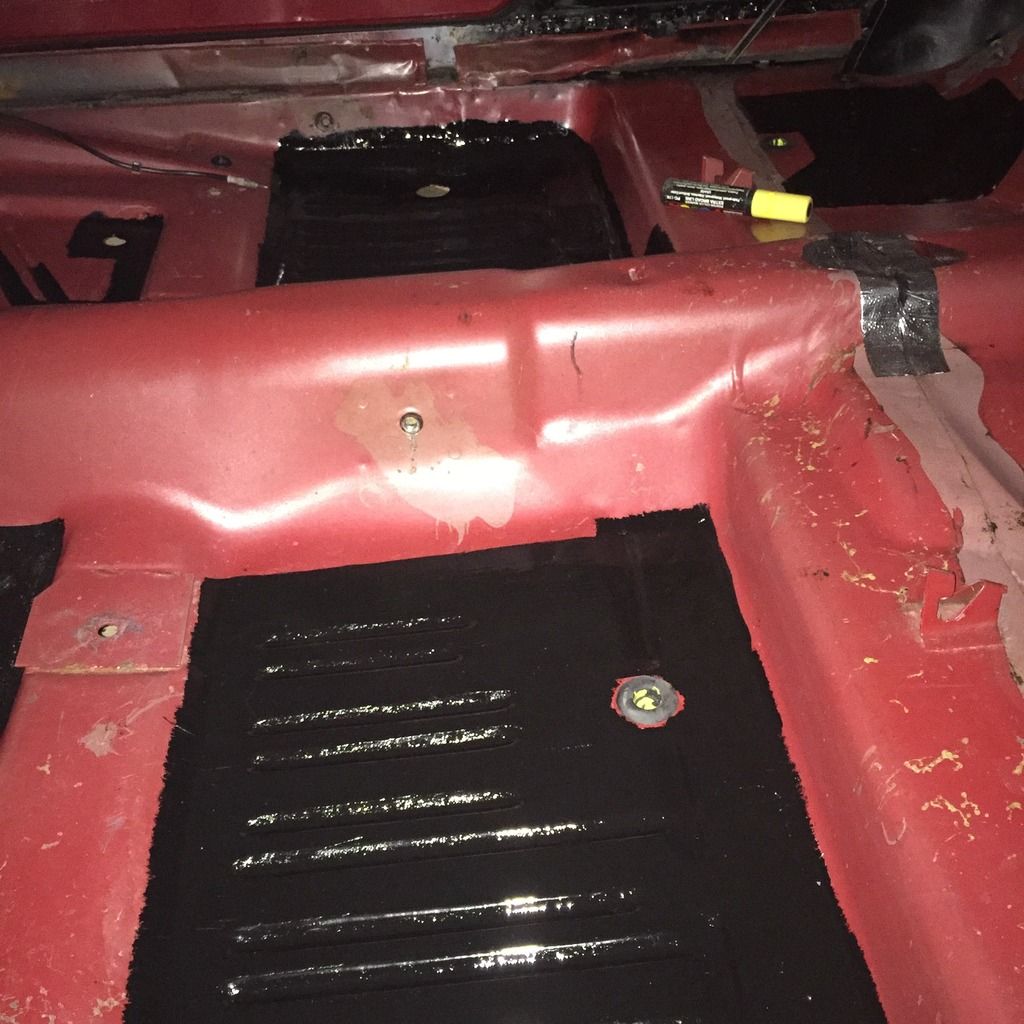
Scraping the sound deadener goo out of the stamped channels in the floor pan...

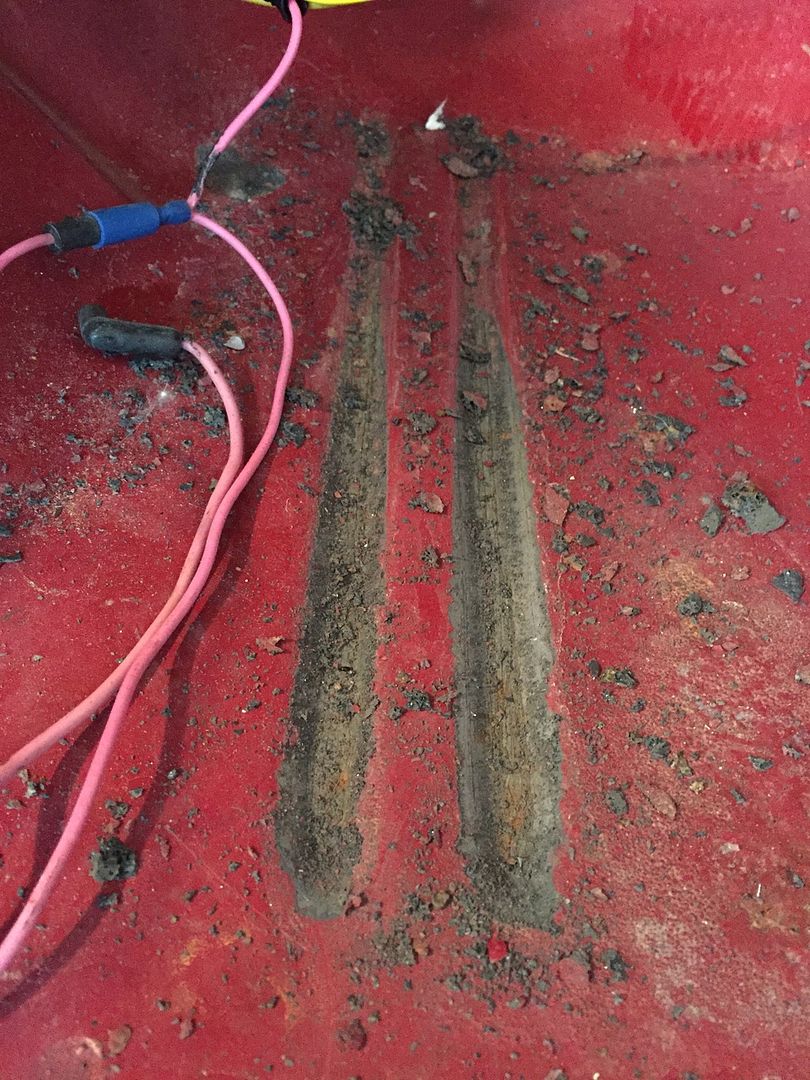
Shop-vac'd the debris up and then brushed some satin black Rust-O-leum on over the bare metal.


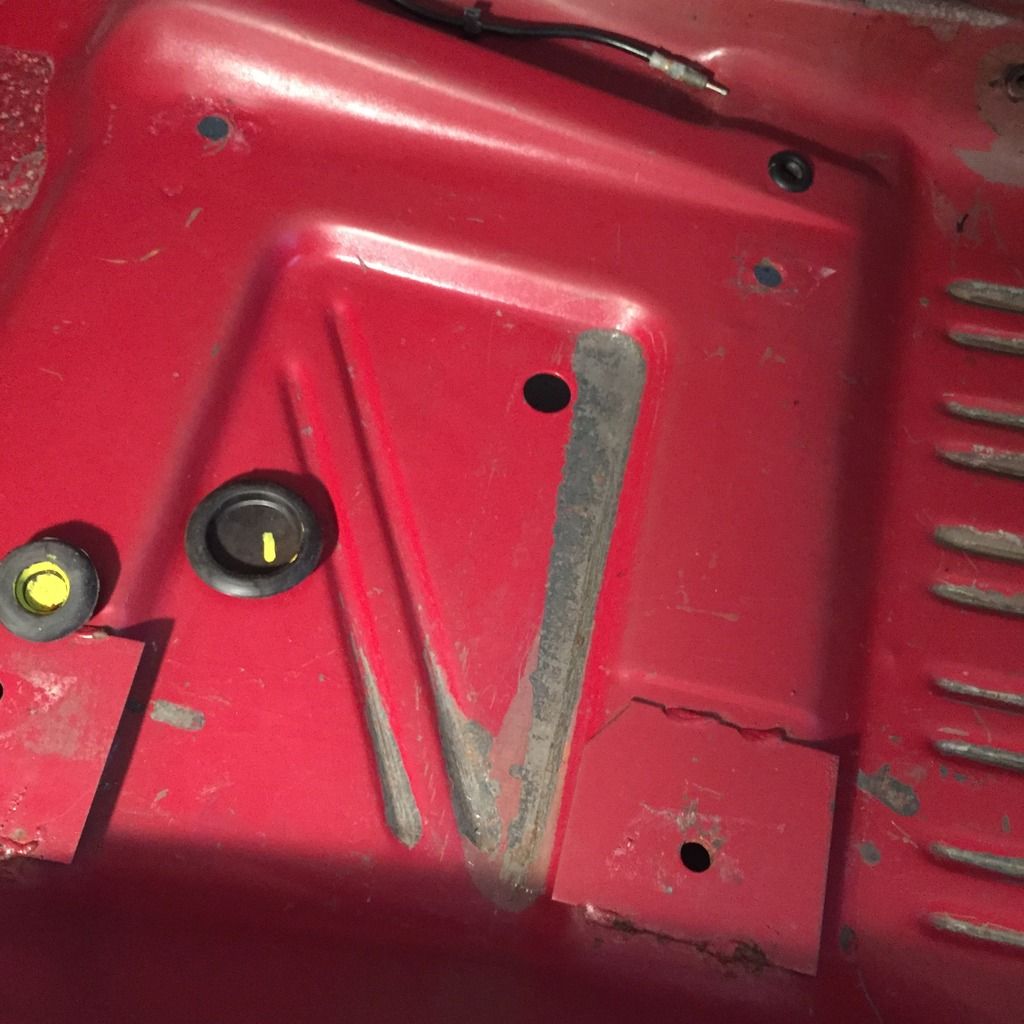
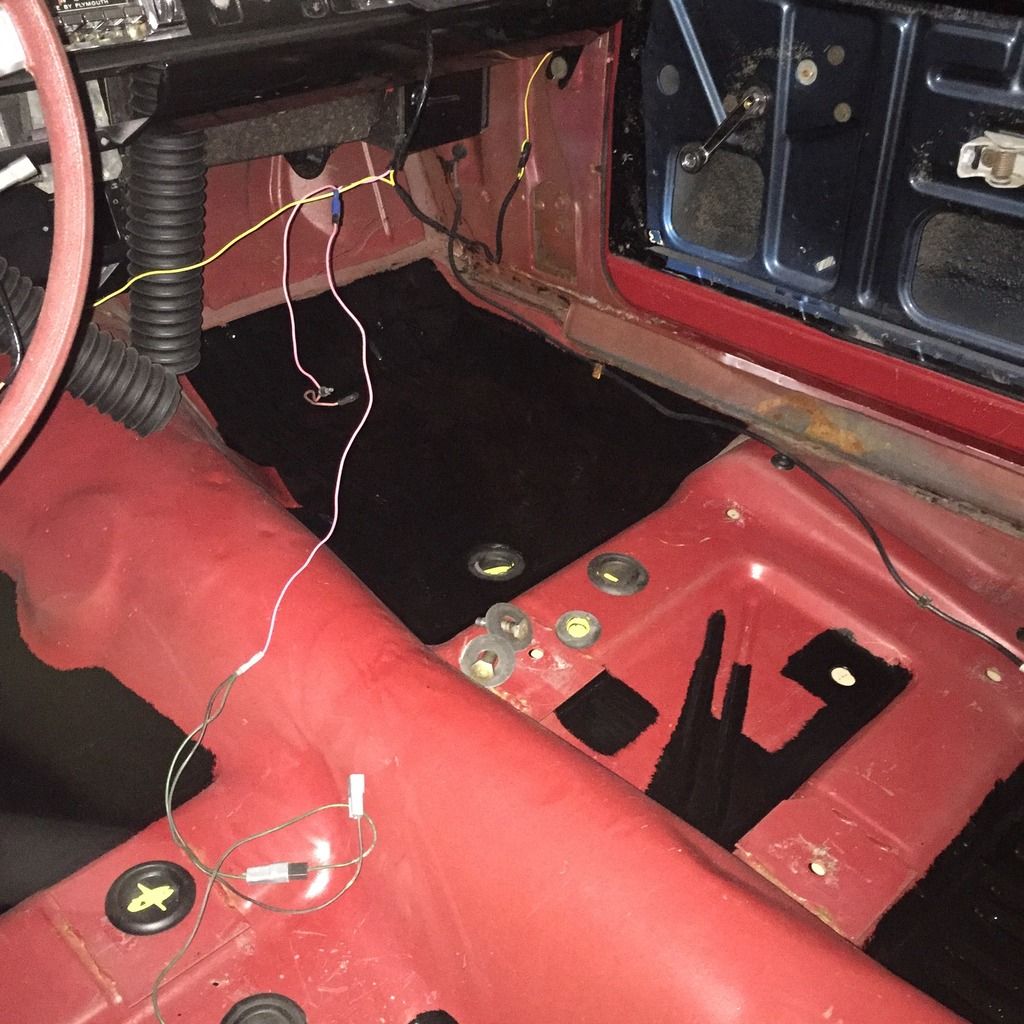
The rear passenger floor area...
Passenger side, under the rear seat cushion...
Rear passenger side footwell...
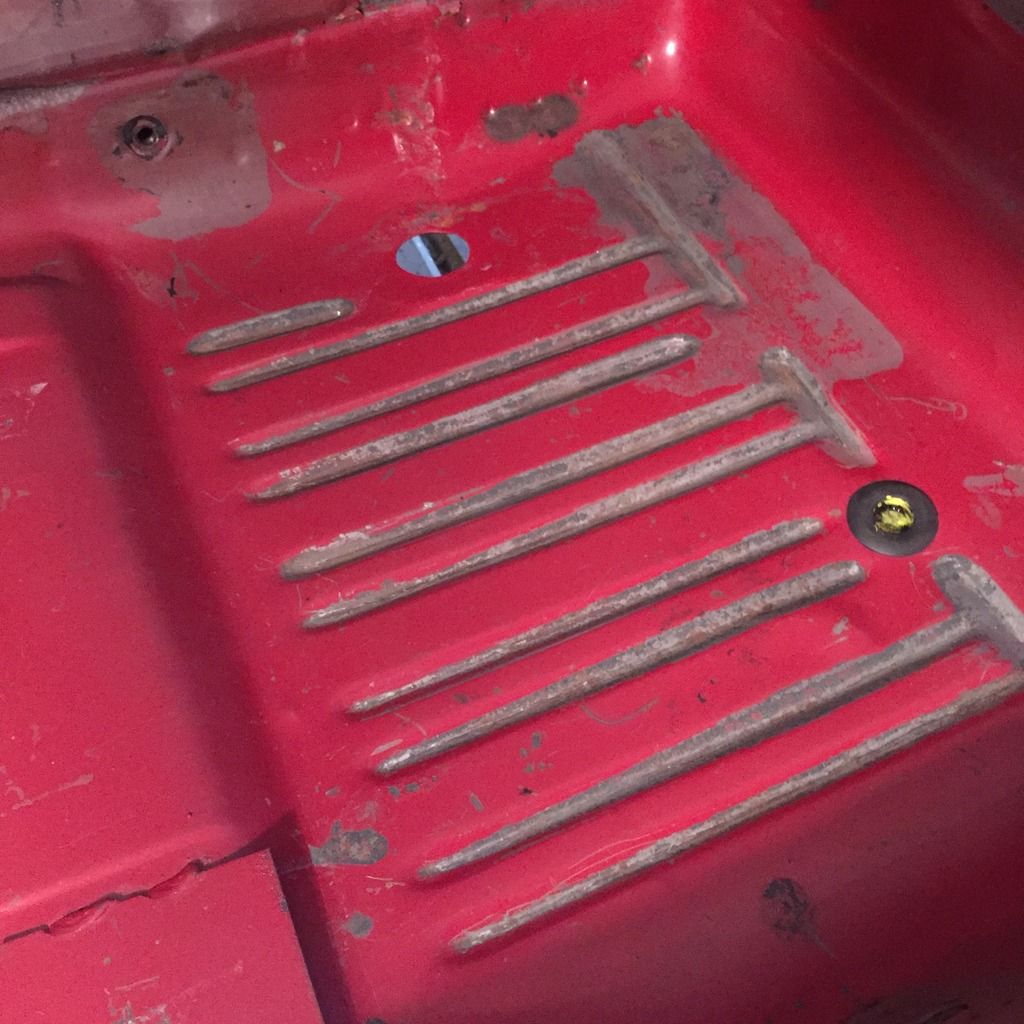
Beneath the passenger seat....
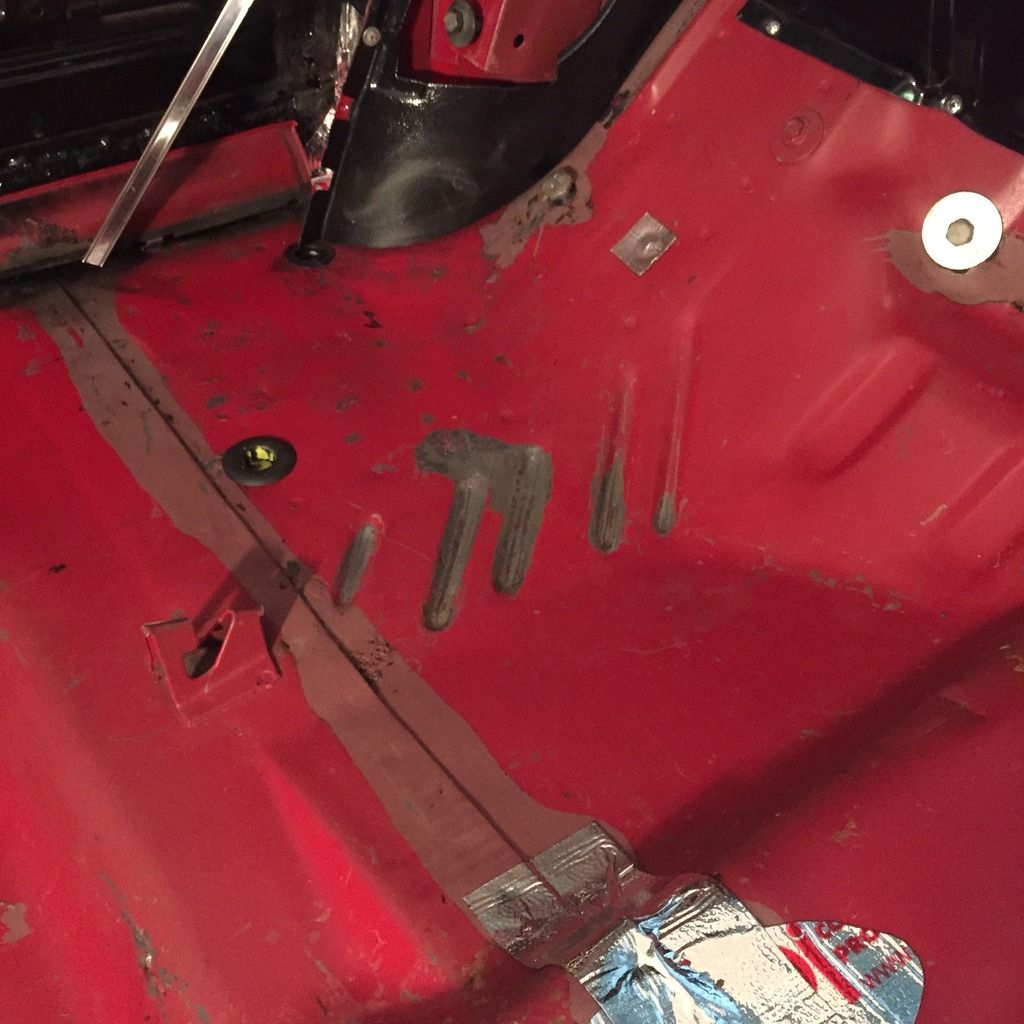
Then I got all the paint down, doing complete footwell areas because...why not? Notice the yellow paint pen marks in the body plugs - it's my way of keeping track of which plugs were replaced and which were not. There's just too many to keep up with.
A little bit of Peel N Seal adhesive roof flashing as a seam sealer...
I've been giving the paint plenty of time to fully dry so that my carpet padding doesn't stick to it.
Meanwhile, I'm ready to drop the carpet in the back seat area but wanted to do a little clean up work on the floors first. The application of [I'm assuming] sound deadener was done in a very haphazard fashion and, 47 years later, was just a lot of brittle, porous gunk on the floor. I decided to scrape it all out but, since it was added before the paint, scraping it meant exposing bare steel so I would then have to throw down some paint to prevent rust. Let's get started!
Scraping the sound deadener goo out of the stamped channels in the floor pan...


Shop-vac'd the debris up and then brushed some satin black Rust-O-leum on over the bare metal.


The rear passenger floor area...

Passenger side, under the rear seat cushion...

Rear passenger side footwell...

Beneath the passenger seat....

Then I got all the paint down, doing complete footwell areas because...why not? Notice the yellow paint pen marks in the body plugs - it's my way of keeping track of which plugs were replaced and which were not. There's just too many to keep up with.

A little bit of Peel N Seal adhesive roof flashing as a seam sealer...


I've been giving the paint plenty of time to fully dry so that my carpet padding doesn't stick to it.
Carpet day!
Let's start with 100% natural wool carpet padding. We had some left from when we moved in and redid the carpeting.
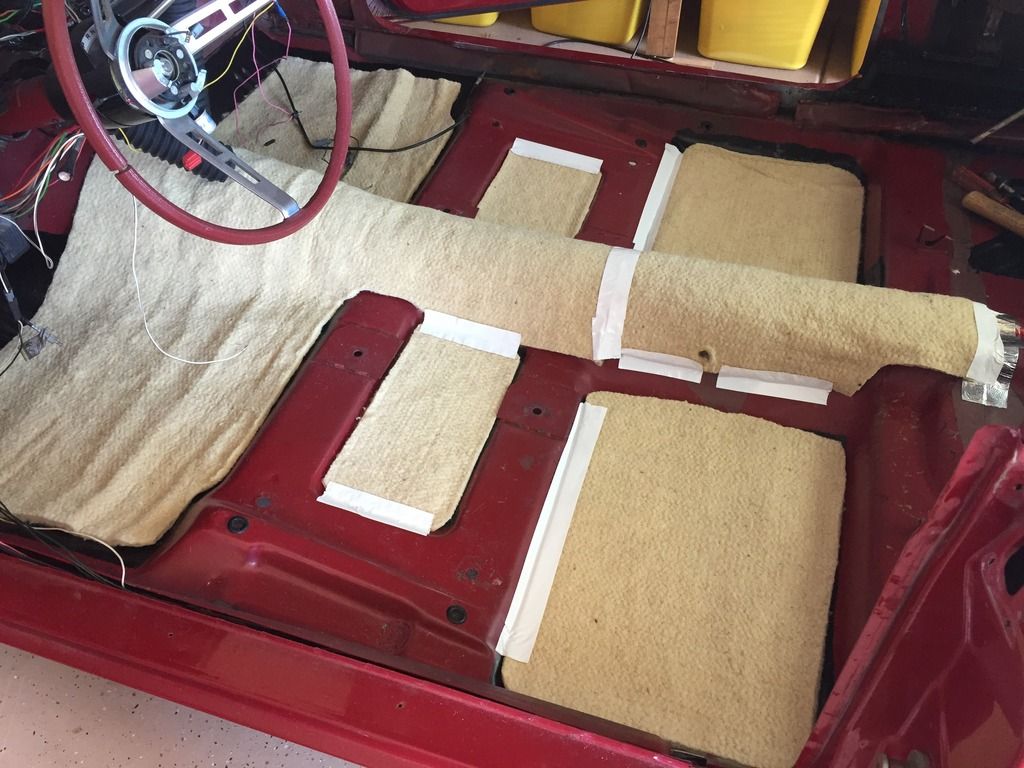
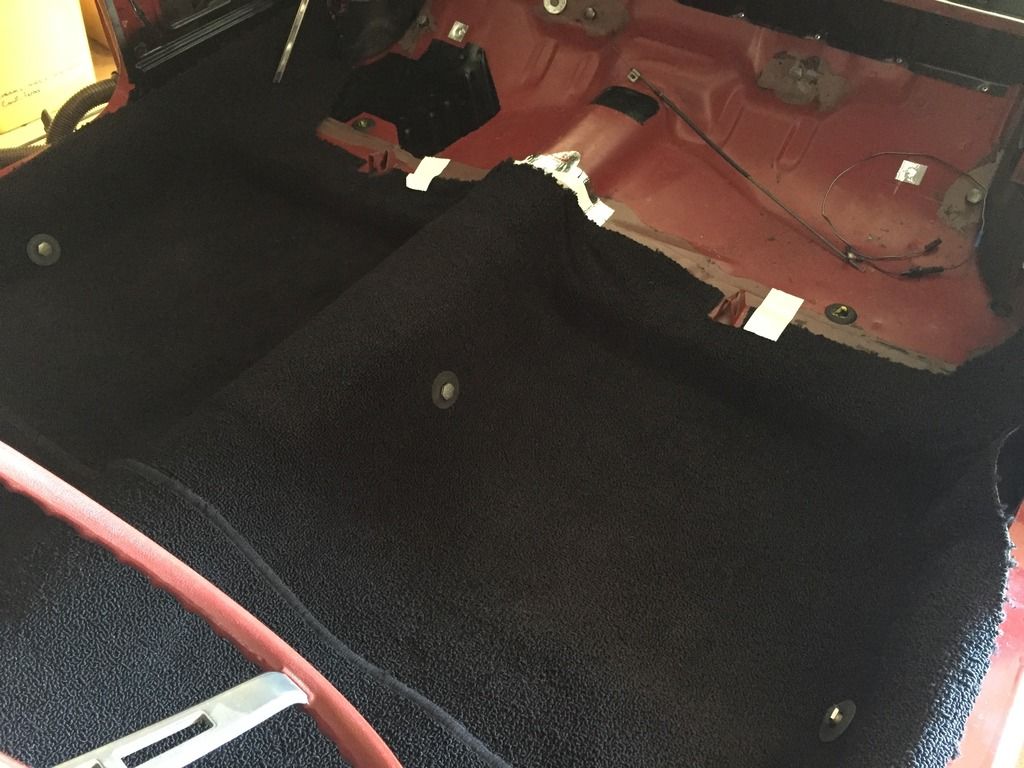
Then the carpet itself. Just a little trimming for the rear seat cushion brackets, some edge melting and punching out the seatbelt bolt holes and this piece was easy. I put some tape in to hold down certain parts so the carpeting would "set up" properly.
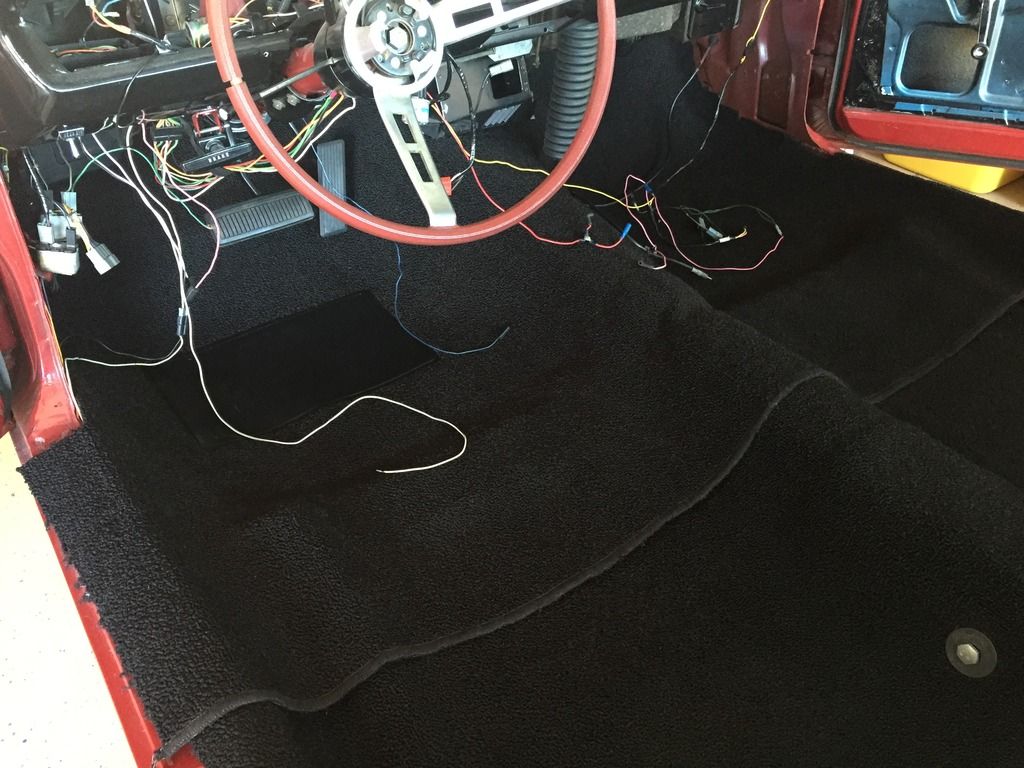
The front section took much more work. I had to put it in and pull it out several times to trim off just the right amount, especially around the pedal assembly and the condensation drain tube behind the HVAC box.
Let's start with 100% natural wool carpet padding. We had some left from when we moved in and redid the carpeting.

Then the carpet itself. Just a little trimming for the rear seat cushion brackets, some edge melting and punching out the seatbelt bolt holes and this piece was easy. I put some tape in to hold down certain parts so the carpeting would "set up" properly.

The front section took much more work. I had to put it in and pull it out several times to trim off just the right amount, especially around the pedal assembly and the condensation drain tube behind the HVAC box.

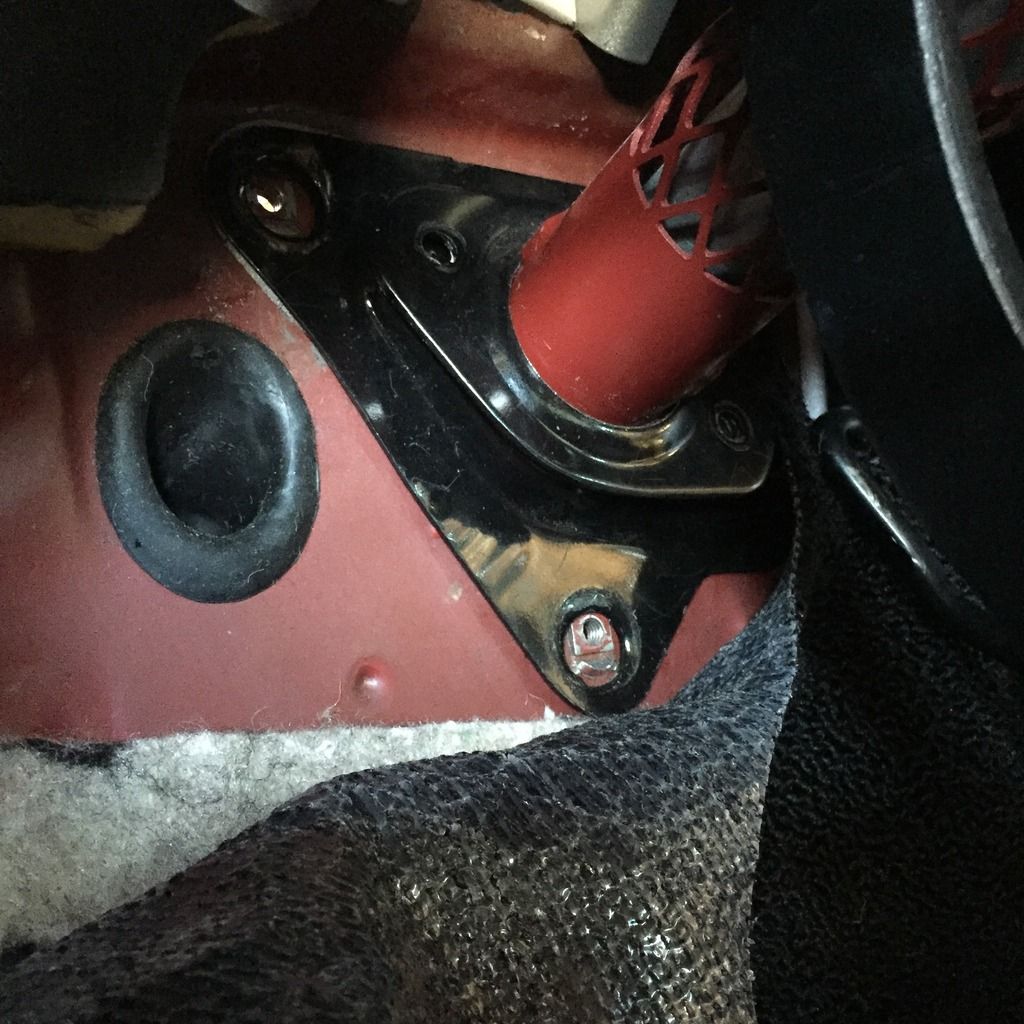
Can anyone tell me if the carpet gets tucked under this three-hole plate around the steering column?

SNKEBIT
Spending $$ on Mopars
It does not
needsaresto
Well-Known Member
- Joined
- Nov 13, 2004
- Messages
- 7,618
- Reaction score
- 278
Nope. You need to cut a slit and a hole,lay it overtop.
Thanks, gents.
That's how I had left it last night when I set the space heater in there and got cabin temp up to 124 all night.
That's how I had left it last night when I set the space heater in there and got cabin temp up to 124 all night.
Put the final coats of paint on those interior panels that go in the back seat area this morning. Tomorrow, I should be able to apply that polymer polish and install them.
Today's fruit.

Did a small test area with the metal polish just to see what could be had from the beat up scuff plates.
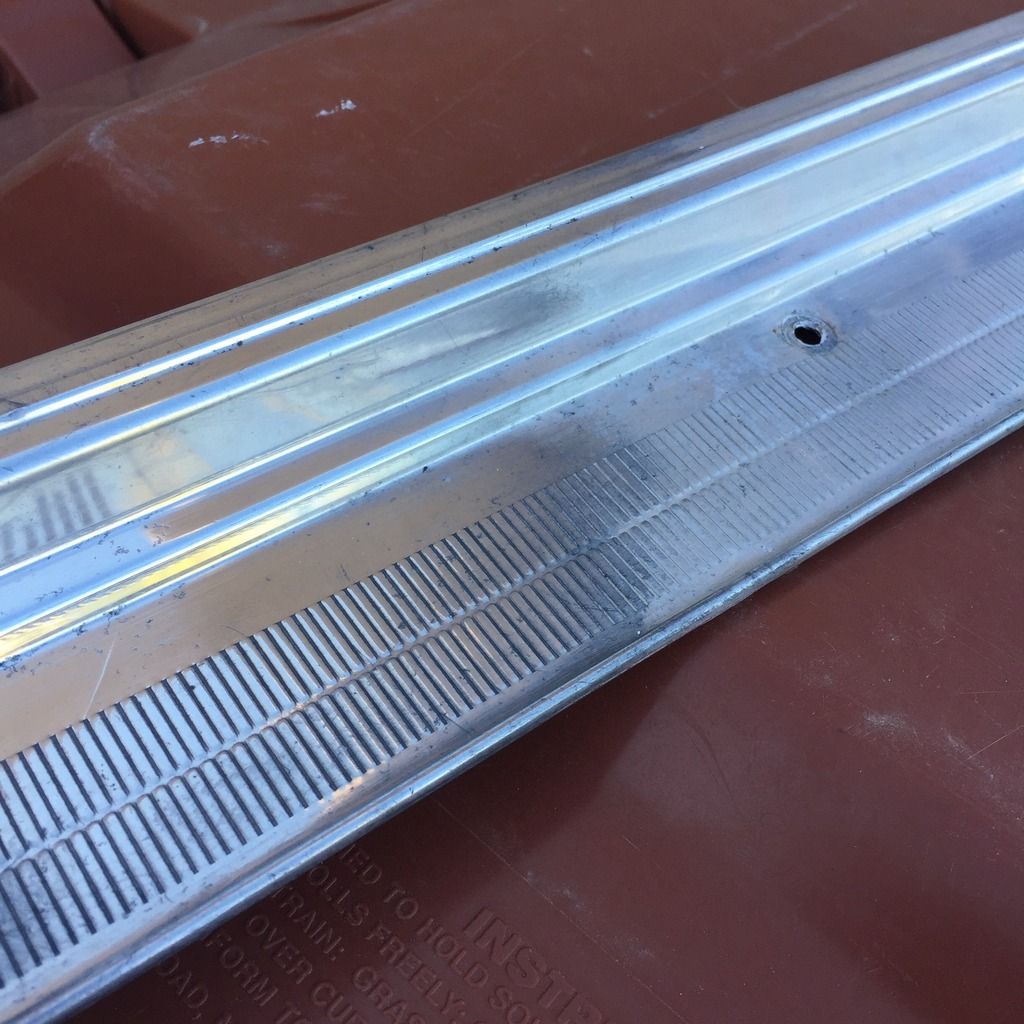

Working the back seat area - got the carpet edge trim polished up so I could put it in and trim back that area of the rug.
Lubed up the window tracks and rollers and had that glass gliding up and down with ease.
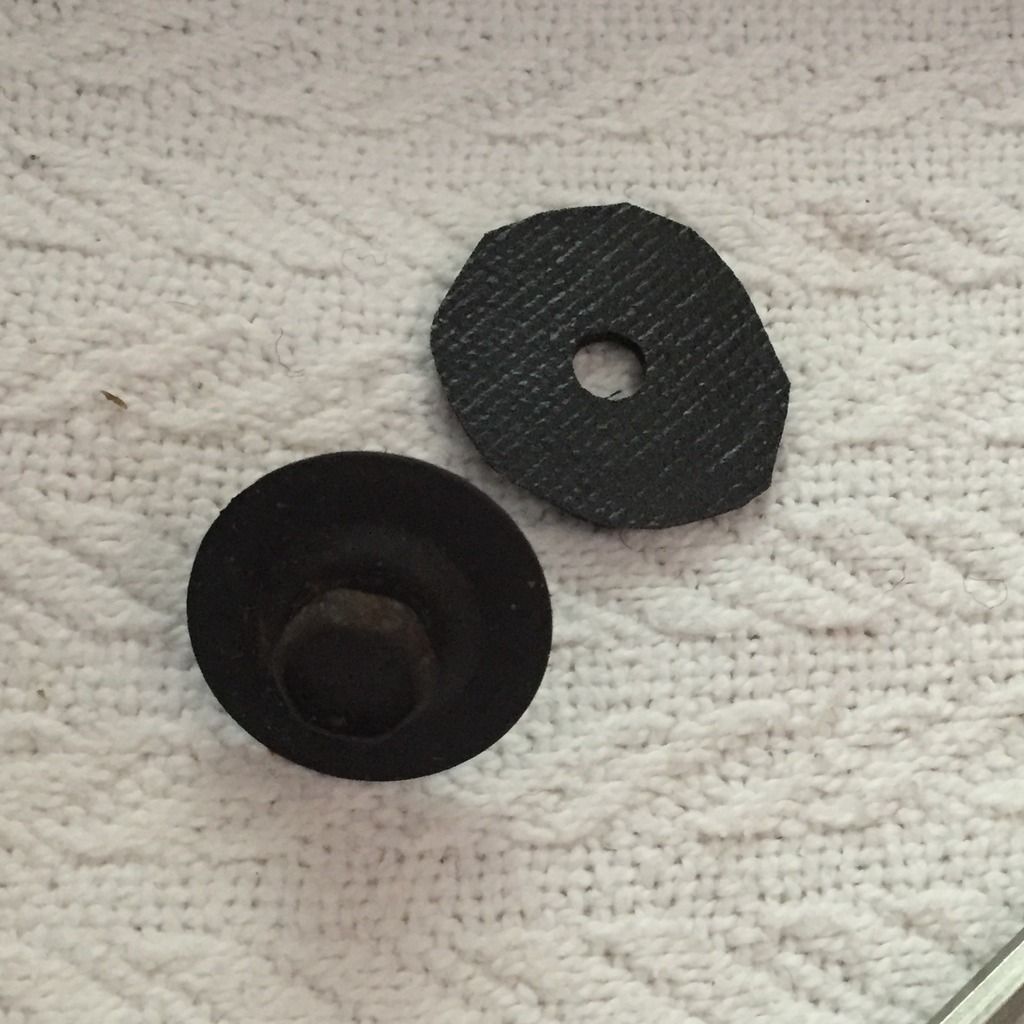
Speaking of glass - took that window out and cleaned it. It was nice being able to get to all the areas you normally can't reach and, believe me, there was ample crud to clean off. Reinstalled the glass with some homemade soft washers under the attaching bolts.
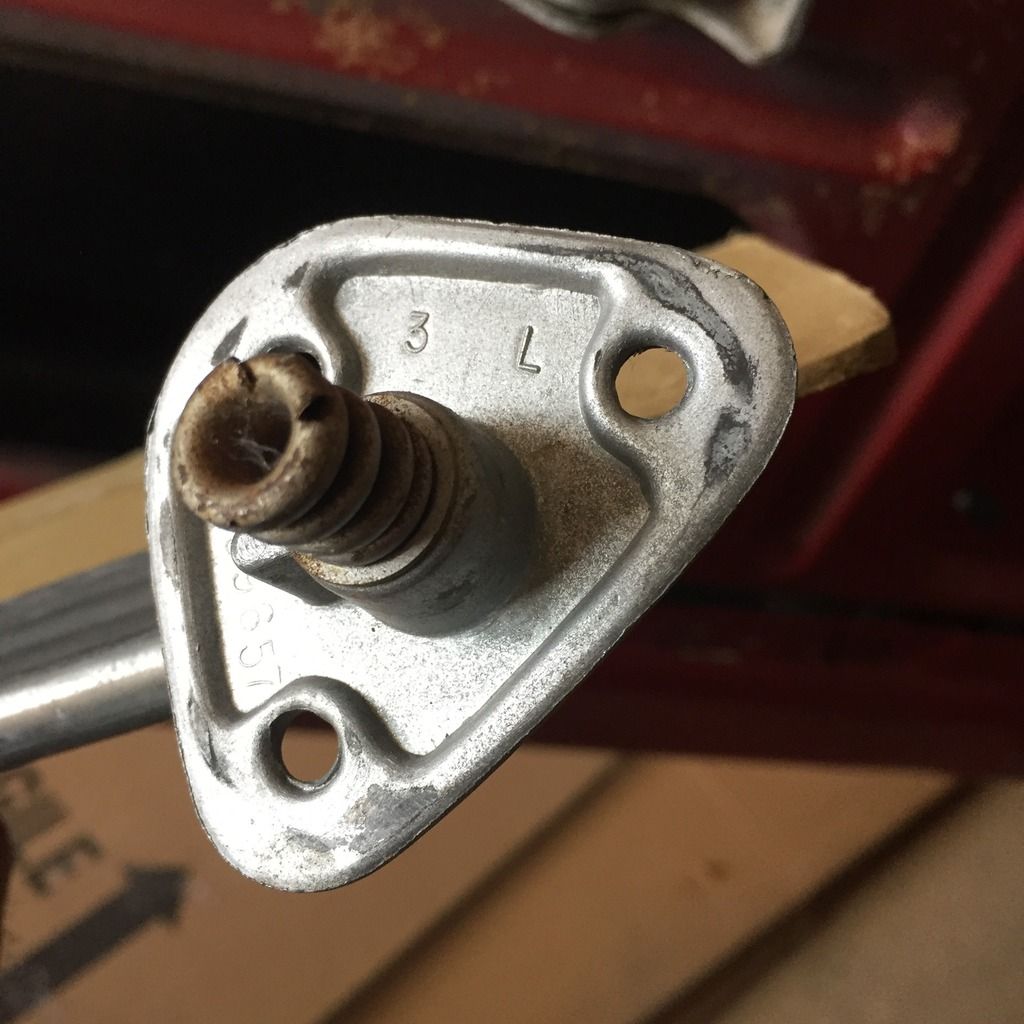
Then, while trying to install the new sweeps, I found a stripped screw plate inside the curved exterior chrome window trim that took over an hour to remove, repair, and reinstall.
Got as far as setting the black metal panel in place and quit for the day as I need to trim away some excess headliner material before continuing.
Lubed up the window tracks and rollers and had that glass gliding up and down with ease.
Speaking of glass - took that window out and cleaned it. It was nice being able to get to all the areas you normally can't reach and, believe me, there was ample crud to clean off. Reinstalled the glass with some homemade soft washers under the attaching bolts.

Then, while trying to install the new sweeps, I found a stripped screw plate inside the curved exterior chrome window trim that took over an hour to remove, repair, and reinstall.
Got as far as setting the black metal panel in place and quit for the day as I need to trim away some excess headliner material before continuing.
Headliner trim complete.
Headliner side bows painted and clear-coated; retainer clips positioned and installed.
Then proceeded to waste the rest of the day trying to install the rearview mirror. Could not, for the life of me, figure out which way the damn thing went in. Had to install one of the visors to be sure I had the mirror mount in the right place. This helped me find the center screw but I could not locate the other two screw holes no matter which way I turned the mount. Had to walk away from it. If anyone has pics of a correctly installed mirror, I'd love to see.
There was a crack in the plastic A pillar cover so I applied some plastic weld to it. This morning, I sanded that down and put some spot putty on it. Should be able to finish sand and paint it later today.
Thinking I'm gonna need to drill to get my mirror mount up.
Found this interesting.
Sun visors are left/right specific.
Sun visors are left/right specific.

A little frustrated with "Top Cat Whiskers". These are the window sweeps you get when you order from vansauto.
First, the clips. There are 2 types used to secure the sweeps to the car: some are "slide over" and some are "press in". None of the press-in clips bit securely into their respective fittings. I had to take fine needle nose pliers to each one and spread them a tad for a more secure fit. Otherwise, the sweep was too loose in the channel.
Secondly, what's up with the curvature on these? For the rear side windows on my fastback, the inner sweeps' curve did not match the outers. I had to bend it, very carefully, to the contour of the interior panel and I was worried all the while that I'd accidentally bend a crease in it and ruin the part. (almost did). The outer sweeps were perfect with no fitment issues whatsoever. I should have taken pics before I put them all in.
Headliner trim complete.
Headliner side bows painted and clear-coated; retainer clips positioned and installed.
Then proceeded to waste the rest of the day trying to install the rearview mirror. Could not, for the life of me, figure out which way the damn thing went in. Had to install one of the visors to be sure I had the mirror mount in the right place. This helped me find the center screw but I could not locate the other two screw holes no matter which way I turned the mount. Had to walk away from it. If anyone has pics of a correctly installed mirror, I'd love to see.
Seems I remember having a little trouble when I put mine back. Can't seem to find your e-mail address again so sorry to post here, but see if the helps.
Edit just found your e-mail..
Last edited:
Thanks Gerald!
But check this out - our mirrors are slightly different. On yours, with the center screw placed to the rear, the visors must be pushed forward to release them from the base. On mine, the same is accomplished with the center screw placed to the front.
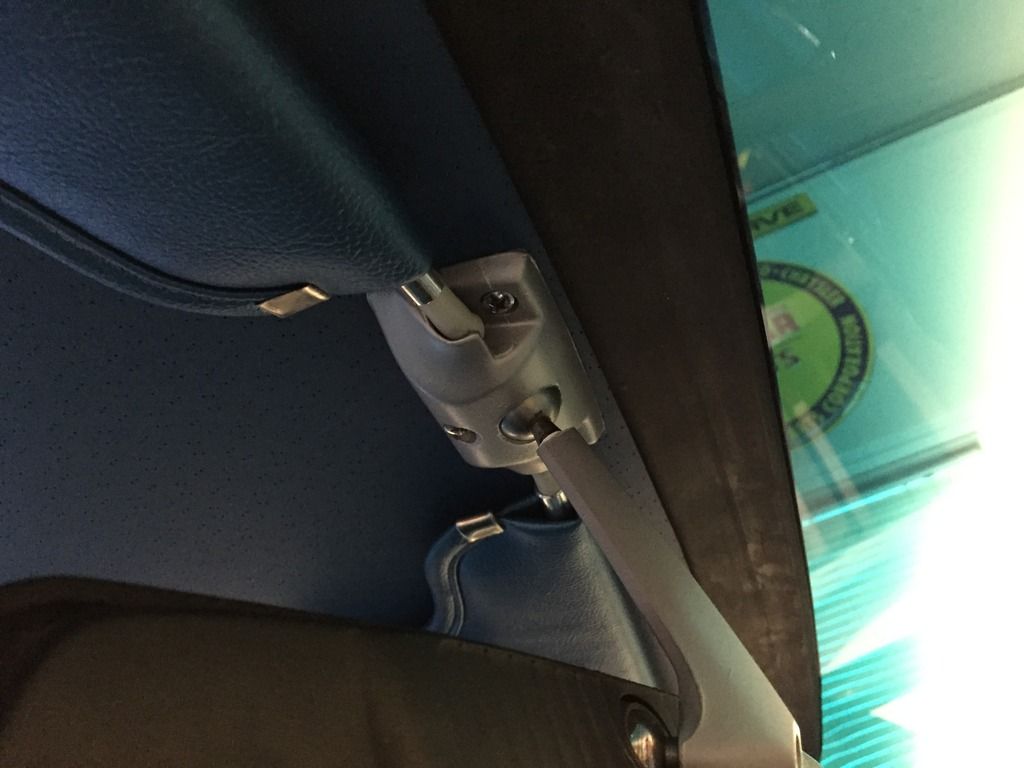
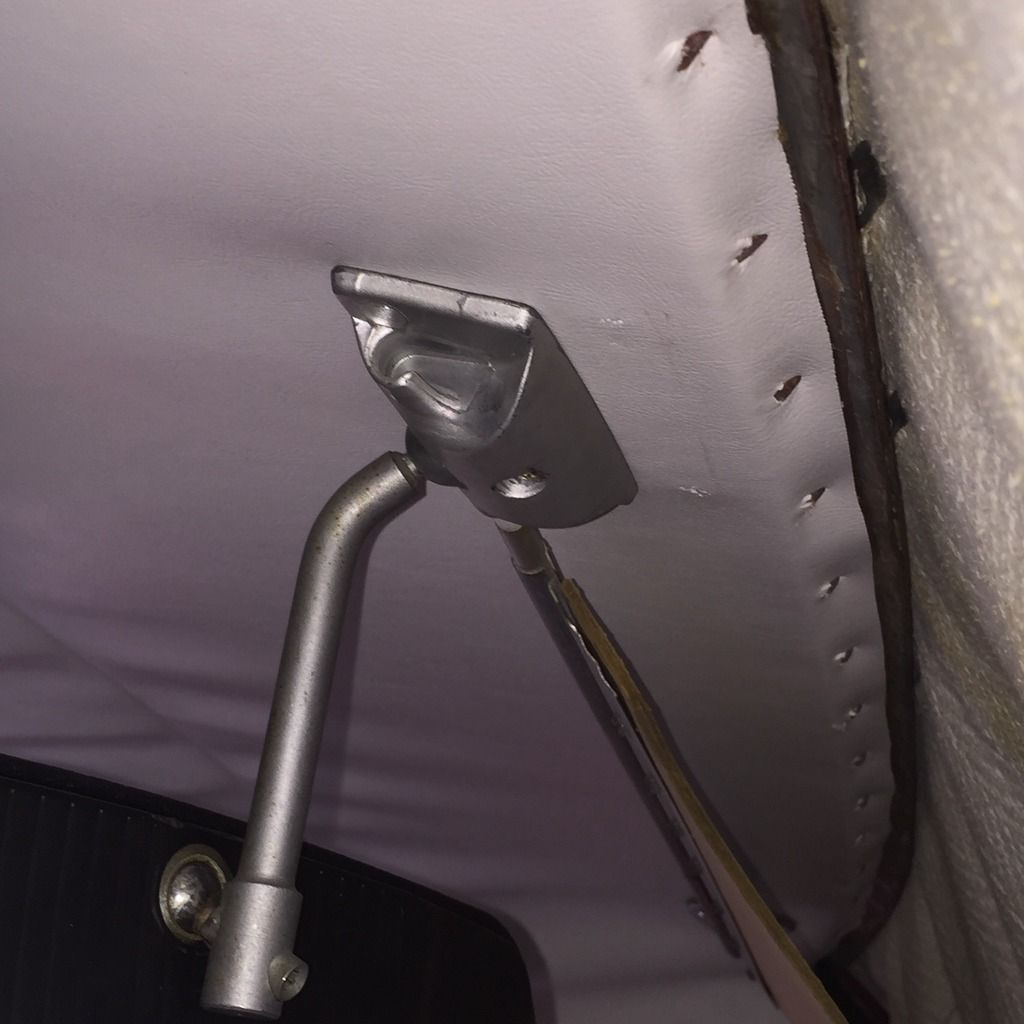
But check this out - our mirrors are slightly different. On yours, with the center screw placed to the rear, the visors must be pushed forward to release them from the base. On mine, the same is accomplished with the center screw placed to the front.


They are not the same at all are they (WTH)! You would think the holes in the roof truss would be though??
Hard to tell but it looks like the angle of the visor is now moved way away from the windshield with that mounting.
Hard to tell but it looks like the angle of the visor is now moved way away from the windshield with that mounting.
Ha! You would think that, if it came out, it must go back in.
Oh well, I prefer the orientation I have it set to so I think I'm just gonna drill it.
Oh well, I prefer the orientation I have it set to so I think I'm just gonna drill it.
Ha! You would think that, if it came out, it must go back in.
Oh well, I prefer the orientation I have it set to so I think I'm just gonna drill it.
Check again drilling there may produce unwanted results.....
Your WS is still out so just pull the liner back off a few of the center teeth and have a closer look!!
-


