You are using an out of date browser. It may not display this or other websites correctly.
You should upgrade or use an alternative browser.
You should upgrade or use an alternative browser.
How thick of metal for frame connectors
- Thread starter memike
- Start date
-
Makes good sense to me cracked back, no holes it is :cheers: Thank you.How much water is going to be inside the connectors?
I'd bet you introduce more water to the inside of the connectors drilling drain holes in them and driving in the rain than any condensation which may occur. Better deburr the inner edge too so there is no high spot.
Spray the inside with paint if concerned and move on.
memike, those connectors are on my orange 70 Swinger.
I might drive here a couple years and then drill me a 1/2'' hole and see if any water at all is in there
") if no water has built up inside I will just wire weld it back up.. :glasses7:
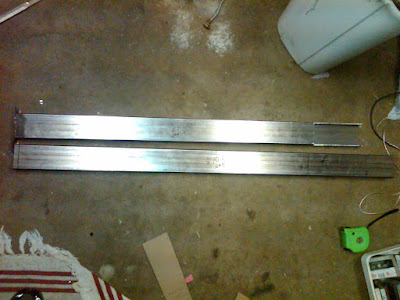
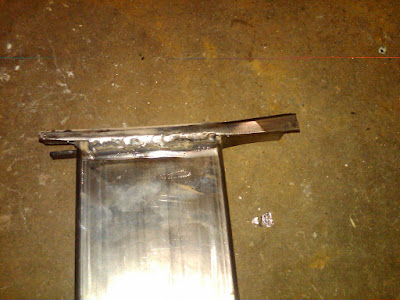
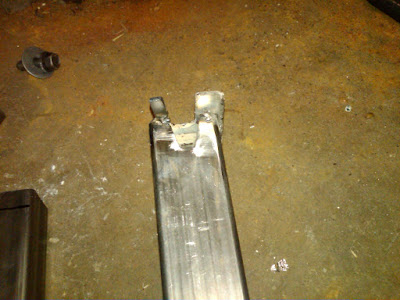
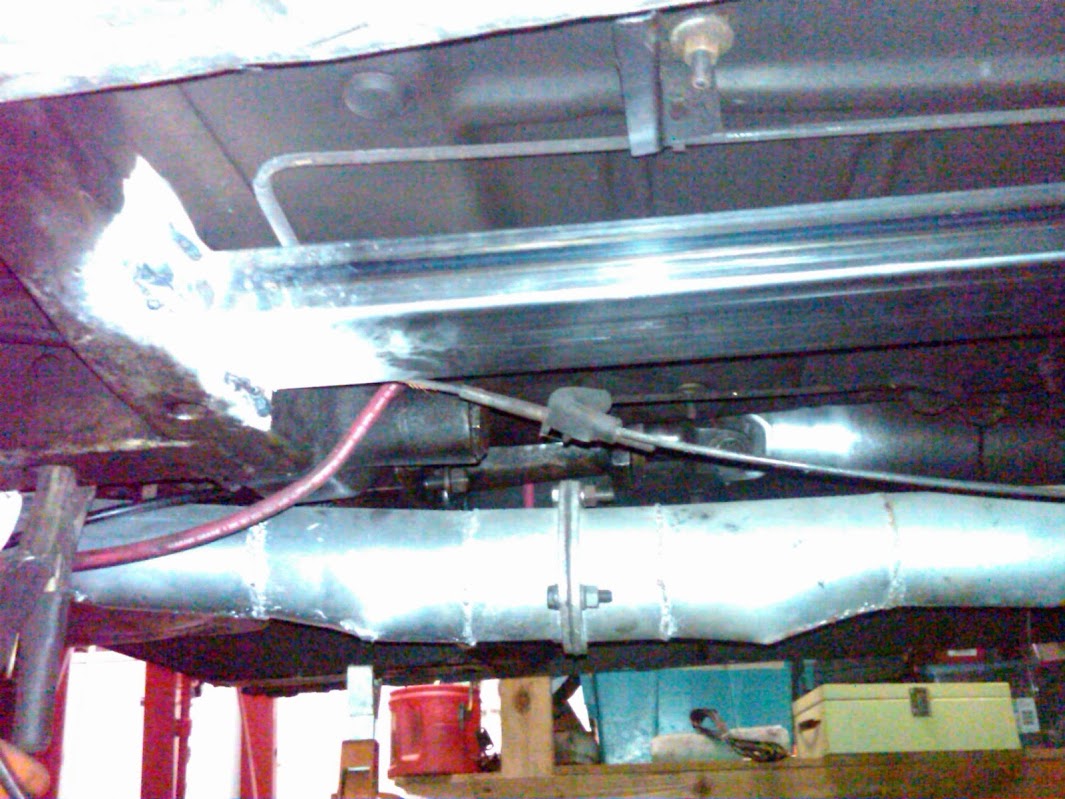
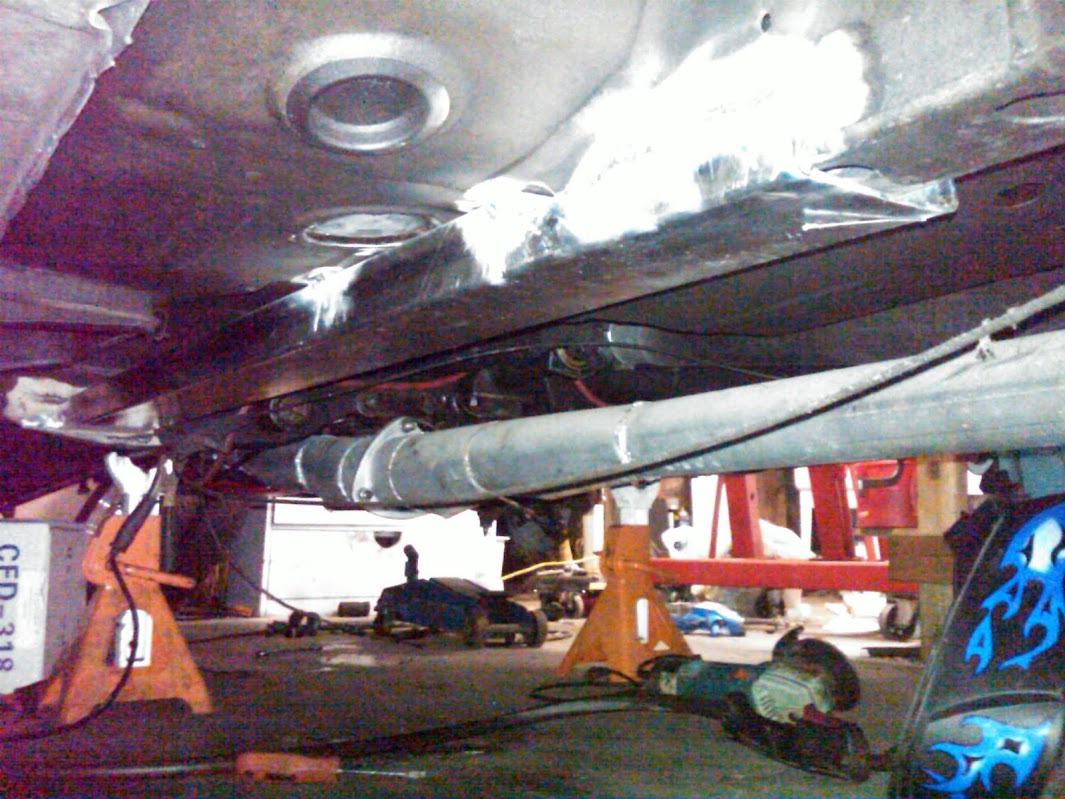
if no water has built up inside I will just wire weld it back up.. :glasses7:update, just finished one side. I'm $20 bucks into it, and that includes tax! 2 pieces of scrap 1.5X3 14G rectangle @ .99 a lb (9# each @ 48 inches, didnt have 1X3 in stock) cut them 2 X 44" total, cut the top out at about 36 inches so you have an 8" opening. cut that piece to use as the butt plate on the front, weld 2X5 but plate. Test fit on raised car (4 jackstands, in pairs front and back on concrete slab to make sure the frame is completely square)-driver side- and make a notch for the E-brake cable as that is where it wants to sit naturally using 1.5. 1 may sit right under it if you lip it under the cross brace. Use a jack to snug it up, then use a hammer to bend the butt plate flanges flat against the cross member, it bends a little forward outboard or I had a crooked cut? Anyway, once it is flush, tack front and rear, check out and then lay bead around the butt plate and rear channel outboard side. Take hammer to inside and beat inside flush with frame rail as it seems to reduce in width. Lay bead when flush. Repeat on other side! 14G slides over rear channel perfectly, thicker will not clear without working metal wider. Good afternoon project and well worth it. Probably do it in about an hour after yoiu get the materials if you have a chop saw and a cut-off wheel. My welds are pathetic but they will get a good slather of seam sealer and black paint. Overhead welding is fun! :-(
congratulations :cheers: looks like a great way to go.. My friend has all
the goodies plasma cutter,ban saw so I am blest in that department :happy1:
he has a car lift that hits the frame and lifts the car, so I will be attaching the rear with a tack weld (just 2 small spot welds and then lowering the car back down on the tires, set the front in place then a small tack there. lift the cars and do the welding to ensure thay are in square
These car lifts that has a single pole lift and has the 4 pads to hit the frame
will know lift the car square and even, at lest his don't .
Thank you for all this great info everyone :cheers:
TrailBeast
AKA Mopars4us on Youtube
VERY NIZE!!! I saved that picture TrailBeast :cheers:
I will get Treva to copy that off and when my friend and I get this going I will
be sure to take pictures and see if I can do a drawing like this and share it
here in this thread, here is what he is up to know on his 1936 Hudson top
These cars had wooden tops and it was time to make a change :cheers:
I bet you know where the matt. came from :coffee2:
Attachments
pishta
I know I'm right....
When I did mine (which are pretty much exactly like Pishta's) I made that 8" cut (6 in my case) on the top and folded 2.5 inches of that down into the tube and welded it closed so that they were totally sealed up. (Also strenghtening it from twist)
Good call, will try that on the passenger side. I like the plug weld holes, more weld contact back there. I had to remove 1 huge body plug that was in the way, tried to flip it over but Ill have to seal it from the top.
TrailBeast
AKA Mopars4us on Youtube
Looks like a section of hood metal.
Looks like a section of hood metal.
That is one of my extra 86 dodge truck hoods (i have 3) and the complete top is made from it, the lip that rolls down the 2 sides of the hood worked out perfect and he cut it in 5 pieces to make it..
He worked for a hot rode shop here in town many years, here is some of his other work he dun in the past
Attachments
-


