Motor plate + coilover conversion = too easy

-

BBBCUDA

Well-Known Member
Joined
Jul 23, 2010
Messages
359
Reaction score
11
Location
Vermont
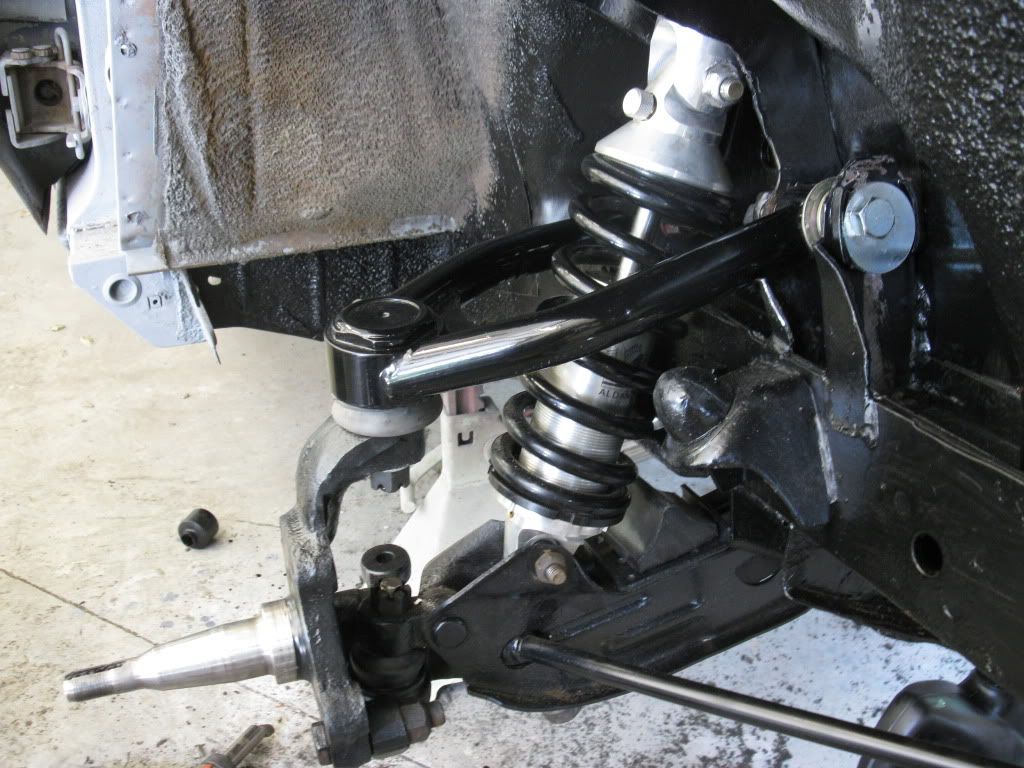
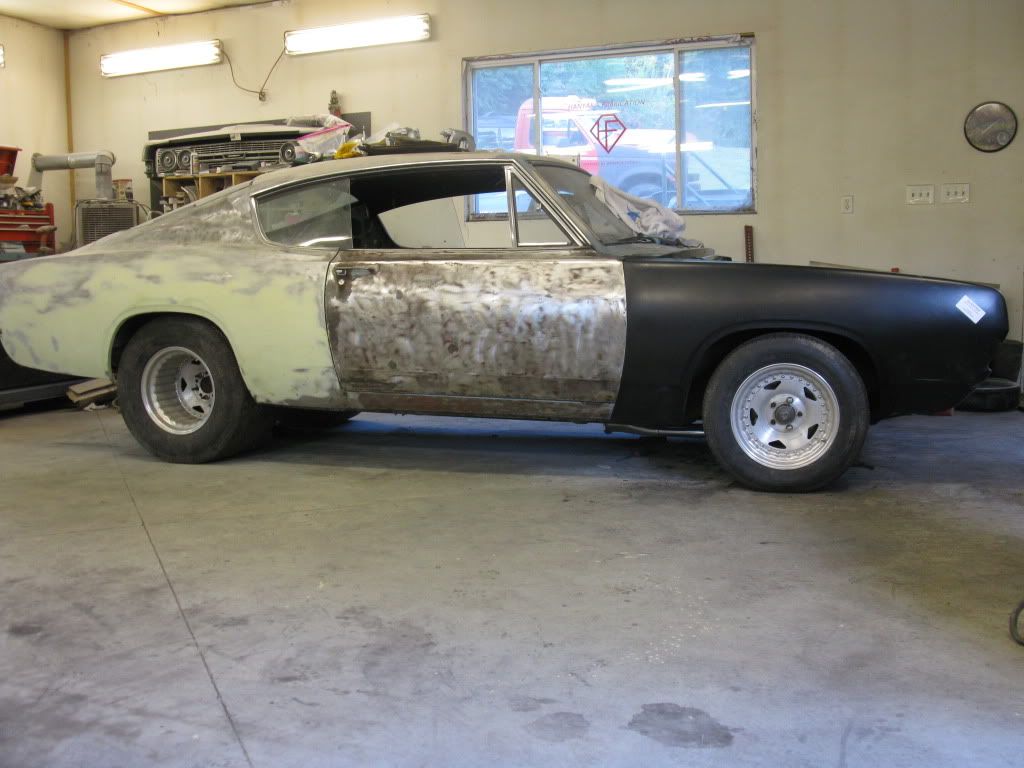
Ready for a test fit:
paulscar004.jpg
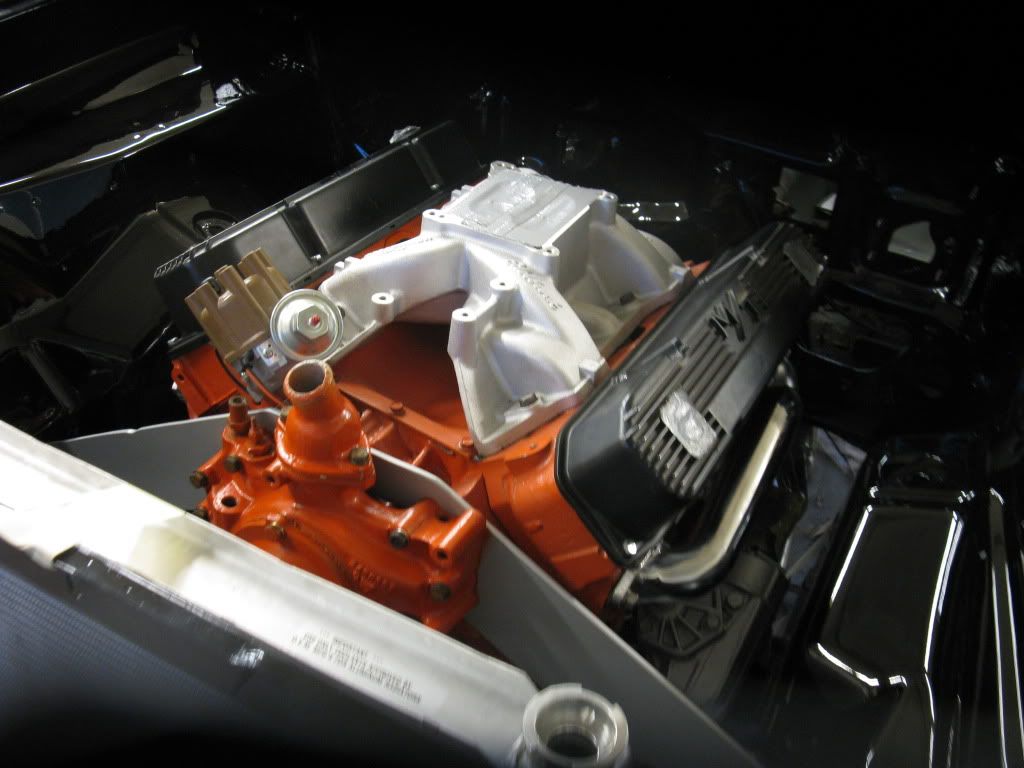
Engine, trans, crossmember, 10 minutes later:
paulscar006.jpg
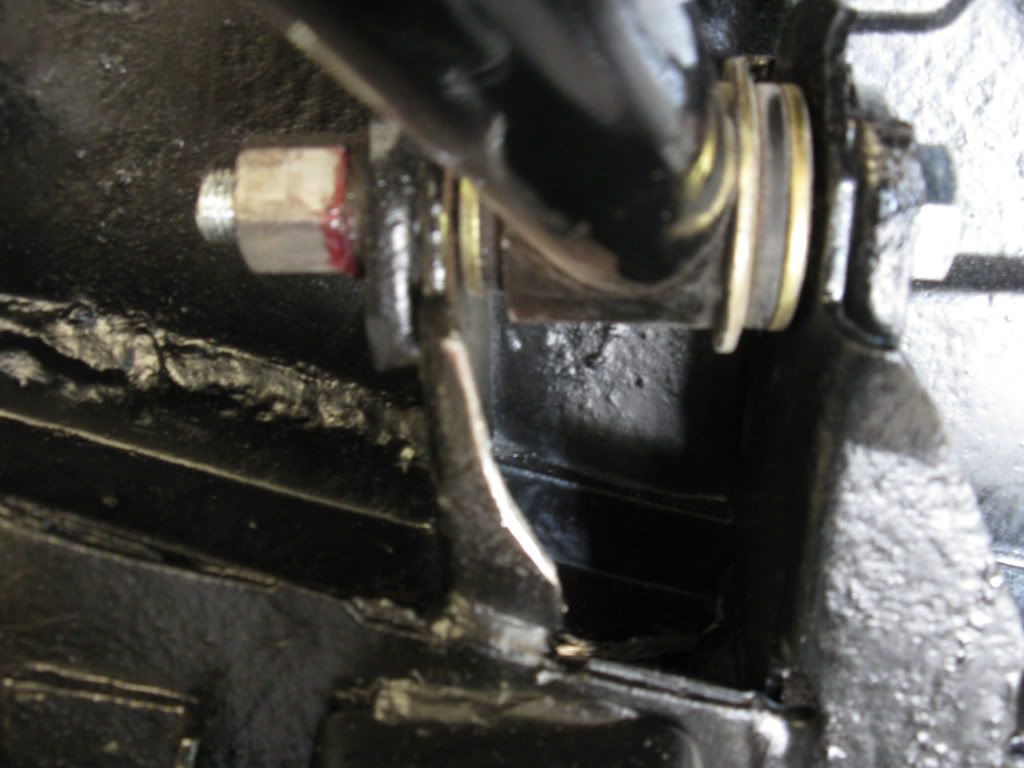
The exhaust, 2" TTI's, 15 minutes later:
paulscar008.jpg
paulscar011.jpg
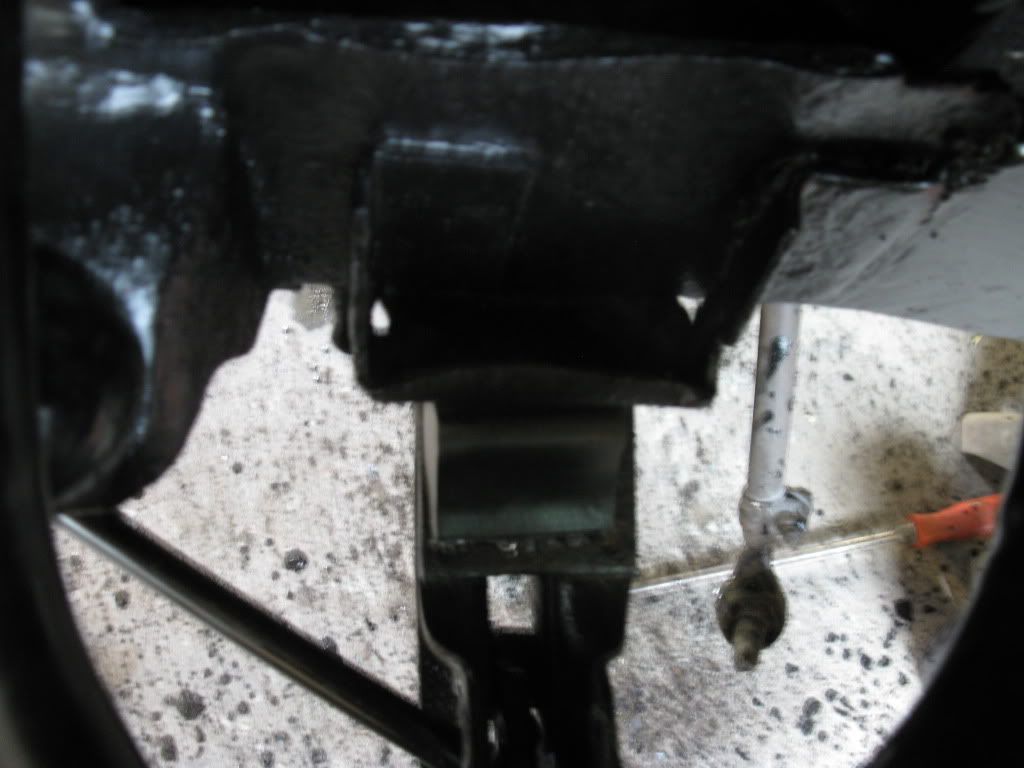
Headers went on over the factory exhaust studs. Too easy. All painted perty, back in next weekend.
paulscar013.jpg
 
Can't wait for the coil over conversion.
 
make sure that notch you have cut out for the alternater is big enuff, I was gonna have to either notch mine or use a different alternater so I put a chevy one on.
 
make sure that notch you have cut out for the alternater is big enuff, I was gonna have to either notch mine or use a different alternater so I put a chevy one on.

I used this one on a RB engine and the alternator fit fine. This is a "B" block, will the notch have to be deeper due to the shorter block making the heads closer to the crank centerline? Thanks.
 
:) Mines been here since about 2000. I didn't want to rush the install, so I'm just now getting around to it... I should have it in next weekend.

The coilover front end is a project that I would like to install on at least one of my cars. So I will be watching and learning. My towers are tied into the rollcage.
 
looking good. ya bracing those shock towers for the coil overs?

Well, I'm sure to catch a bunch of flak over this, but no, I am not adding any additional bracing. It has welded in frame connectors, and the motor plate ties the front together. I have heard many say you need to brace the front, but I have tried unsucessfully to find anyone that has actually experienced a problem. I guess until I can find proof that they have issues, I will use my car for a Guinea pig, and see what happens.

I once sliced 1/2 way through one of the shock tower braces, intending to move it over a bit for clearance on a ratty '72 Valiant I was putting a 383 in. I ended up heating the brace cherry red, and beating it senseless with a 10 pound sledge to move it just a little. Those spindly braces were WAY stronger than I had planned on. I WILL report any success or failure. Vermonts roads will be a good test.
 
Where did you get that motor plate, or did you fab it yourself?


It was a Ray Barton piece. It wasn't particularly cheap, and when I got it, it had morphed from the cool, laser cut plate with the Barton logo in the ad, to a large, rectangular chunk of aluminum with a bunch of blue lettering all over it... I haven't bought another. I did use it to make a steel one for a friends 440 Dart. The steel was cheaper, and it probably didn't weigh any more than the factory engine mounts and brackets.
 
Back in again, (hopefully for a while). Still some touch ups to do.
IMG_0027.jpg
The inexpensive E-bay radiator, and my new Glasstek fenders set in place.
IMG_0025.jpg
 
Very nice! Are you going to weld the front plate tabs directly to the front frame rails?

Edit: Oops, looks like you already did. Kinda hard to see in the pics. Can you get a close up shot? Are the tabs in double shear?
 
Kinda lost me on the double shear thing. They are just 1/4" thick X 2-1/2" angle iron trimmed to match the plates angle. I did the same on a friends 440 Dart I put together for him, and it seemed to work well. Lean over the fender, put in 1 bolt per side, done. I really like motor plates.
 
They are just 1/4" X 2-1/2" angle trimmed to match the plates profile, welded right to the front frame. I still have to drill the holes, but it's just a 1 bolt per side deal. I did the same on the last swap I did, and it worked out very well.
 
Coilover pics: 1 ear on the A-arm brackets needed trimming to clear the tubular arm:
IMG_0033.jpg
You can see where the arm clears now:
IMG_0034.jpg
 
The coil just touched the bump stop brace, so it got a few whacks with the hammer:
IMG_0043.jpg
The whole set up:
IMG_0037.jpg
 
It needs a few more turns on the coilover to raise the nose, but this is how it sits:
IMG_0054.jpg
 
Looks Great !!!!! Is it just me or did the first few pics disappear ??? What size tires and rims are you running ???

ALW
 
Kinda lost me on the double shear thing. They are just 1/4" thick X 2-1/2" angle iron trimmed to match the plates angle. I did the same on a friends 440 Dart I put together for him, and it seemed to work well. Lean over the fender, put in 1 bolt per side, done. I really like motor plates.

Double shear is where there would be a mount in front as well as in the rear of the motor mount plate. It would increase the shear strength considerably not to mention double the area welded to the frame rail.
 
-
Back
Top