My first muscle car build thread (lots of pics)

-
Sounds like you have a great plan. Attention to detail will net you as much gain now and once the turbo goes on.

Grant
 
Still need to get the motor apart to order the re ring kit. I purchased a few things today while they were on sale.

Car quest is very expensive so i rarely go there BUT, they had a great deal on pennsoil and a carquest red filter . They couldn't find any red filters so they graded me to blue ones for like a dollar more. total for 10 qts and 2 filters came to:

$46.17

Then i went to advanced auto for some other stuff.
Melling oil pump 23.99
sealed power plastigauge 4.99
2 gallons unmixed antifreeze 25.98
2 cans crc brake cleaner 7.00
2 spray bottles of de-greaser buy one get one free 5.99
multi purpose lube (for hone) 3.99
permatex assembly lube 5.99
black rtv 7.49
tax 7.37
total: 92.79


Current total cost: $138.96

Next i disassemble the engine further and make sure everything is stock sizes, which it should be but better safe than sorry.

downsized_0324121412.jpg
 
Here is a money saving tip for silicon. Buy it in a big calking tube size and load it up in the caulking gun. Waaaaay easier to dispense and when your done,simply cap it off,wrap with saran wrap and an elastic. This keeps it fresh enough that the only waste will be in the dispensing tip,so clean that as well.

It's more money to buy it this way,but it lasts waaay longer. Those little silicone tubes are a pita!
 
Thanks for the tip.

Started taking the motor apart. Looks pretty good to me. I think I have to stop and wait for tomorrow as i need a number punch set.

downsized_0324121806.jpg


What color should i paint this thing? I don't want to paint it orange as the car will be orange one day.

Also all the rods have a lot of side play. is this normal?
 
Bought some more parts.

sealed power re ring and bearing kit with gaskets: 210.39

sealed power cam bearings: 29.95

engine break in lube: 6.95

shipping: 11.95

total: 259.24


Current total spent: $398.20

Still haven't bought engine paint either.
 
I keep thinking it would be a good idea to put a newer style starter on my car since you need to take the headers off to get the old style one out and, even with the headers out its a *****!

Went onto ebay, found a lot of used starters for 40 dollars then 15 dollars shipping, too pricey for my blood. Started looking for Van starters and found one for 21 dollars free shipping! As long as it works when it gets here i think i scored pretty good!:cheers:

http://www.ebay.com/itm/22092568949...ename=ADME:L:OC:US:3160&vxp=mtr#ht_848wt_1031
 
$40 is about twice what thier actually worth. Go to an autowreckers and pull one yourself for about $20-$25.
 
Summit racing is fast! I ordered monday night and today (wednesday) my stuff was at my doorstep! did a tiny bit more cleaning today but still need to clean the pistons real good.

downsized_0328121639.jpg
 
So I got my starter, bench tested it and it seemed to work.

I also did a bit more to the engine. Cleaned the block up and started honing.


also painted the stock valve covers with some wrinkle finish to give the engine some contrast. It was also nice to paint something to help motivate me.


I started cleaning the pistons, I got one piston top spotless cleaned everywhere but the ring landings. Broke a ring in half to use to clean them. It was taking forever! then i realized my hand was bleeding. Well the old ring was pretty sharp and cut the F-bomb out of my fingers. I think I might be getting one of those ring landing cleaner things tomorrow. anyone know if they work any good?

Sorry this is taking me so long, I am hoping to have the engine put together this weekend. I have been talking to dad about fixing a bit of rust in the engine bay and painting it before dropping the engine in. Not sure when I will be driving again yet.
 
Well you already have a good ring groove cleaner in the snapped ring,but obviously it's cutting you,so save your money for mopar parts. Go cut 6" off the broom handle,drill a small hole in it and mount your snapped ring up.Mom might be a bit shocked to find her broom mising.....
 
your doing an excellent job, when my scamp is done me my brother and dad need to meet up with you for a cruise with our a bodies. (scamp, duster, notch cuda)
 
your doing an excellent job, when my scamp is done me my brother and dad need to meet up with you for a cruise with our a bodies. (scamp, duster, notch cuda)

That would be awesome! Hopefully I can get the damn thing running again soon.


couldn't find a ring groove cleaner locally. I made the broken ring a bit more finger friendly and went at it. Two hours later i had cleaned 2 ring lands. Jesus christ this is going to take forever! am i doing something wrong here? at this rate i have 14+ hours left of ring land cleaning.... :angry5:
 
Soda blasting would be your fastest and best job as well. Soda wont blast very well with an el cheapo blaster unless you can pressurize the feed bucket. Your piston will come out looking brand new,there will be ZERO harm done to it and you will save your fingers.

If no compressor,the other thing to do is get them dipped in a hot tank,same results. A rad shop might do it for you for a small fee.
 
Finished cleaning all the pistons!! I got better at using the broken ring and started doing them faster. probably 10 hours spent cleaning the pistons. I am very thankful the garage has a music and a tv. I also got some chrysler blue paint for it, and the other day I got some zinc additive.

Paint $18
Zinc additive $10


new total: $426.20

Still need freeze plugs and maybe another 2 cans of brake cleaner. looks like the build total should be under $500 bucks. Very cool.

Hopefully I can bust my *** and get the shortblock assembled and start taking the old engine out this weekend.
 
Bought 2 more cans of brake cleaner and a can of lube today. $14.64

new total: 440.84

I was talking to a mopar guru the other day and I was told as long as the valves don't float i can rev this thing up to 6300-6500 rpm. That would be pretty fun. The old wore out engine I was running up to 6000 so i think its possible.

Just to recap here I am going with a stock short block, 360 heads with small valves, 340 cam, torker 340 intake, 600 cfm carb, and headers with an x pipe 2 1/2" pipe to the bumper.

i noticed today someone had just barely started gasket matching the torker 340, should I just gasket match it and do a light port on the heads?

I think pretty much everything is clean now. except the heads. Almost time for reassembly now.
 
Tonight i started re assembly!!!!!!!!!!!!!!!!!!!!!!!!!!!!!!!!!!!!!!!!!!!!!!!!!!!!!!

I put the cam bearings in with the fancy tool. I cleaned the stock cam up and put it in there just to make sure I didn't F-bomb it up. Cam spun fine and all my oil passages are aligned.
http://img.photobucket.com/albums/v221/sirdan/IMG_1757.jpg
http://img.photobucket.com/albums/v221/sirdan/IMG_1761.jpg


http://img.photobucket.com/albums/v221/sirdan/IMG_1762.jpg
http://img.photobucket.com/albums/v221/sirdan/IMG_1763-2.jpg
Platigauged the mains, they all came in at around .002 and the first one i did came in at .0015

http://img.photobucket.com/albums/v221/sirdan/IMG_1767.jpg

Then i put the rear main in and lubed the hell out of the bearings, dropped the crank in and torqued to specs. I also checked to make sure it spins. So far so good!!!
http://img.photobucket.com/albums/v221/sirdan/IMG_1768.jpg
I stopped there though as i was starting to catch a buzz off the wine i was drinking. I normally work on my stuff while drinking but this is not something I want to F-bomb up. ;)

I can't wait to start this thing up!!!
 
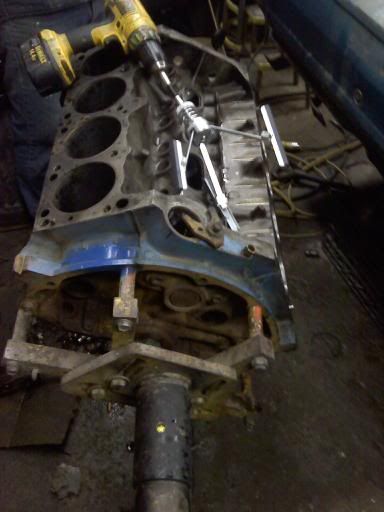
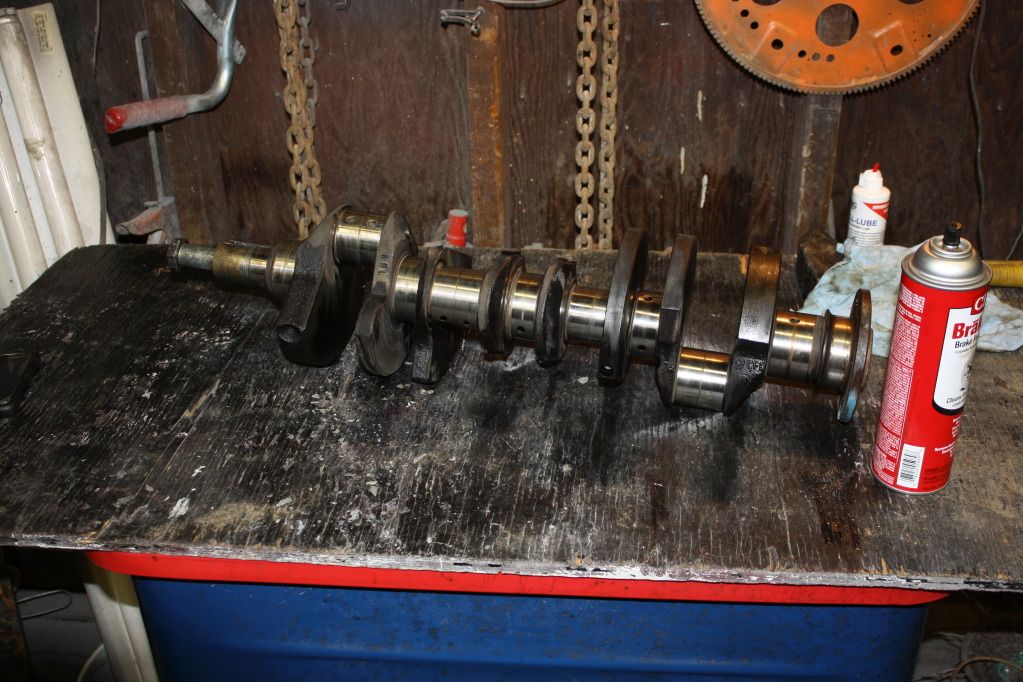
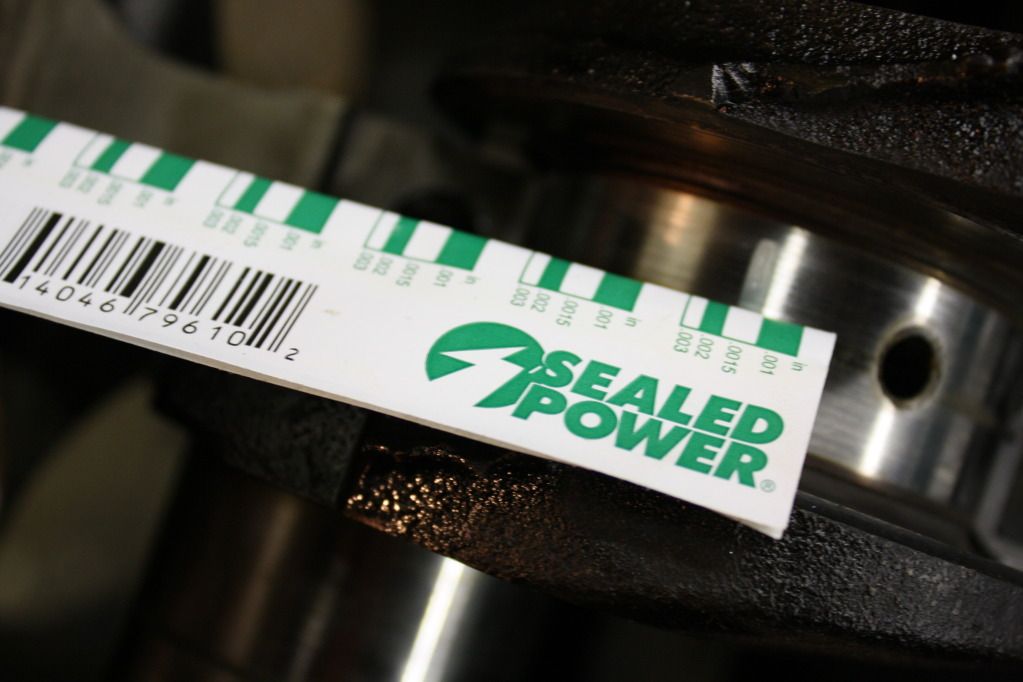
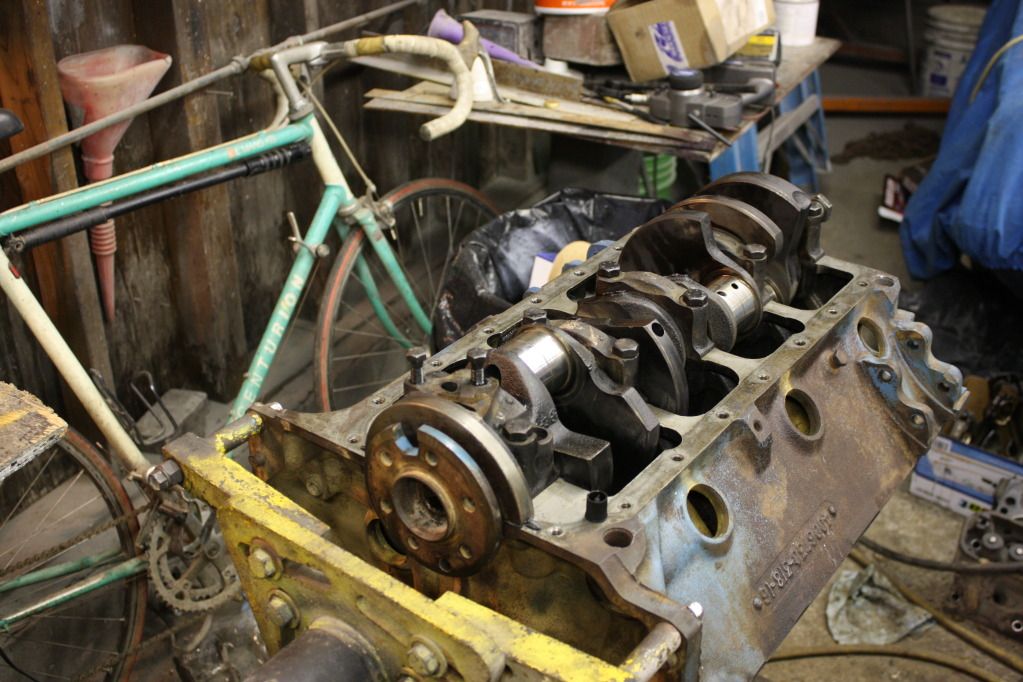
Did you check your break away torque? Mount a torque wrench up on the crank snout,and turn the crank. Record how much tq it takes to turn the crank. This is your break away tq #. Now loosen the bolt's on the central main cap,and check the side clearance . It should be the same on both sides .Yopu will need 2 sets of feeler guages for the next step. Select the same feeler guage and wiggle them in in on both sides of the main. Tap the crank slightly on each end with a mallet,and then tq down the main cap to spec. Remove the feeler guages,and recheck your break away torque. It should be a lower #. This method free's up h.p. It's literally FREE H.P. Whatever the breakaway tq is now vs what it was before is your free power.

Do this for all the mains,and rod's as well. Make sure to plastiguage all your clearances,and after plastguage your not done. Put some oil on the bearing,assemble it and turn the crank several times. Take the bearing cap off and check your bearing contact pattern. If there is a nice even coat aross the bearing surface,you have a good pattern. If the oil is wiped off in one spot or more,you need to clearance your bearing shell's.
 
Well i felt like crap all day and still do, just not as much. I checked all the rings and they seemed to all be good gapwise. I put all of them on the pistons tonight. doesn't look or sound like much but it took me 2 hours. Ill try and start putting rods in tomorrow.:thumblef:
 
The good news, I painted my intake today. Silver metallic paint looks real good.
downsized_0410122006.jpg


The bad news, I think I need undersized rod bearings. :banghead::banghead::banghead::banghead:

Did the plastigauge on the rods, was using the green good to .003" it was squished to .003" little looser than book value, then i switched to the red which goes to .006" and it barely squishes too. looked at the bearings and they all say 0010 or 010 on them in the one spot. god damn it i looked at all of them when i took them out and didn't notice that! ugh. Really pissed off.
 
New undersized rod bearings will be here tomorrow. anyone need stockers?

I guess on the bright side, I realized all this before the engine was put together and in the car. Looks like I will have to wait until friday to put my pistons in. oh well.
 
-
Back
Top