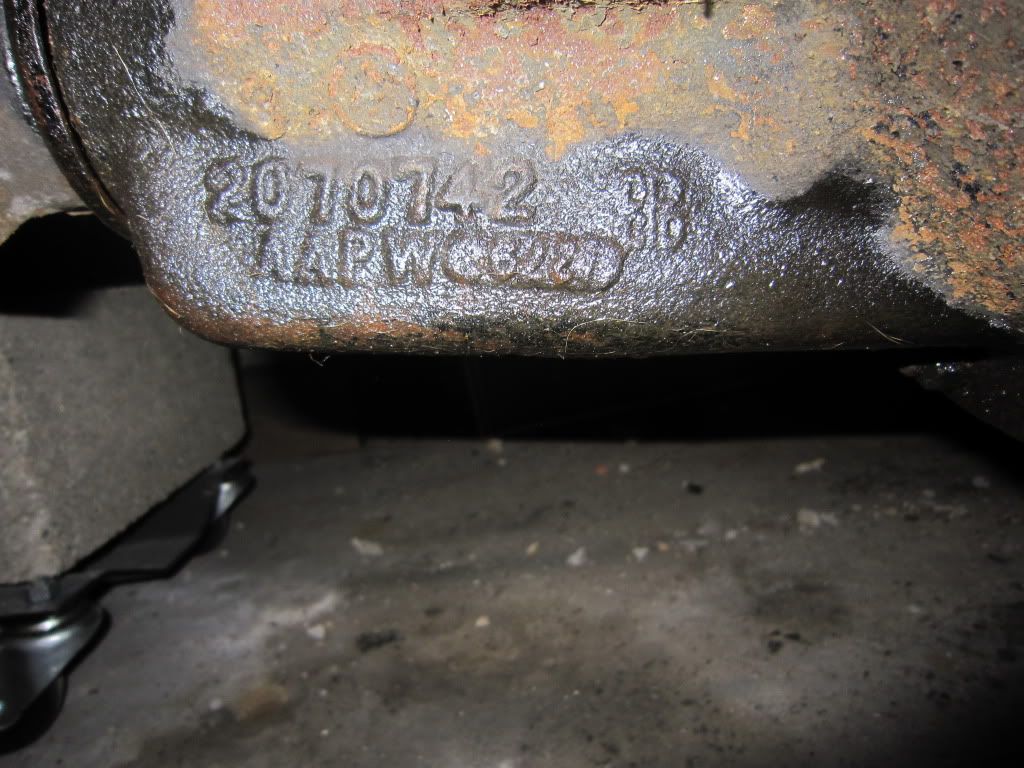
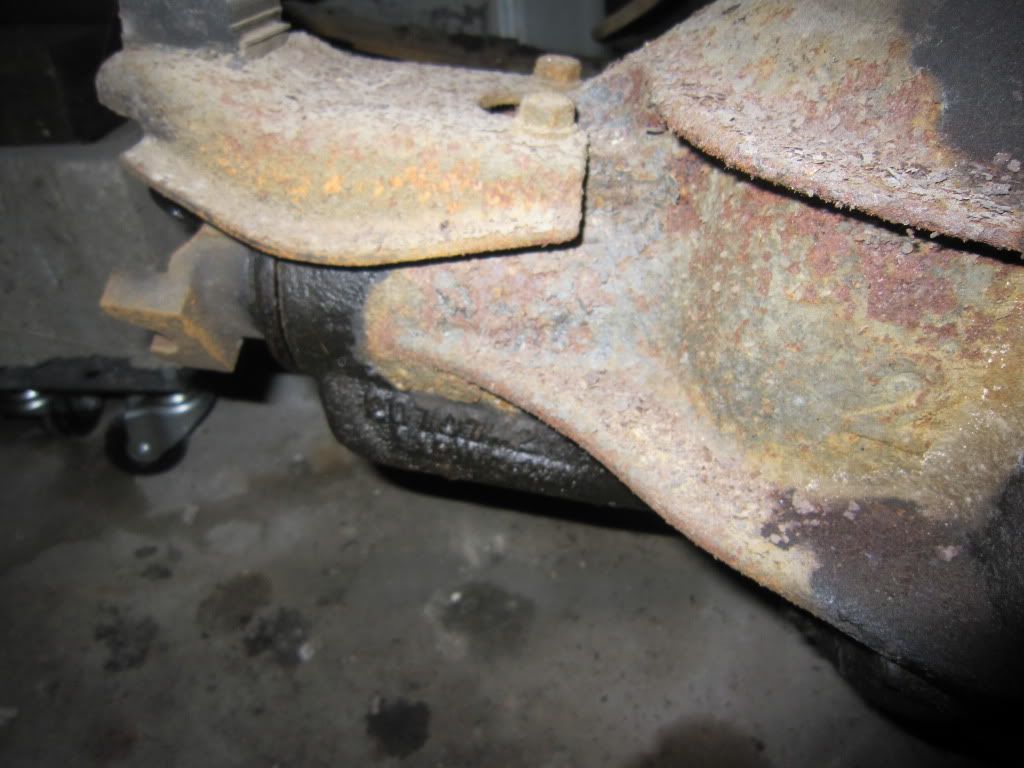
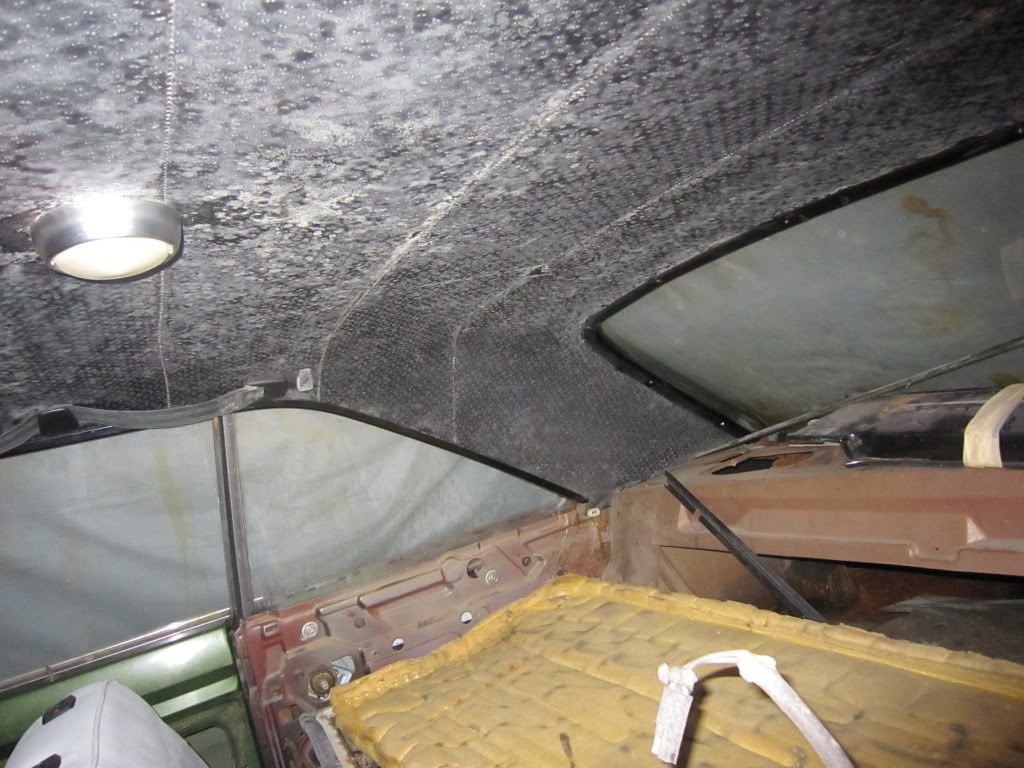
Now for the really gross stuff.
Believe it or not,this headliner used to be black. I opened the door and almost puked. I will wear gloves,mask and long sleeves when yanking this thing out!
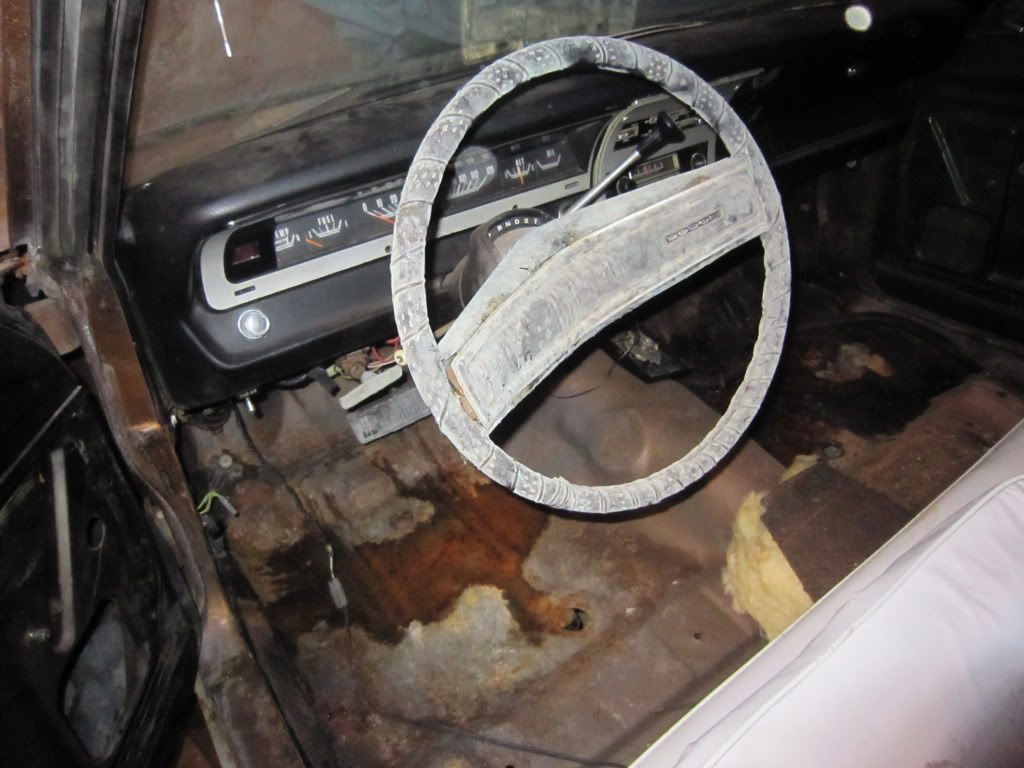
Im very fond of this steering wheel and plan on repairing it. It's supposed to be black too.
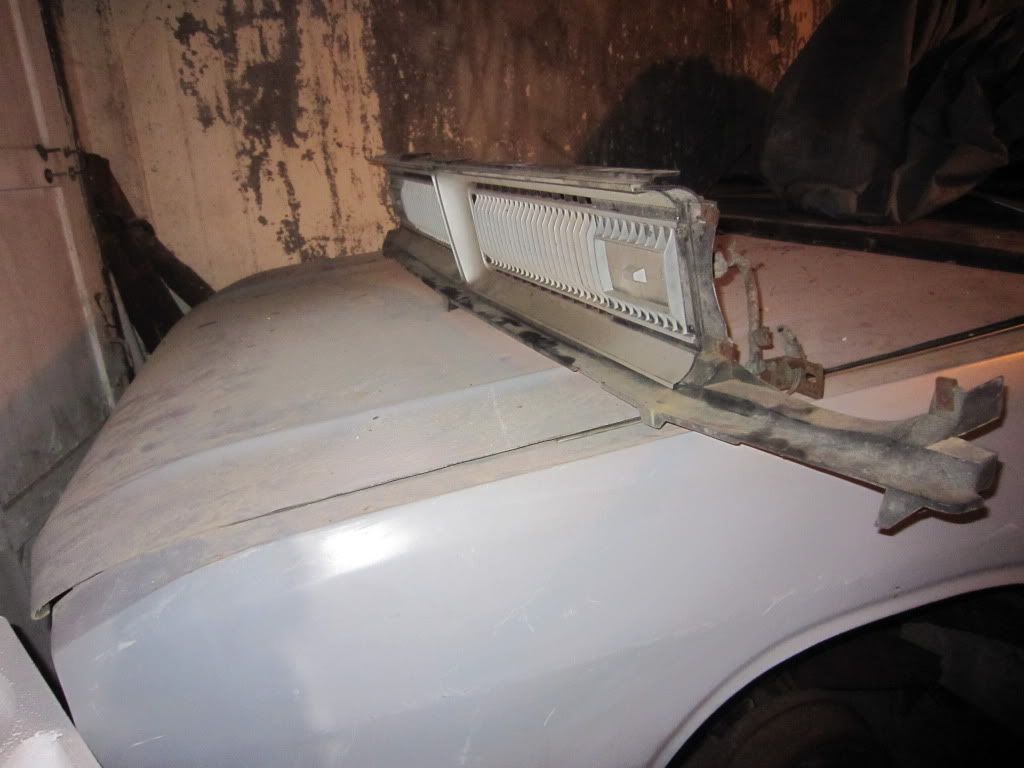
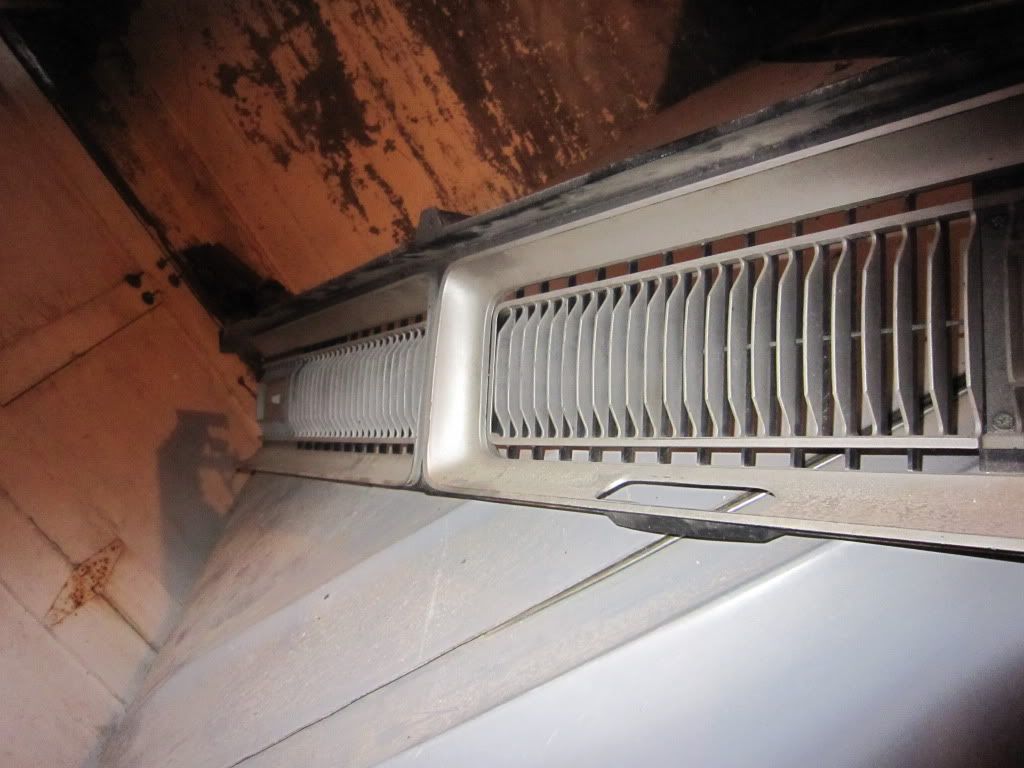
This is my grille,not a sharks tooth.Im a big fan of the blacked out version,so will do this for my Dart. There,are a few broken mounting ears but I have the pieces. Should be a snap to fix.
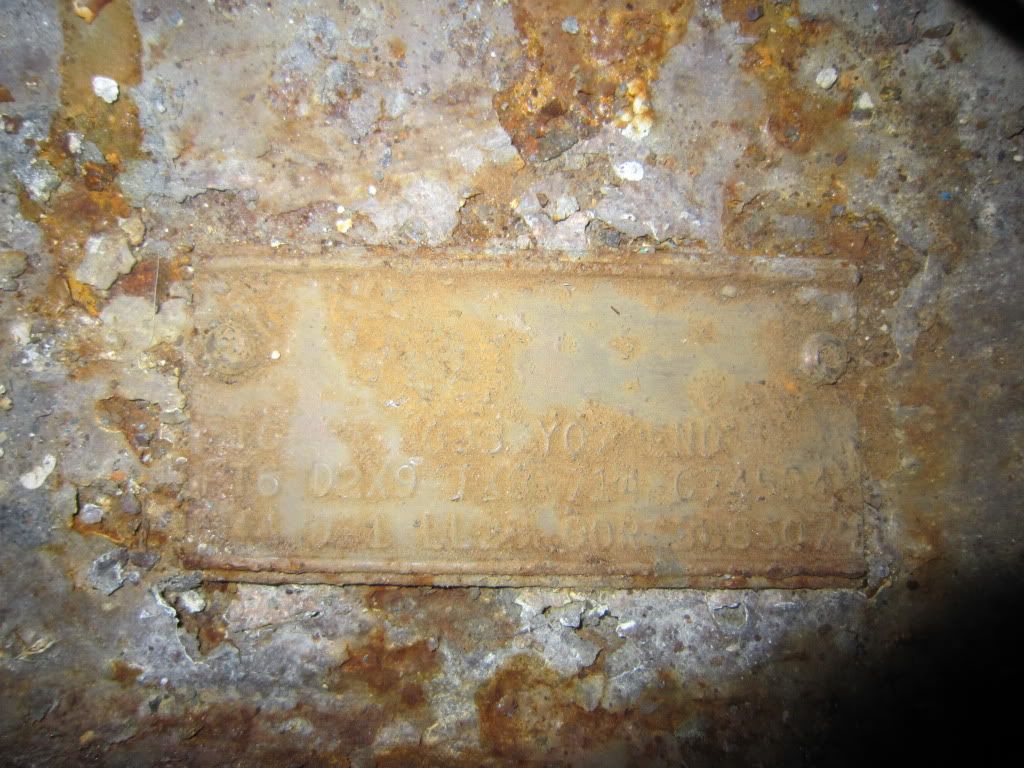
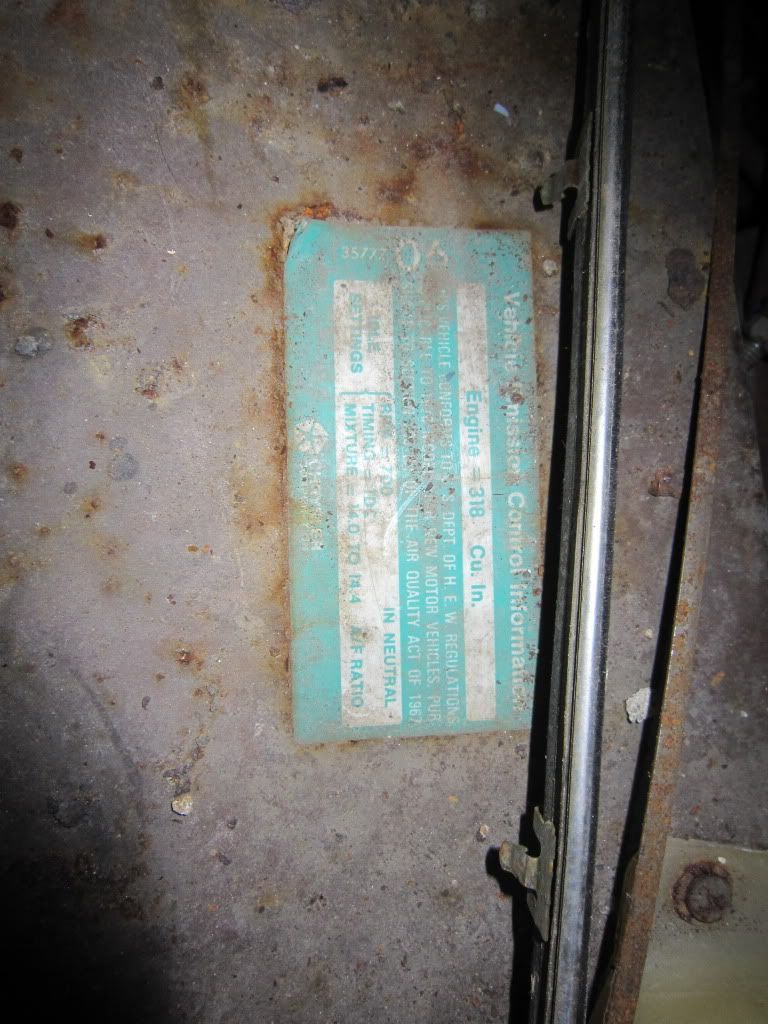
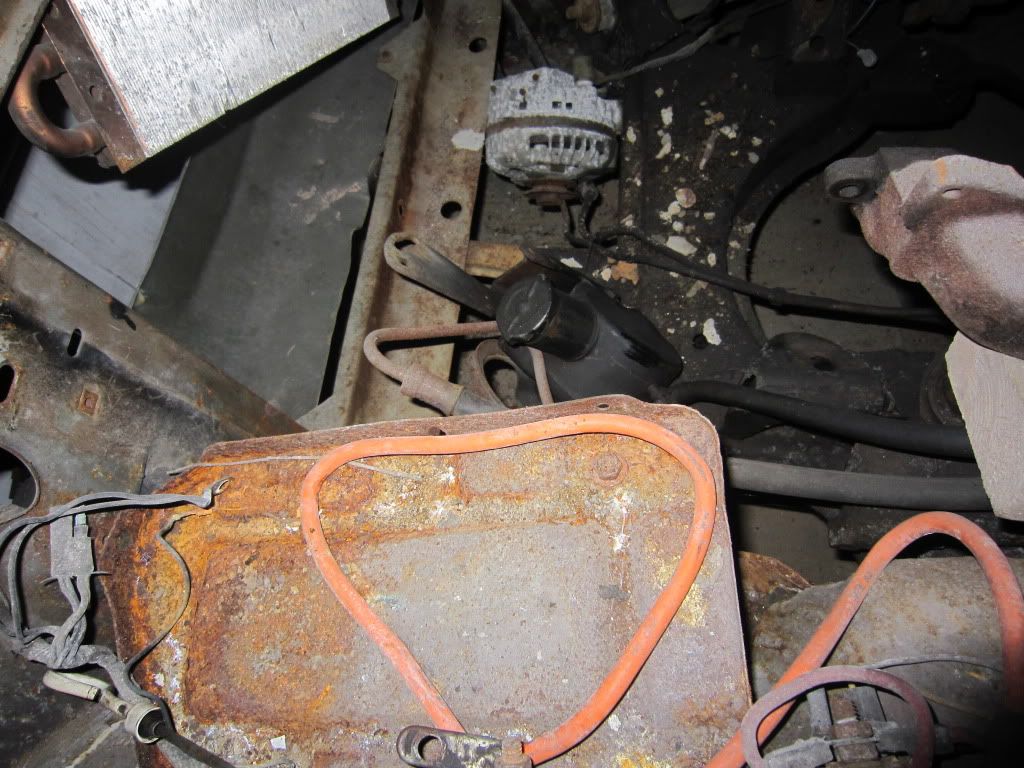
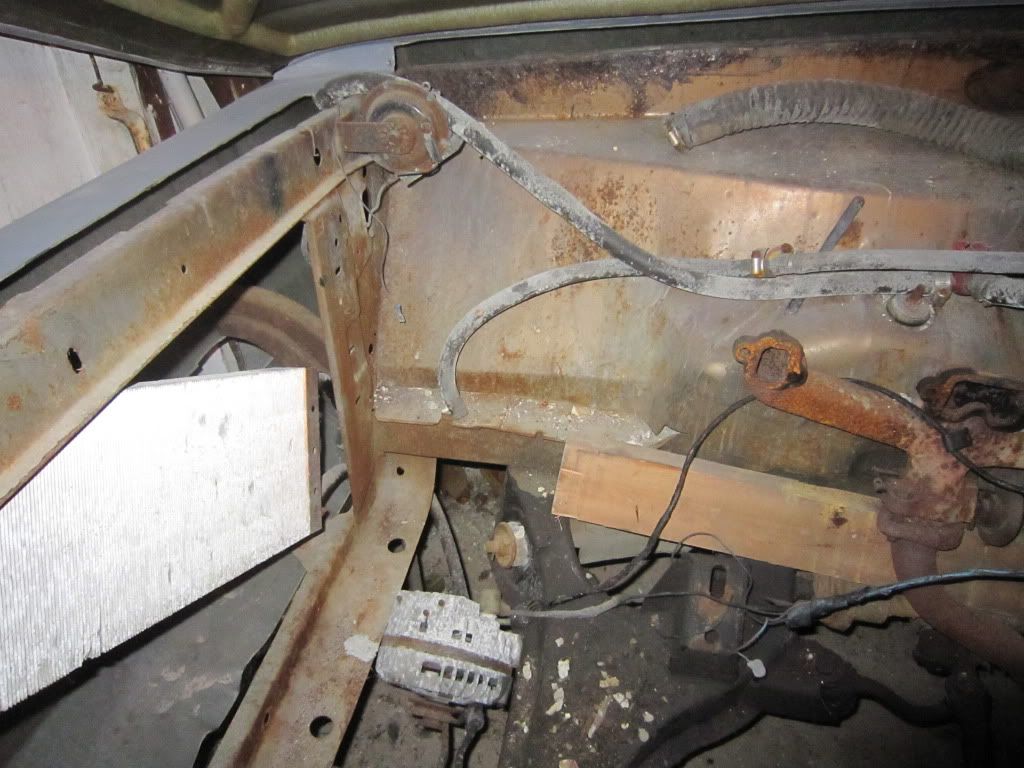
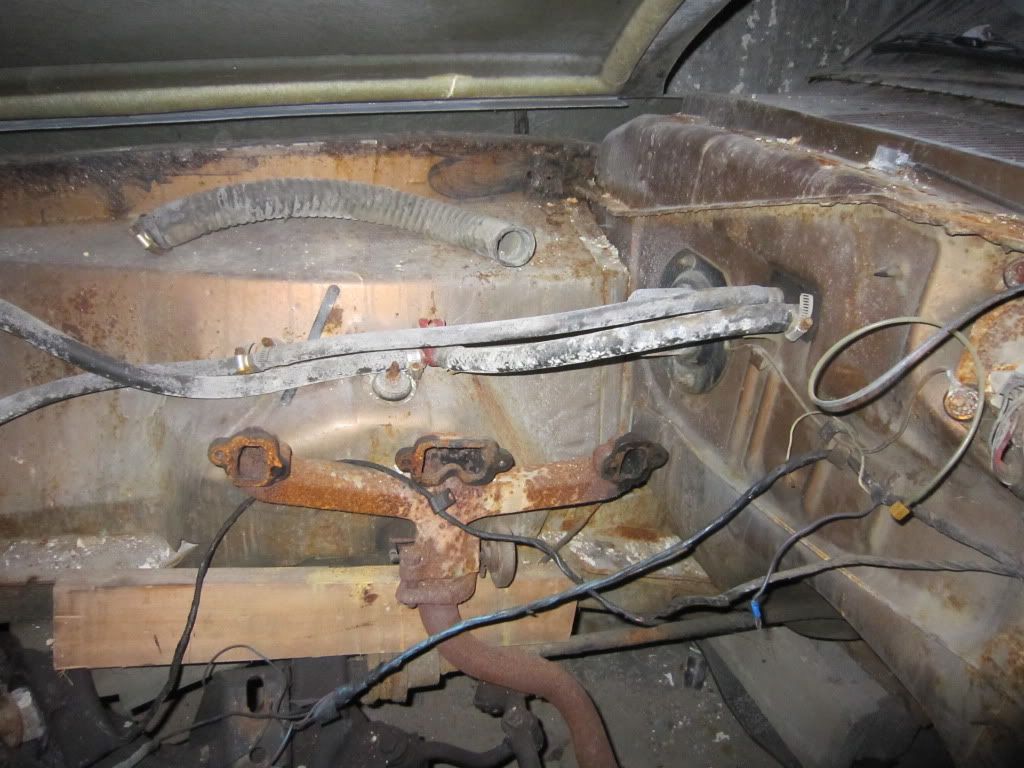
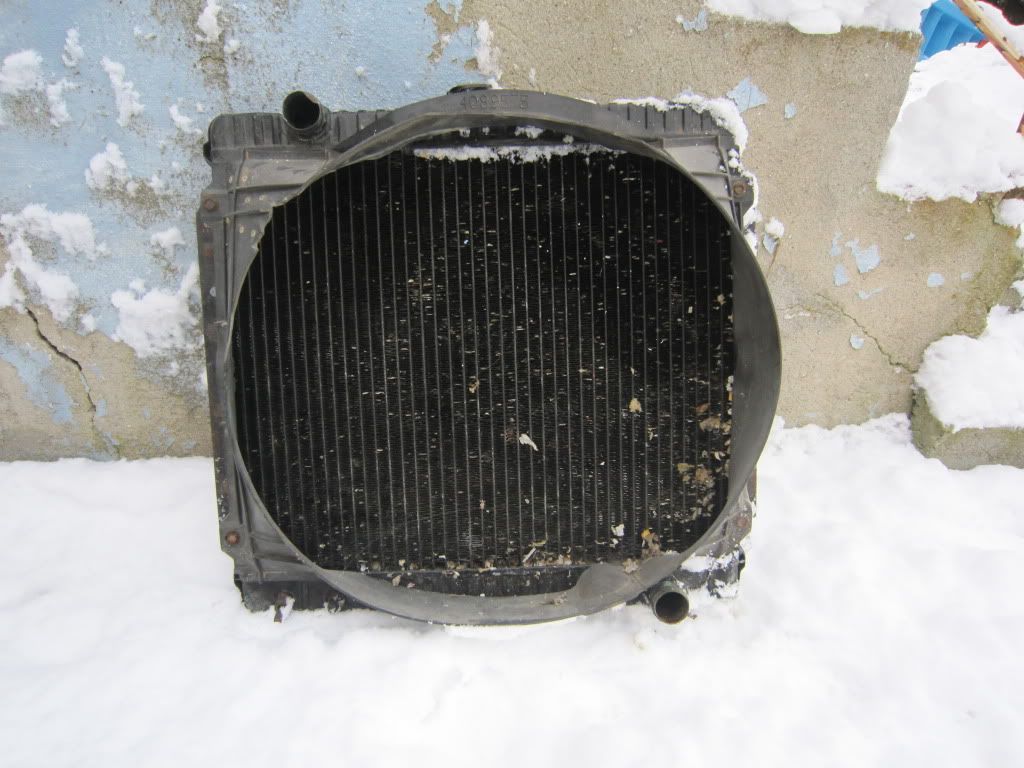
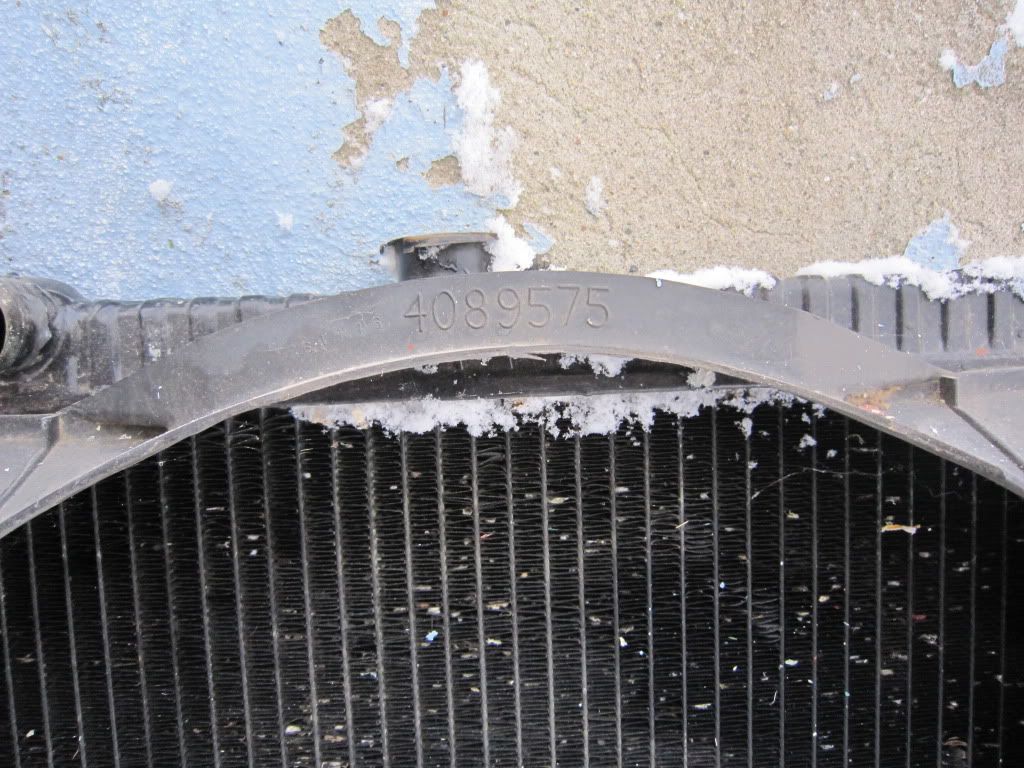
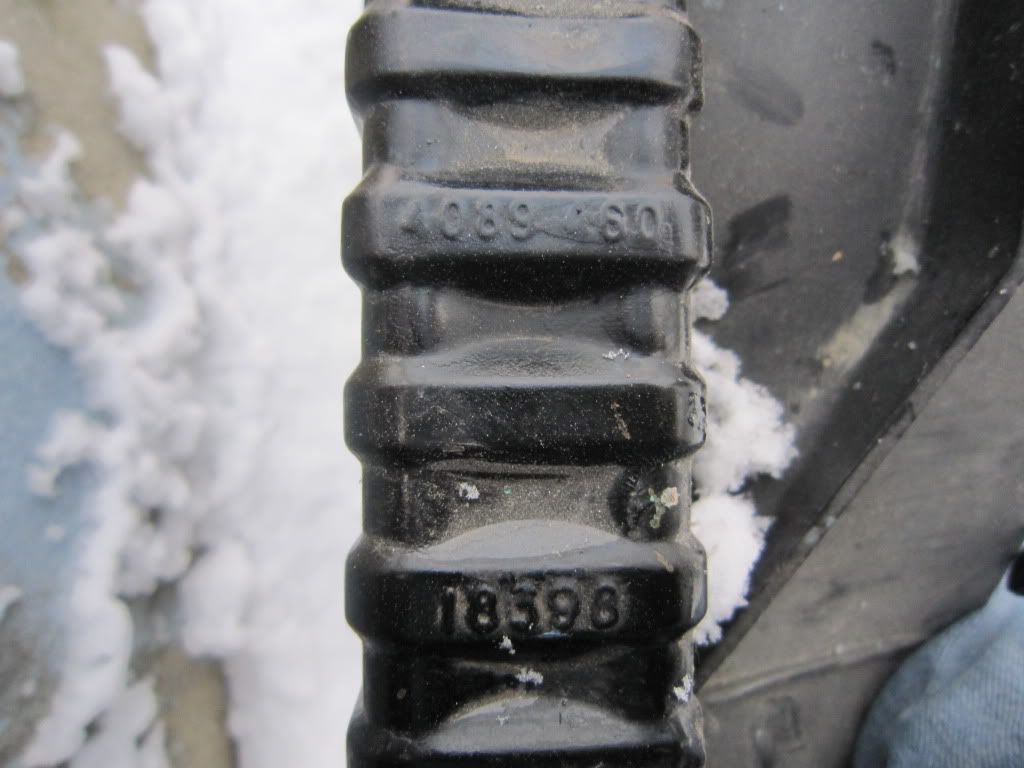
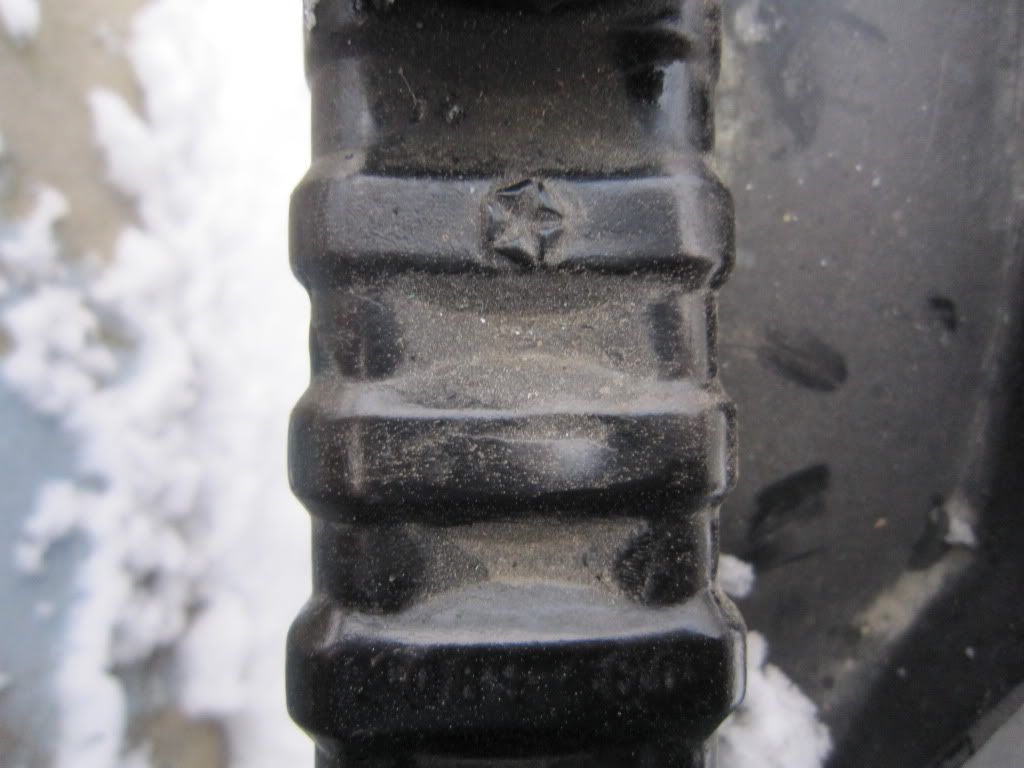
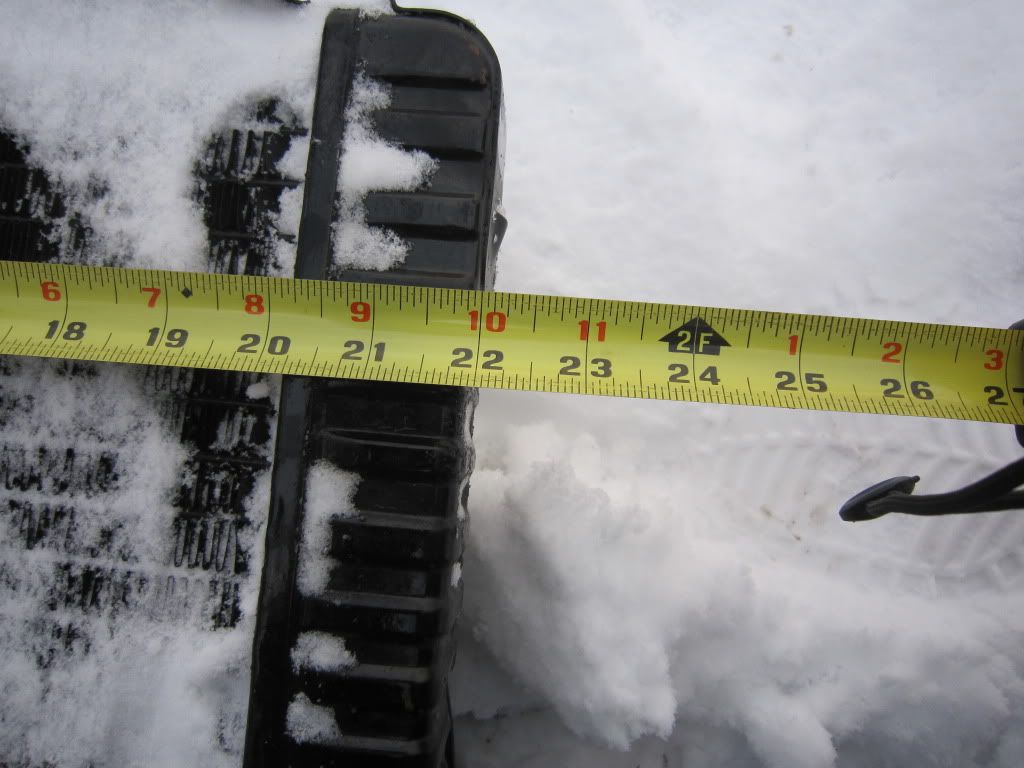
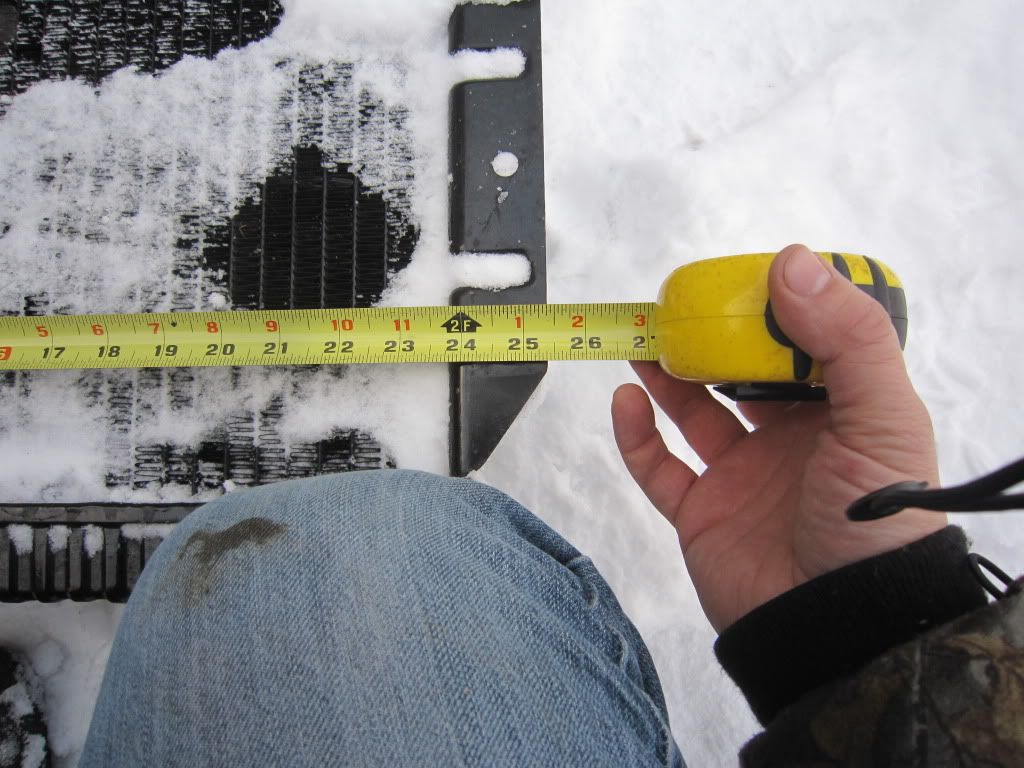
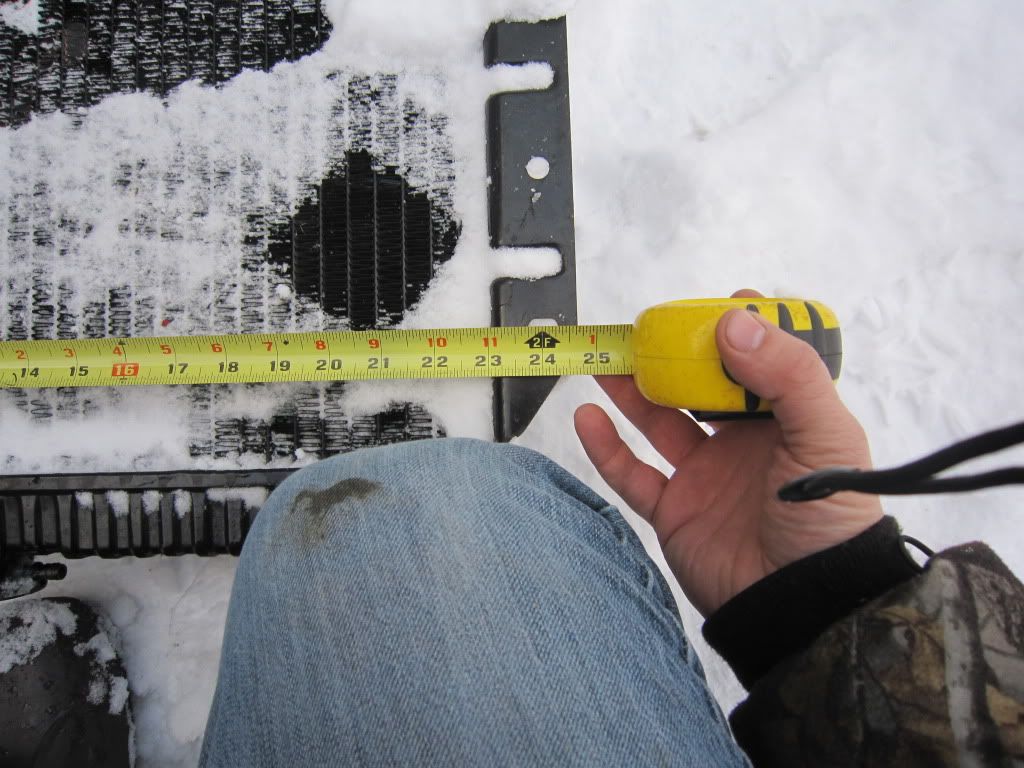
Heres a good condition 2 core rad. Im thinking it's a 318 or 360 rad. It does have a pentastar on it and the rad # is 4089460. There are other #'s but 5 and 6 digit.
I looked at my rad # list but it only goes to 74,so if I had to guess I'd say it's late 70's. I'm going to get a quote on a 3 core rebuild. I think the shroud can be fibreglassed back into usefullness,but I also have a spare shroud.
Anyone have a clue about this rad for curiousities sake?