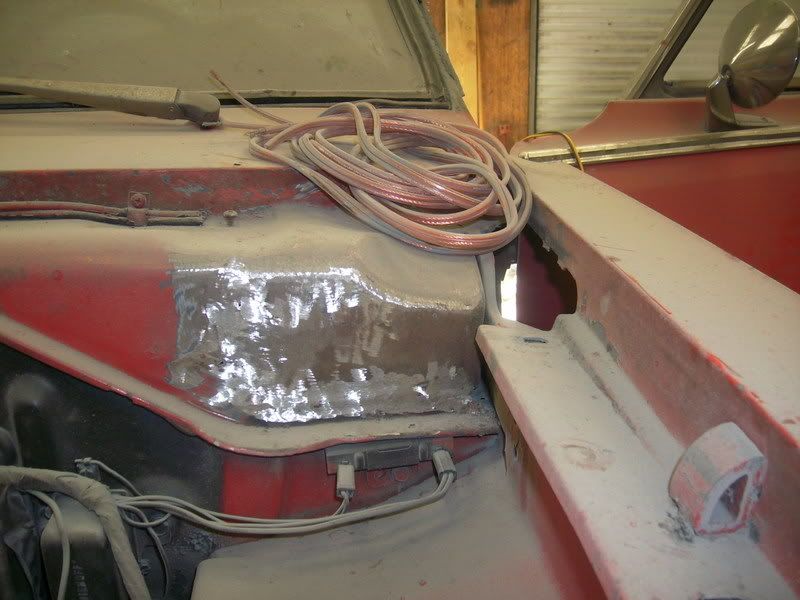
Since i'm new here I figured the best way to get to know all of you would be by posting my project. So here we go. It's a 67 Dart GT conv. 273 2v auto car. It has a 340 in it now. I traded a 85' 300ZX even for it around 12 years ago. Then it looked real nice, little did I know what was lying underneath that pretty orange paint. So now my project begins. This is gonna be a looonnnggg project. Im sure most of you know what it's like to have multiple projects and family.
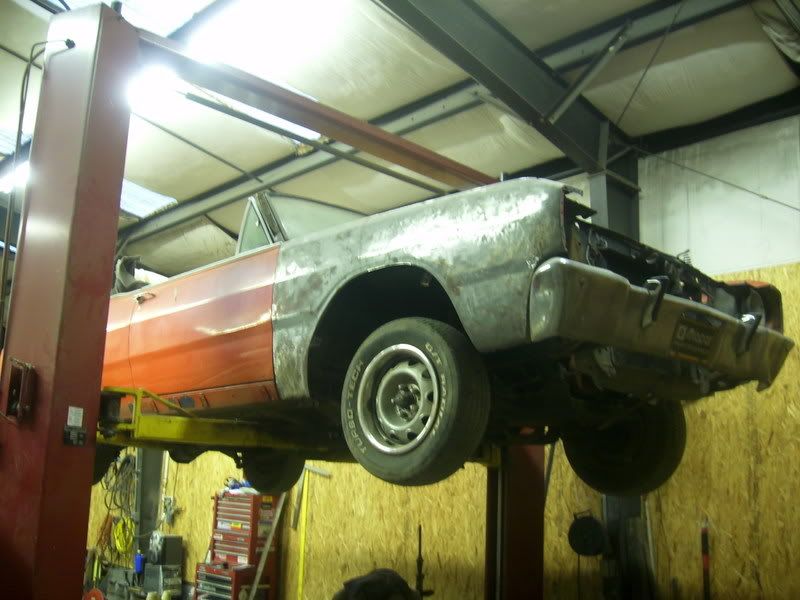
The car shortly after I got it...

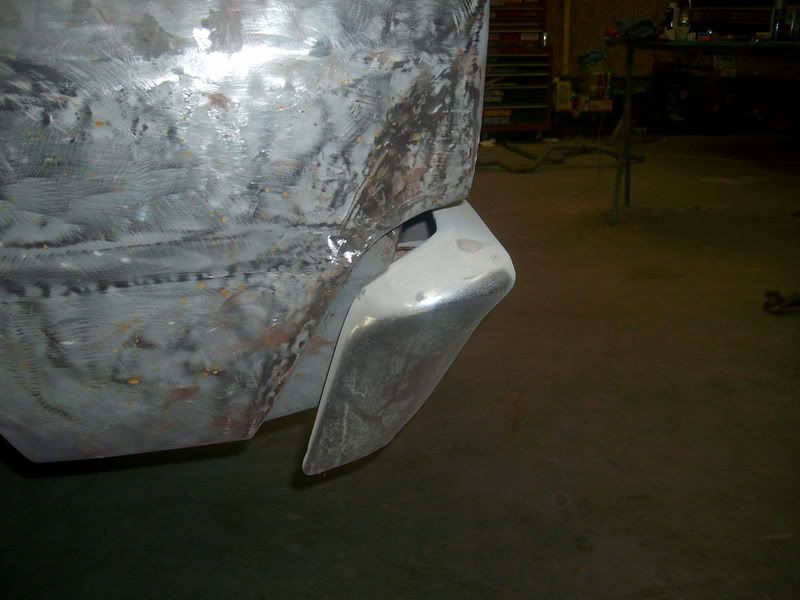
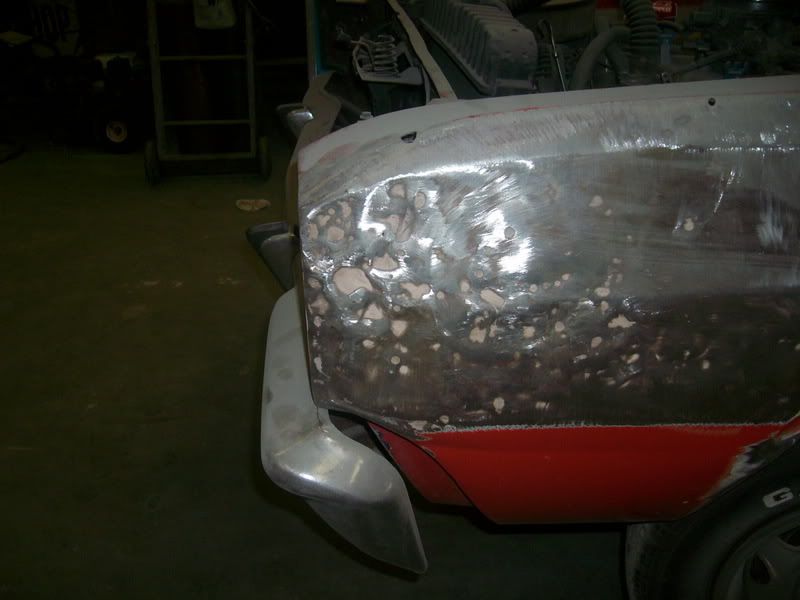
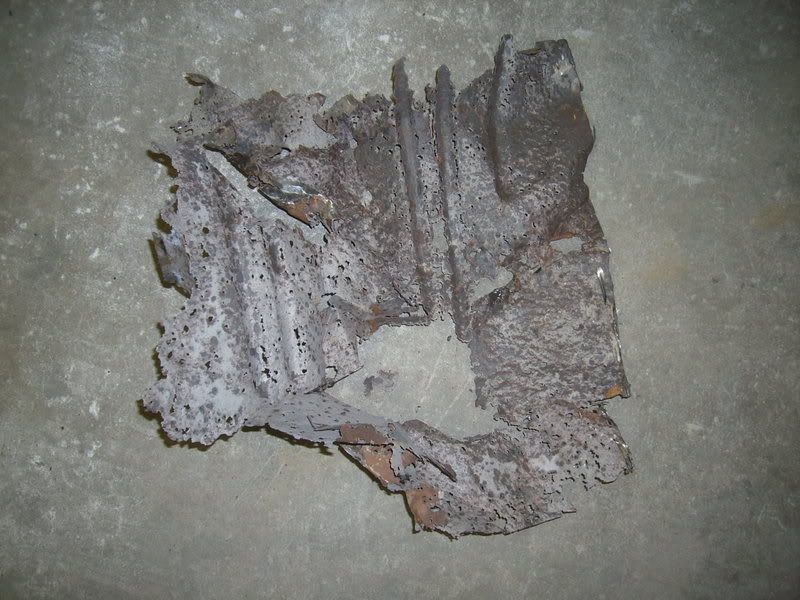
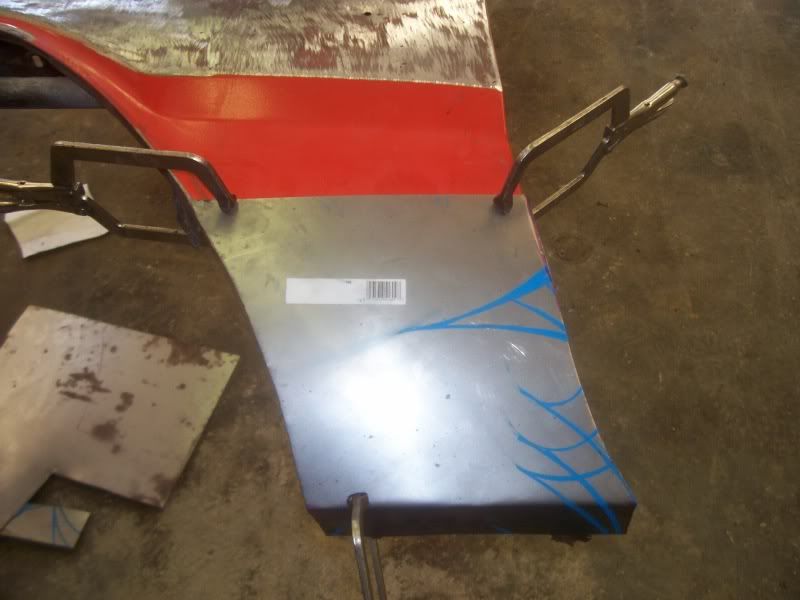
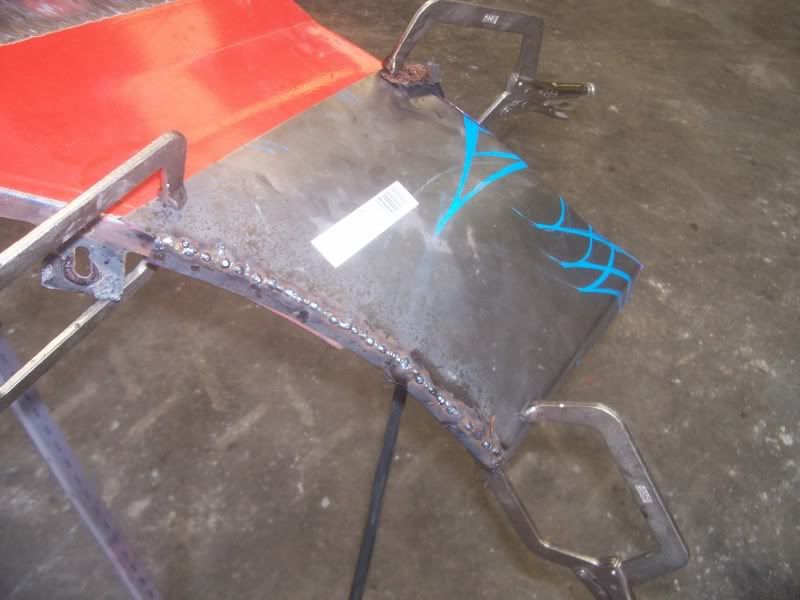
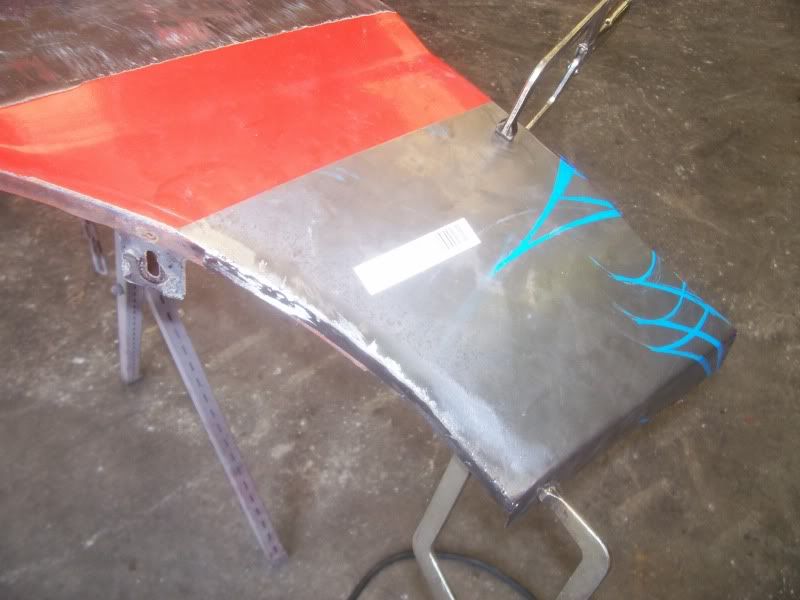
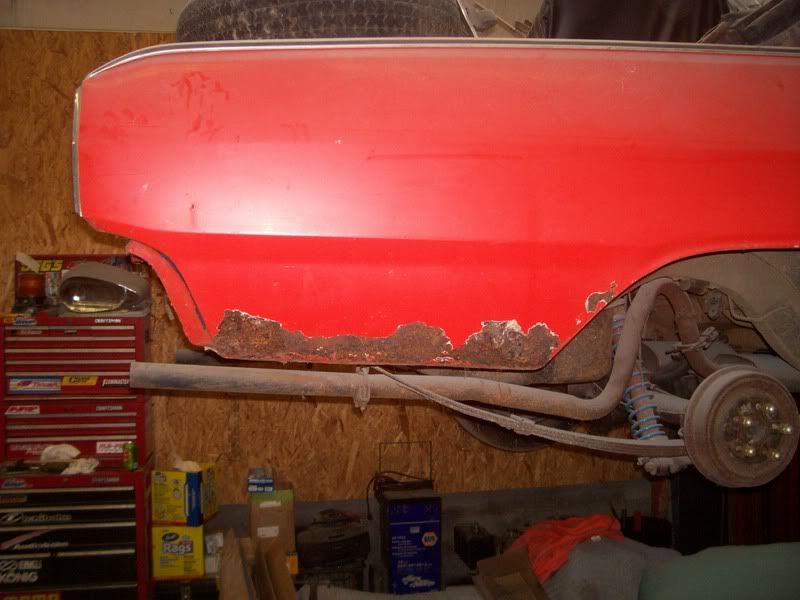
I have done some patch repair work awhile back but didn't take any pics. The front right fender was trash. It was hit in the front and crushed back and the lower rear part was rusted out. Being on a tight budget I decided to fix it. I removed the headlight bucket and hammer and dollied the damage out of the front, and I made a patch panel for the rear. I also welded up all of the holes from where somebody drilled holes for a slide hammer, and the hole where the upper molding goes because i'm not gonna use it.
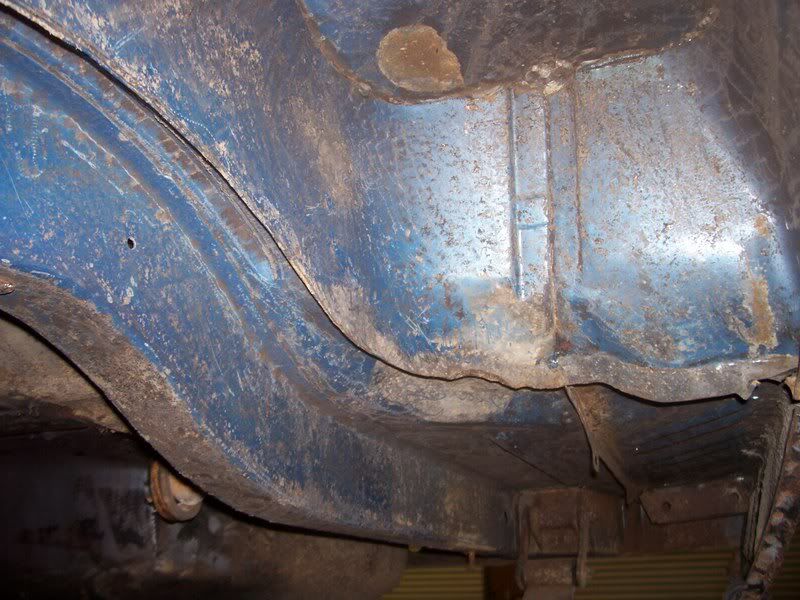
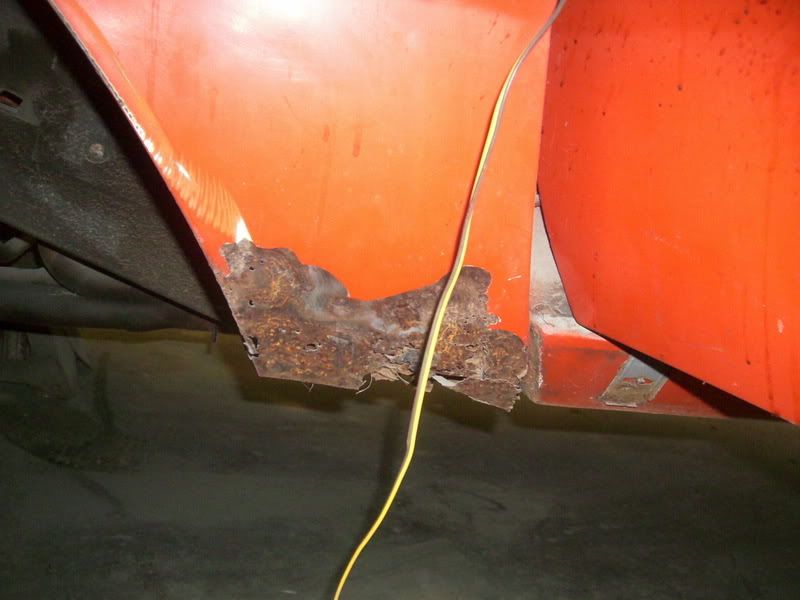
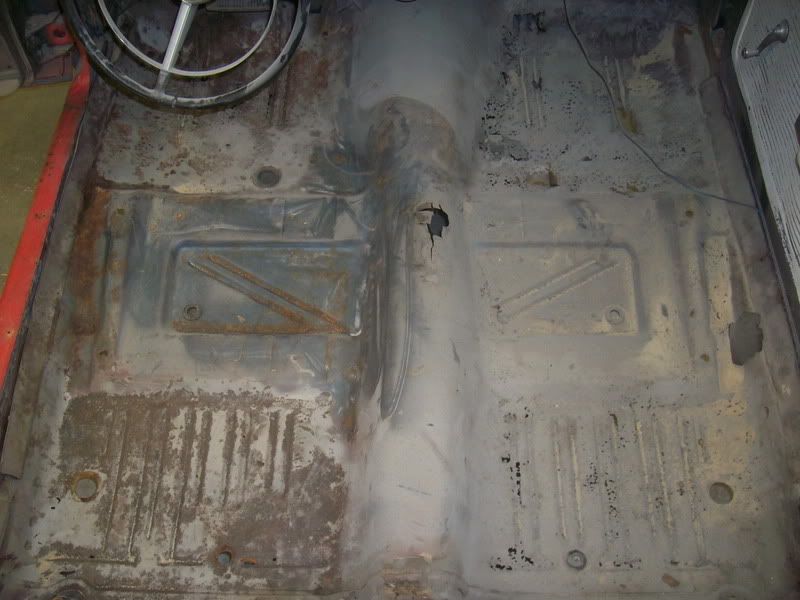
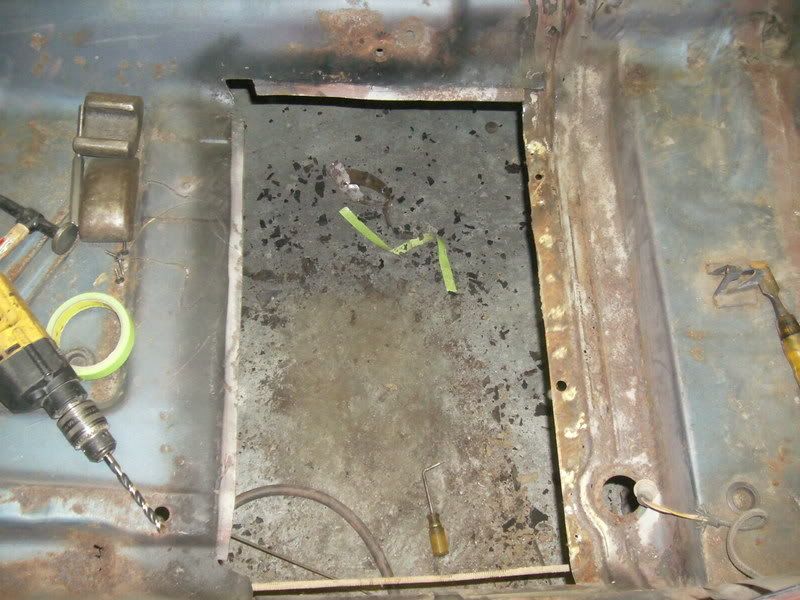
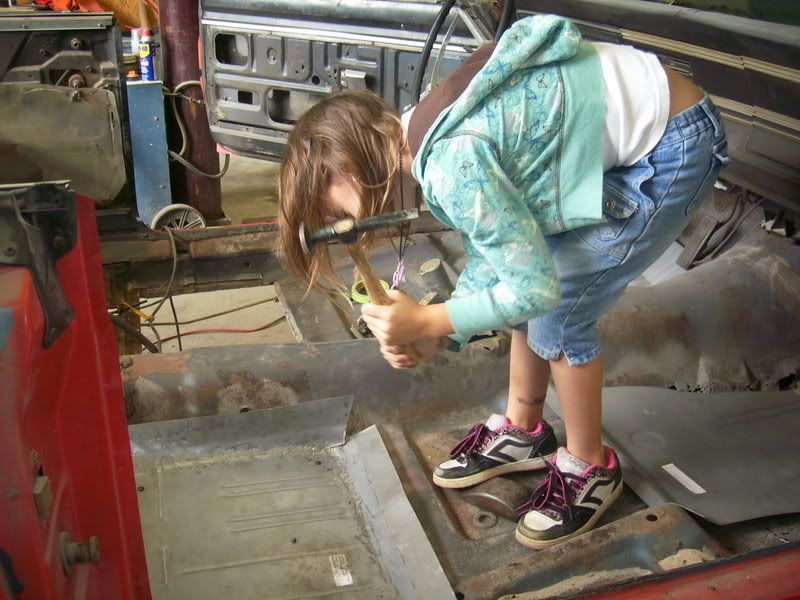
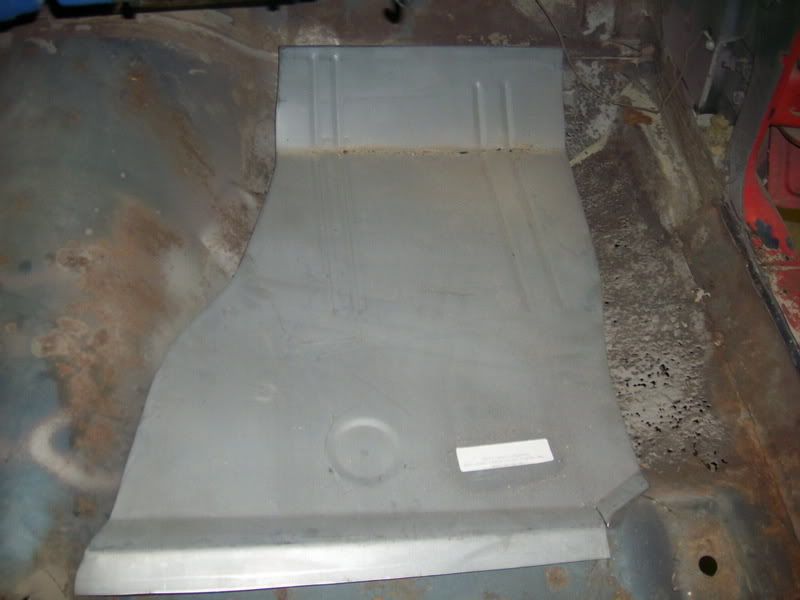
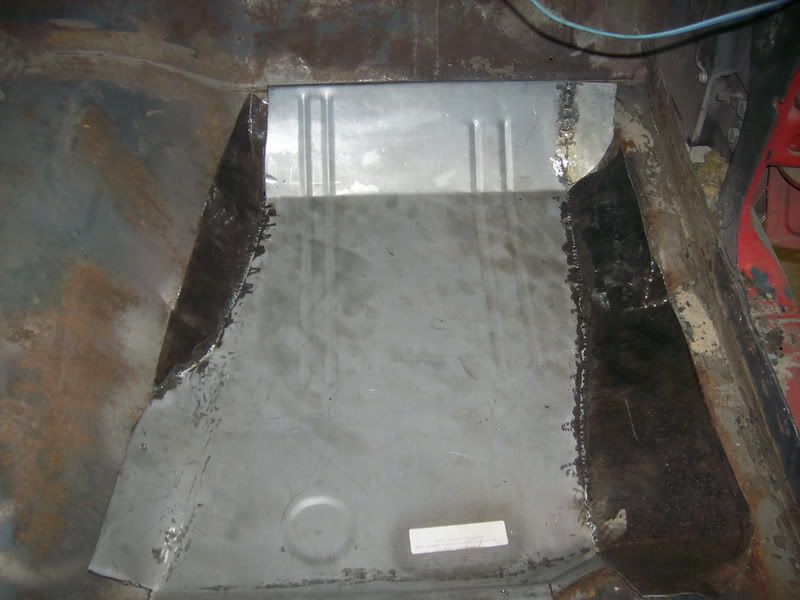
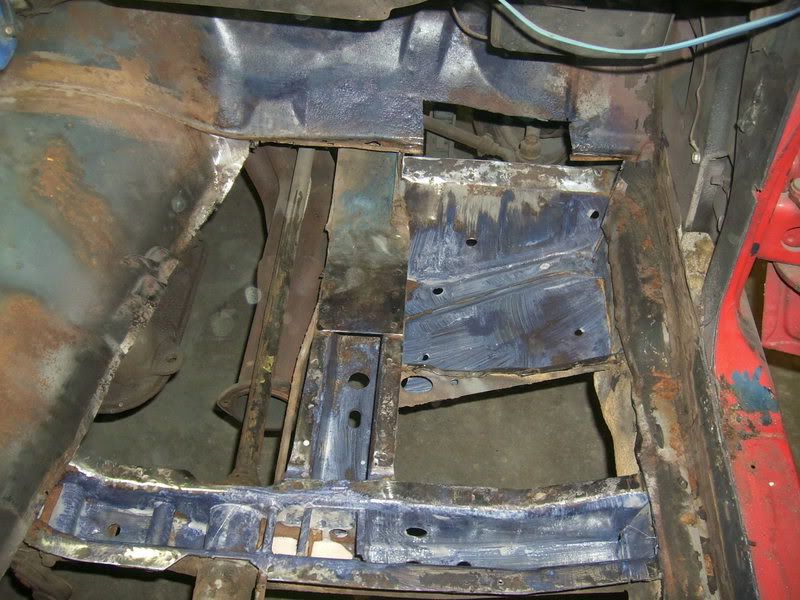
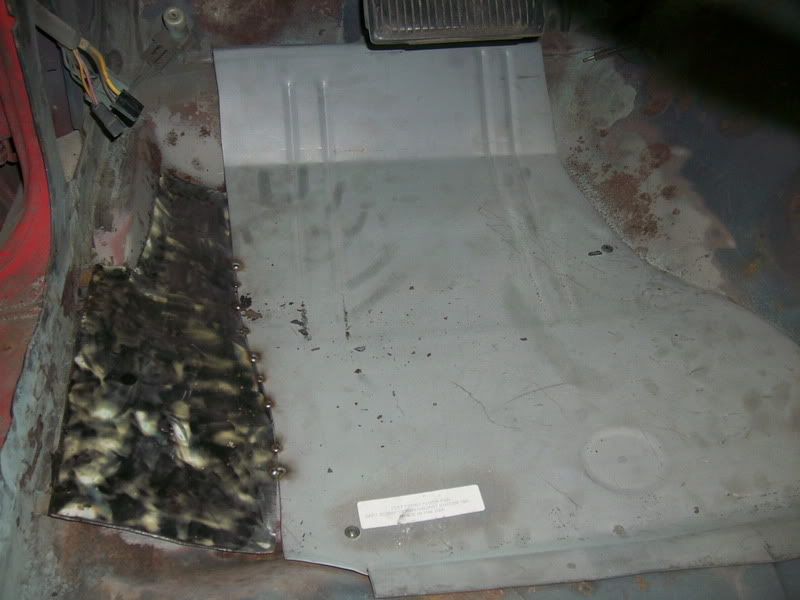
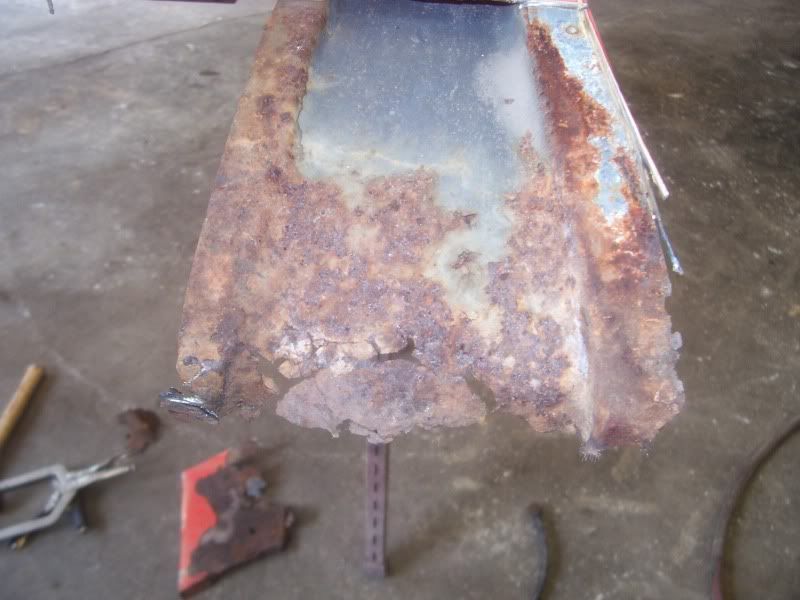
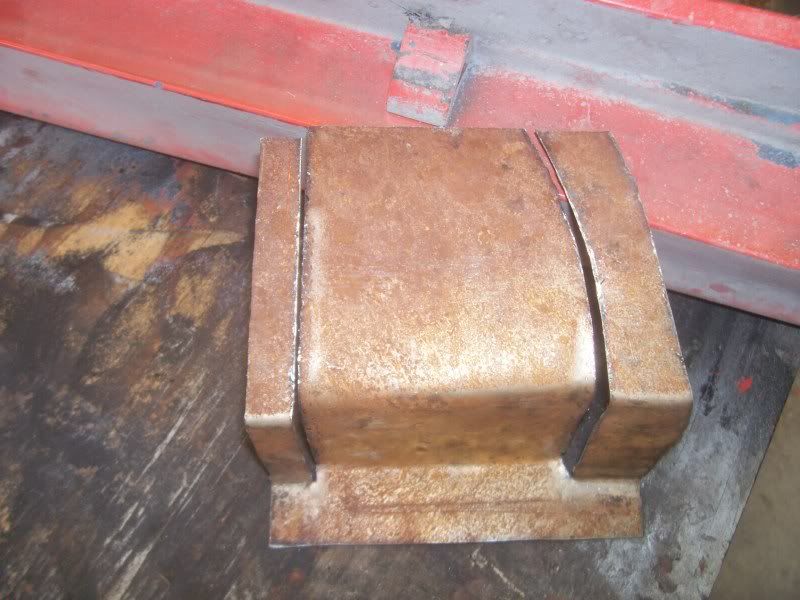
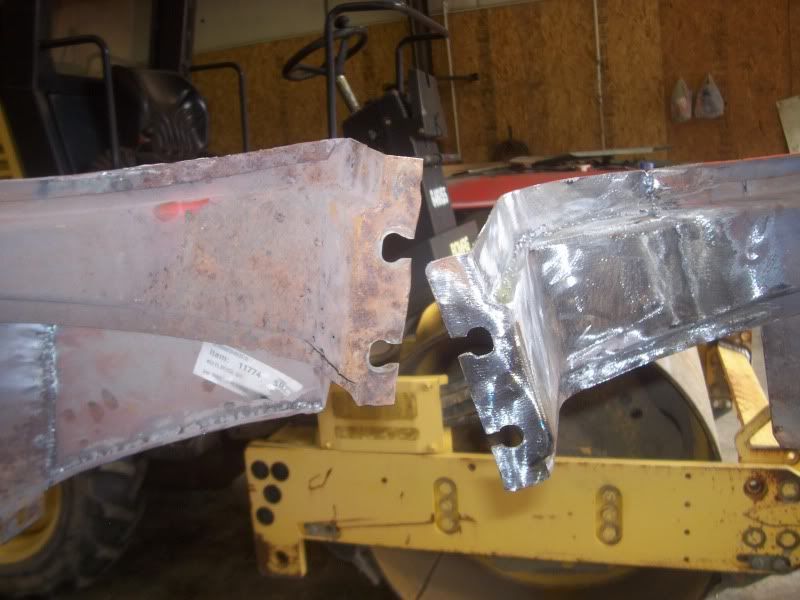
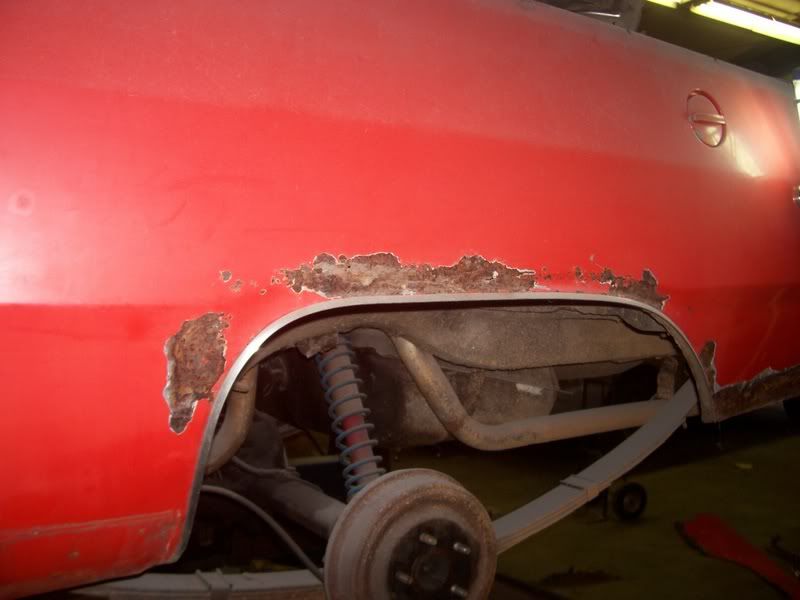
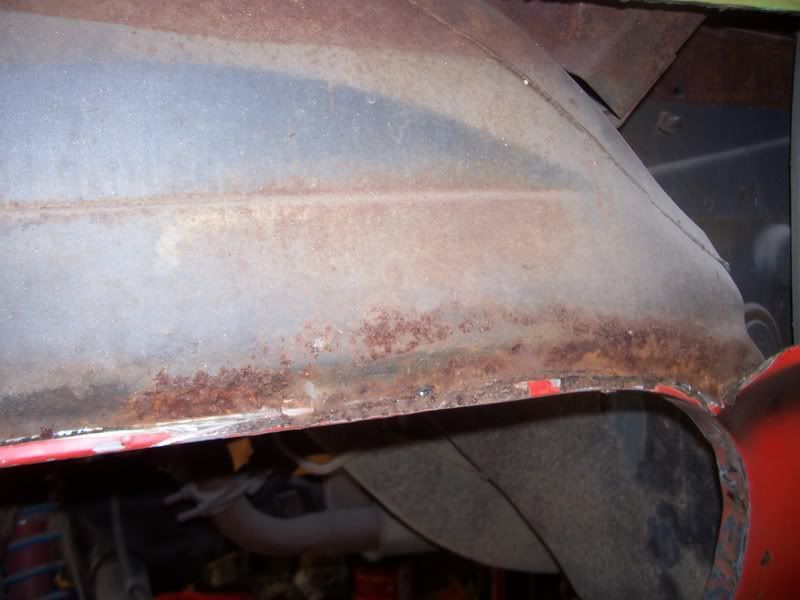
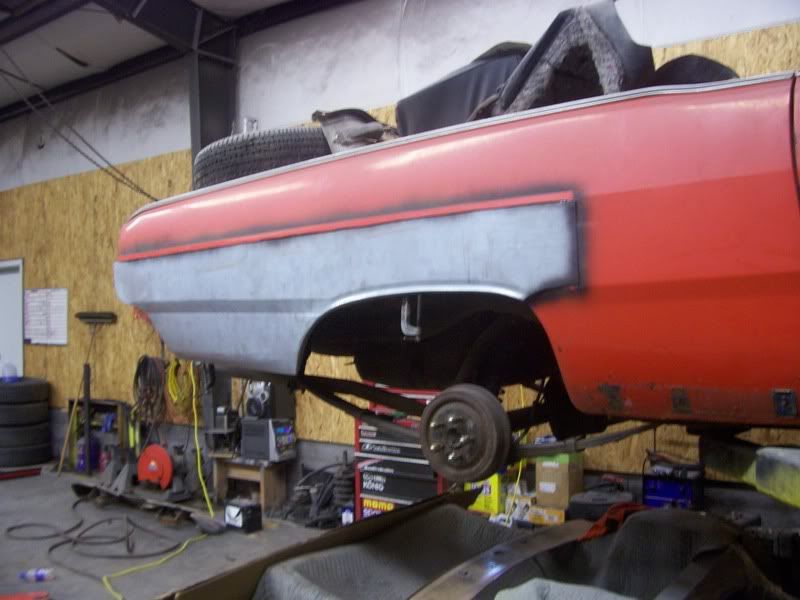
Now i'm workin on the rear of the car. I got a set of patch panels off of ebay pretty cheap so I figured that I can work wih them. Here is what I am starting with...
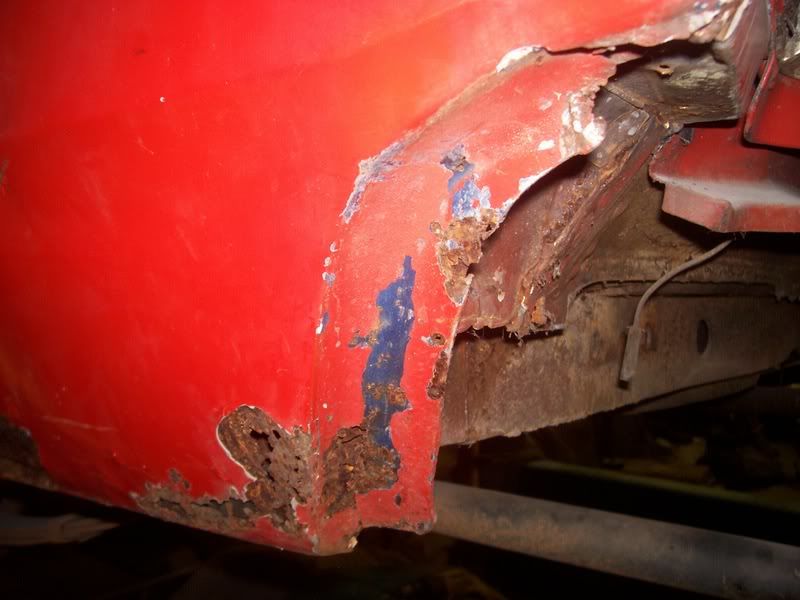
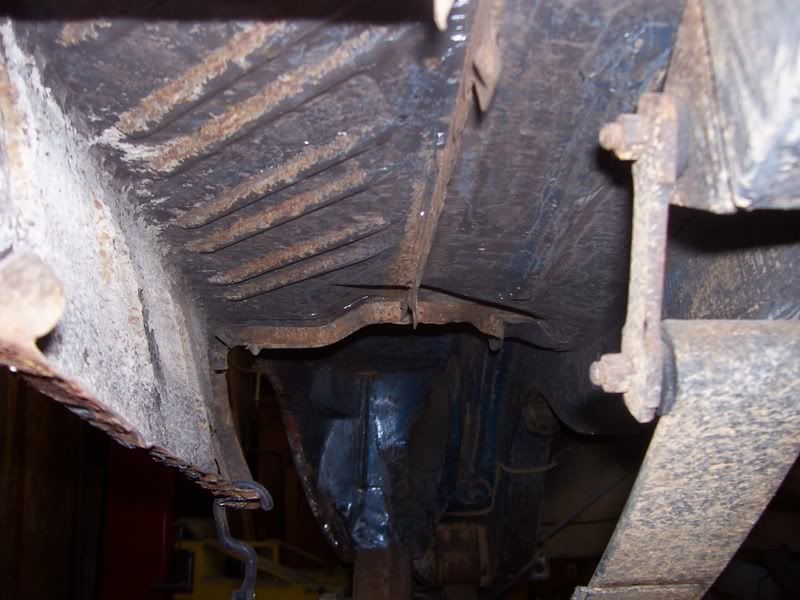
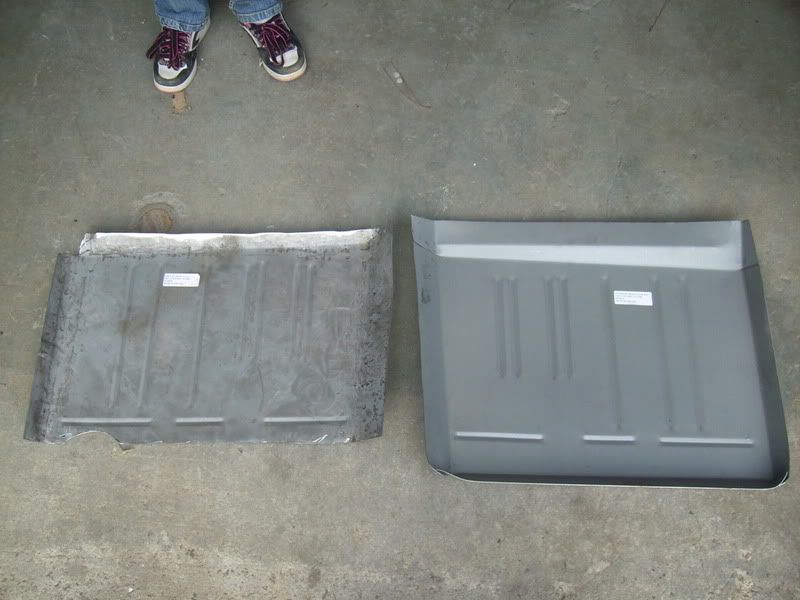
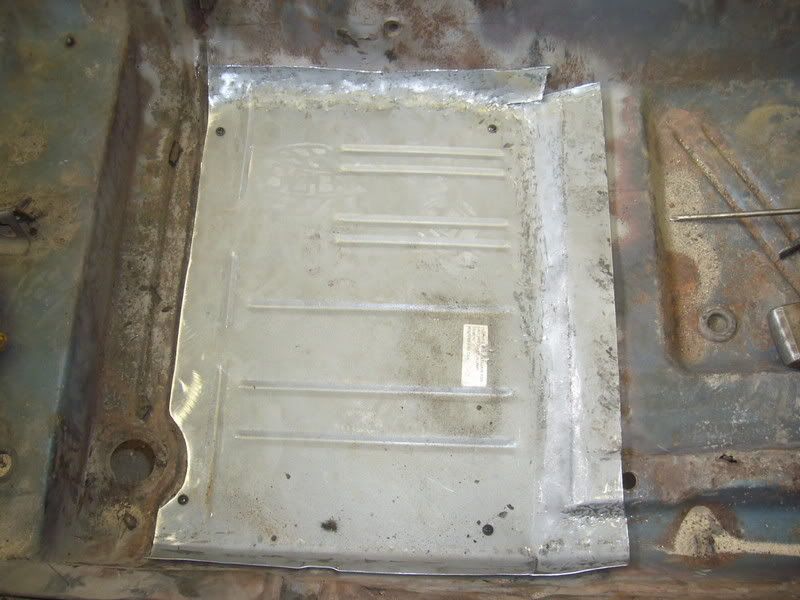
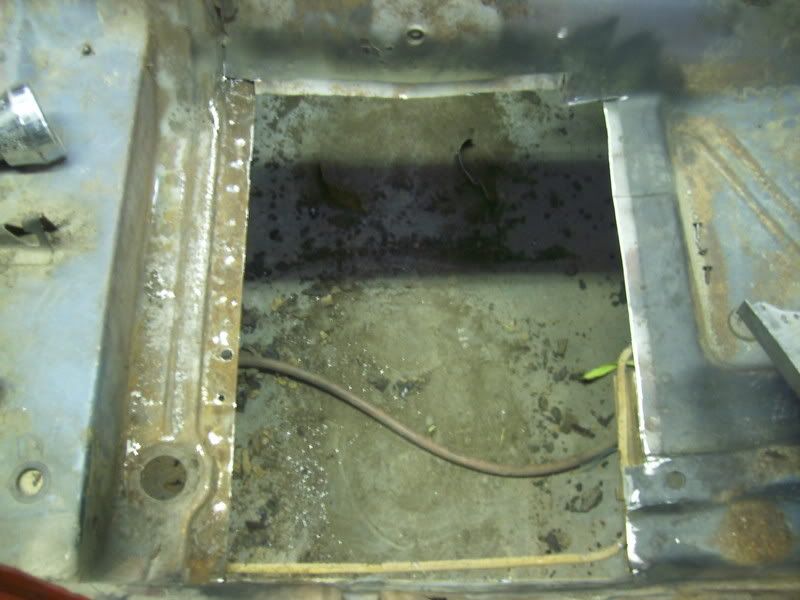
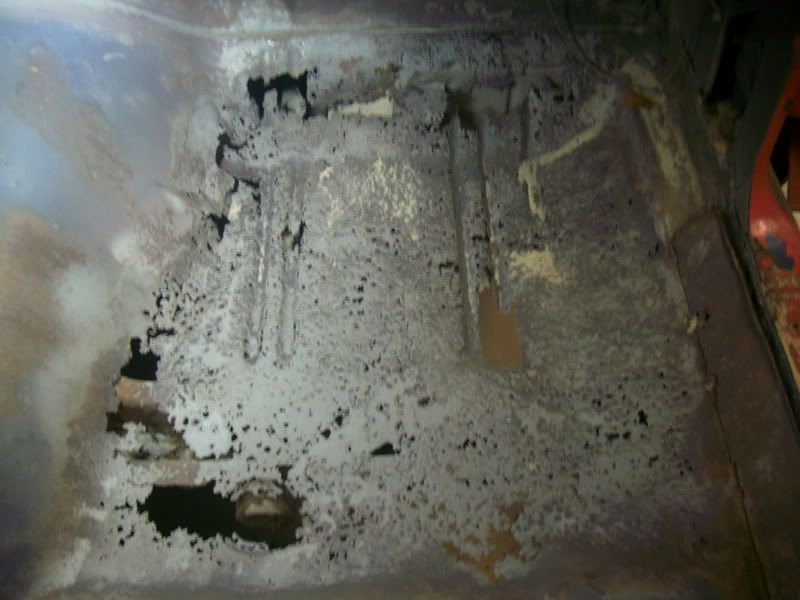
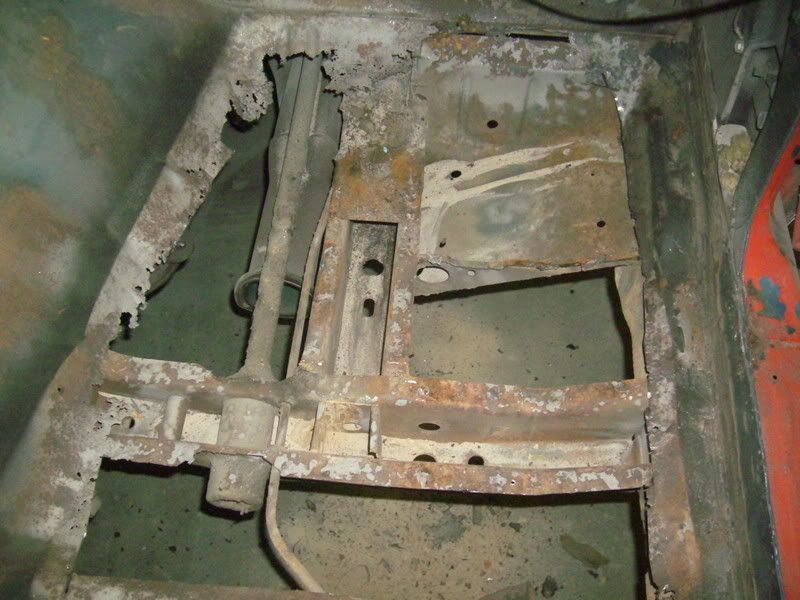
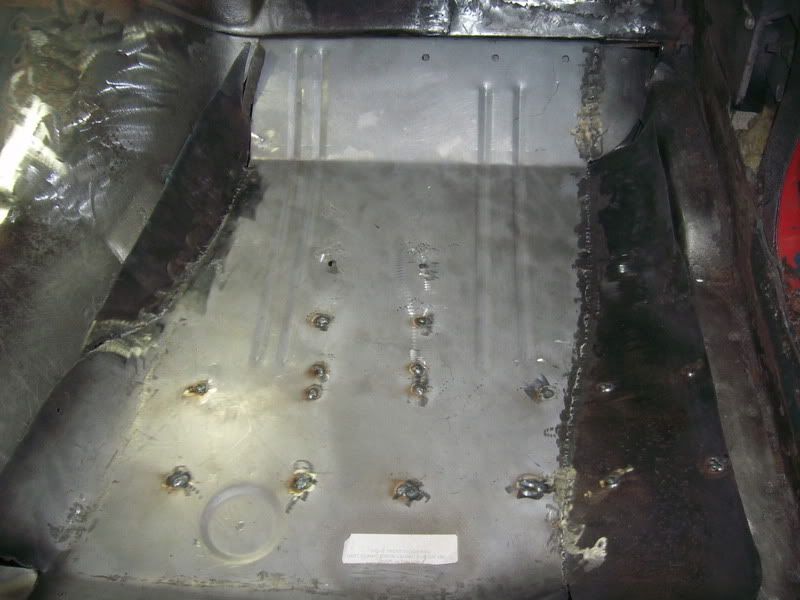
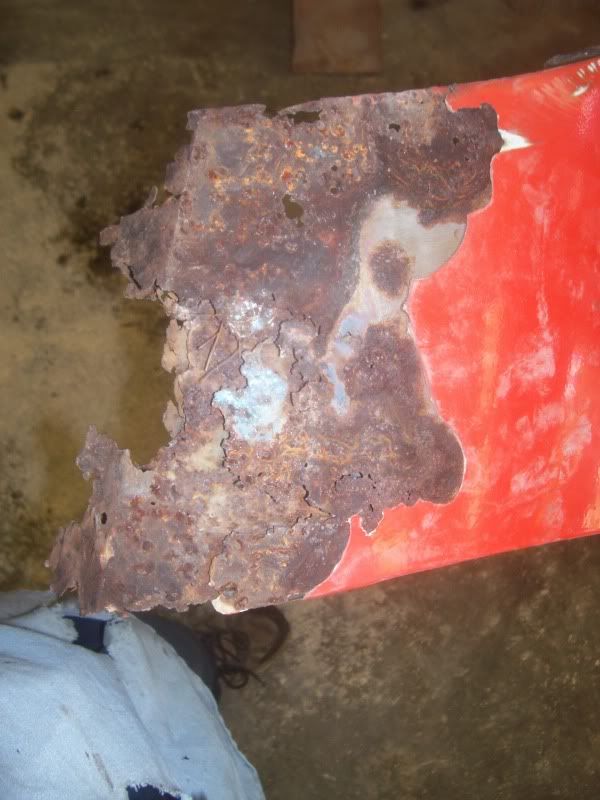
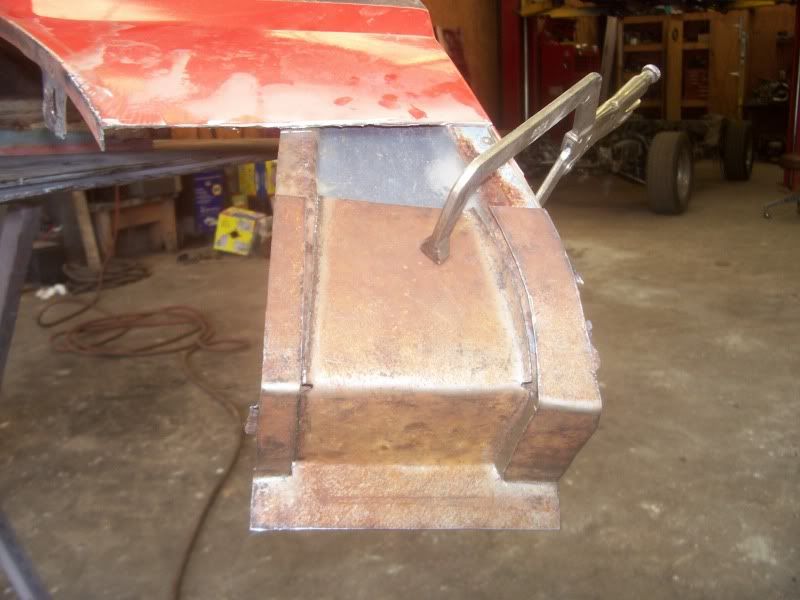
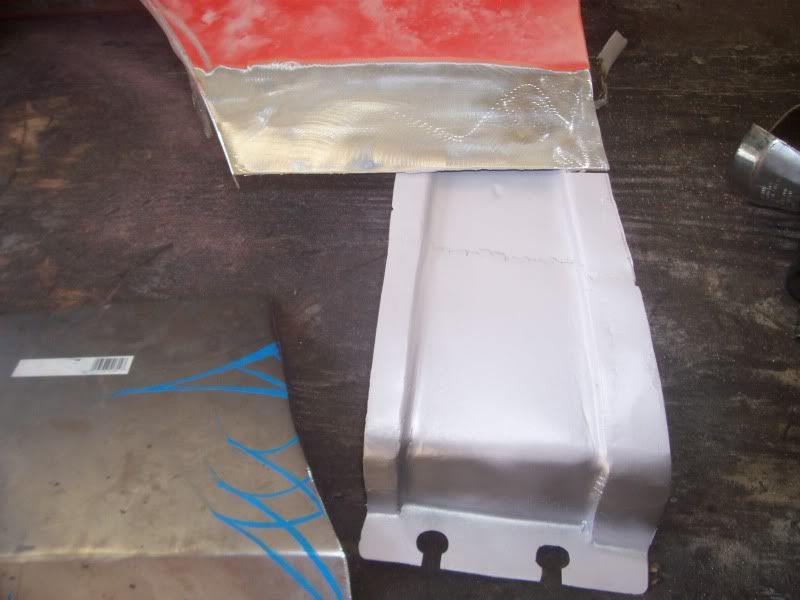
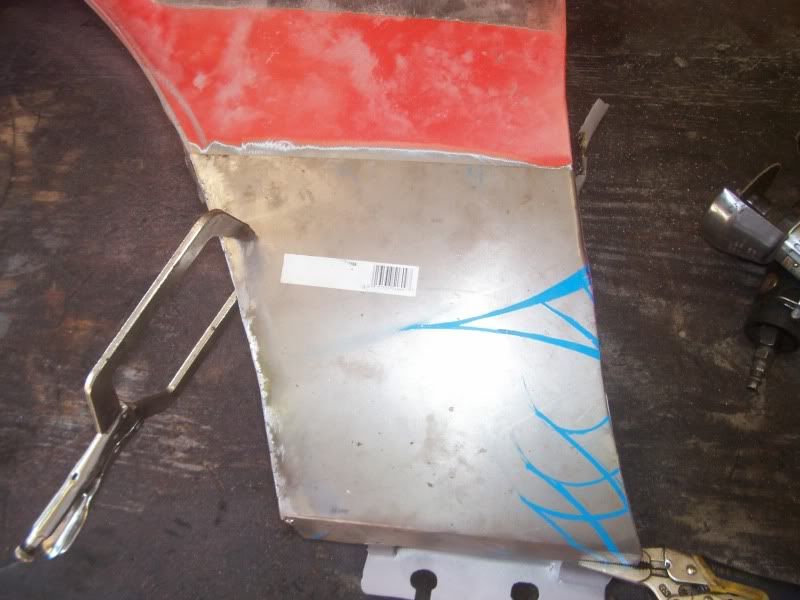
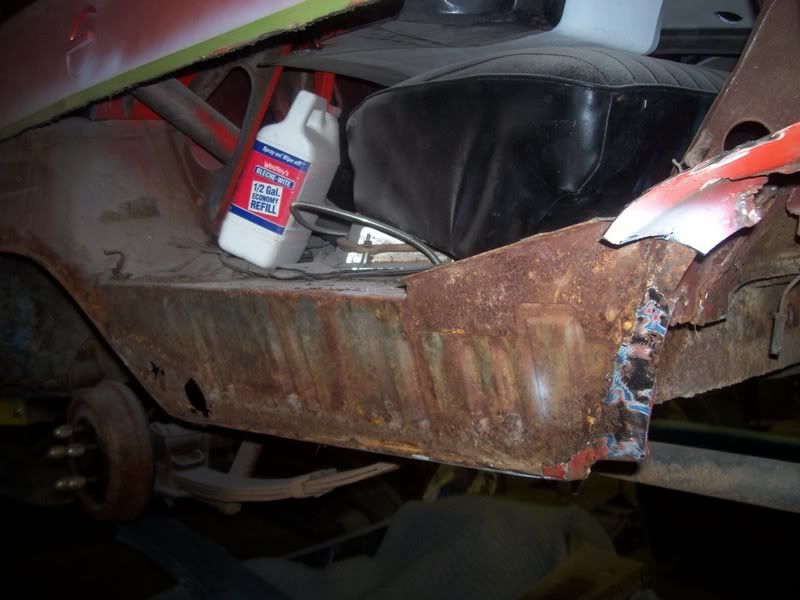
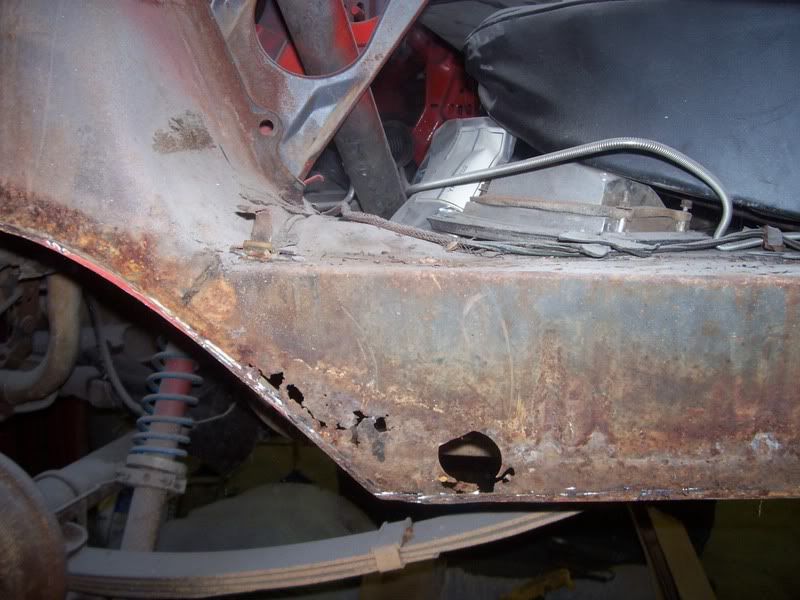
I got the panels cut out so I can see what all I have to deal with. It don't seem to bad. Once I sandblast I can really see what i'm dealing with.
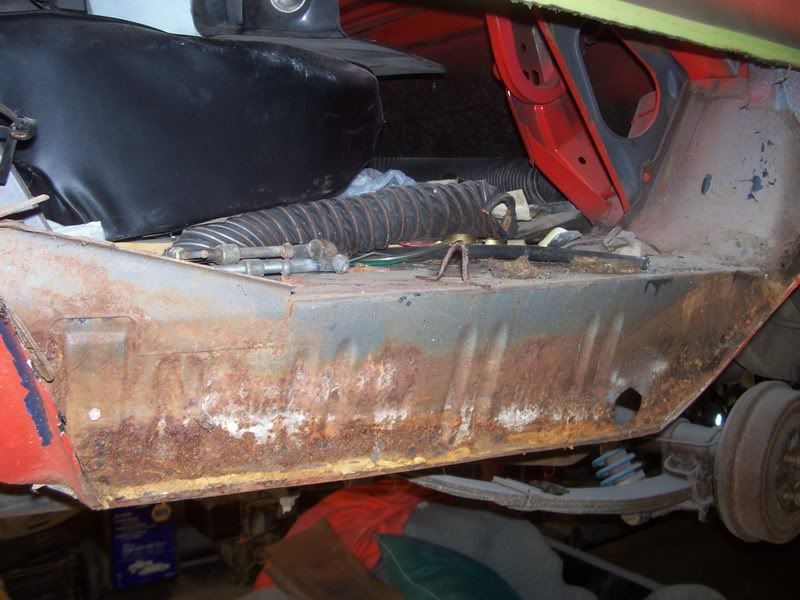
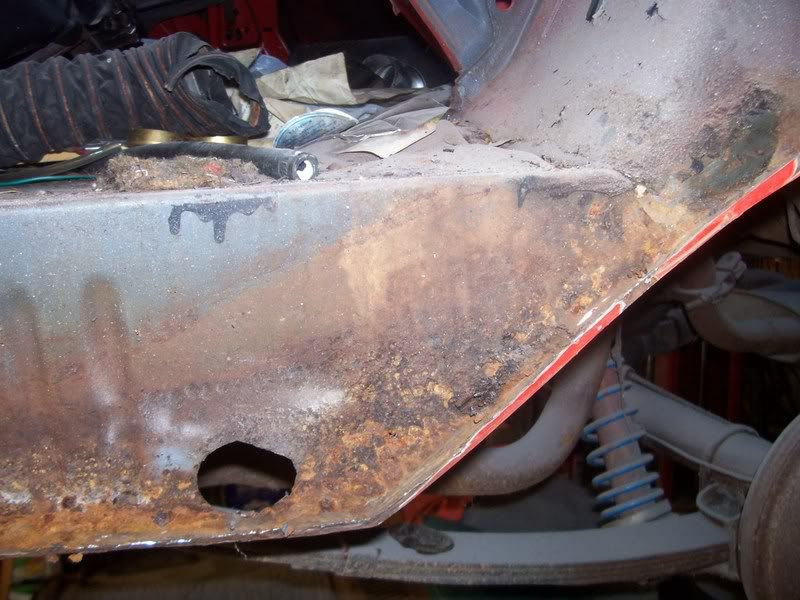
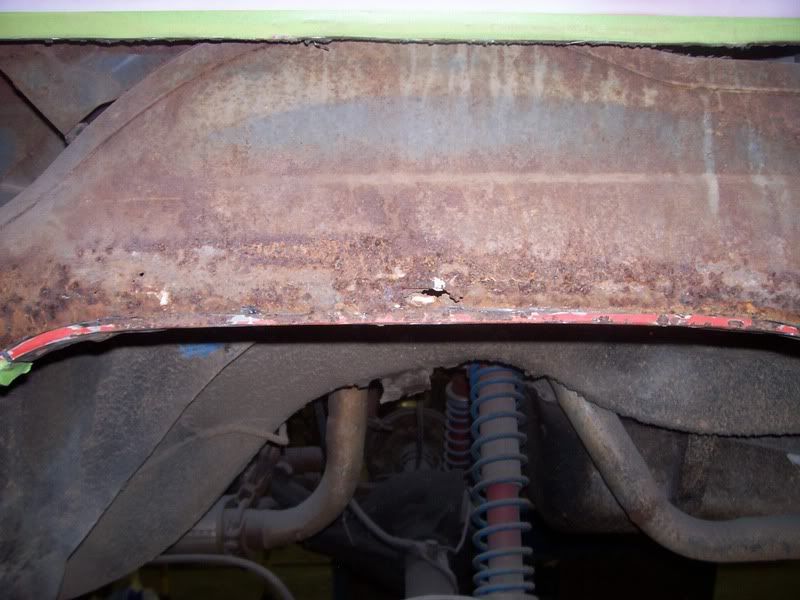
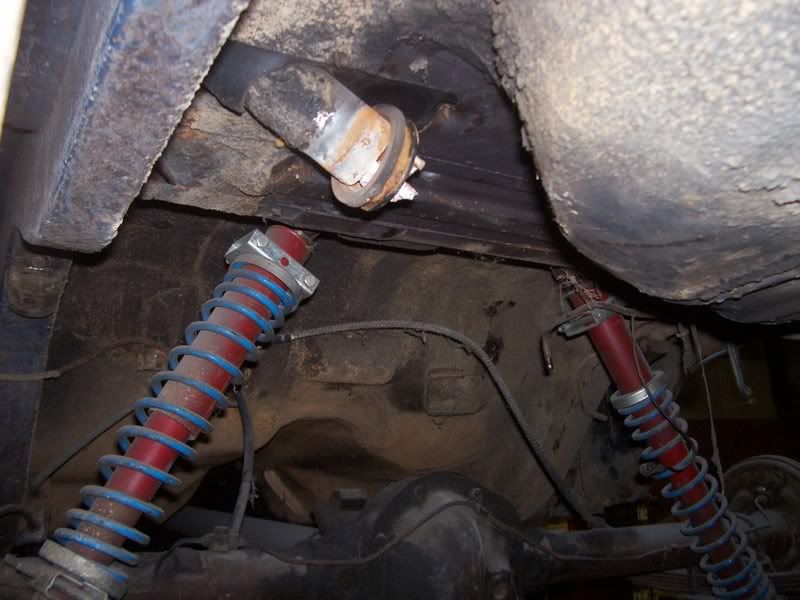
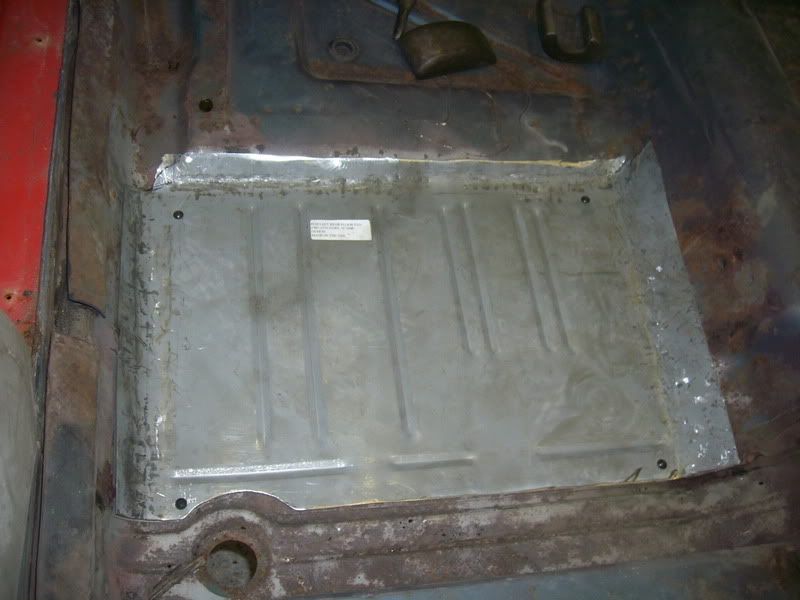
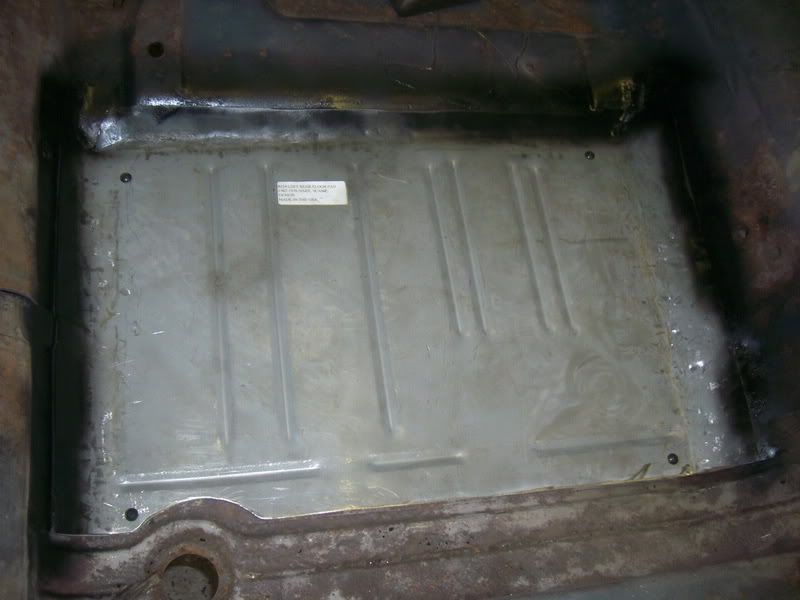
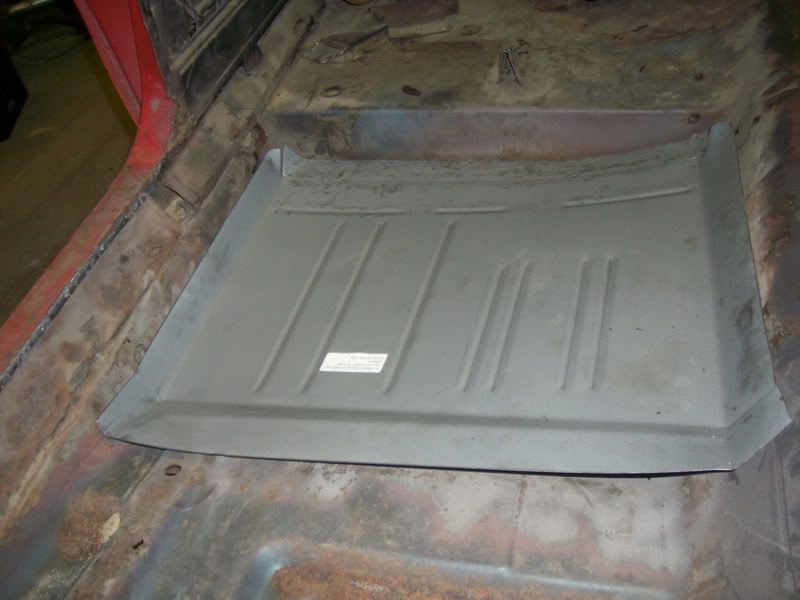
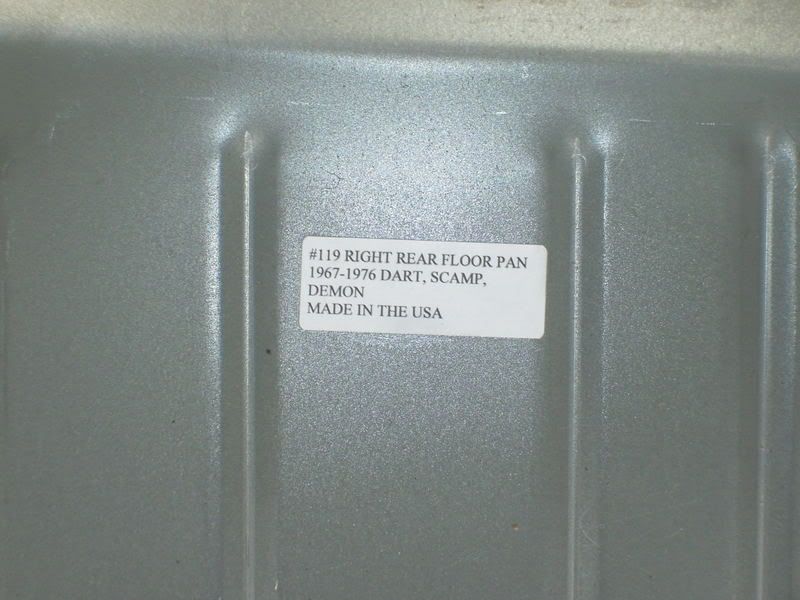
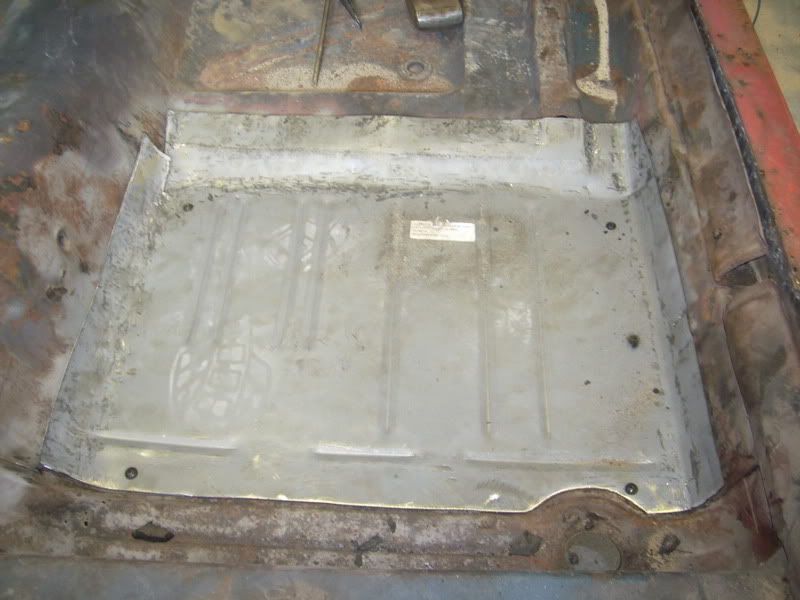
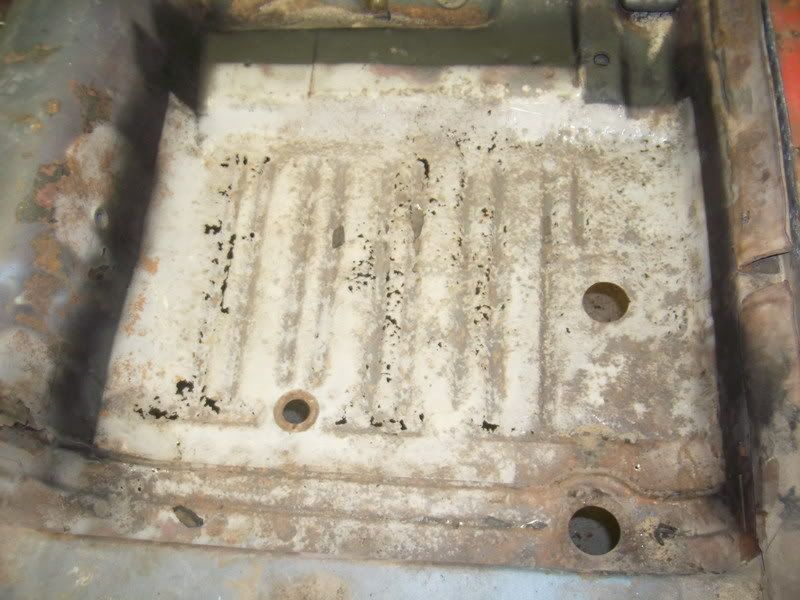
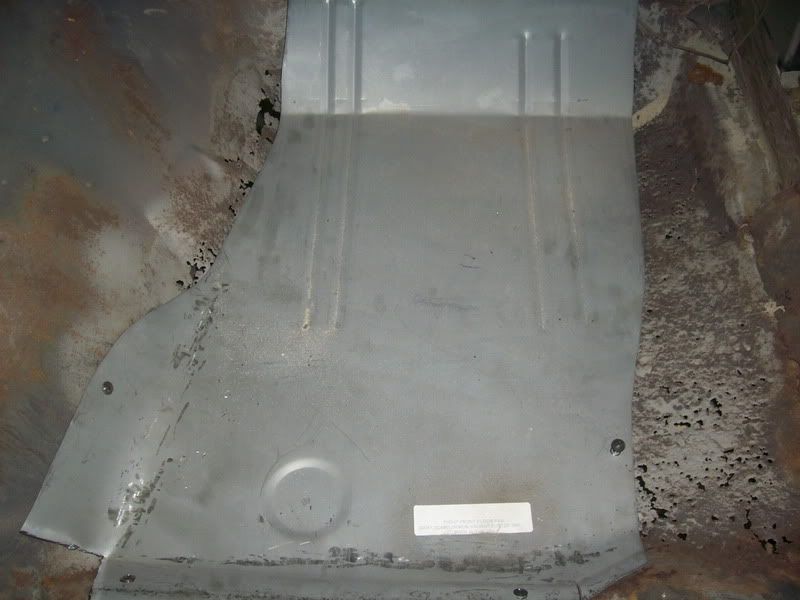
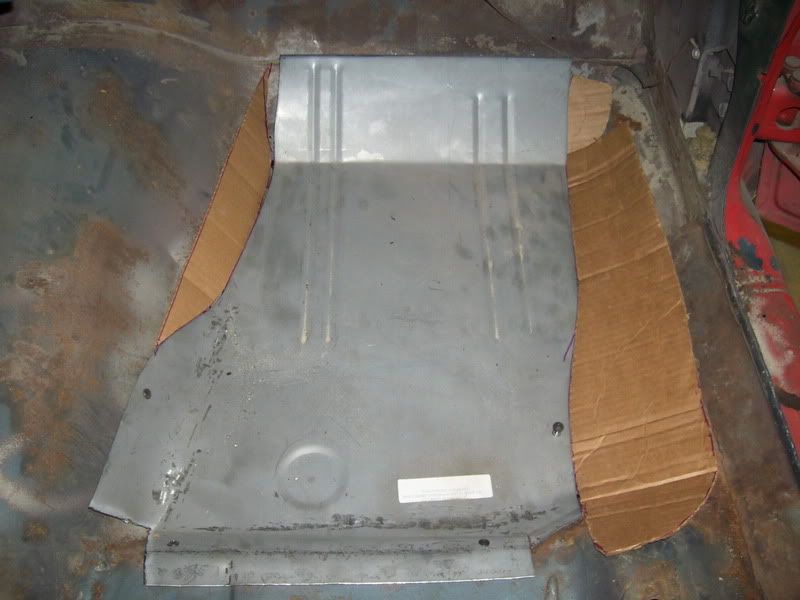
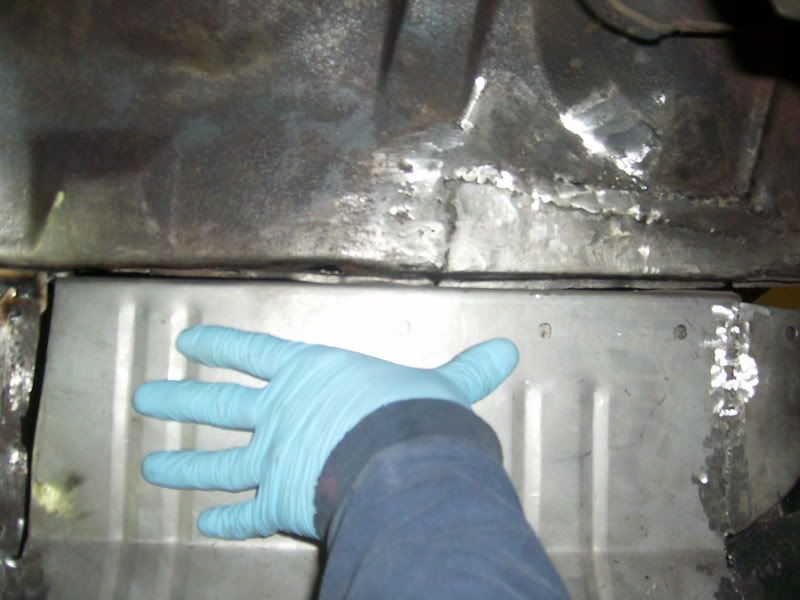
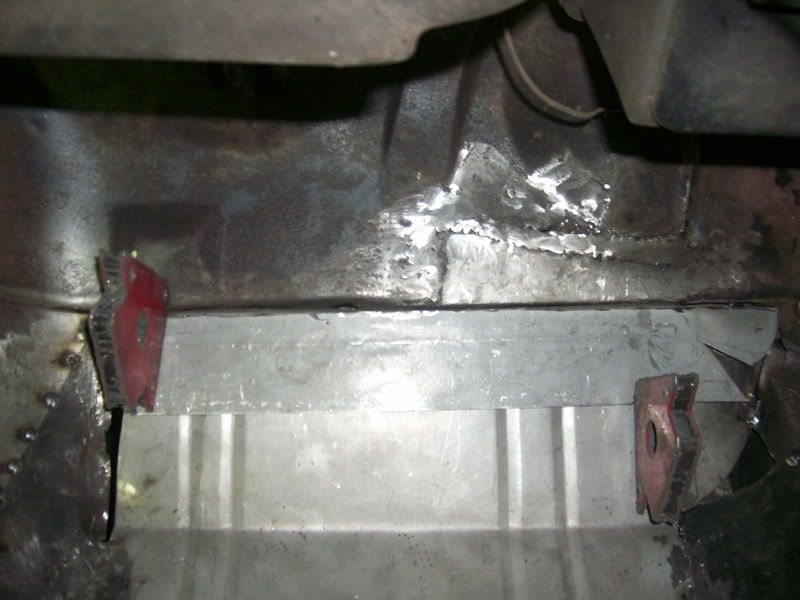
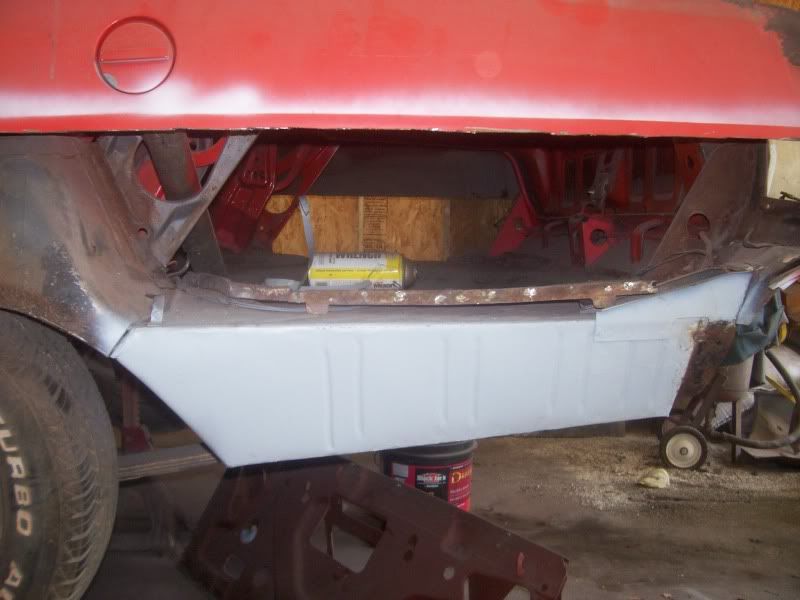
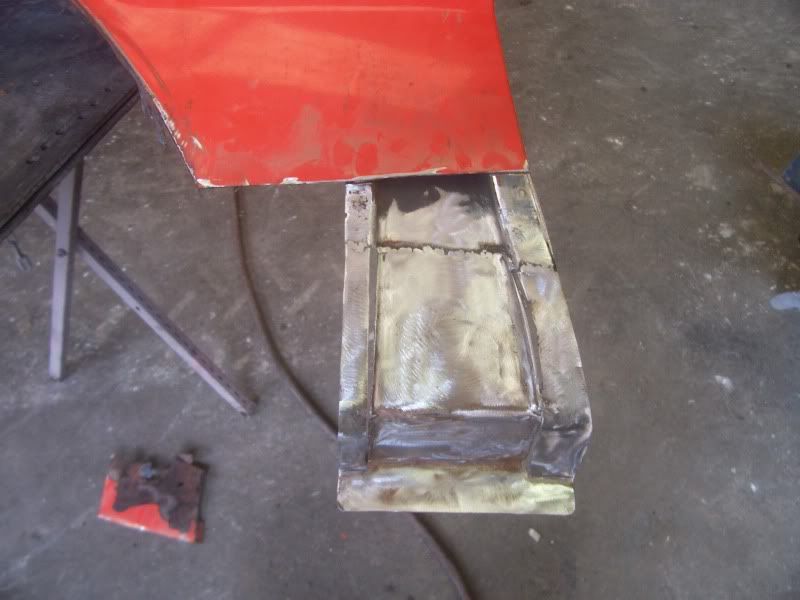
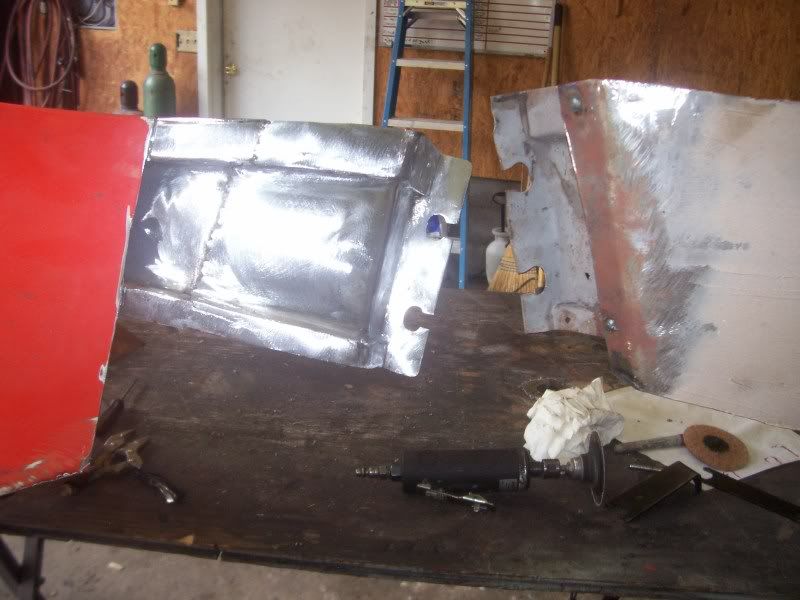
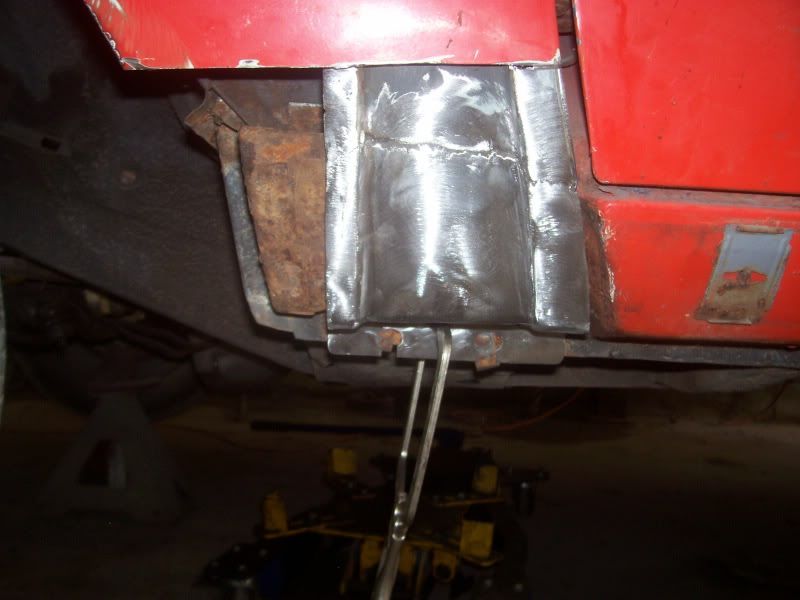
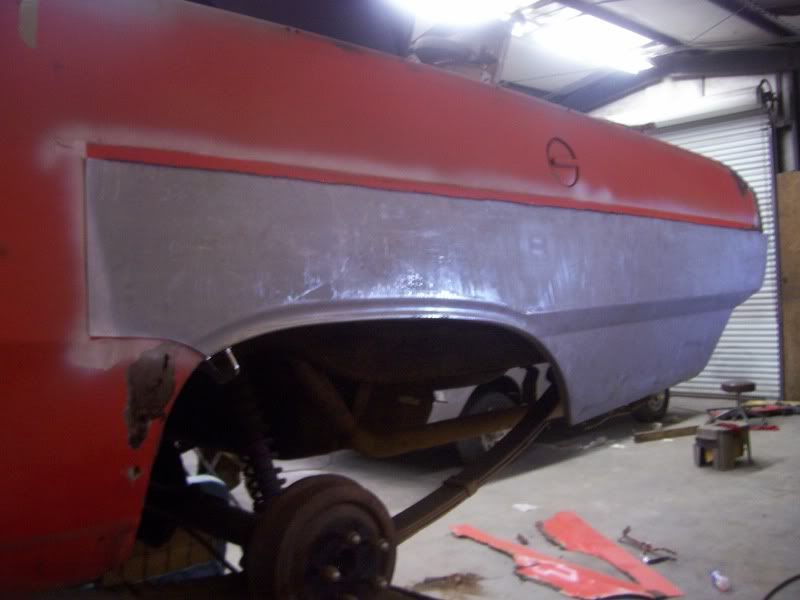
Now the test fit. Don't worry these won't be welded on for some time as I am going to sandblast everything and seal it all.
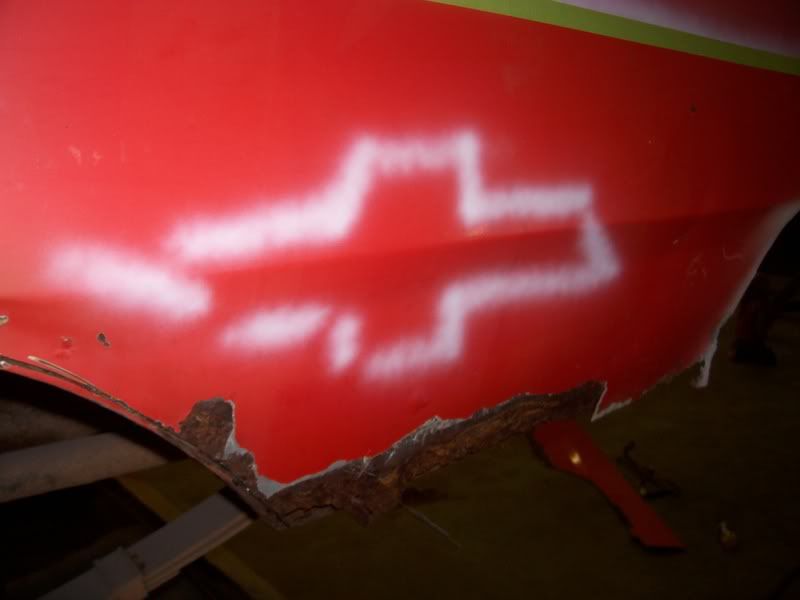
Thats it for the time being. BTW Don't let a chevy guy hold a can of paint around your Mopar!!!
The car shortly after I got it...
I have done some patch repair work awhile back but didn't take any pics. The front right fender was trash. It was hit in the front and crushed back and the lower rear part was rusted out. Being on a tight budget I decided to fix it. I removed the headlight bucket and hammer and dollied the damage out of the front, and I made a patch panel for the rear. I also welded up all of the holes from where somebody drilled holes for a slide hammer, and the hole where the upper molding goes because i'm not gonna use it.
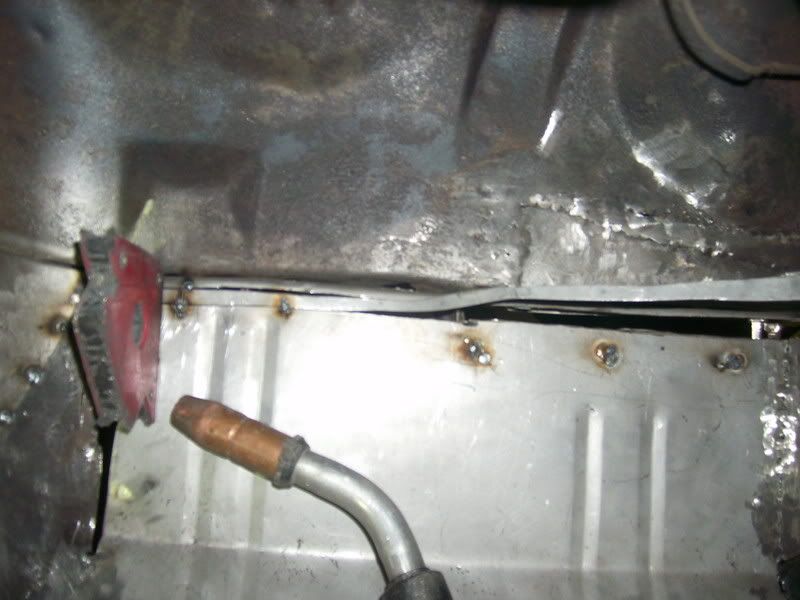
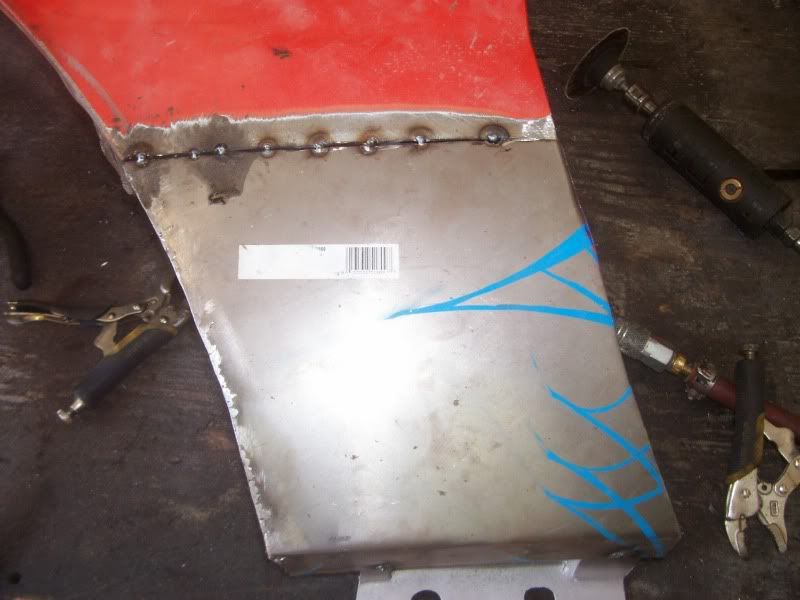
Now i'm workin on the rear of the car. I got a set of patch panels off of ebay pretty cheap so I figured that I can work wih them. Here is what I am starting with...
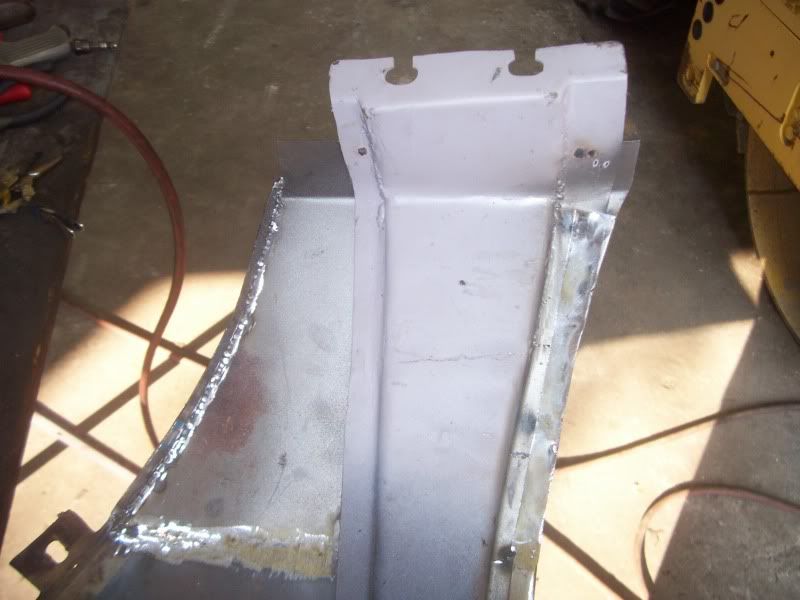
I got the panels cut out so I can see what all I have to deal with. It don't seem to bad. Once I sandblast I can really see what i'm dealing with.
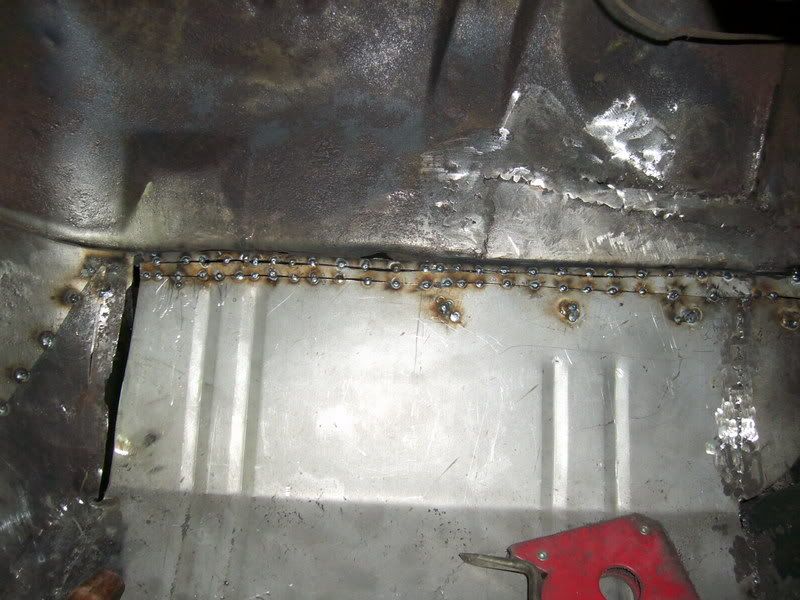
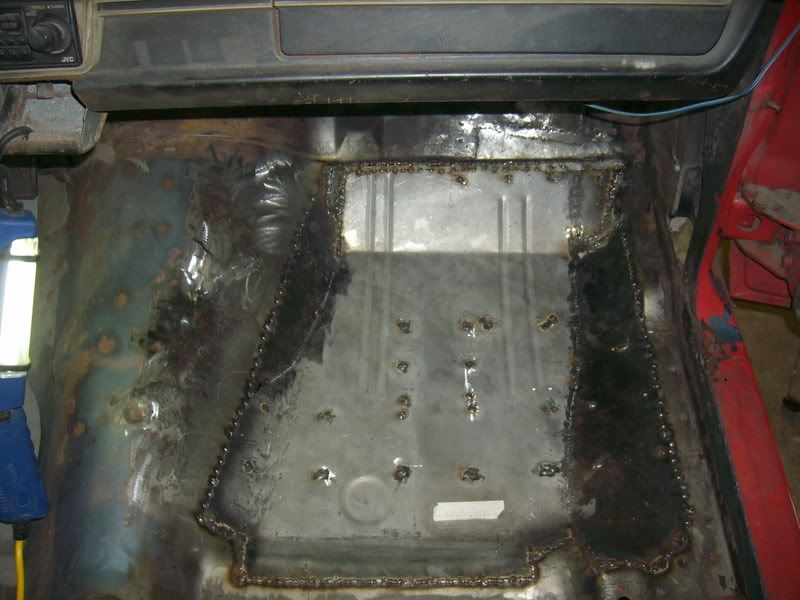
Now the test fit. Don't worry these won't be welded on for some time as I am going to sandblast everything and seal it all.
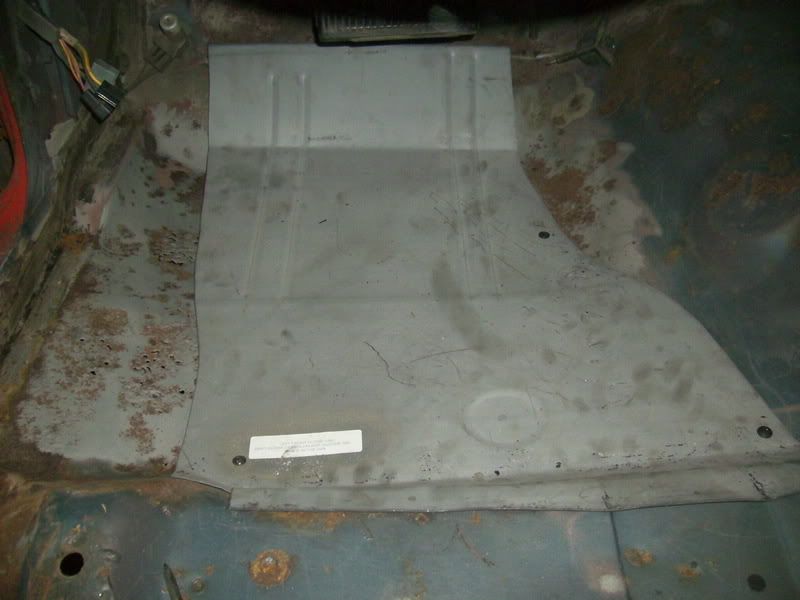
Thats it for the time being. BTW Don't let a chevy guy hold a can of paint around your Mopar!!!
")