I've got a brandy new Summit universal radiator, one of these:
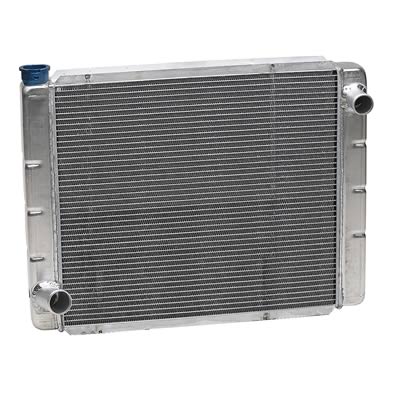
Now, the big question... how do I mount it? Has anybody else installed one of these? Got some pictures of how you did it?
I also got a Summit universal radiator mounting kit:
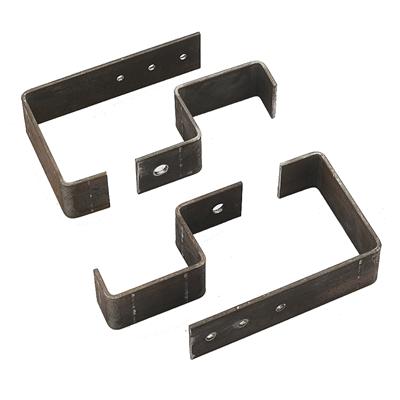
but I can't make heads or tails of that.
Help!
Now, the big question... how do I mount it? Has anybody else installed one of these? Got some pictures of how you did it?
I also got a Summit universal radiator mounting kit:
but I can't make heads or tails of that.
Help!
")


