"Valiant Effort" - Wintermute's '73

-

wintermute

Well-Known Member
Joined
Aug 26, 2012
Messages
60
Reaction score
0
Location
Mount Vernon, WA
Hello everybody, I've done it now!
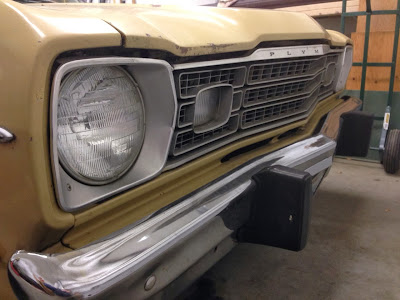
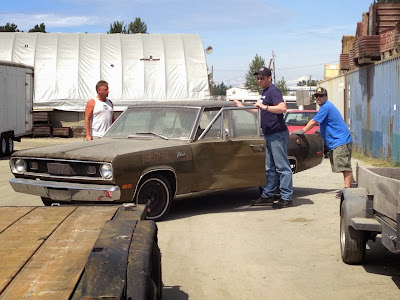
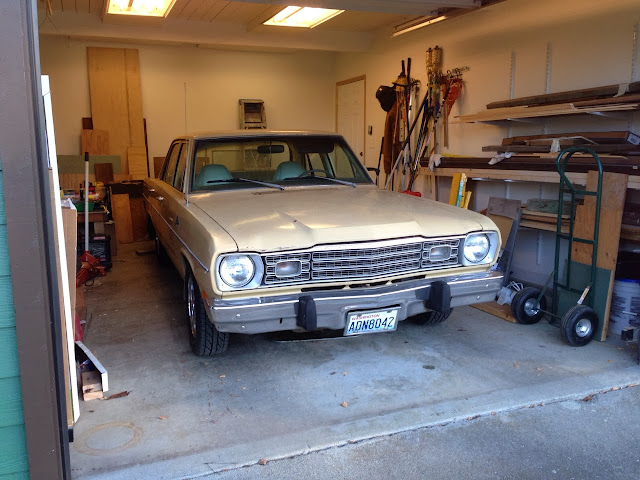
I just brought home a '73 Plymouth Valiant! 4-door, slant 6, auto, drums all around.

B20B2C20-AB06-4B05-A5FF-2A9F1AE4F0A5.jpg


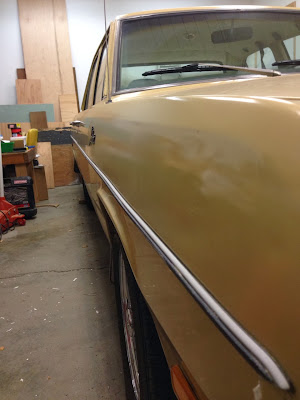
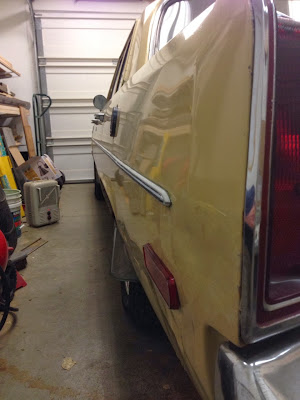
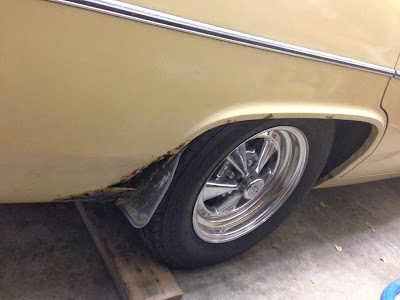
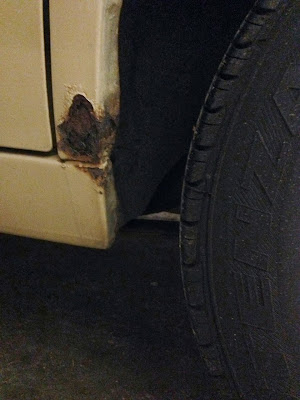
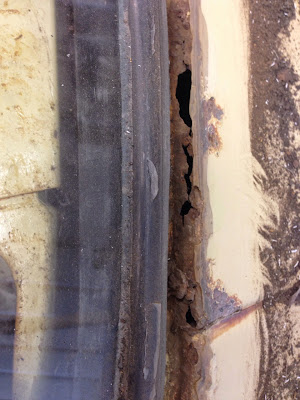
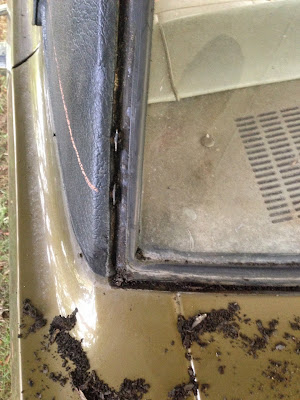
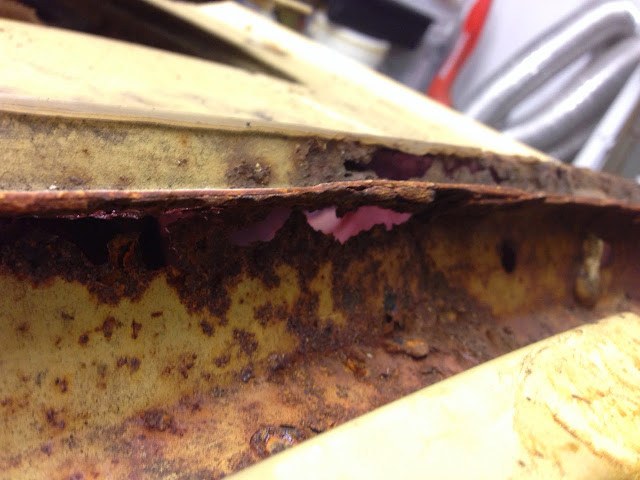
There's rust in the usual spots (rear fenders are pretty bad), there's a couple ugly spots on the drivers side and a previous battery had it's way with the inner fender, a few dents and dings but the subframes look fantastic and the body is very straight. Rides smooth and doesn't squeak or groan. At all.

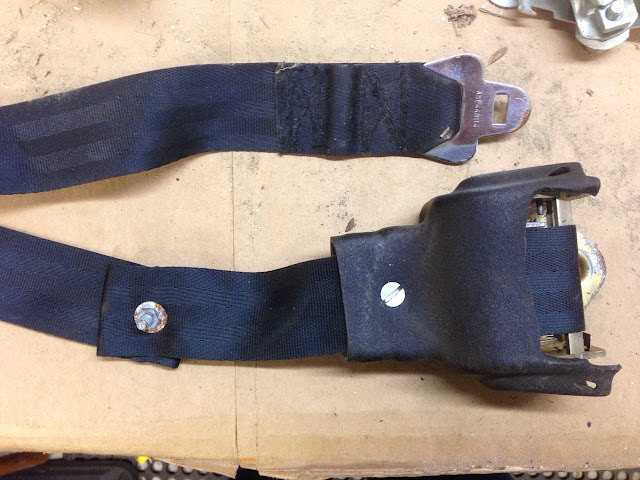
All of the service receipts since new were included as well as a handful of spare parts and a Chilton's manual.

The plan is to take this to a "triple black" car; black paint, black interior, black vinyl roof with a few modern upgrades along the way.
including:
  • Electronic Fuel Injection
  • Disc Brakes (front)
  • Power Brakes
  • 4-speed AT
  • Final Drive upgrade – 3.73, 4.10?
  • Lighting upgrades (including CHMSL)
  • A few aesthetic items, like real wood on the dash and losing the rubber bumper blocks…

I'm in no rush to jump in and do anything too quickly. Figuring out the best order to complete tasks is the first thing to do!

The MacGyver'd Expansion Tank might be a good starting point ;)
 
Thanks Rice Nuker, I'm planning on going with a multi-port setup on a custom intake and most likely headers. A more aggressive cam wouldn't be out of the question either.
 
I ran the fender tag through a couple of decoders and came up with the following:
  • VL41: Plymouth Valiant,Duster, Low, 4 Door Sedan
  • C3R: 225 105HP(net) 1-1BBL 6 CYL, 1973, Windsor, ONT, CAN
  • 329025: Sequence number
  • E24: 225 cid 1 barrel 6 Cylinder 145hp
  • D34: Light Duty Automatic Transmission
  • JY3: Light Gold Exterior Color
  • C4L3: Trim - Charger, Vinyl Split Bench Seat, Parchment
  • HL4: Parchment Int. Door Frames
  • 611: Build Date: June 11
  • 172499: Order number
  • JY3: Light Gold Top Color
  • U: USA Specifications
  • 22: 22-inch radiator
  • F16: Unknown
  • R11: Radio Solid State AM (2 Watts)
  • V5X: Body Side Stripes, Black
  • END: End of Sales Codes
 
Lets see some more pics of this car!
I love the 4 doors and can't wait to see the progress on this one......
 
I finally got around to taking a few more photos, even if they are still in the garage…

AE1AEB71-CBA9-41B3-A6C3-2A52B8571B72.jpg


Like I said - straight body!
67865CDD-A8B7-4013-8EDA-B77A1A7AFEB4.jpg
D64CB0E7-A5D6-4006-96C5-8E2D95D3D4BA.jpg


There are some dents on both rear quarters at or near the taillights and a dent on the driver's front fender that appears to have been caused by a person running in to the car! The shape lines up pretty close to my leg :lol_hitti

Naturally, there is some rust, it is a 40-year old A-Body that's spent it's entire life in Western Washington
3EB281D4-FFFE-4731-AD3A-137B67CEC4E5.jpg
876431D1-3D1A-44D7-AAB3-2E9B11EB4075.jpg


I have plenty to do, but I think I'll start in here with a real radiator expansion tank, new thermostat and a valve adjustment before putting together a MPFI shopping list.
EEFC9CA2-708F-43F6-90CF-3E0334E13172.jpg
 
It's been a while, progress has been slow (not that I'm in a rush!)

I've done a few things:
  • Adjusted the valves: wow what a difference! I doubt that had ever been done on this engine!
  • Replaced the intake gasket to cure a cold weather misfire at startup: It helped, but it didn't completely cure the problem :banghead:
  • Bought a radiator expansion bottle from Ply30 (thanks man!)
  • bought a replacement radiator (Rock Auto), the original had a crack and a very slow leak, caused by some sort of minor accident damage that bent the core support on the passenger side!
Now I need to straighten out the core support in order to install my new radiator. Nevermind the fact that the old spring clip on one of the heater hoses decided to quit during my intake gasket test drive.
 
I went looking for a new trunk lid on craigslist and scored a whole car! Now I have a '72 Valiant 4-door that I'm using for parts, even though it's actually in better shape than my project. #-o In addition to the trunk and rear quarters, I needed all of the stainless window trim, plus it also has fender-top turn indicators, rear defroster, remote mirror and even a trunk light.
405EB7E8-63F1-4CEC-9DE7-F170790EFDD212EB3D02-5938-4A0C-BEF7-AC7FAD378D7C.jpg


Fast forward a bit and I've removed all of the window trim from both cars and confirmed what I expected with the '73… rust!
3ABCC8D4-3AE7-429A-8763-46BDFB42EBCC69126891-1529-485F-91F3-D45812947E47.jpg


5CFCE75A-A4B6-407F-8601-9CFA87E0C9001AC4428F-D333-48AC-904F-B8594522042A.jpg


Because the car will be black with a vinyl roof when I'm done, and my body finishing skills are firmly at "novice", my plan of attack is to avoid patches and replace entire panels–all the way up to the factory c-pillar seam.

Both rear quarters on the '73 have some dents and scrapes along with the rust seen earlier. I haven't removed the rear glass yet, but I'm pretty sure the flange is toast. I'm thinking of taking out the center panel with the rear shelf first. (naturally everything needs to be triple measured and braced before removal)

Any advice or thoughts on my planned approach?

Also, this was the trim removal on the '72, notice the clumped dirt, which was all under the stainless! It's easy to see how the '73 got so bad.
46A084A7-3241-4E4F-9EBB-AB0AB3CF934A.jpg


This also means I'll have some '72 front clip pieces for sale before too long as well :D
 
You could save yourself some work and just fix the 72. I'm going in a similar direction as I found myself in a similar situation with my and my dad's project. Just a thought.

Replacing part of the roof, the c pillars and Dutchman panel will be a lot of work. For us it will be easier to clip the good front end from the car with all the c pillar rot onto the wrecked car than the good roof from the "wrecked parts car" onto the unwrecked car.
 
Fixing the '72 (converting it to a '73) would be easier, but that car has no title, license or insurance. Even if I did get a new title for it, it would be a salvage car ad I don't really want to go there.
 
Great project, what would it take to get a title for the 72? Might be easier to get the title than to cut all the metal out of the 72 and move it to the 73.
 
Got the back glass out today! Not the worst I've seen, but still pretty much toast.

E47422EA-8CA7-4036-9273-BEB0B9563971.jpg


I also pulled the trunk lid, both seats, all belts and carpet.
 
The things you find when disassembling a 40-year old car…

FC0D5251-EA57-42C0-BCCC-2C0457739C85.jpg


I'm considering modern shoulder belts for all four corners anyway, but still – Who thought this was a good idea?!
 
I know the '70s weren't exactly the pinnacle of build quality, but a 5/16" drop from the trunk floor to passenger side extension!? (It's much closer at the ends of the panel at least) I guess enough seam sealer will hide anything!

When it's time to reassemble the pieces, I'd like to make it even all the way down the seam. Hopefully this won't screw up the location of the bottom edge of the quarter panel.
 
-
Back
Top