1970 Swinger 340 Hemi Orange 4 speed

-
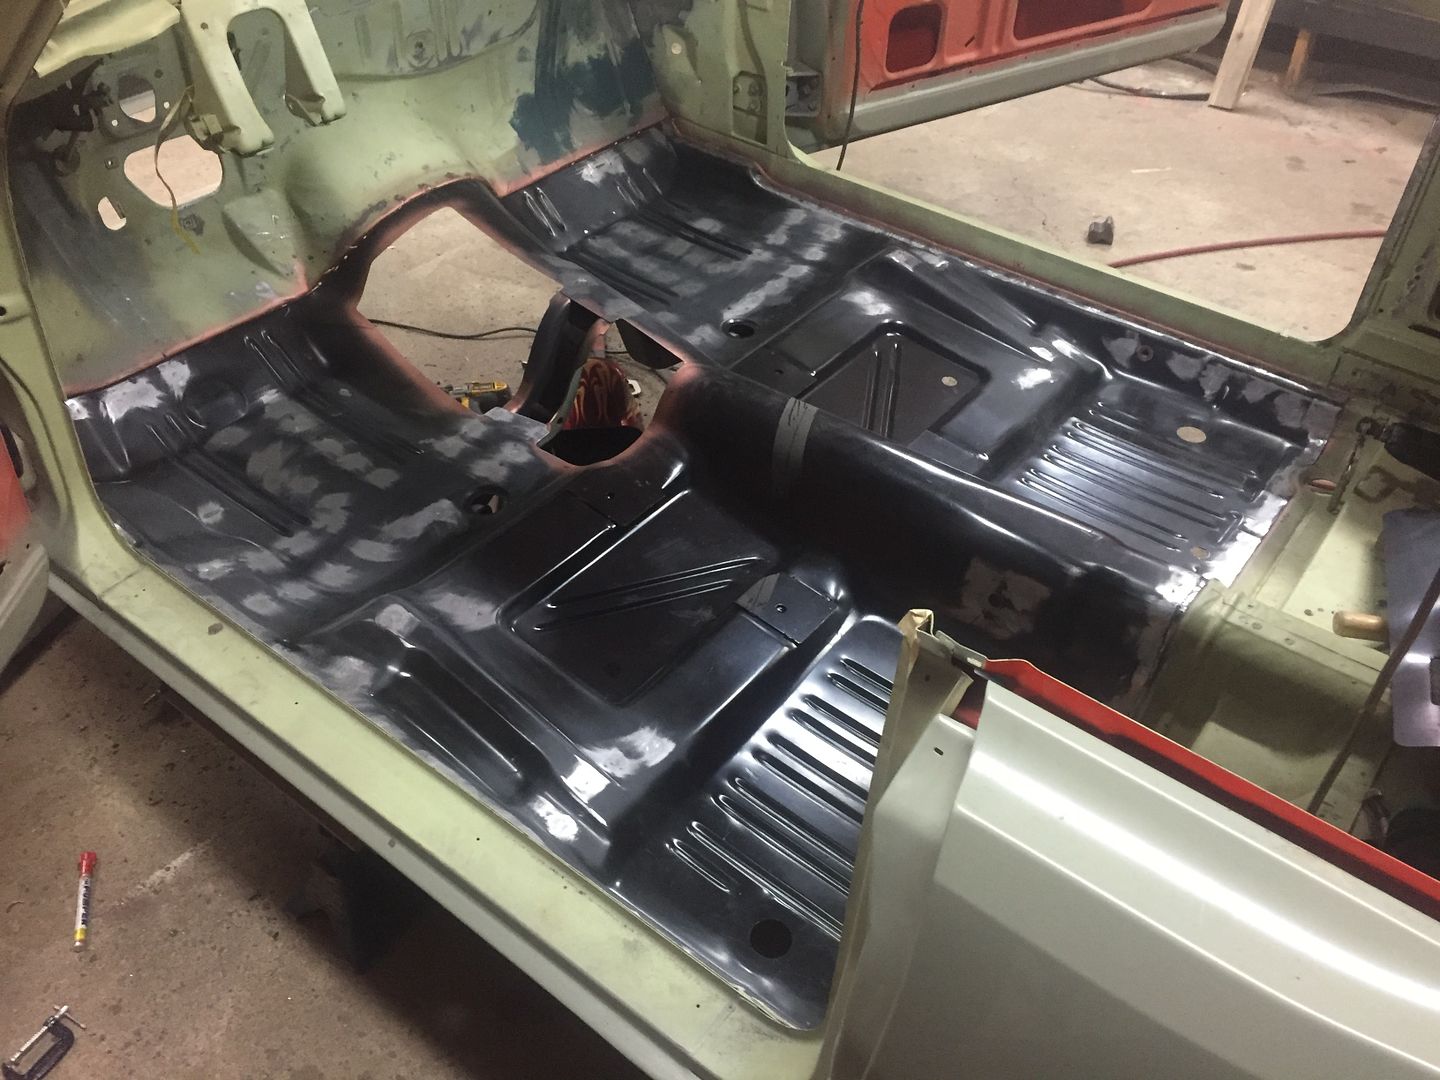
I got the rest of the pan welded tonight (except the firewall area) that was a lot of plug welds! I orbitaled all my welds with 80grit, scotch brited around the areas and put some epoxy down. I will then put my fiberglass filler over the epoxy to fill in any grind marks to make a seamless repair and re epoxy the entire pan once the firewall area is welded up and the four speed hump is in. I still need to drill the holes in the pan for the bench seat and weld in the new floor wiring covers.

I also have to weld the seat stopper to the four speed hump and modify the hump where the shifter boot screws to since the AMD one is wrong..


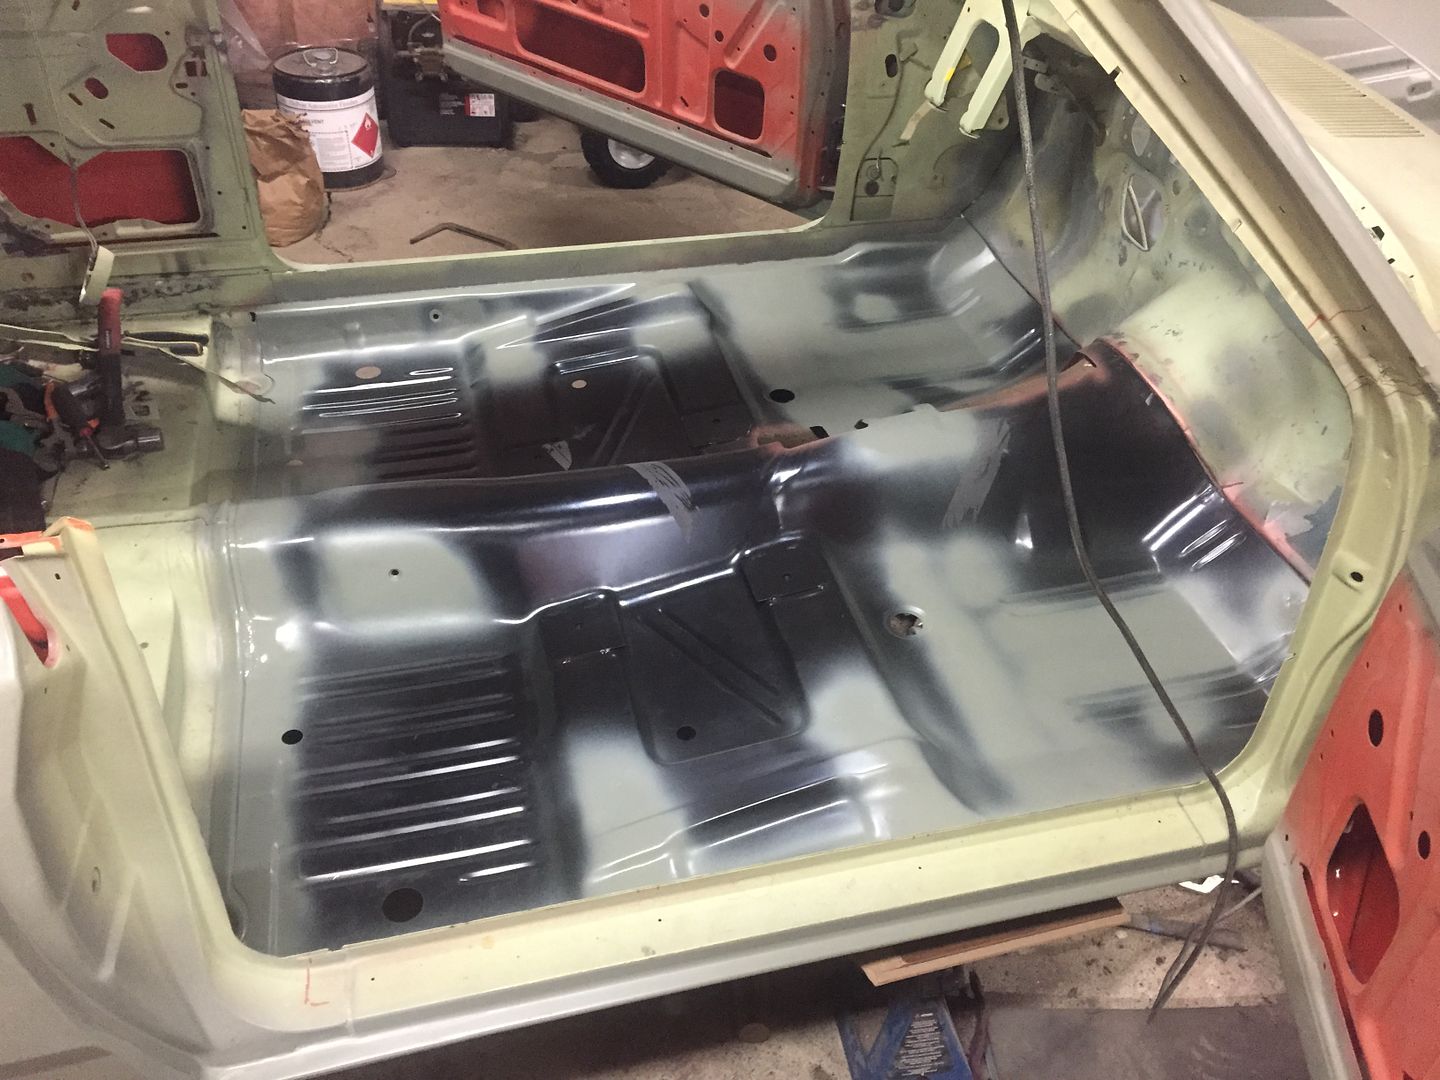
My custom floor clamper!


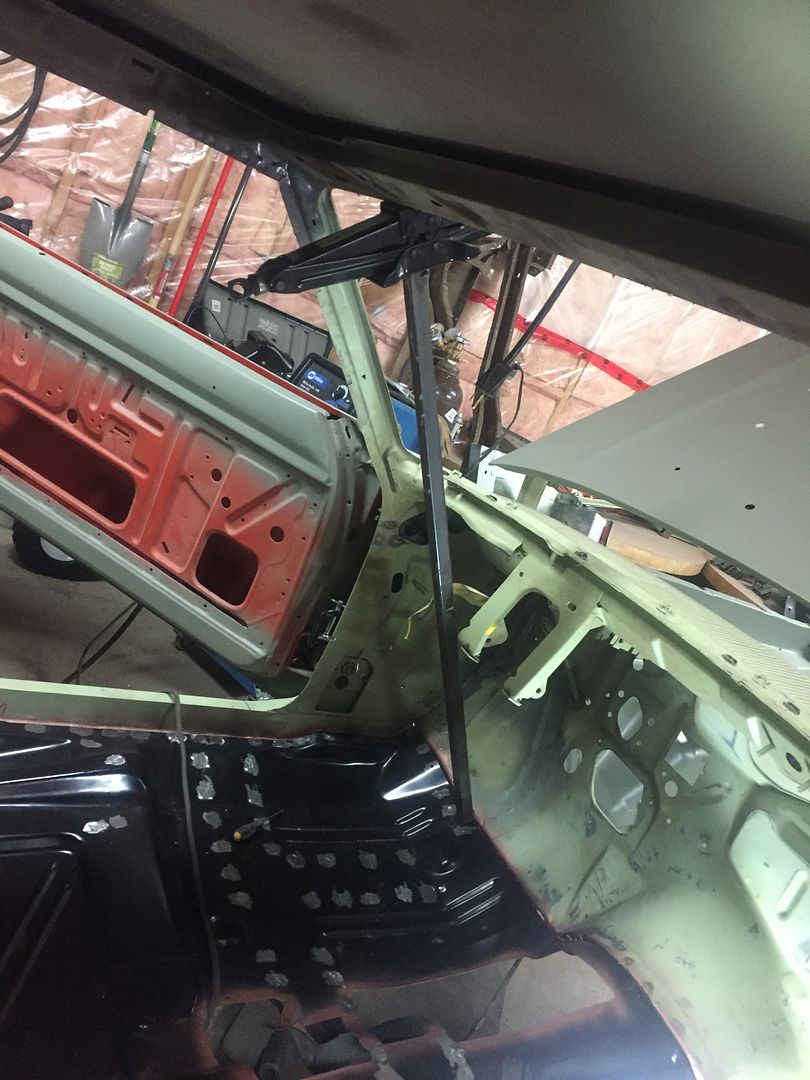
Epoxied the the bottom side of the cowl as well.
 
A little more welding and you should be done.
Good job on saving the Dart.
 
A little more welding and you should be done.
Good job on saving the Dart.

Thanks! There is still quite a bit to go, but I'm well over the halfway point on the sheet metal repair.

Your a bad man!!!!! I love this thread!!!!

Thanks!!

I started working on the trans hump and got the drivers side bashed into shape. It took a block of wood and hammer to bring it into position. I cut the trans hump out of the parts car to get a reference on how it should be shaped. Tomorrow I'll continue on the drivers side. The passenger side was just as bad as the drivers side.. I can't believe someone took tin snips and a sledge hammer to the pinch weld seam.


Template.


Drivers side looking good.. I still have some tears to weld up, but it's plug welded.
 
Firewall to floorpan seam is finally done! I also welded in the four speed hump and drilled the holes for the bench seat as well. Got a lot done today and tomorrow I'll continue on..

Here's the difference in humps. AMD vs. stock.


Just like the original now!


Set the original floorpan and hump in place to take measurements on where to put the new hump in.. Wanted to make sure it was in the exact position so the shifter is centered.


All prepped and ready for weld thru primer.


Weld thru primed.


Tried to mimic the original welds... Except mine look like they're welded with the gas on, haha


Great idea on the floor clamp. That was smart.
 
Epoxied! Now it's time to cut the temporary subframe connectors out and turn that steel into dollies for the front.. I already have the casters.


Bracing is finally removed.. Only took about two years, but it's solid enough to hold on its own finally!


Now on to the pinion snubber area.. I think it was launched pretty hard in its day!


Started making some stilts for the car, so I can move it around the garage. I will pull the rear end out soon and make a set for the back as well.

 
Interesting pics of the pinion snubber area and the back seat supports. The 70 40-speed swinger I have had what looked like scars from a rear u-joint failure and also had the back seat support broken off the floor. The whole horseshoe bracket needed to be re welded down. These A body 4 speeds must be susceptible to this failure.
 
extremely nice work! incredible!

That floor looks outstanding!

Thanks guys!

Interesting pics of the pinion snubber area and the back seat supports. The 70 40-speed swinger I have had what looked like scars from a rear u-joint failure and also had the back seat support broken off the floor. The whole horseshoe bracket needed to be re welded down. These A body 4 speeds must be susceptible to this failure.

I bet every time the car was revved up and the clutch was dumped the pinion snubber smashed against that mount.. Seeing this damage shows that mount area isn't as tough as everyone thinks, which is probably why someone put Lakewood bars on my car at some point in its life (too late) so yours was cracked from the driveshaft hitting or hammering of the pinion snubber? Mine shows no signs of a driveshaft ever hitting the hump area so that cracking was from the mount getting hammered. I have both good used pieces to replace the damaged ones on my car, but I think it will be a battle since the pan will most likely be distorted a bit too.

Got my front wheels on it today!


My car had scars from the drive shaft hitting the floor in what I would guess as a 7260 u-joint failure. I don't think that is what caused the floor support welds to break in it self, but im sure it was all part of the big picture. my floor wasn't pounded up from the snubber like yours. Im saying these 4 speed cars were probably hammered every chance they had and this was for sure a weak spot in this body style.
 
My car had scars from the drive shaft hitting the floor in what I would guess as a 7260 u-joint failure. I don't think that is what caused the floor support welds to break in it self, but im sure it was all part of the big picture. my floor wasn't pounded up from the snubber like yours. Im saying these 4 speed cars were probably hammered every chance they had and this was for sure a weak spot in this body style.


Yeah it's for sure a weak spot! Auto cars probably never got the snubber mount damage. How's your Dart coming along by the way?

I decided to add an extra brace along the bottom of the dollies since they're pretty tall and I don't wanna risk stressing the rails if they wanna spread apart. Tomorrow I will drill the holes and bolt it in place near the bottom.


Also bead blasted the new floor support and roof brace.


Here's the old one.. I think someone jumped on the roof at one point. Same goes for the cowl vent area, which is why I've gotta replace the whole upper cowl, which is good anyways because I can paint all in behind there.
 
Mine is pretty well finished. I've had it to the strip and ran a high 13 with it on radial tires. since then I've gone back to the reproduction bias plies, I am just not into the radial look these days. Also I had the original block rebuilt, It came with the purchase, but had a hole in one cylinder and needed a pretty extensive sleeve repair. I will be puling the non matching 340 for the numbers block this spring.
 
Mine is pretty well finished. I've had it to the strip and ran a high 13 with it on radial tires. since then I've gone back to the reproduction bias plies, I am just not into the radial look these days. Also I had the original block rebuilt, It came with the purchase, but had a hole in one cylinder and needed a pretty extensive sleeve repair. I will be puling the non matching 340 for the numbers block this spring.

Do you have any pics of it all finished? I love the colour combo of your car! Thats pretty good time on street tires.

All done now
 
not really any other than the ones ive posted here before. These still have the radial tires. looks much better now with the bias plies
 

Attachments

  • DSCN0489.jpg
    46 KB · Views: 501
  • DSCN0509.jpg
    38.6 KB · Views: 511
  • DSCN0501.jpg
    45.2 KB · Views: 533
Hey look what was just released by AMD!!!!

[ame]http://www.autometaldirect.com/images/catalogs/A-Body_67-76_RearFloorPan_3-2-15.pdf[/ame]
 
-
Back
Top