muddacres
Well-Known Member
I wish my skills was as pristine as yours. Looking great as usual. :thumblef:
Jim
Jim
 . I have the fenders bolted on and everything seems to fit perfectly.. I never spent a lot of time adjusting the gaps, so that's why they are a little big. I was more concerned if everything was even and the fender to door/rocker gaps are perfect, same as the fender to hood. I also set the valence in place to see how it fits. Tomorrow I will cut the torque boxes off the old frame rails and sandblast them. They need some rust repair and dents banged out, but once that's done I'll weld them in. Then it's on to the firewall and floorpan!


Wow that really looks good!
I've been all over this thread....what an education I'm getting.
Wow! Nice work and that's going to be a cool car!! Are you replacing the lower firewall on each side??


Did you look at Resto Ricks torque boxes?


Hey great work on the car. What brand of copper weld through primer are you using?


Very nice! I'll be doing that on mine as soon as I find a firewall to use. Where did you get the butt weld clamps?
Nice looking work Randy, nice to see your back posting up some of your work, lots of members are learning plenty watching your project.
Dan


A battle like that can wear a guy out Randy, I got my AMD stuff a bit before Christmas but December was a rightoff too many distractions. Pulled my engine last Saturday so the odyssey begins. I'll have to start a thread I guess.
I ended up using a good buddy of mine Dwayne of Mayer's Restorations, I didn't know he could bring them in directly and subsequently found out he could, should have got them before the dollar tanked, lol.
hey randy could i bother you to pm wear you get your paint supplies? i want to get all my paint in the next month or so before all the good paint is gone, im also in edmonton, Thanks
looking good. I havnt been able to get back into my car. no insulation in the garage ha ha


I have that socket if you want to borrow it I can send it to you.That's good! You went with the full quarters? What else does your car need sheet metal wise? That sucks on the dollar being so low.. I think when I bought my stuff our dollar was on par and slowly dropping as I bought stuff, which was good because I pretty much bought everything AMD makes for the darts, haha
Yeah I got everything from Carlsons and Southtown NAPA. I believe both of them still carry solvent based paints, so you should be good.
Thanks! You need to get a heater and some insulation out in the garage! I like working on my car in the winter the most.. Less distractions and I can control the heat.
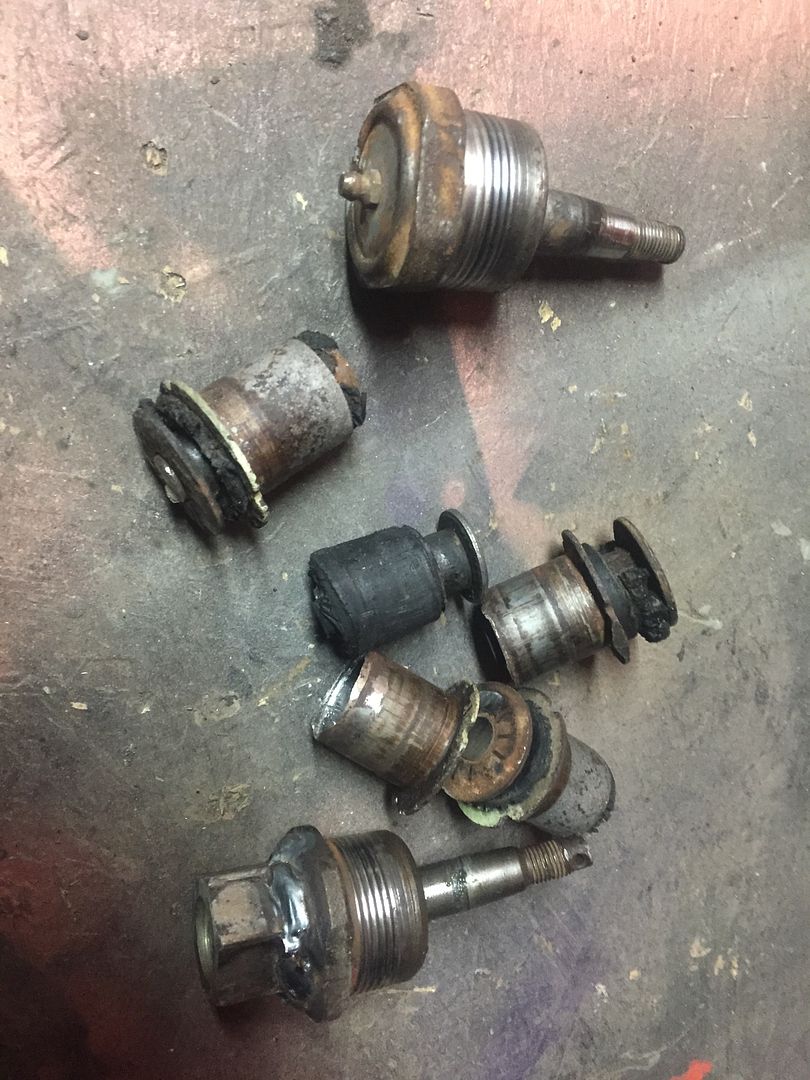
I got the upper control arms disassembled and sandblasted.. Everything on them was a fight! The rear bushings on the control arms were a nightmare since they had the extra sleeve pushed on from the backside. The one balljoint came out easy, but the other one wouldn't budge so I welded a nut on it and ran it off with the impact (I don't have the proper socket to remove them) I'm just doing one suspension piece at a time during the workweek to keep steady progress. Next are the spindles.