SettinTrendz
Well-Known Member
Sorry for the late welcome. nice work, I'm sure that the wife will enjoy the new ride. Those wheels will make that vert a nice ride.
Yea, were close enough now where she can see it and is gettin excited!
Sorry for the late welcome. nice work, I'm sure that the wife will enjoy the new ride. Those wheels will make that vert a nice ride.
Wow! I love that maroon color! Looks like you guys had a great starter
Happy life lol either way it looks real sharp! I wish like heck I'd kept my 64
Just found this thread. Great build Adam. Love the color.
And a late welcome to the FABO family.
Thank you for a good how to thread, being subscribed to this thread so I don't miss a move, outstanding work and choices, memikey likey :cheers:

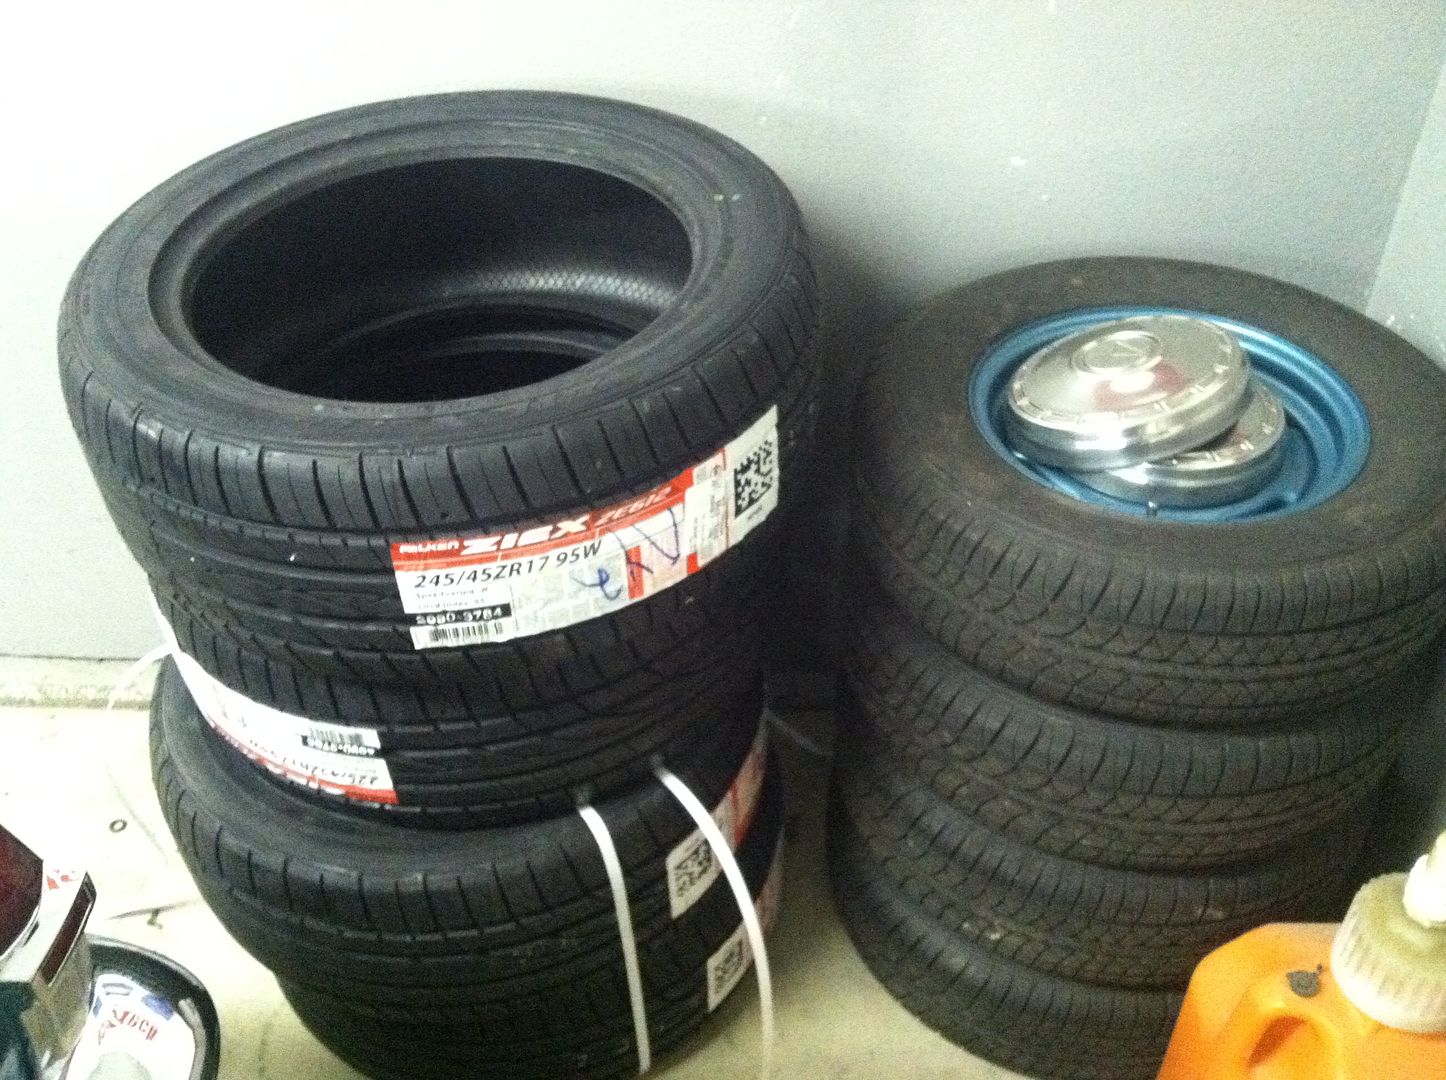
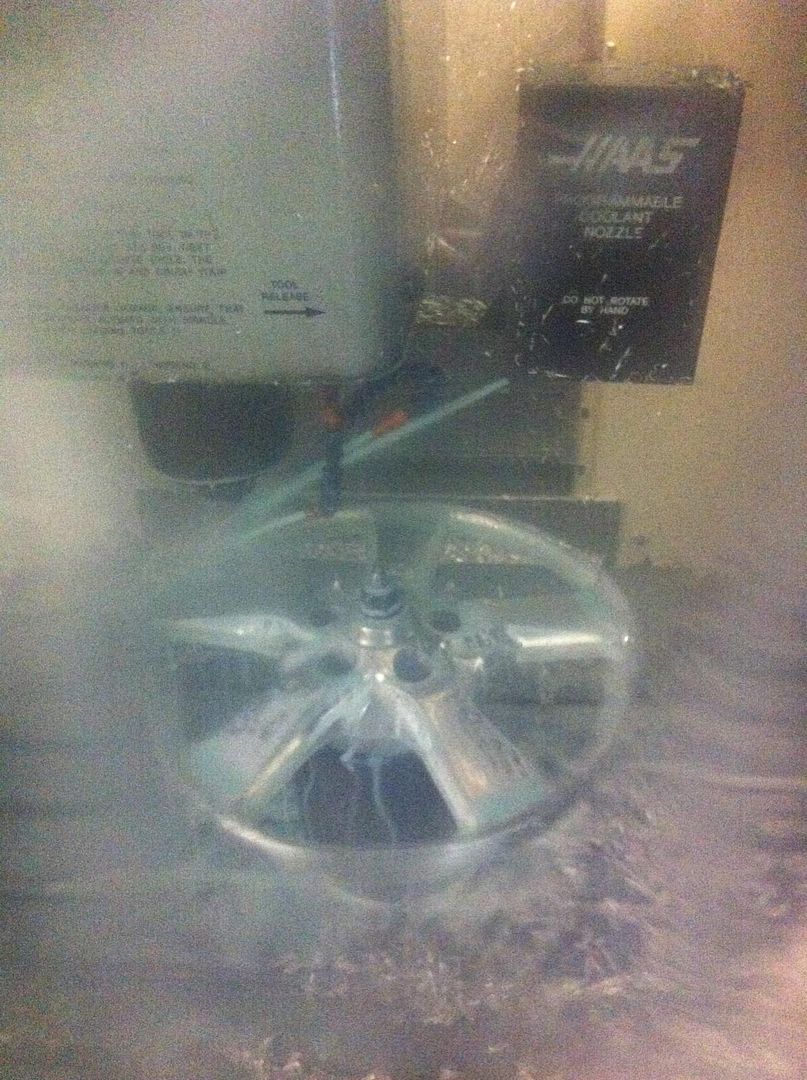
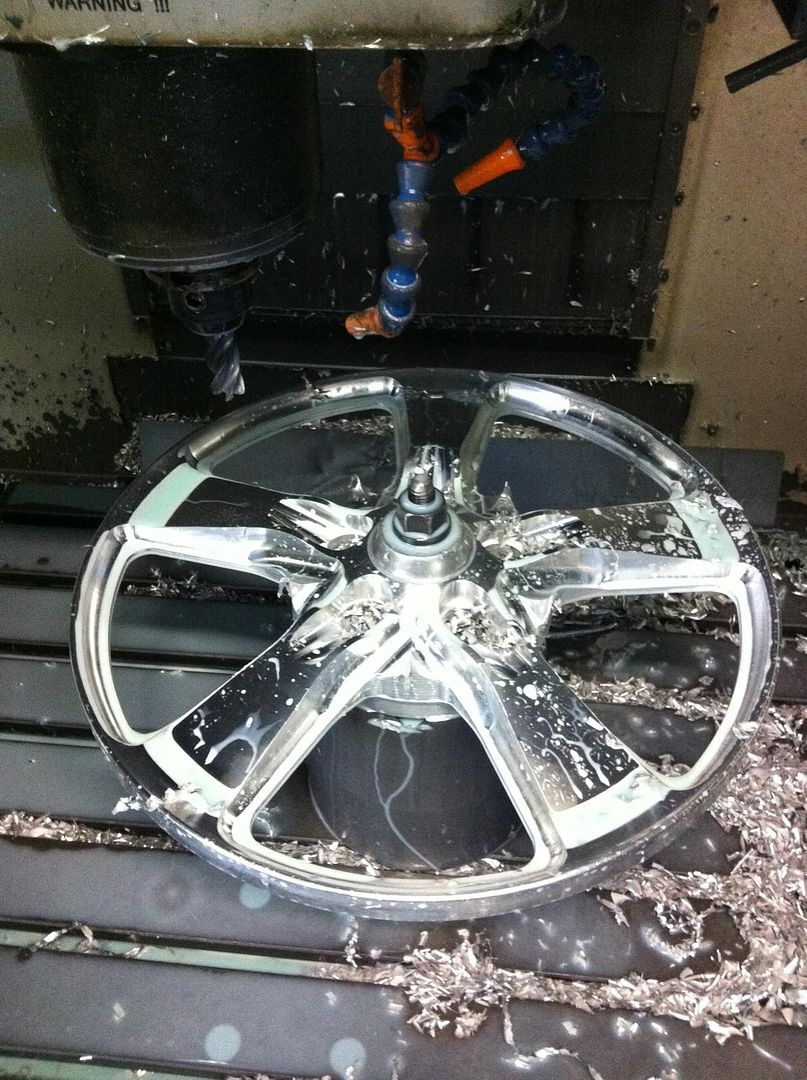
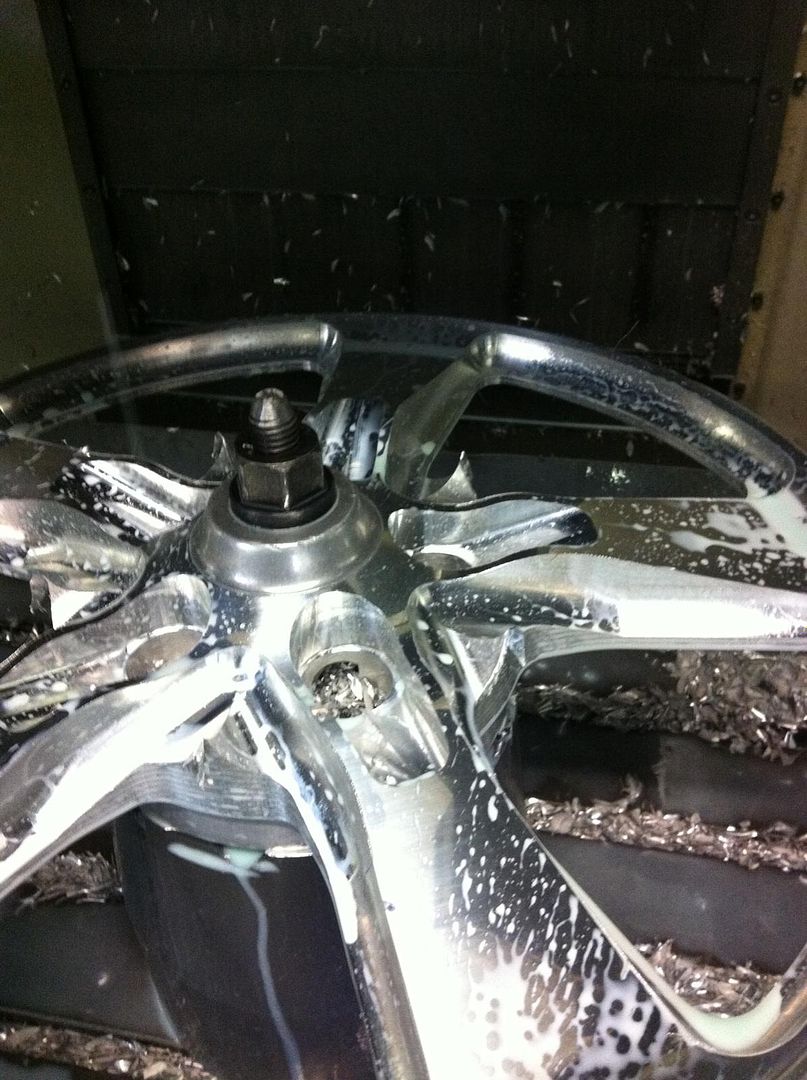
Tires came in today. 225/45R17 and 245/45R17 Falken ZE-612.
Billets come in next week.
I had a set of azenis rt615's! I love those Falken tires!
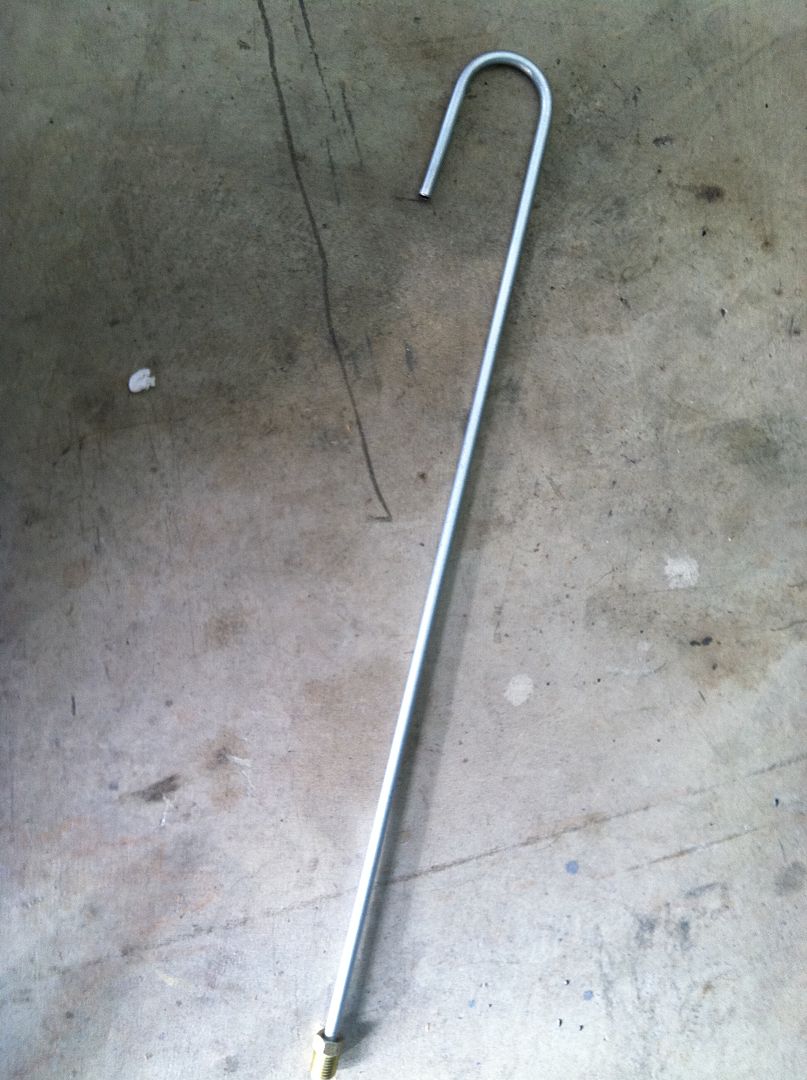
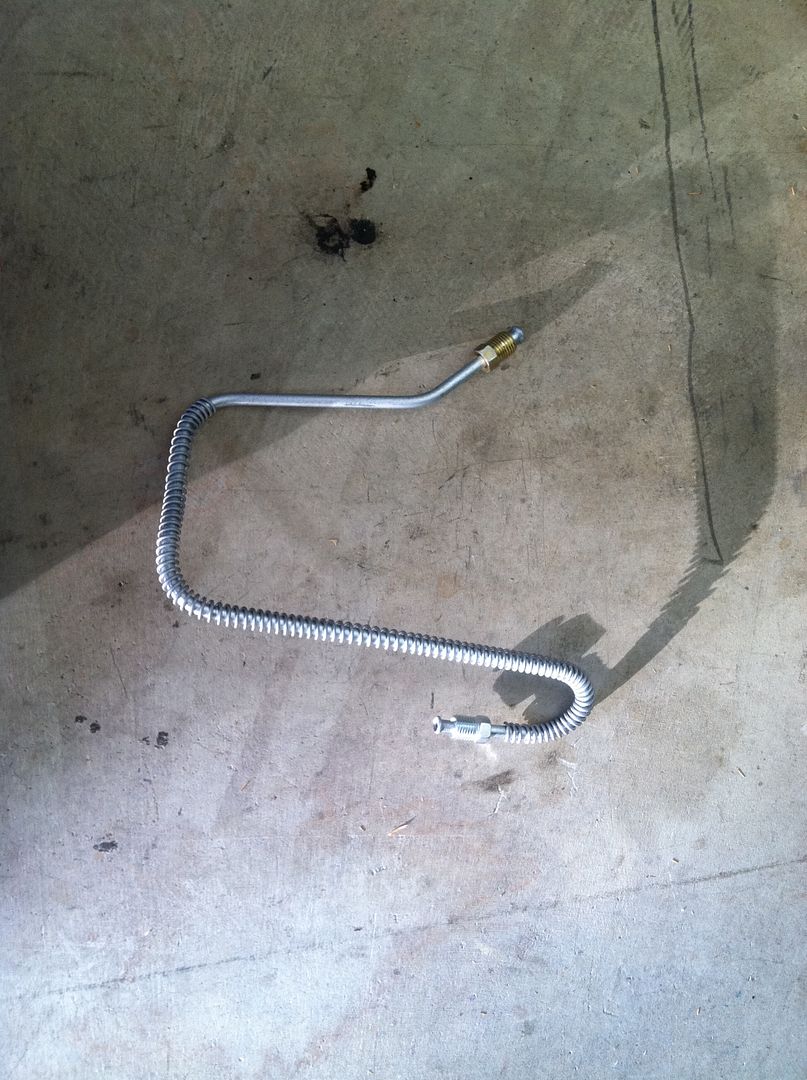
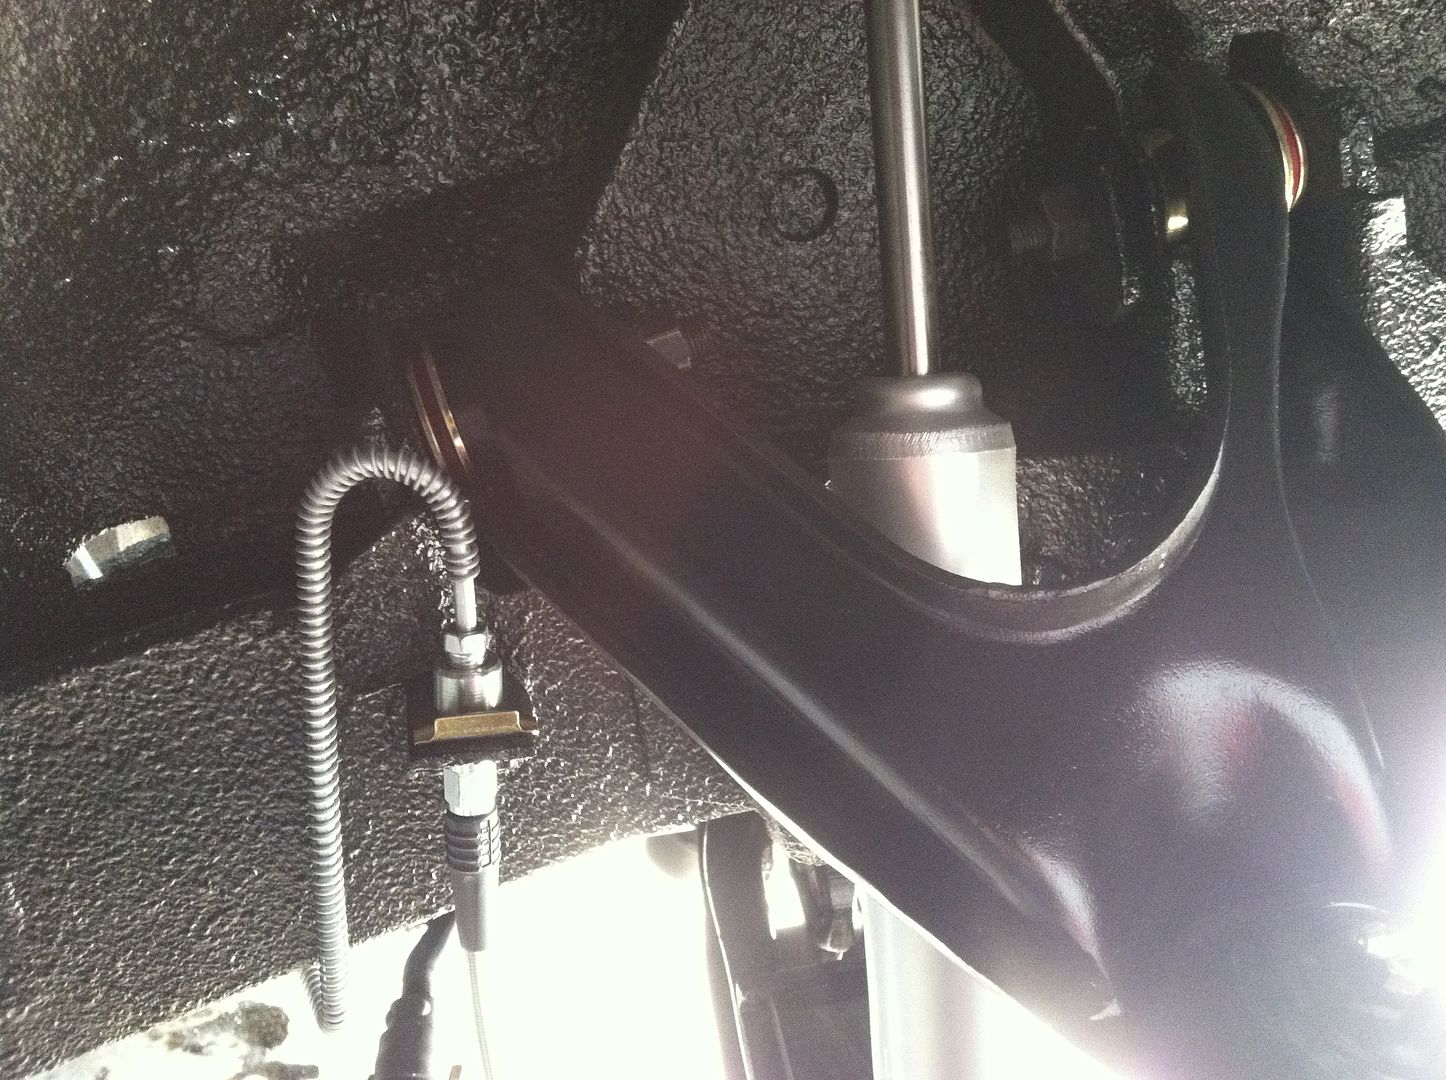
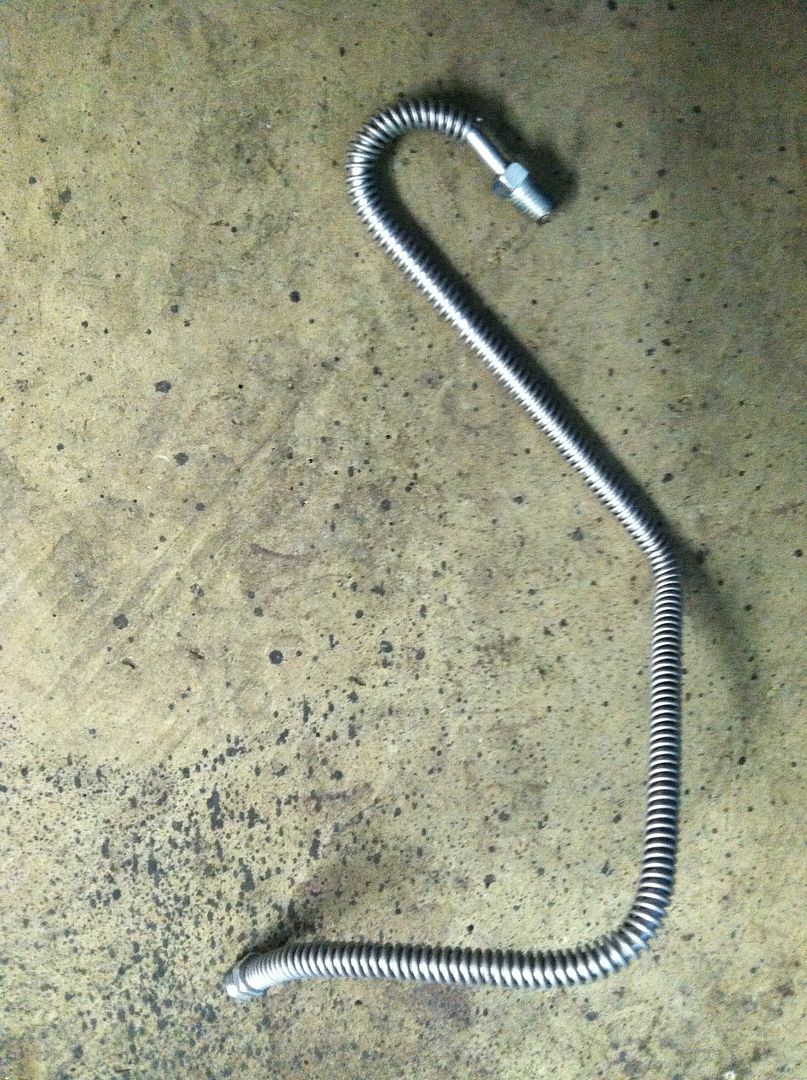
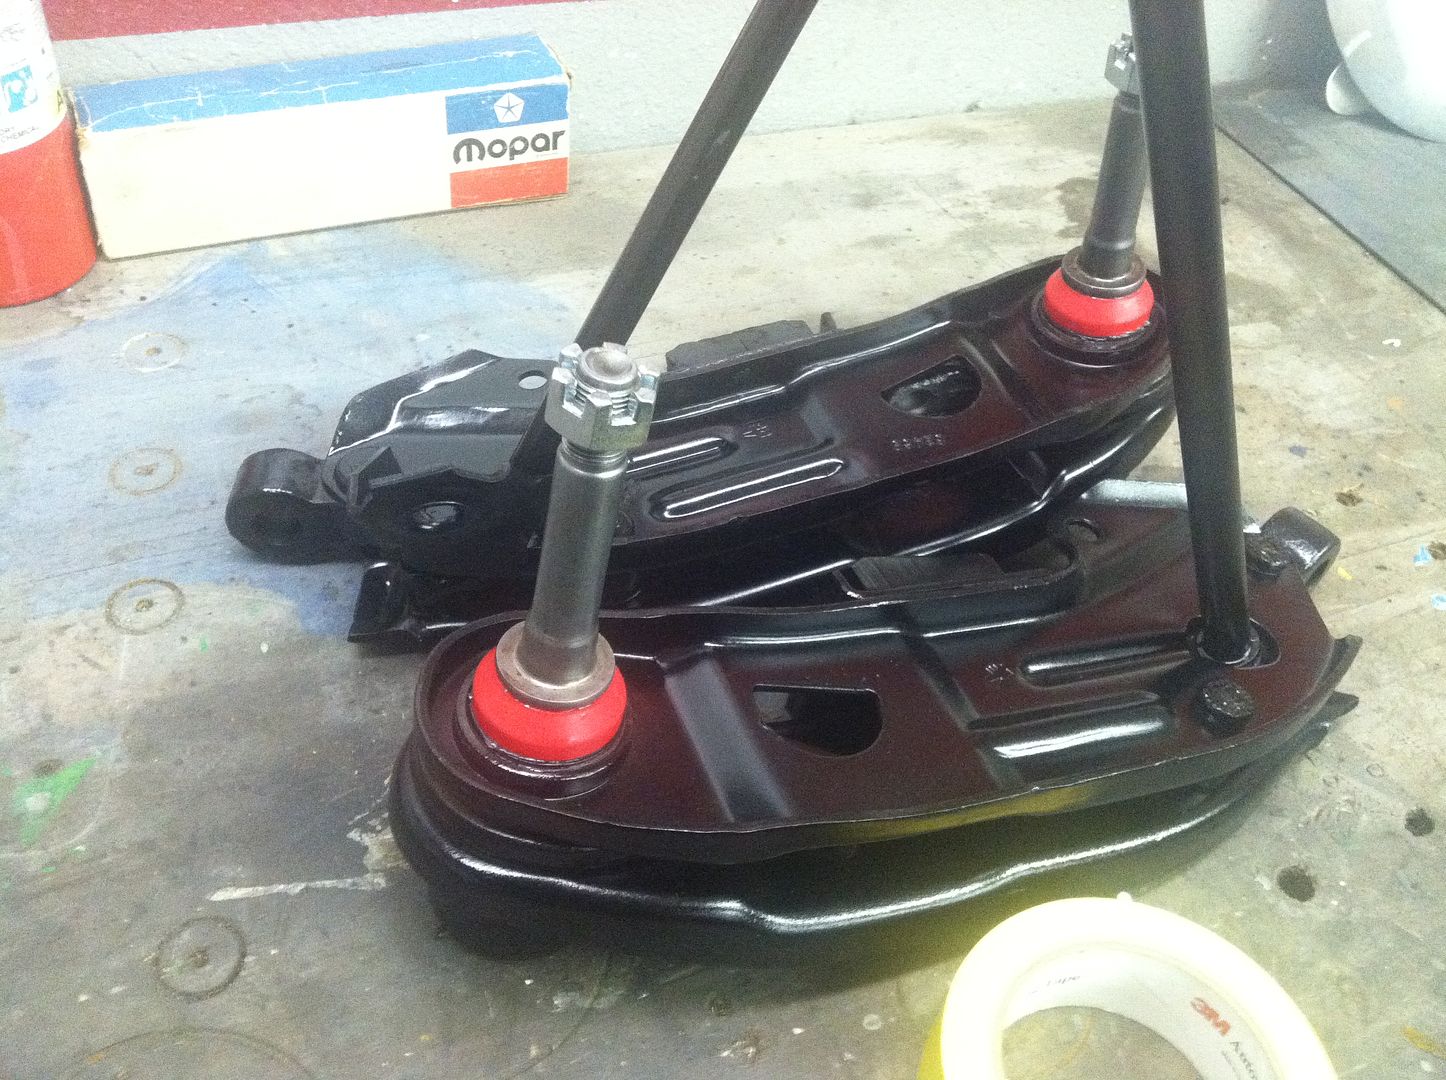
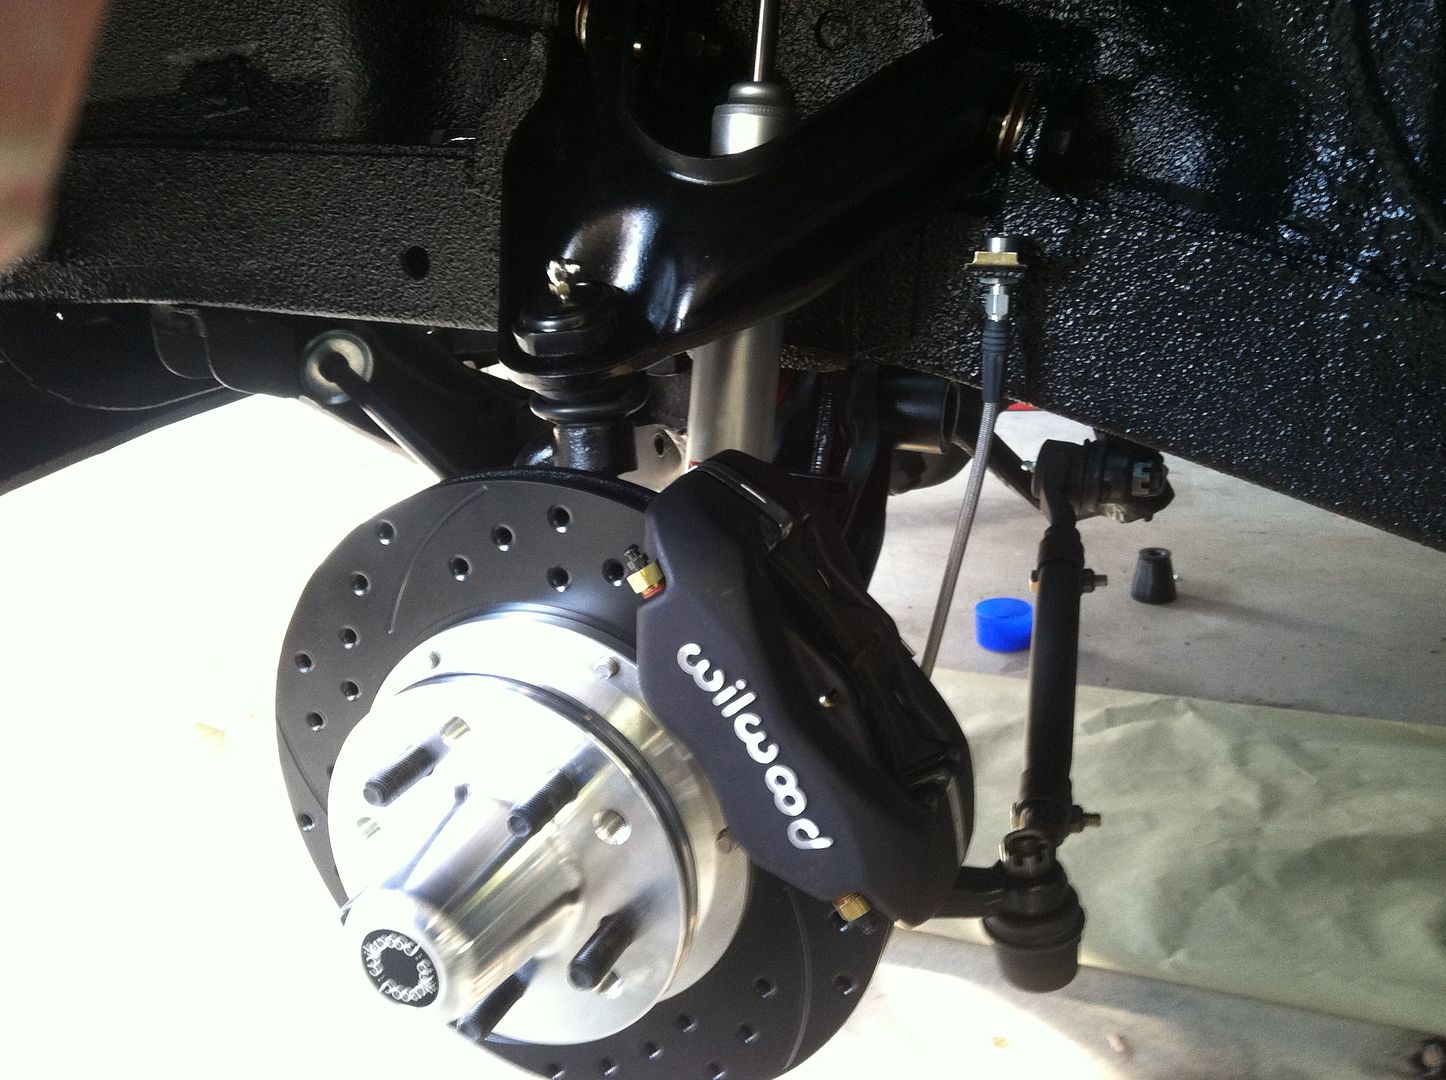
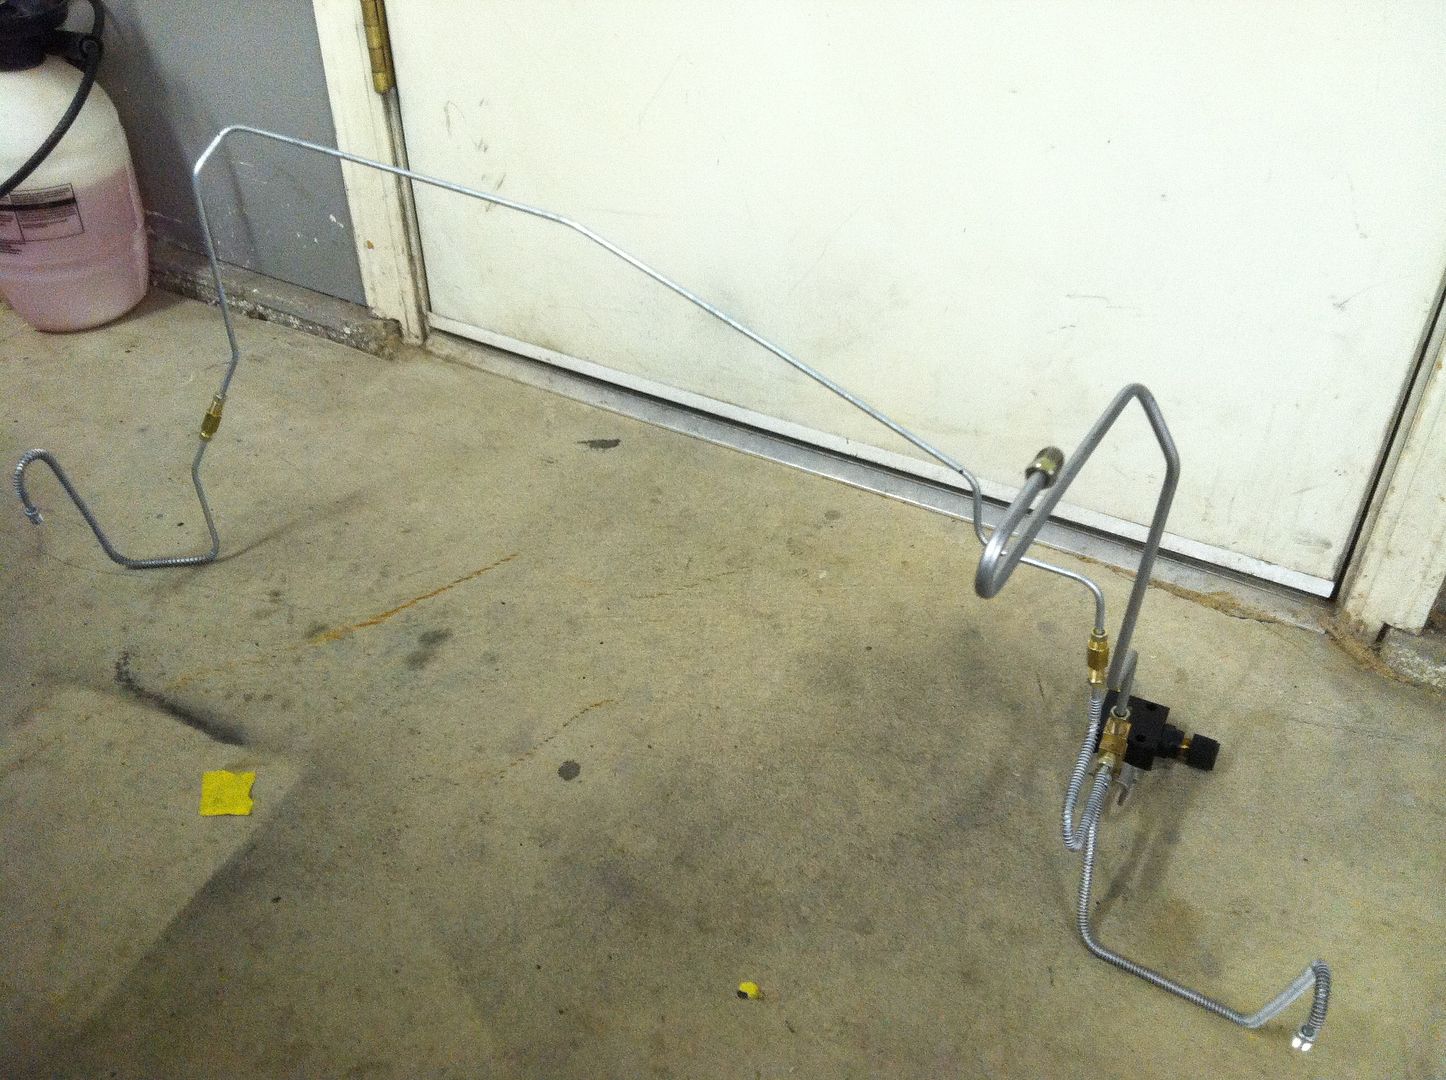
Working on front brake lines. They were pretty nasty and the tube nuts were stuck and stripped pretty good, so I figured it'd probably be best to make new ones.
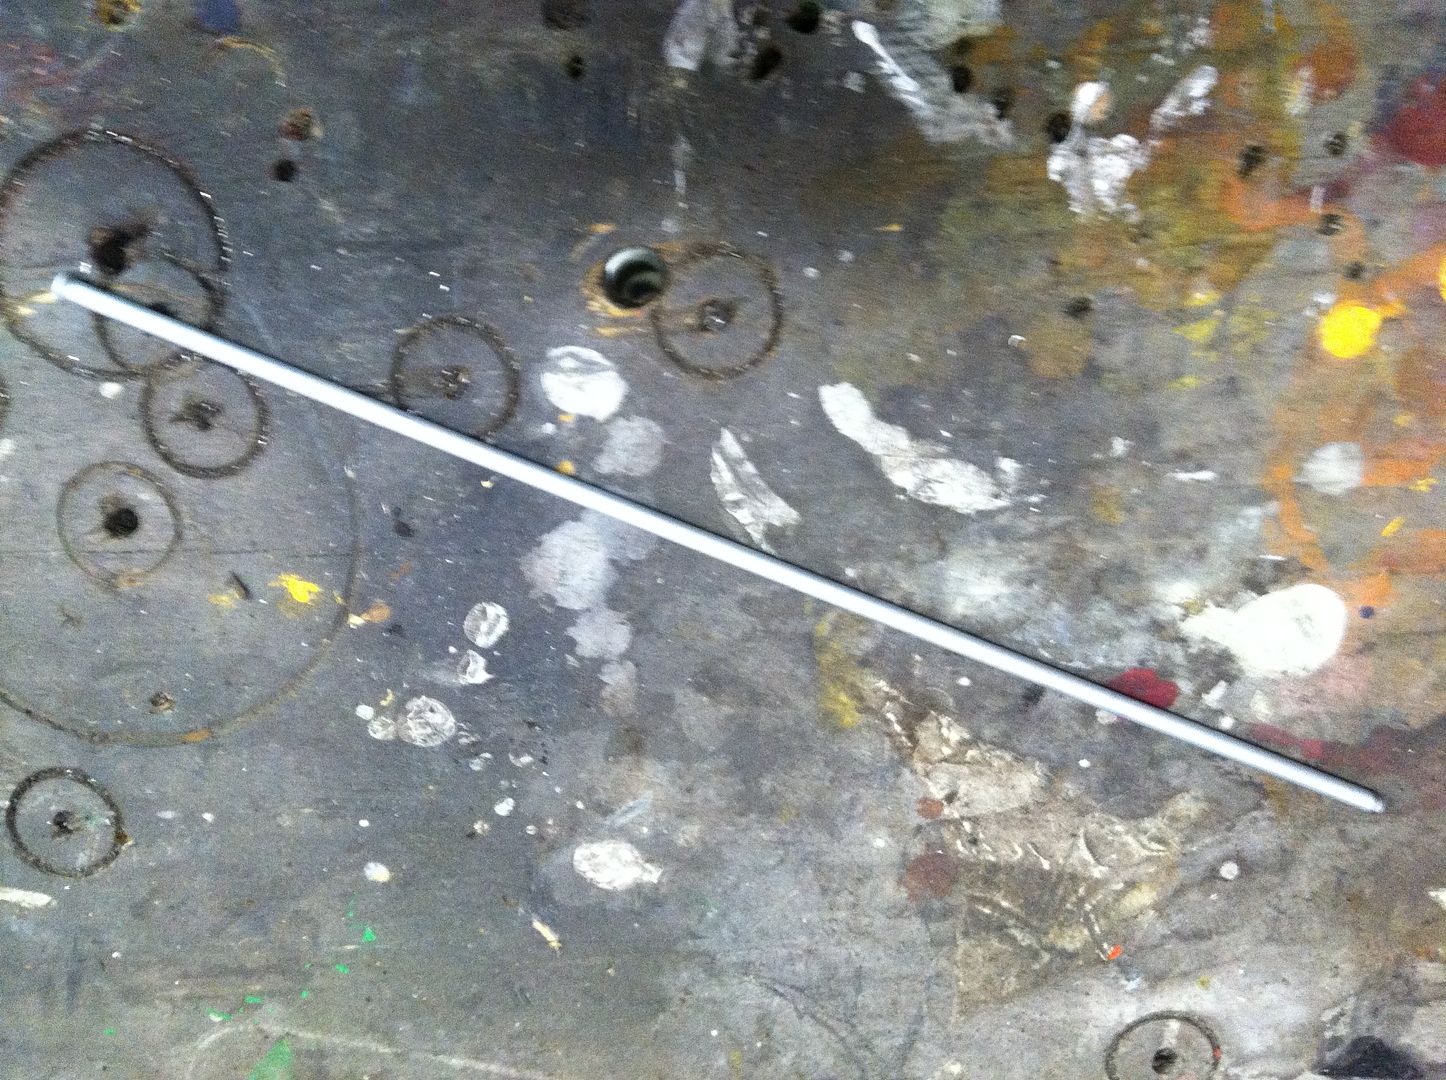
Just started with scraps of 3/16" line. I dont like what a pain it is to pull the crossover line out (line fron distribution block on drivers rail, to the passenger hub). Without removing numerous wires, throttle linkage, etc. its almost imposible to take that line out. And if you can manage, youll bend it all up in the process. So, in instances like this, I like to make it in multiple pieces. In this case, I will have one crossover line on the firewall, one little shorty from the firewall to the pass hub, and one from the firewall to the distribution block to facilitate installation and service.
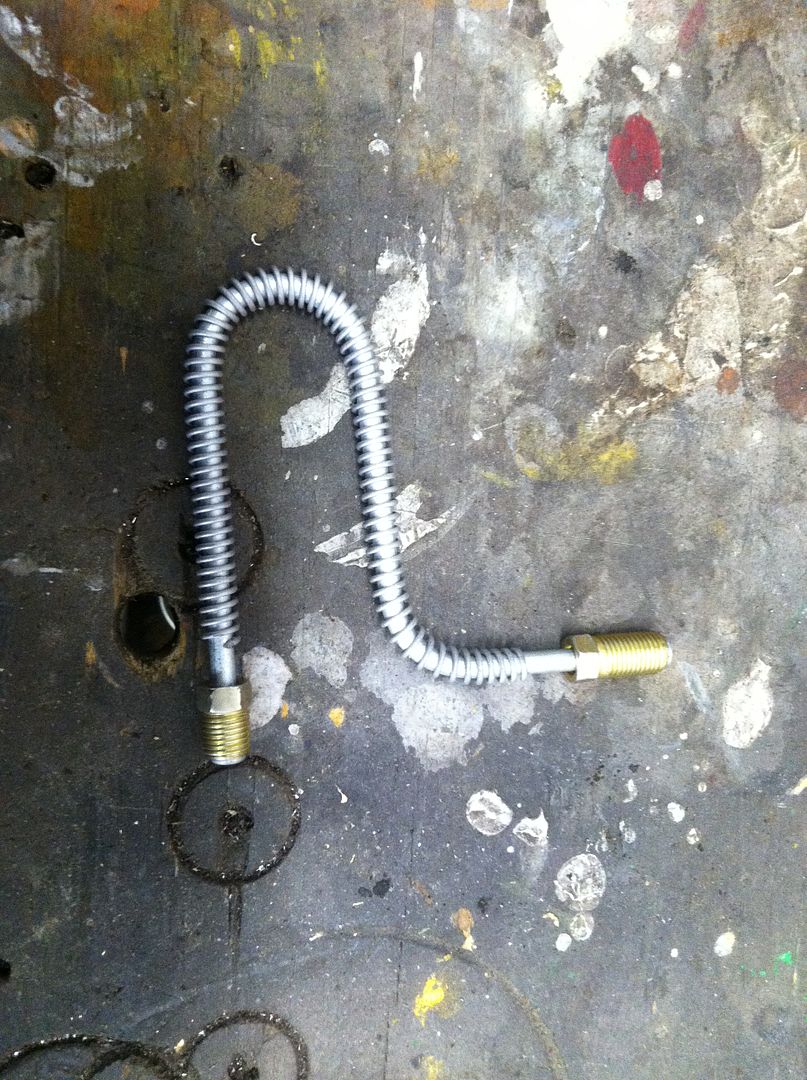
Here we have the passenger side shorty...
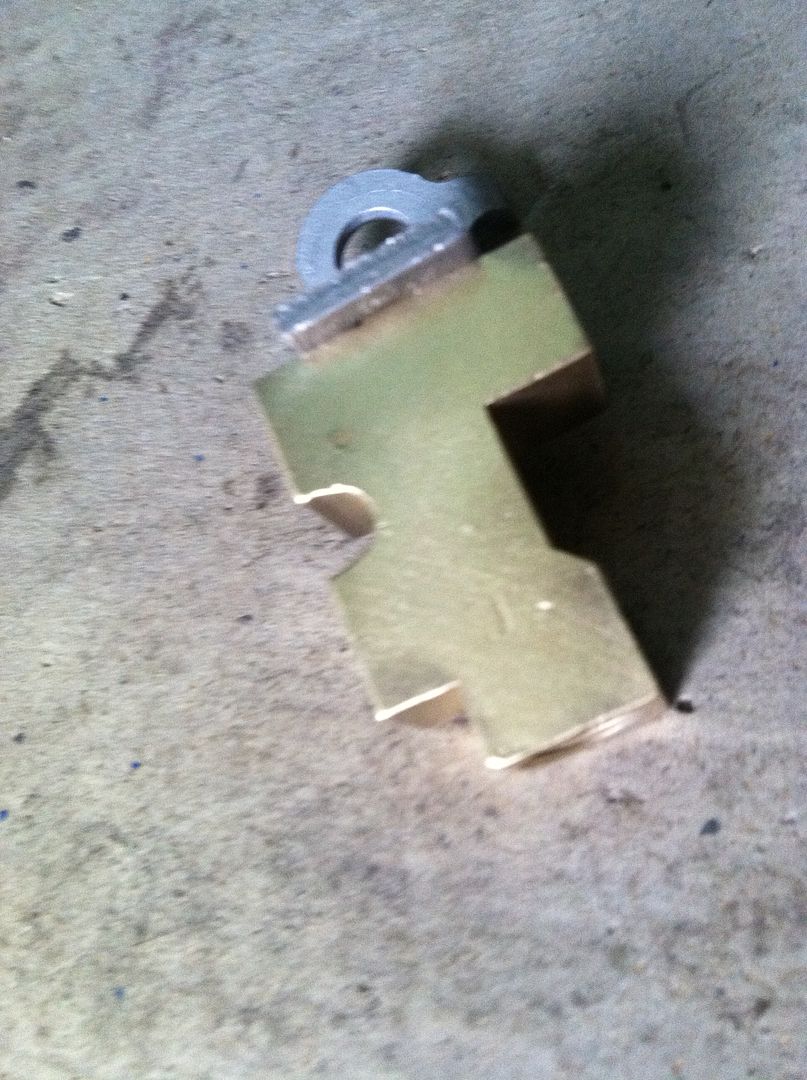
Distribution Block...
Drivers side shorty from firewall to D-Block...
Drivers side from D-Block to hub...
Welcome to FABO!Your doing some nice work there.Seeing your pics brings back memories of building my 66 Dart.Keep up the good work and pics too.
Thanks! Shes very excited!! She keep asking why I cant just throw the seats in and done. Hahaha.
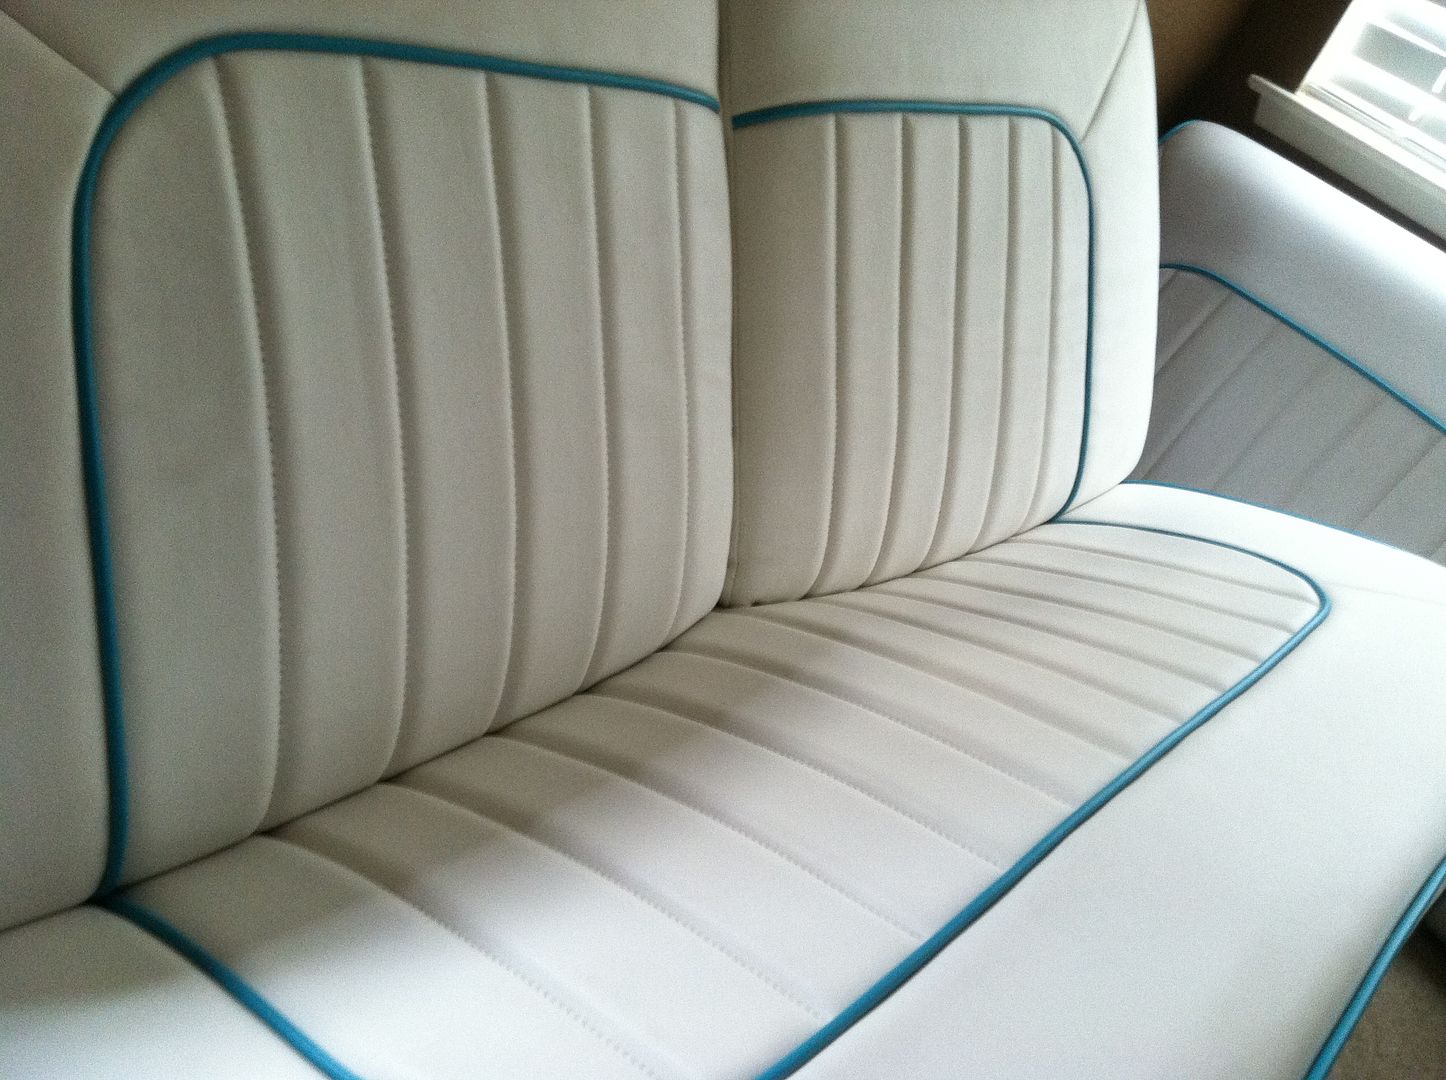
Speaking of seats, here's a preview...


oops...