I decided to begin the build thread to document this restoration. The car is a 68 Dodge Dart (post car), it came with a 318 and 4 speed with a hurst shifter, out of the factory it had a straight 6 170 and I believe some type of manual transmission, I was having trouble figuring that one out. None the less, I picked her up for $1,100, everything was there, I didnt put up any of the photos but the guy included alot of trim, bezels, extra bumper, etc... She had some rust here and there, wasn't running... but hey, it was all there!
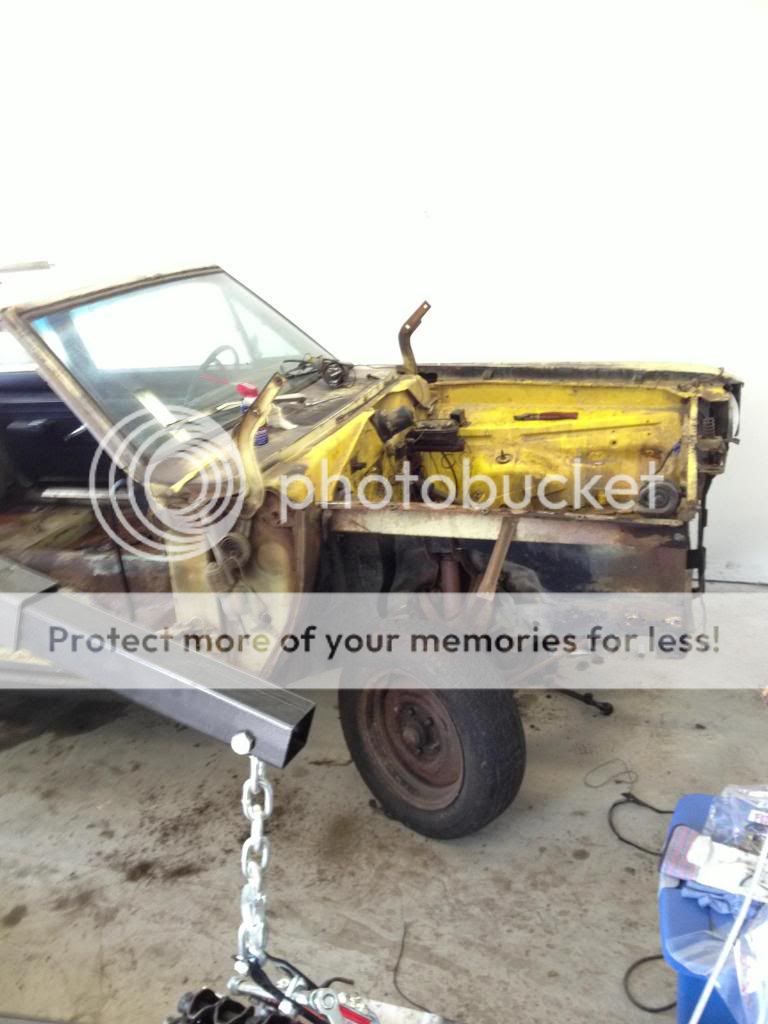
So I got her towed home, and this thing was filthy! It sat in this guys yard for like 10 years! So first things first, I washed this car, then I vacuumed out this car. I then began the process!
I want to do a very nice restoration on this car, paying attention to small details and what not, so I decided I wanted to give this thing a great body from the get go! So me and some buddies of mine started breaking this thing down! Pulled interior, pulled motor and trans, body panels, everything but the glass really. Suspension is still on there as Im pushing the car around here and there, but as soon as the body is ready for paint Im going to buy some pinch weld car dollies so I can move the car around in the garage and be able to paint it fully.
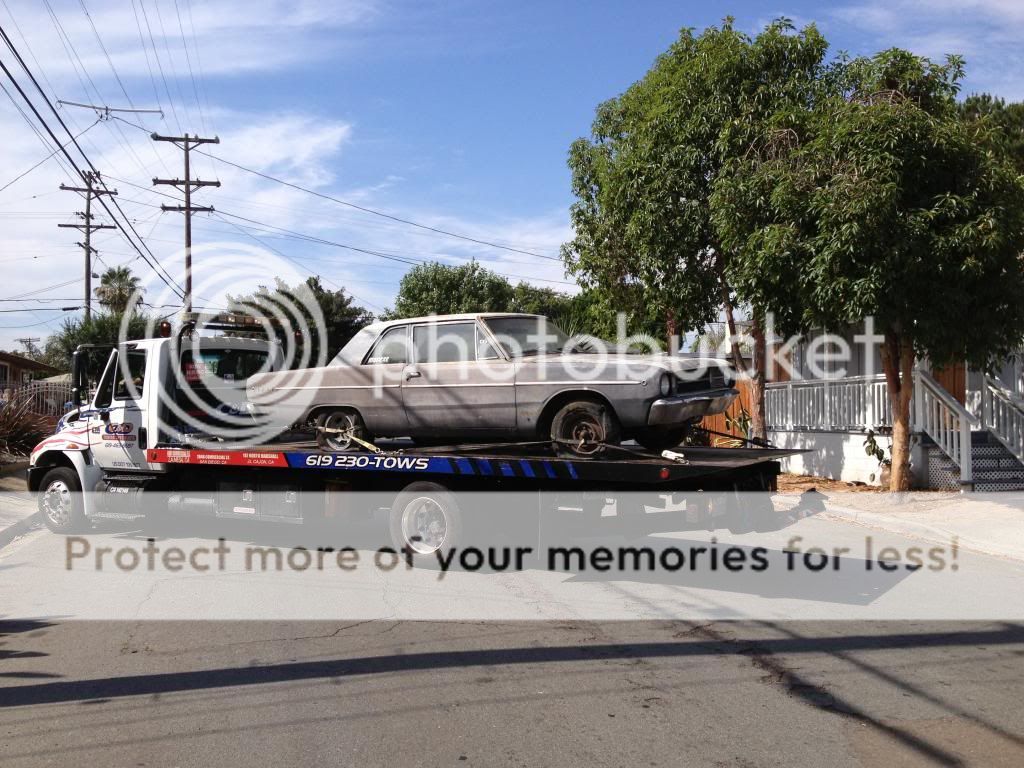
here's the car getting towed home!

Washed and parked outside of my house


The beginning, gutting the car
More of the gutting process, removing the side fender panels, hood, doors, trunk, seeing this is the first time I will be tackling body work and paint I believe I made things harder for my self then I had too, but then again there's only one way to learn right? haha plus having the parts removed allows me to take care of the backsides and it makes the hammer and dolly process a little easier!
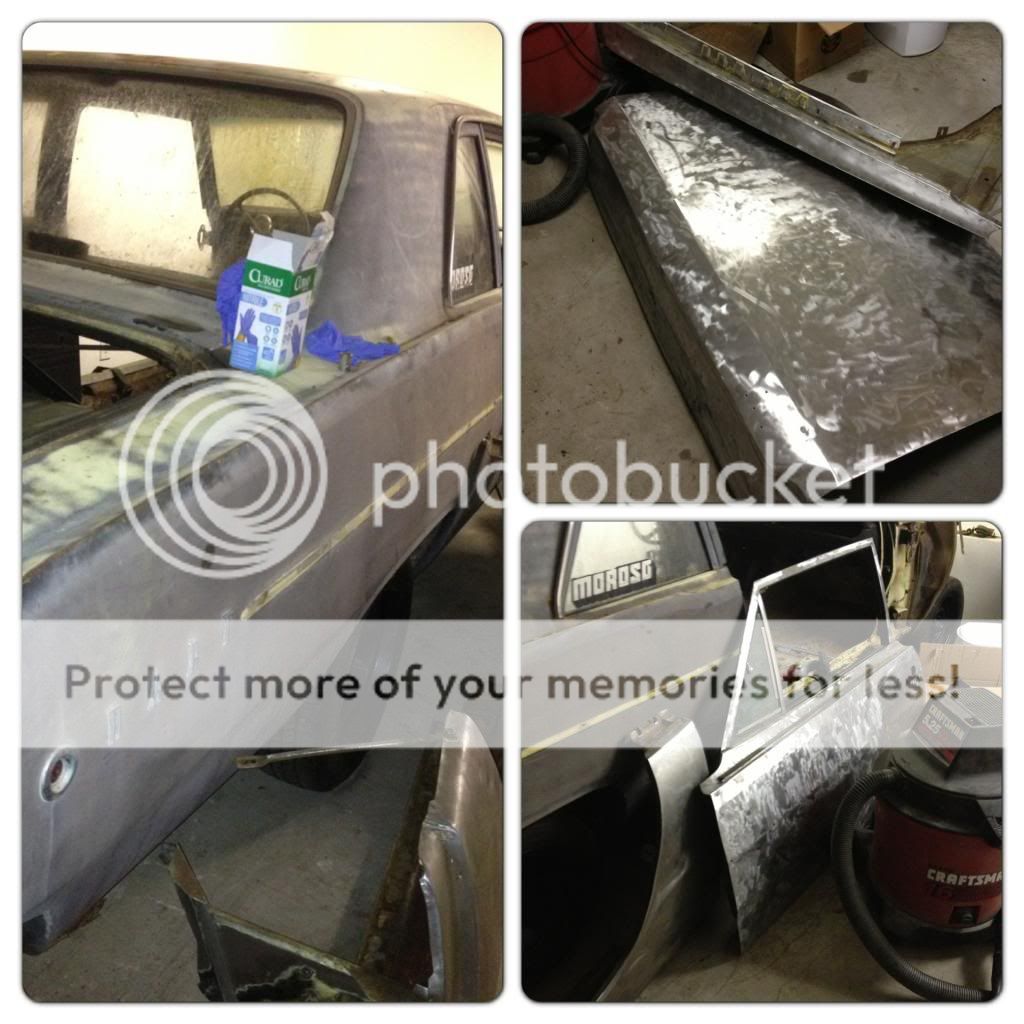
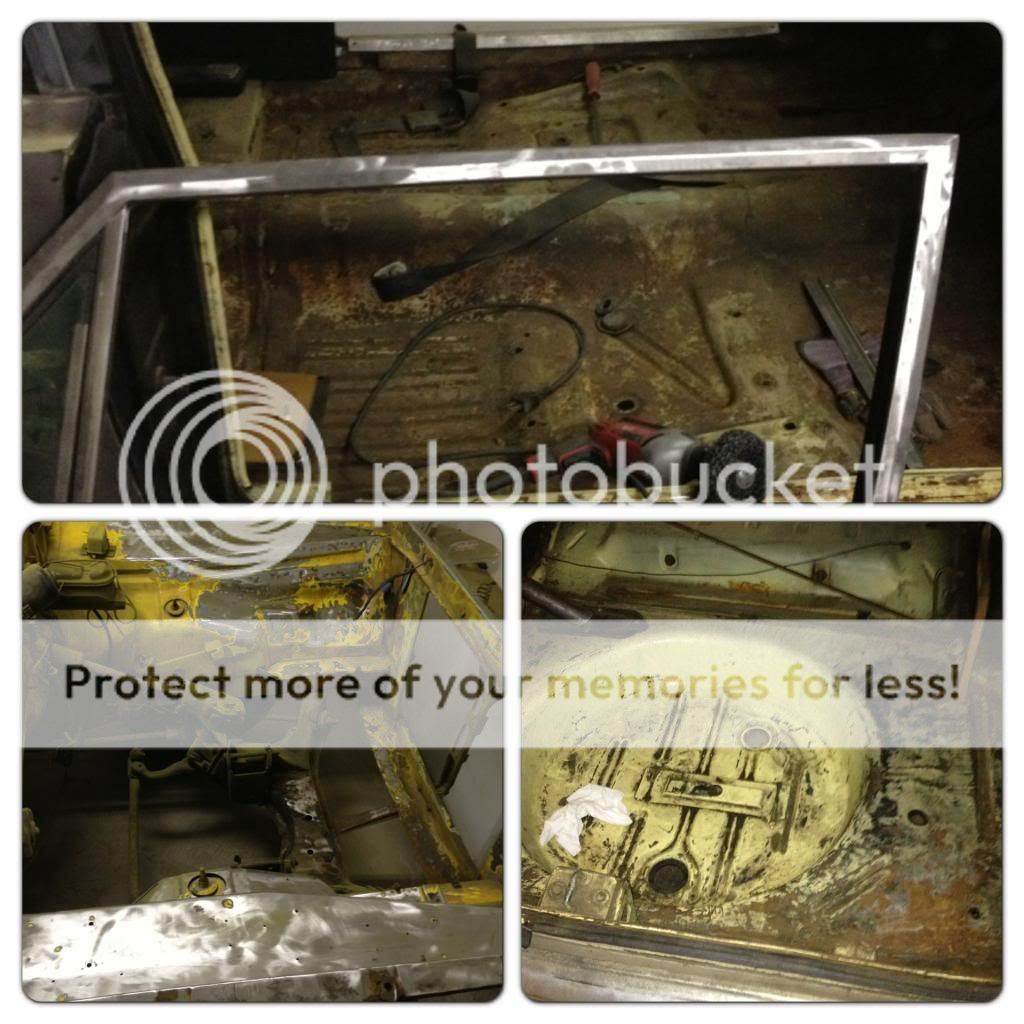
back to me making things harder haha, for some reason I had in mind that I needed to take this whole car down to bare metal, not just when fixing areas and what not, so I spent money on buying sanding products to take this thing down to bare metal. and countless hours sanding. As of now I have sanded the fender panels, hood, trunk, and both doors, and got started on the engine bay. Not saying its bad to strip the car down, but I was just like, dude there has to be an easier way of doing this! and thats when I got those Paintucation vids and was like "oh man I didnt have to take this whole entire car down to bare metal! Regardless I did it, I was able to find places with poorly applied filler, and more places to tackle with the hammer and dolly.
So my next step is to try and hammer and dolly anything that needs it, body filler, and prime it. Then fixing any rusty areas, and dealing with that.
After that I will sand the whole car down with a da sander and 220 grit paper, then hand sand any places I missed. Lay down primer, and let that whole thing start.
Im currently just gathering info on products right now and making a list of purchases!
I had some time today to mess around with the motor. Found out its a LA 318 66-75, havent messed with the tranny yet. The plan is to rebuild both myself, so if anyone knows of any good kits, let me know!

it looks good, just dirty.
So I got her towed home, and this thing was filthy! It sat in this guys yard for like 10 years! So first things first, I washed this car, then I vacuumed out this car. I then began the process!
I want to do a very nice restoration on this car, paying attention to small details and what not, so I decided I wanted to give this thing a great body from the get go! So me and some buddies of mine started breaking this thing down! Pulled interior, pulled motor and trans, body panels, everything but the glass really. Suspension is still on there as Im pushing the car around here and there, but as soon as the body is ready for paint Im going to buy some pinch weld car dollies so I can move the car around in the garage and be able to paint it fully.

here's the car getting towed home!

Washed and parked outside of my house


The beginning, gutting the car

More of the gutting process, removing the side fender panels, hood, doors, trunk, seeing this is the first time I will be tackling body work and paint I believe I made things harder for my self then I had too, but then again there's only one way to learn right? haha plus having the parts removed allows me to take care of the backsides and it makes the hammer and dolly process a little easier!


back to me making things harder haha, for some reason I had in mind that I needed to take this whole car down to bare metal, not just when fixing areas and what not, so I spent money on buying sanding products to take this thing down to bare metal. and countless hours sanding. As of now I have sanded the fender panels, hood, trunk, and both doors, and got started on the engine bay. Not saying its bad to strip the car down, but I was just like, dude there has to be an easier way of doing this! and thats when I got those Paintucation vids and was like "oh man I didnt have to take this whole entire car down to bare metal! Regardless I did it, I was able to find places with poorly applied filler, and more places to tackle with the hammer and dolly.
So my next step is to try and hammer and dolly anything that needs it, body filler, and prime it. Then fixing any rusty areas, and dealing with that.
After that I will sand the whole car down with a da sander and 220 grit paper, then hand sand any places I missed. Lay down primer, and let that whole thing start.
Im currently just gathering info on products right now and making a list of purchases!
I had some time today to mess around with the motor. Found out its a LA 318 66-75, havent messed with the tranny yet. The plan is to rebuild both myself, so if anyone knows of any good kits, let me know!

it looks good, just dirty.


