termy1971
Active Member
Hi, my name is Chuck from Florence AZ. I had a Demon 340 when I was a kid and used to bracket / street race it. Now that I am older and very marginally wiser I am doing a fun build!
I sold my Trans am's and found this beauty. I couldn't not buy it! I hope this helps some one else on questions and gives ideas of mods to other people.
OK enough chit chat.
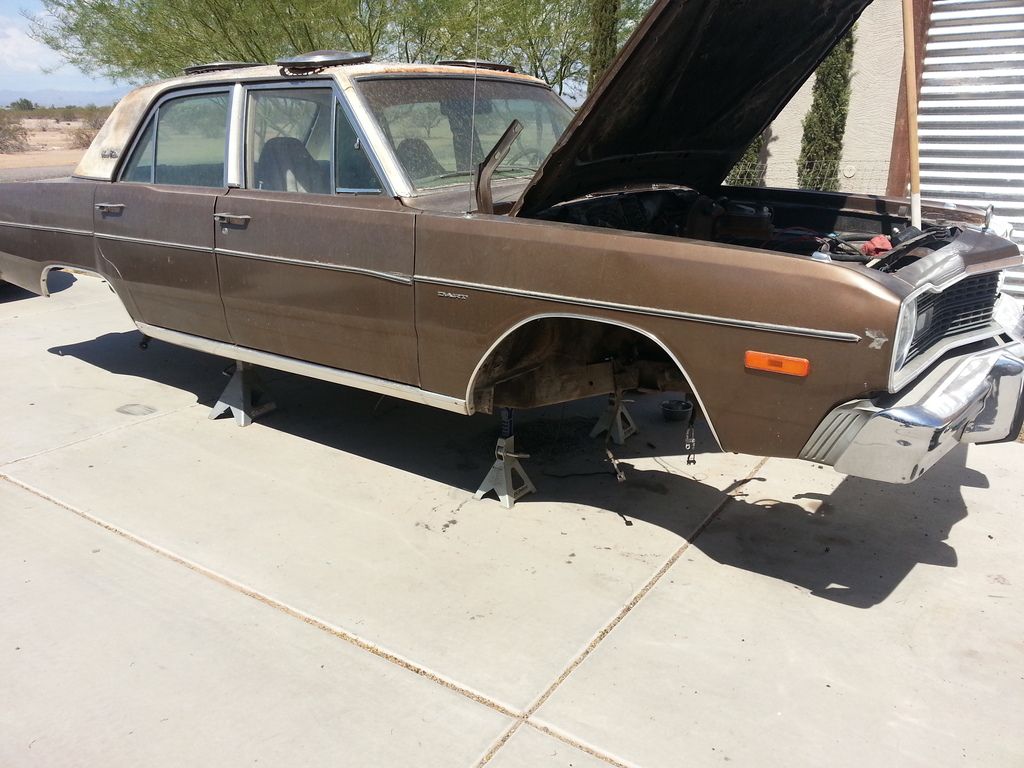
This is how I got her. 52k orig miles slant 6 three on the tree.
OK I figured the easiest way to get the V8 was a whole car. Piecing it out would be expensive and a time consuming aggravating search (you couldn't give these things away when I was young now everyone wants a zillion dollars for parts). Low and behold 15 mins from me!
It ran and drove like a dream before this picture LOL. Just what I needed! 74 318 SE dart! rebuilt 318 a bunch of new stuff on it, power disc brakes, AC ( hey I live in AZ) , 8.25 rear. Cheap to!
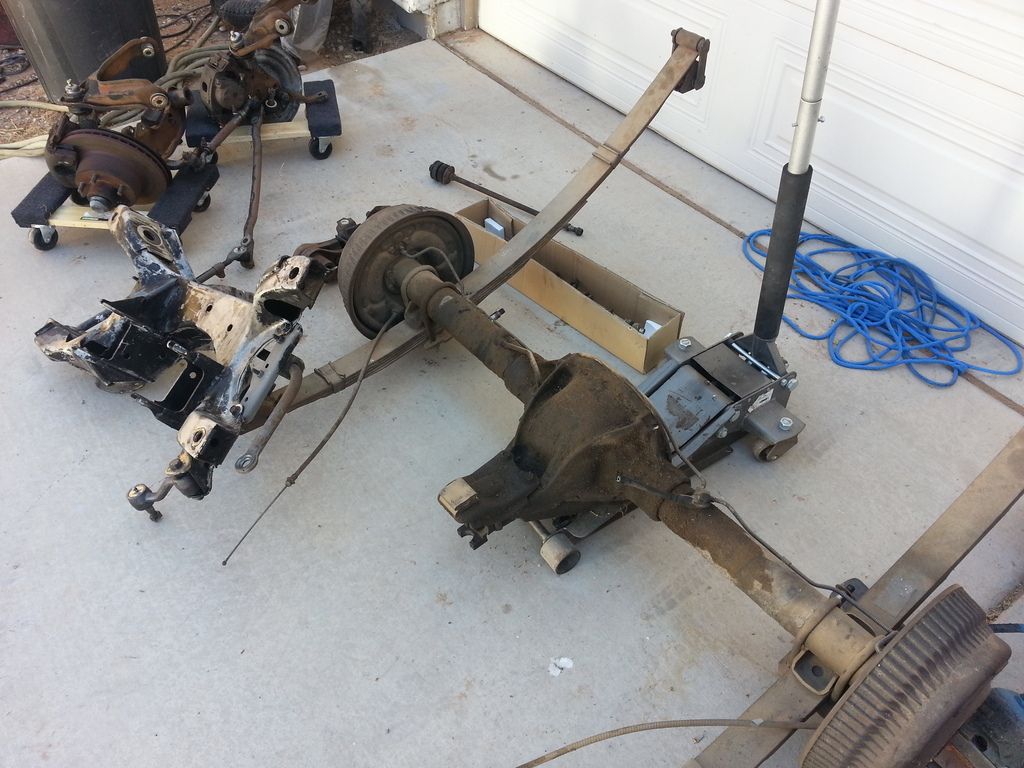
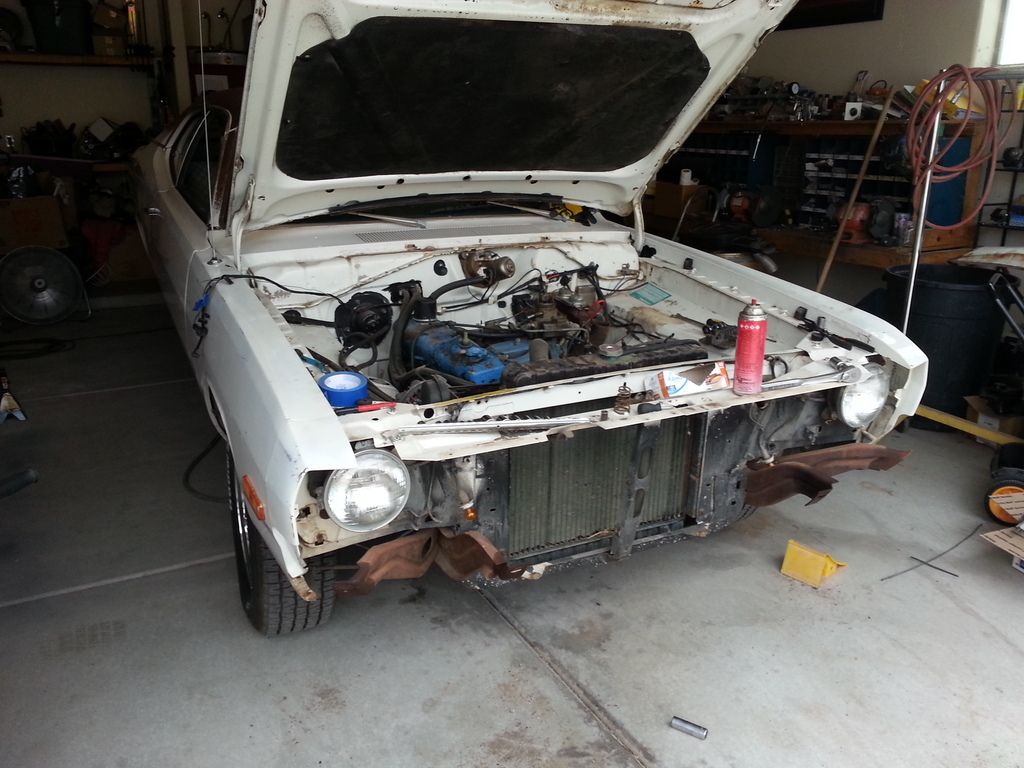
Motor and trans out. K frame with brakes and control arms out. Rear out. Brake booster with lines and proportion valve out. In that order so far.
I ordered almost all parts from summit and a few things from ebay.
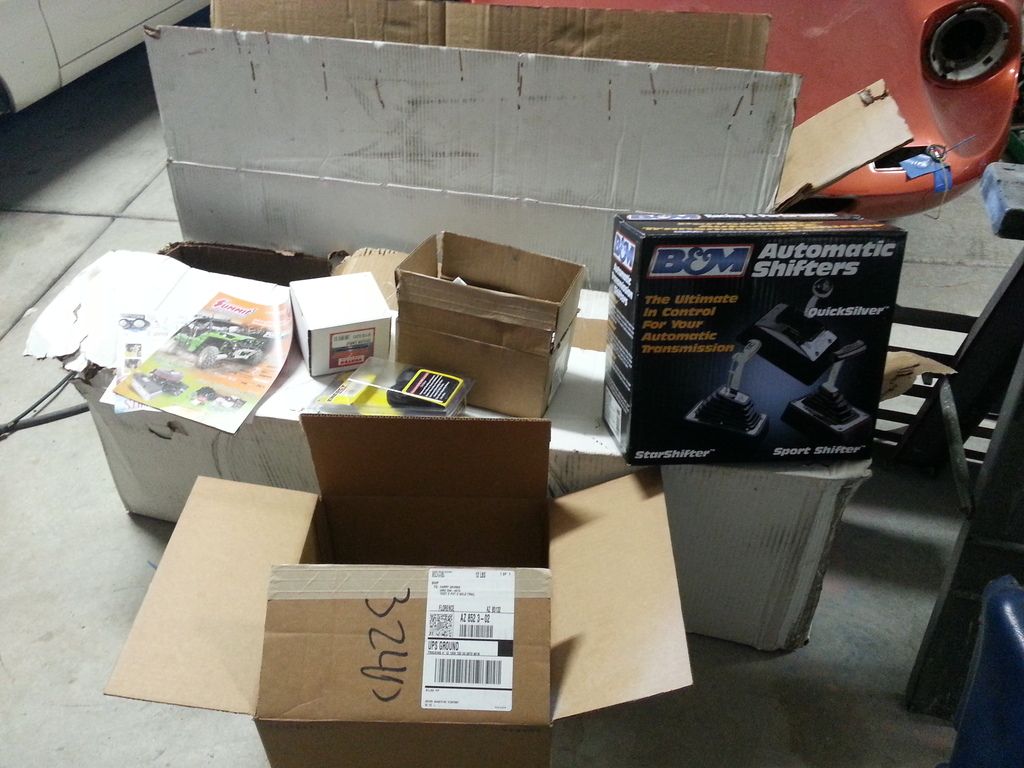
Ahhh the first of 4 or 5 orders from summit!
My list from summit was:
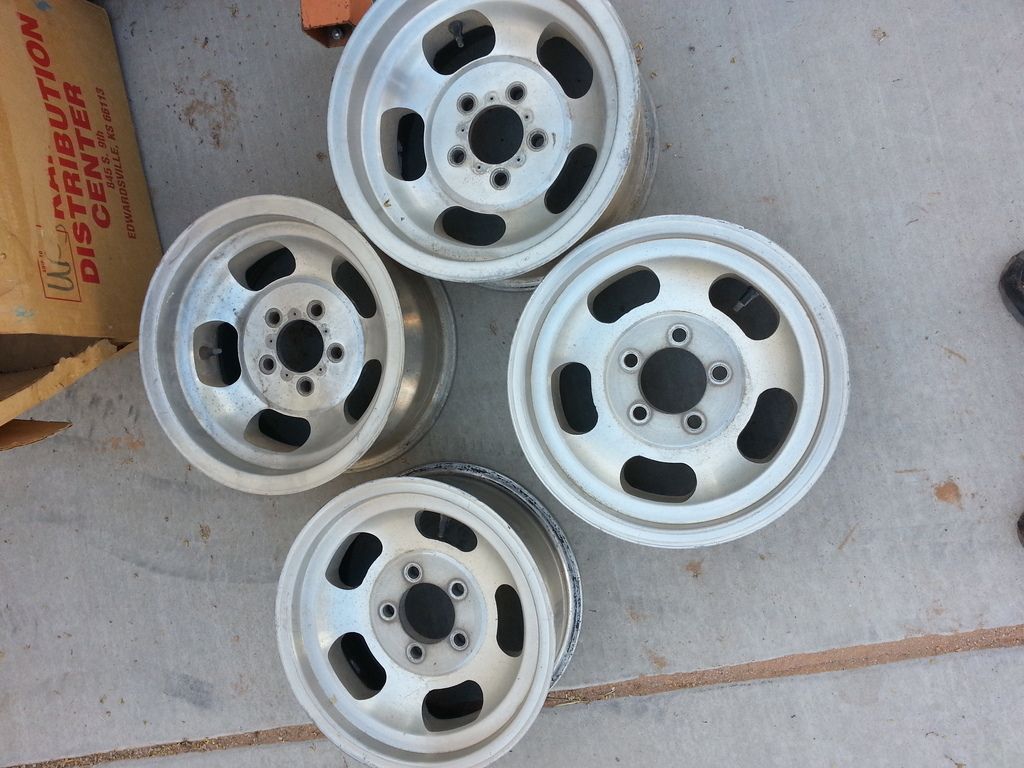
I picked these vintage slots up for 125$ 6 inch front and 7 inch rear. Those new cragars wont fit any more with the swap. These will shine like a new penny when I am done with them!
Started cleaning and painting stuff!
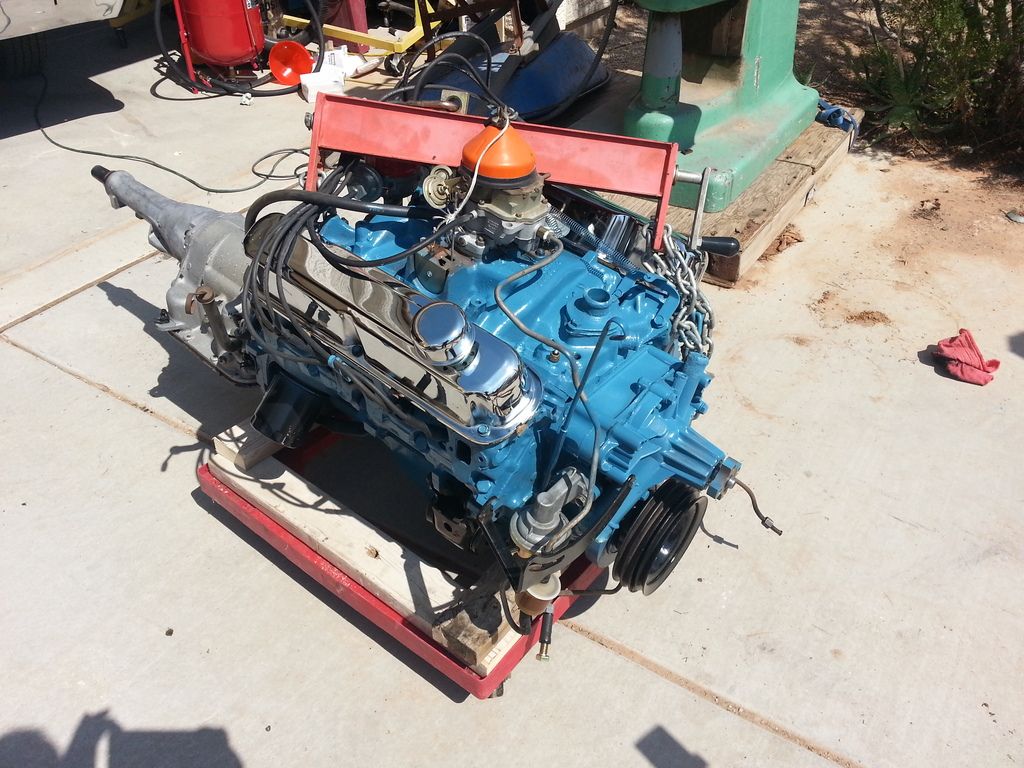
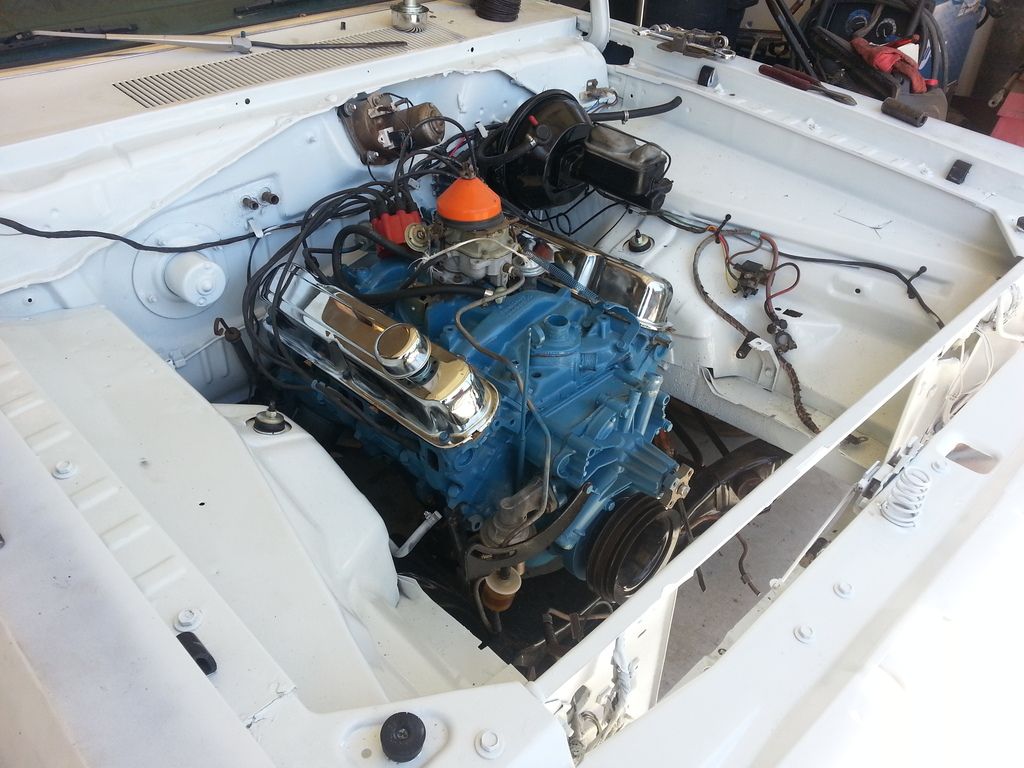
Motor cleaned painted with new valve covers. I am just leaving it alone as it ran really good. I just want to get the whole car done before I build the motor.
I left the 904 on it. The car is a 3 speed on the tree. It was just to much money to buy all the 4 speed stuff. Let me clarify that, there was one or two people on here (thanks guys) that offered me killer deals on a whole setup, but I felt my money would go further finishing the car out then just buying a trans.
OK time to get the "lead" weight out!
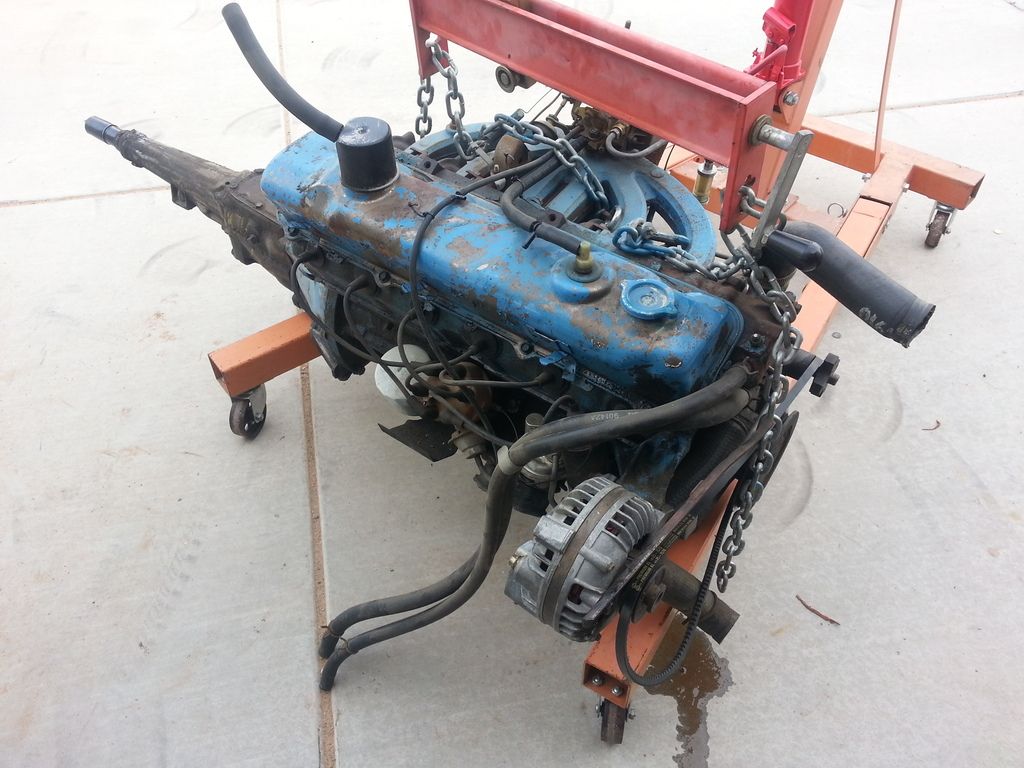
This for sale or trade BTW as you see it minus alternator. It runs like a champ.
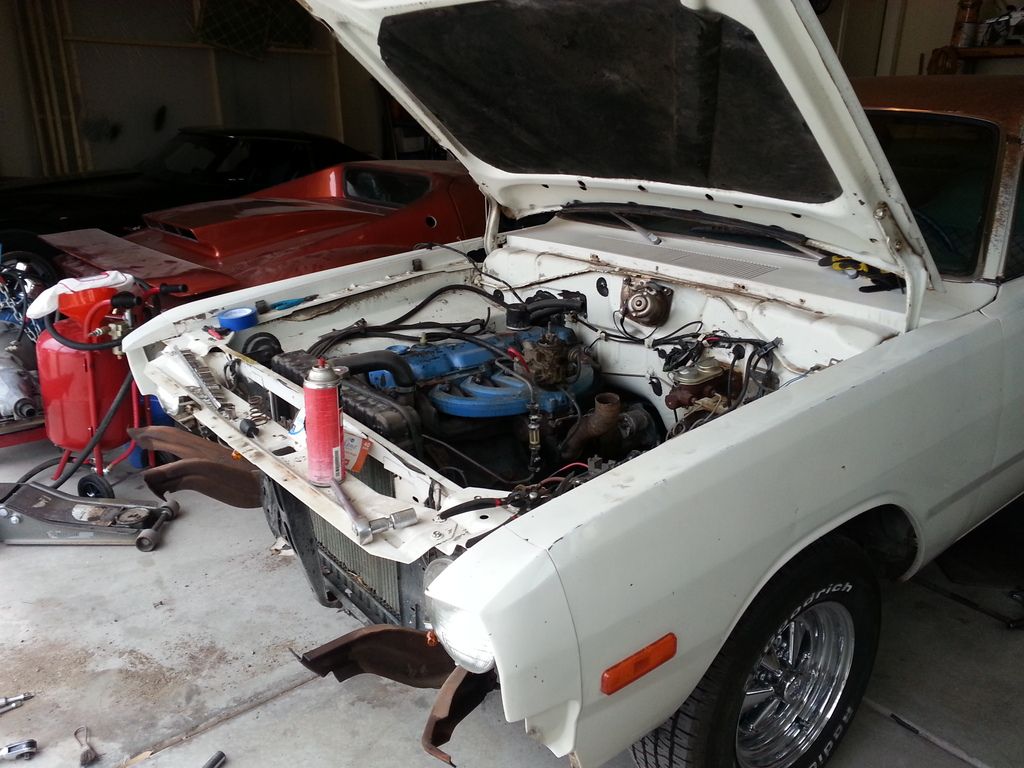
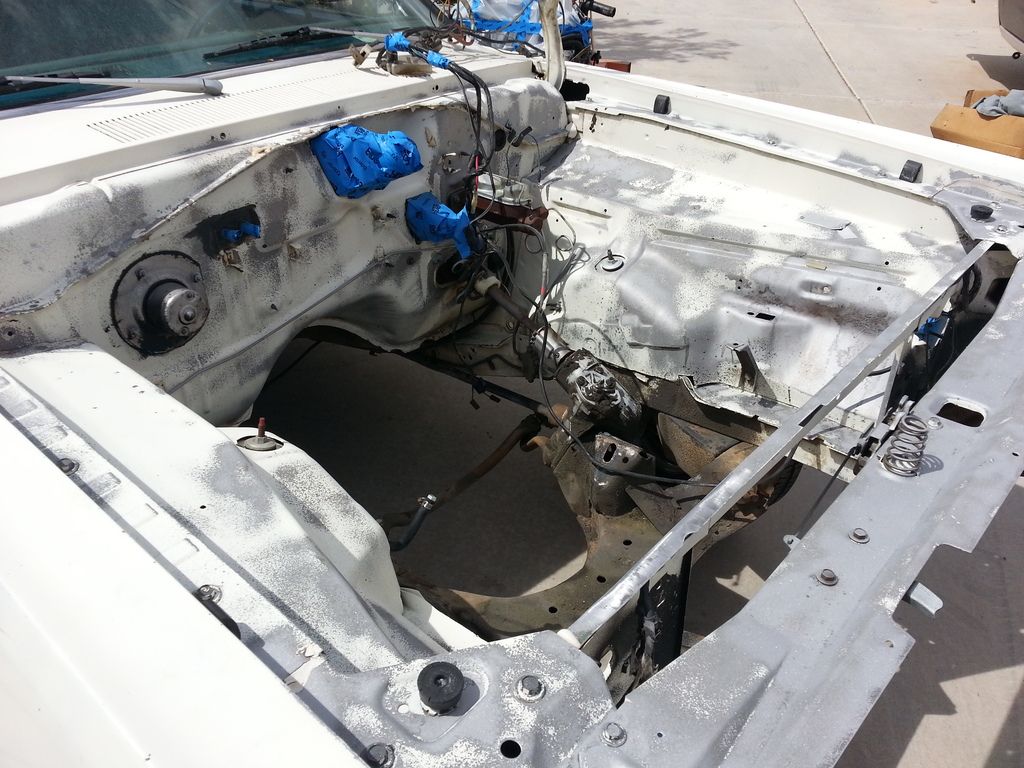
I had to spruce up the compartment it was old and yucky. Pressure washed and spot blasted and ready for high solid builds primer and a coat of Chrysler white and euro clear!
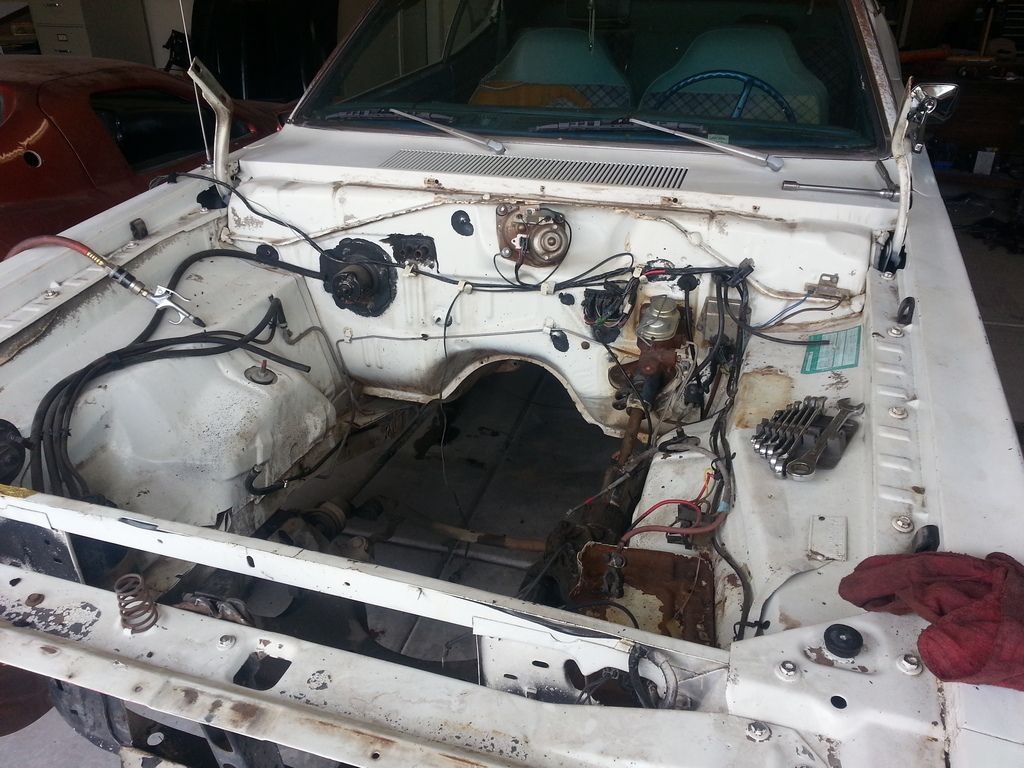
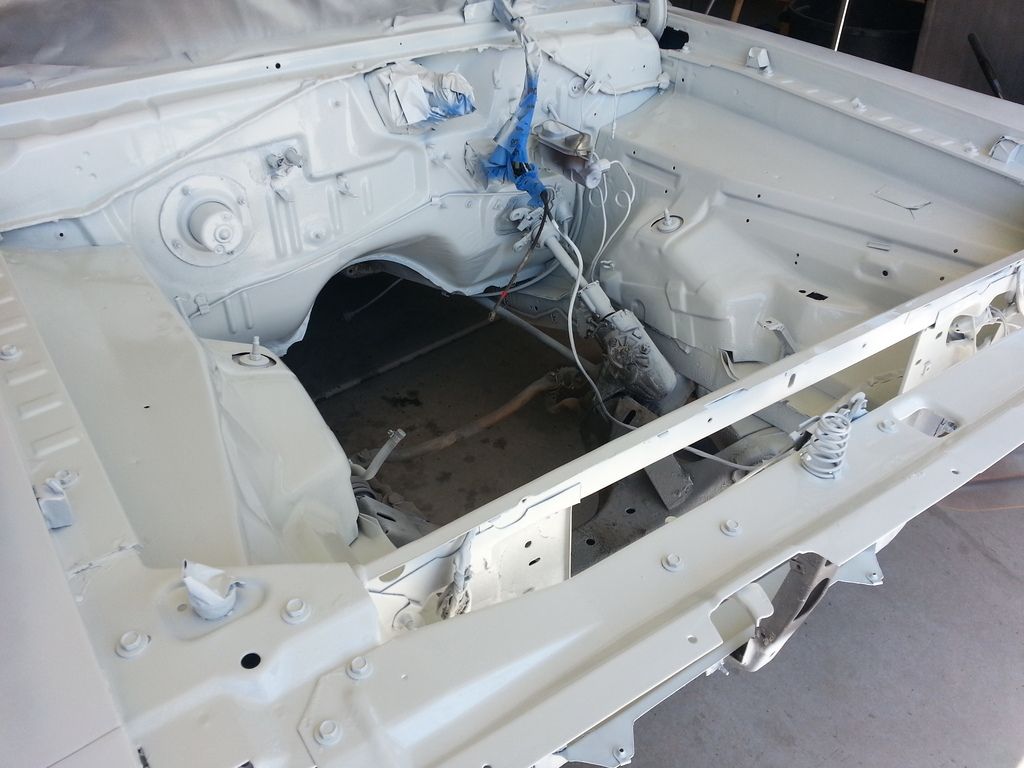
Ahhhhh! thats better!!! All pretty and white! Like ma Mopar intended.
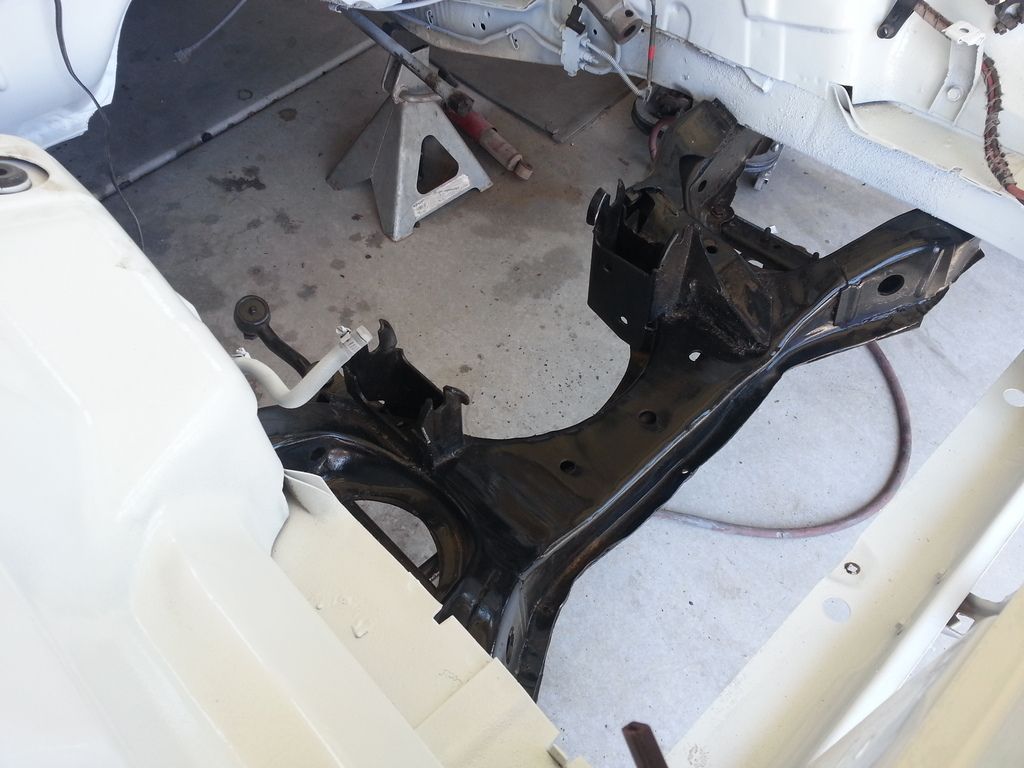
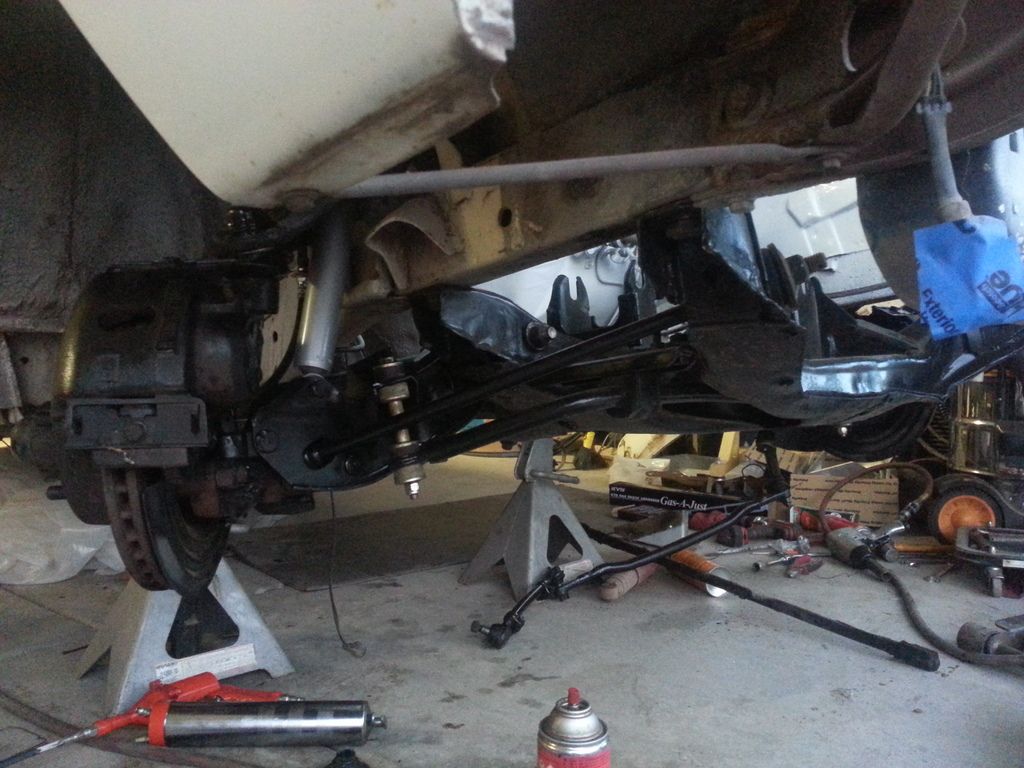
OK!! Time for parts! K frame first!
Suspension and brakes! woot! getting there!
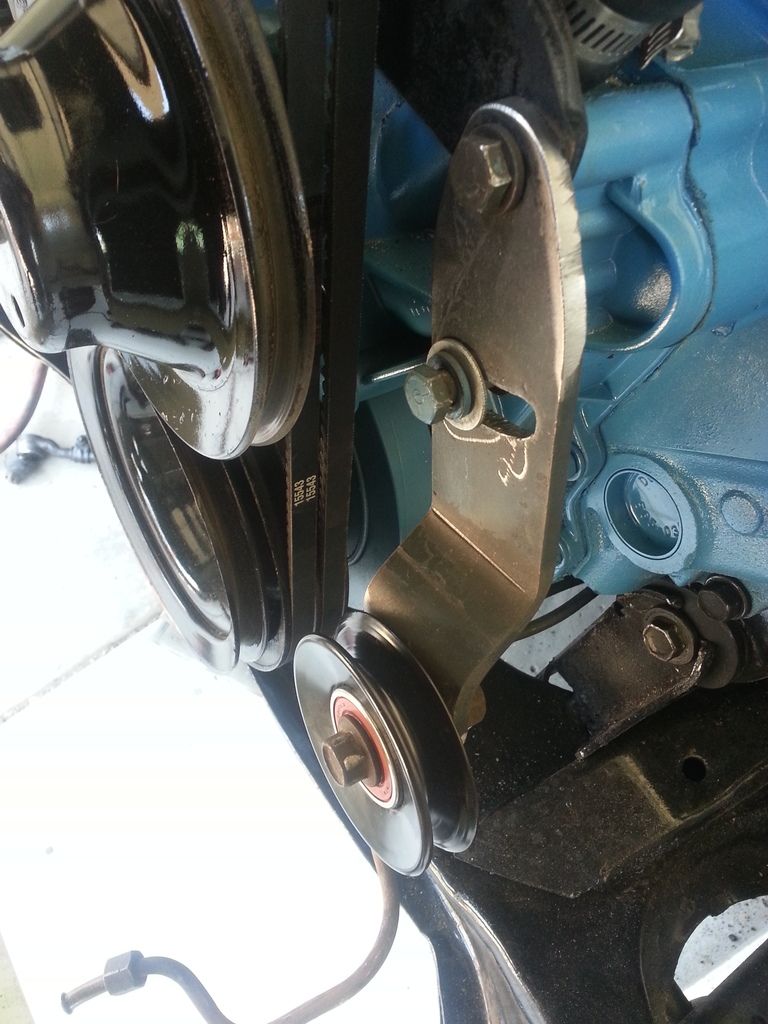
Real progress! Motor is in. I used the Energy suspension motor mount bushings. They were to wide. They didn't want to slide down between the ears. I ended slicing almost a 1/4 inch off the thick side of the bushing on each side. Sanded on the belt sander and now thy fit like a glove. and the motor and trans mount bolted up perfectly.
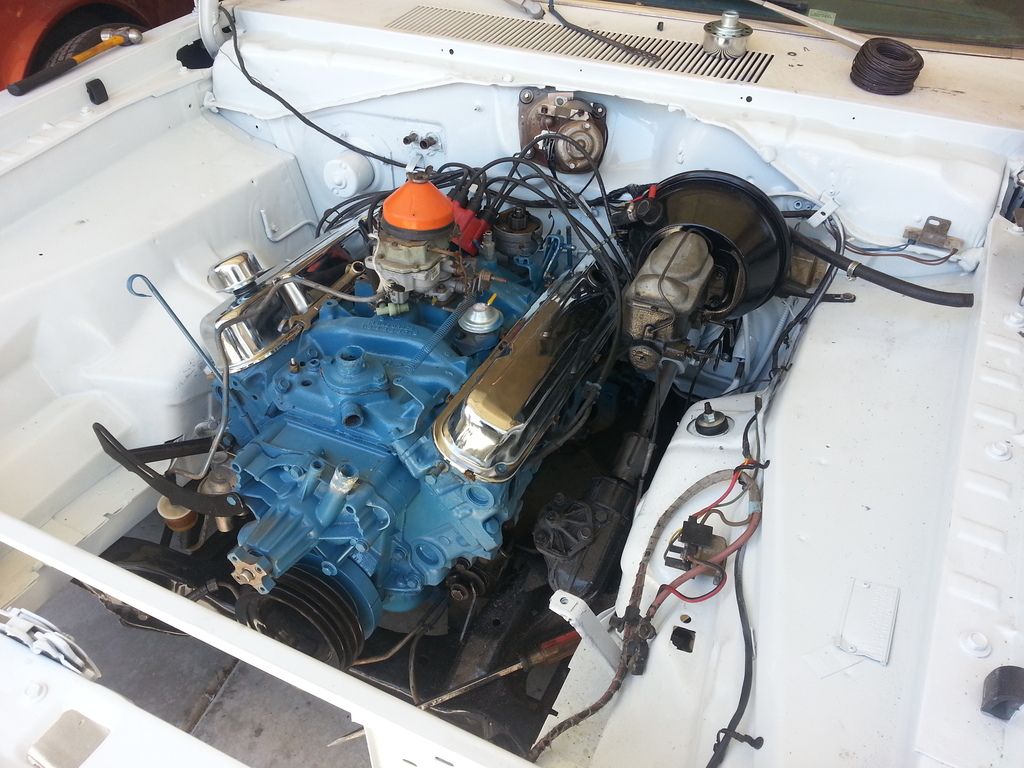
Headers and a bunch of other things this weekend coming up! Stay tuned!
I sold my Trans am's and found this beauty. I couldn't not buy it! I hope this helps some one else on questions and gives ideas of mods to other people.
OK enough chit chat.
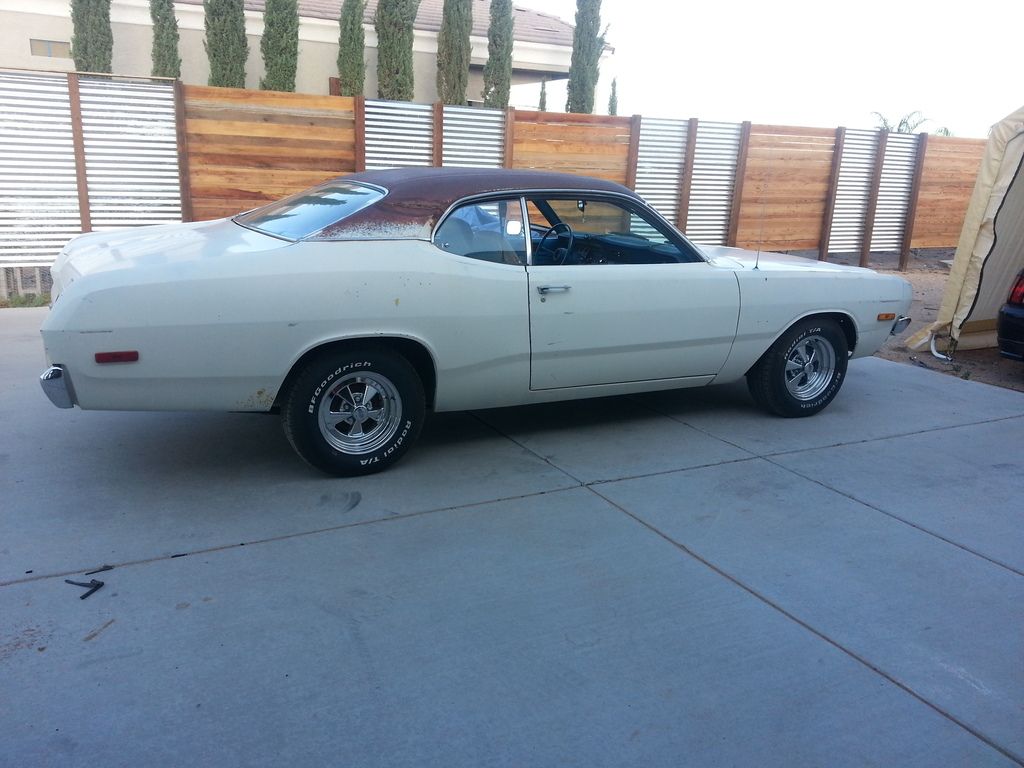
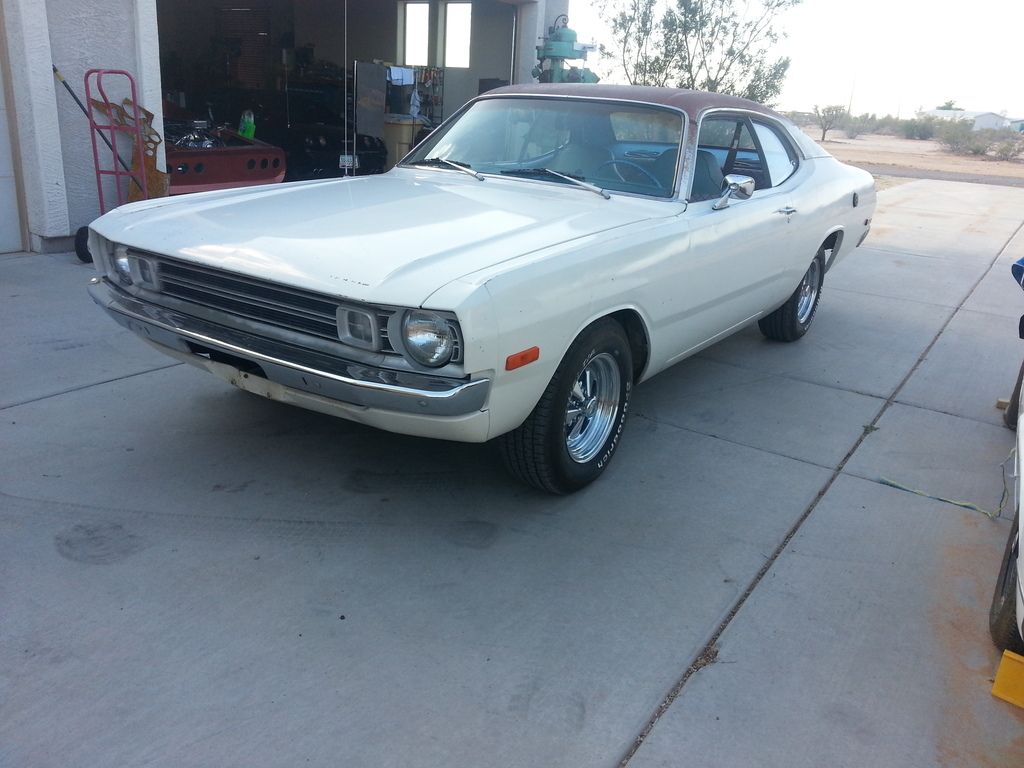
This is how I got her. 52k orig miles slant 6 three on the tree.
OK I figured the easiest way to get the V8 was a whole car. Piecing it out would be expensive and a time consuming aggravating search (you couldn't give these things away when I was young now everyone wants a zillion dollars for parts). Low and behold 15 mins from me!
It ran and drove like a dream before this picture LOL. Just what I needed! 74 318 SE dart! rebuilt 318 a bunch of new stuff on it, power disc brakes, AC ( hey I live in AZ) , 8.25 rear. Cheap to!
Motor and trans out. K frame with brakes and control arms out. Rear out. Brake booster with lines and proportion valve out. In that order so far.
I ordered almost all parts from summit and a few things from ebay.
Ahhh the first of 4 or 5 orders from summit!
My list from summit was:
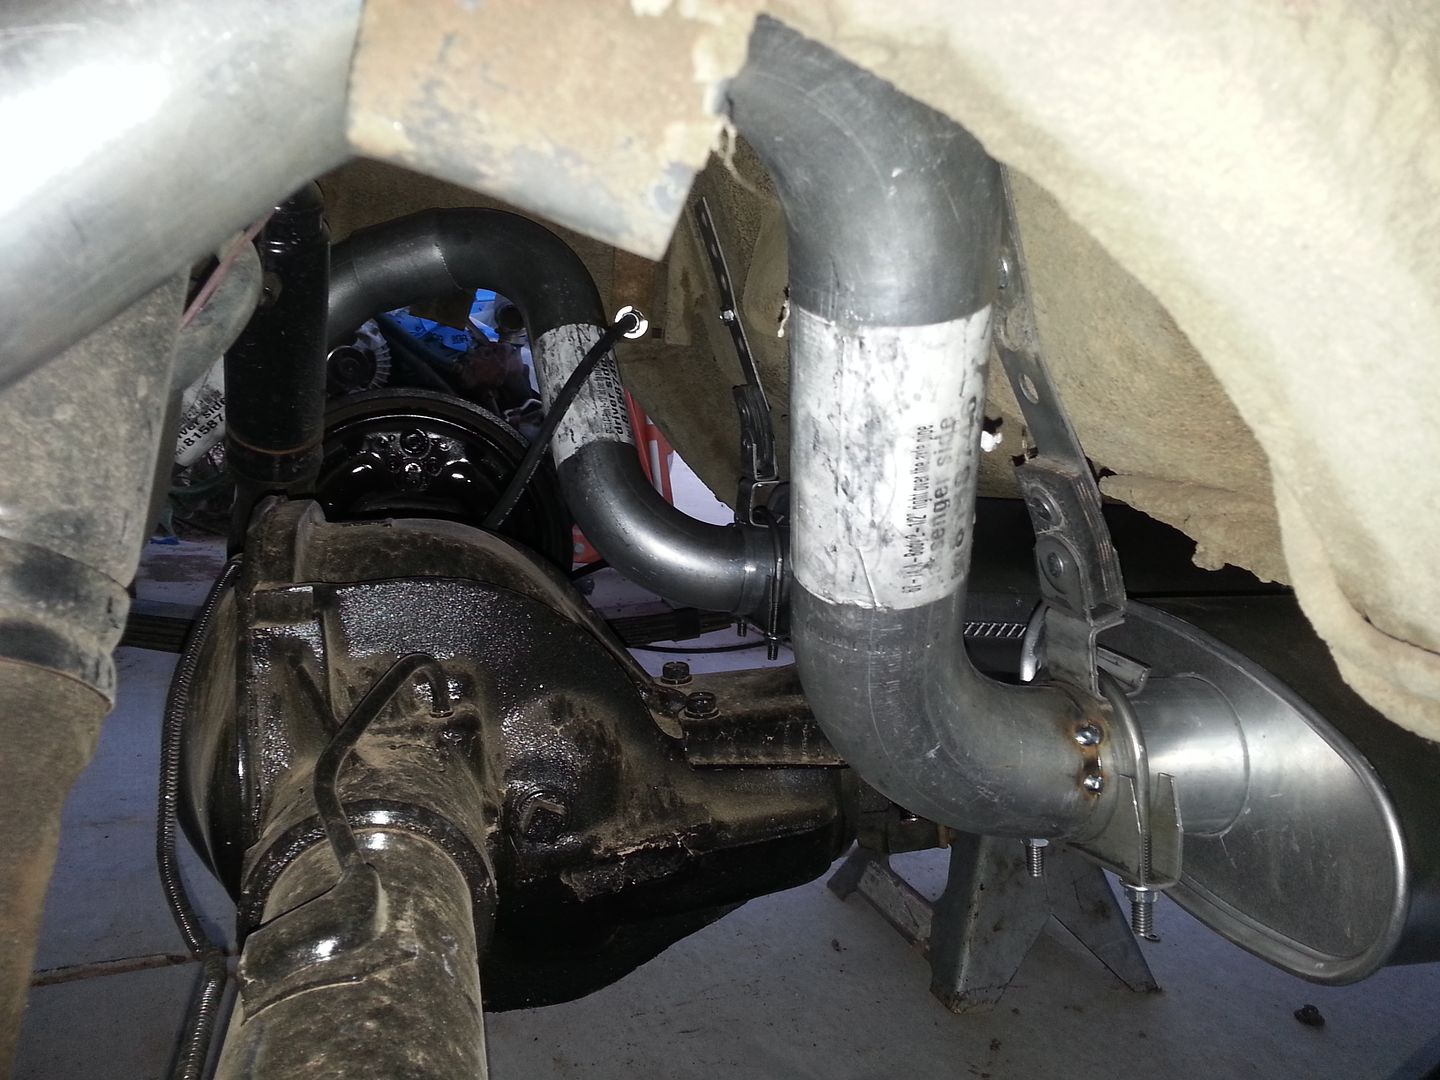
- Summit headers
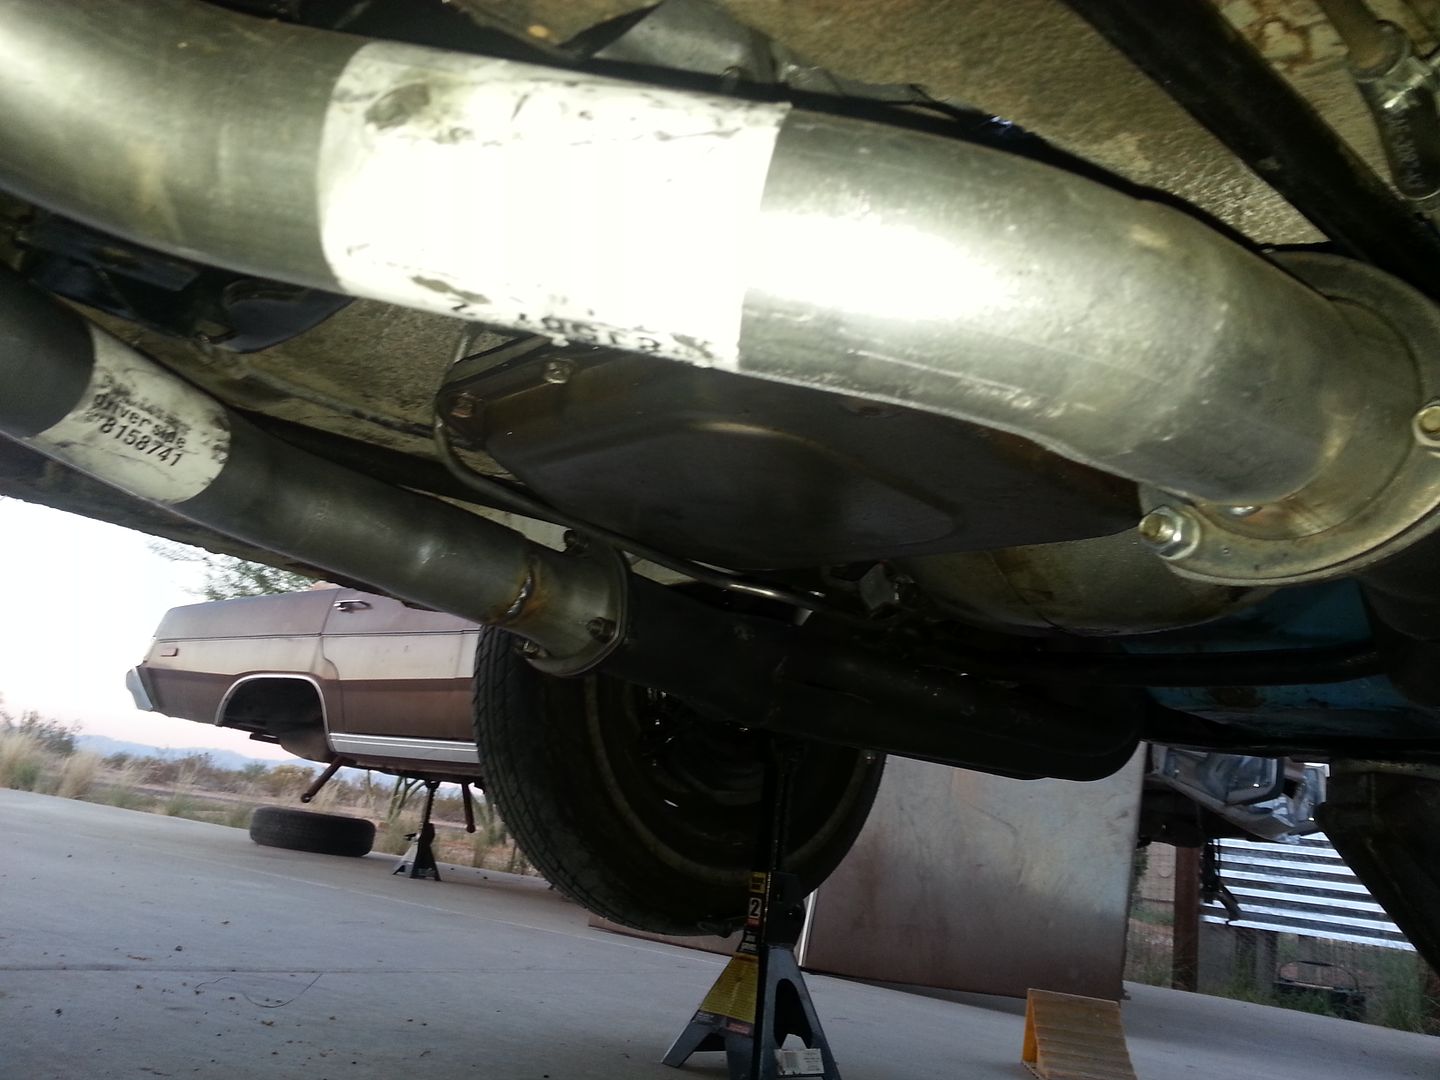
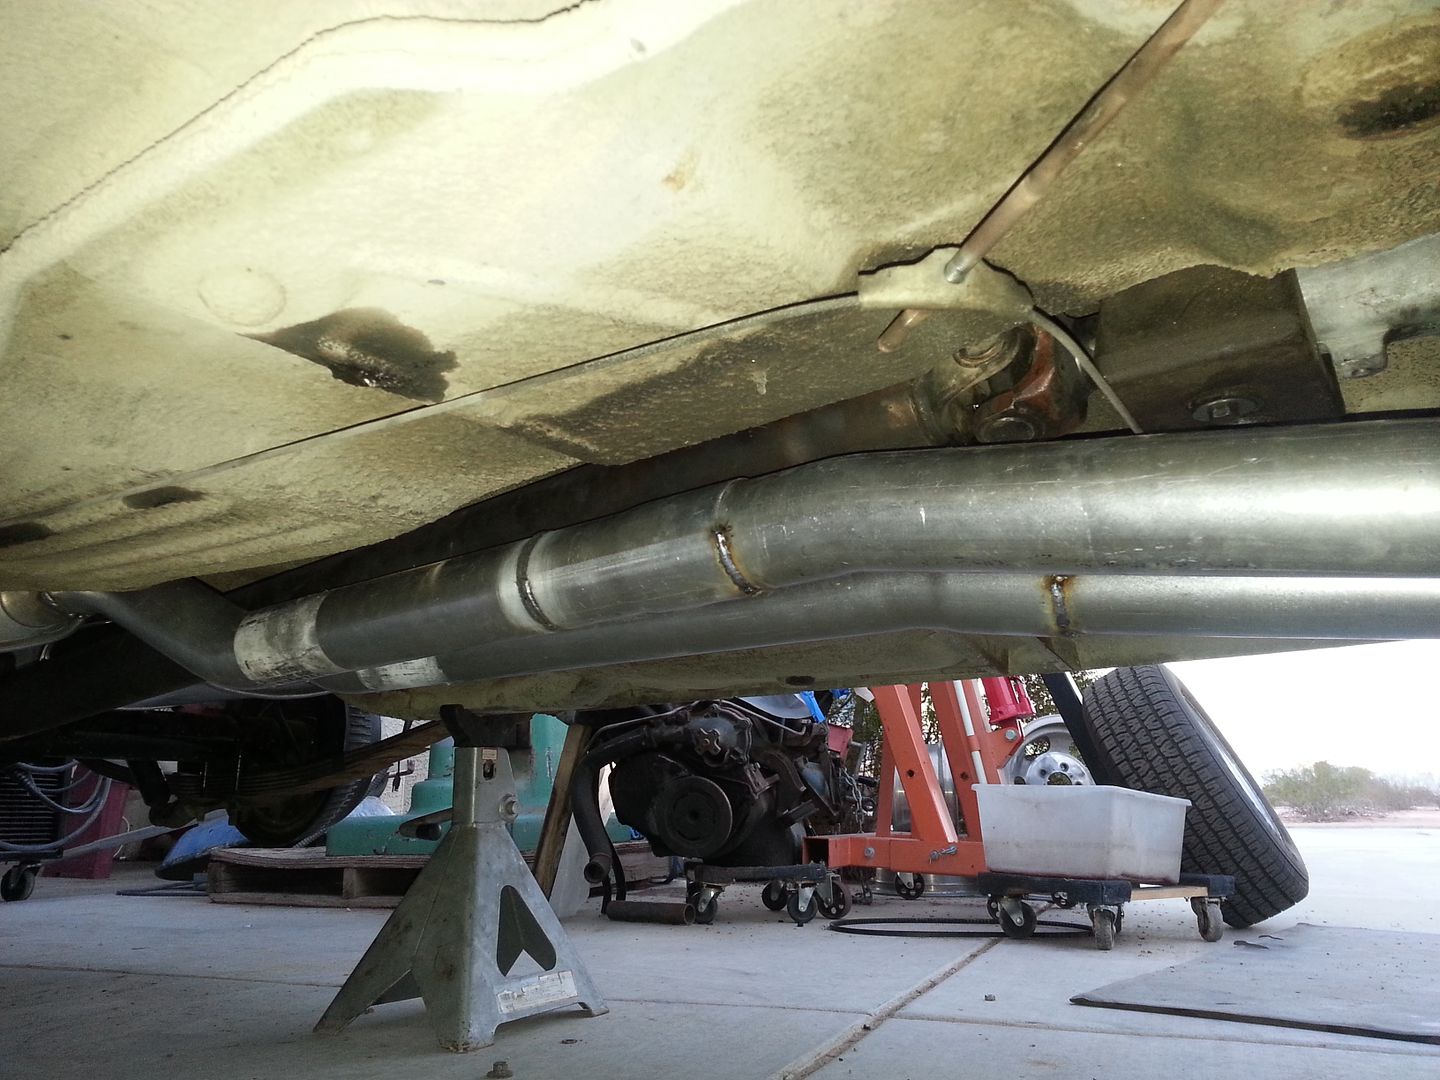
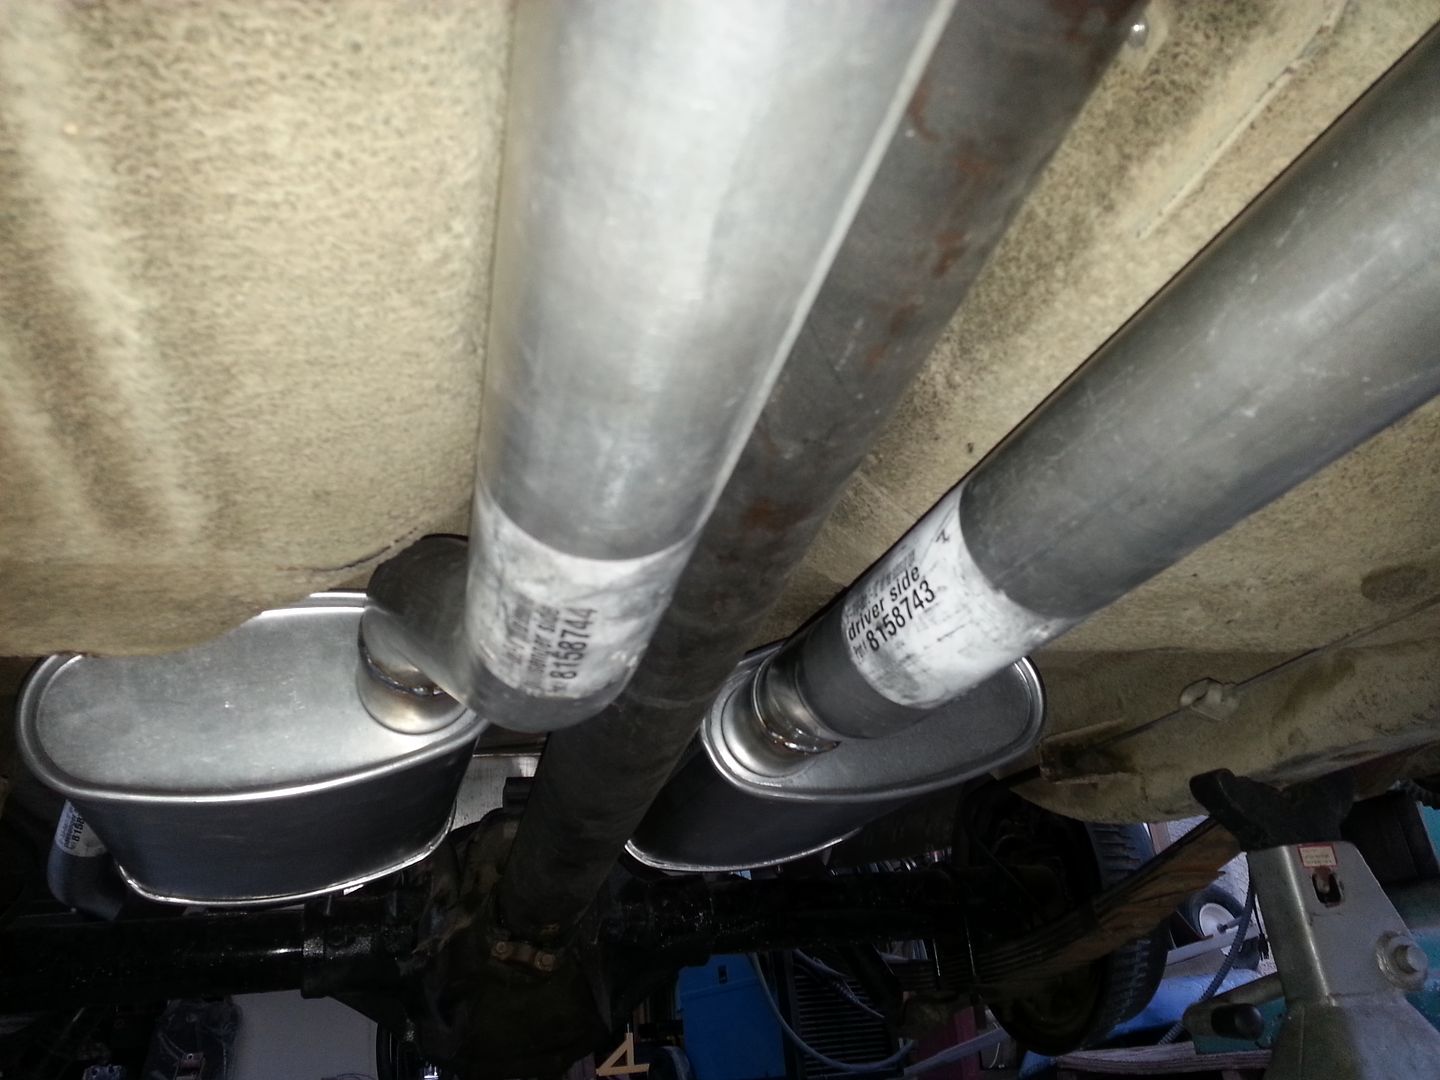
- summit 2.5 inch full exhaust
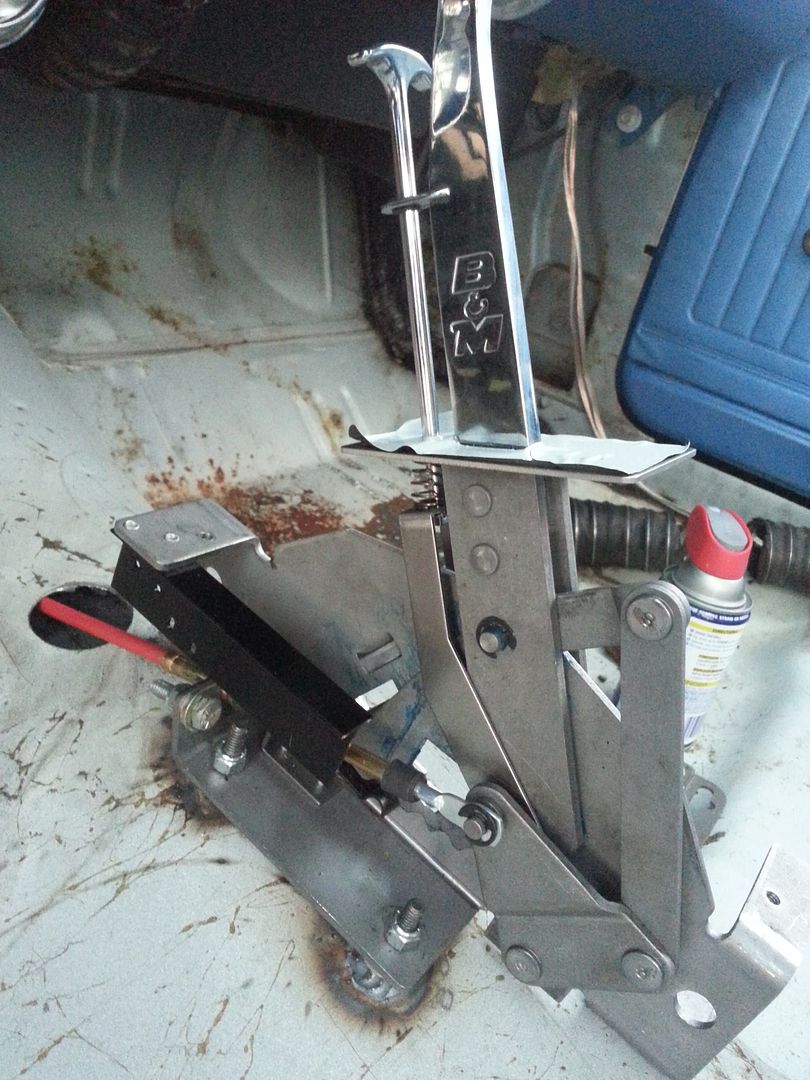
- B&M Starshifter
- 6 pack hood scoop
- Summit chrome valve covers
- Summit chrome tri gauge set, white face.
- Urethane, Trans mount, Motor mounts,Lower control arm, Strut rod, sway bar, Rear leaf, Basically the whole car bushing kit from them. I used stock bushings for the upper arms. I think Urethane tends to be squeaky on those.
- Grant replica tough wheel with adapter.
- Brake hoses
- Carpet kit
- Tune up parts (just because I wanted them all new)
- KYB gas adjust front shocks.
- Trans Go TF 2 Shift kit.
I picked these vintage slots up for 125$ 6 inch front and 7 inch rear. Those new cragars wont fit any more with the swap. These will shine like a new penny when I am done with them!
Started cleaning and painting stuff!
Motor cleaned painted with new valve covers. I am just leaving it alone as it ran really good. I just want to get the whole car done before I build the motor.
I left the 904 on it. The car is a 3 speed on the tree. It was just to much money to buy all the 4 speed stuff. Let me clarify that, there was one or two people on here (thanks guys) that offered me killer deals on a whole setup, but I felt my money would go further finishing the car out then just buying a trans.
OK time to get the "lead" weight out!
This for sale or trade BTW as you see it minus alternator. It runs like a champ.
I had to spruce up the compartment it was old and yucky. Pressure washed and spot blasted and ready for high solid builds primer and a coat of Chrysler white and euro clear!
Ahhhhh! thats better!!! All pretty and white! Like ma Mopar intended.
OK!! Time for parts! K frame first!
Suspension and brakes! woot! getting there!
Real progress! Motor is in. I used the Energy suspension motor mount bushings. They were to wide. They didn't want to slide down between the ears. I ended slicing almost a 1/4 inch off the thick side of the bushing on each side. Sanded on the belt sander and now thy fit like a glove. and the motor and trans mount bolted up perfectly.
Headers and a bunch of other things this weekend coming up! Stay tuned!
 (my Demon is a 72 also)
")