1973 Dart Swinger for a Young Gun

-
Well, did not meet my goal today. Ended up working on a buddies 70 RR instead. Was a big day for that as we fired up the rebuilt engine for the first time :)
 
Yesterday, final primed the car, painted underside of hood, and engine compartment :cheers:

Today, final sand the car and prep for paint - possibly shoot it today as weell. First I've got to do a major clean up in the shop....

final prime pic 1.jpg


final prime pic 2.jpg


final prime pic 3.jpg


engine comp b4 pic 1.jpg


engine comp b4 pic 2.jpg


engine comp b4 pic 3.jpg


engine comp during pic 1.jpg


engine comp during pic 2.jpg


engine comp during pic 3.jpg


underside of hood.jpg
 
WOW.. you are getting with it man.. let me have what every you are taking so i can go out and do the body work that needs to be done on my dart. see

RCA_0060.jpg
 
Well, got her painted yesterday. Body looks really good. Clear did not flow out well at all so I will have a LOT of wet sanding to do -- oh well...

base coat pic 1.jpg


base coat pic 2.jpg


base coat pic 3.jpg


base coat pic 4.jpg


painted pic 1.jpg


painted pic 2.jpg


painted pic 3.jpg


painted pic 4.jpg


painted pic 5.jpg
 
nice job. and i mean nice. tell the truth now, you've done this before aint ya? what clear did you use? you are on schedule, give or take an hour or two. the owners should be tickled pink, or in this case FE5. rock on.
 
Hit a minor snag yesterday - had a few nasty runs in the clear and some major orange peel. Tried to sand out the runs and went through the clear coat. Oh well, gonna have to spot them in. I figure I will finish wet sanding the whole car before spotting them in just in case I go through somewhere else. Really surprised I went throught the clear - I had 3 solid coats of clear on it...
 
high spot? what grit paper are you using? and remember, anywhere you intend to blend, fall back to at least 600.
 
I am wet sanding it with 1500. got most of it sanded out and lloks like there are about 3 spots (on the edges of course) where I am going to have to do a little spotting in. Overall, the body looks really good and so does the paint. The pics of it buffed are only after the first stage og compounding - still no micro-fine or machine glaze. This car should look pretty killer when done...

wet sanding pic 1.jpg


wet sanding pic 2.jpg


buffing pic 1.jpg


buffing pic 2.jpg
 
Okay - today finished wet sanding and buffed out areas on which it was okay to do so. Then went ahead and spotted in the areas where I had sanded through and recleared the same areas. Tomorrow, I will finish up the wet sanding and should have all paint work done!!!!

Then, gonna have to patch one floorboard, install the gas tank, and install the hood scoops...:cheers:
 
Anybody have an extra Spare Tire hold down and set of J-Bolt Mounting Tabs? Looked under the car today and realized they are missing...Kinda hard to mount a gas tank without them...
 
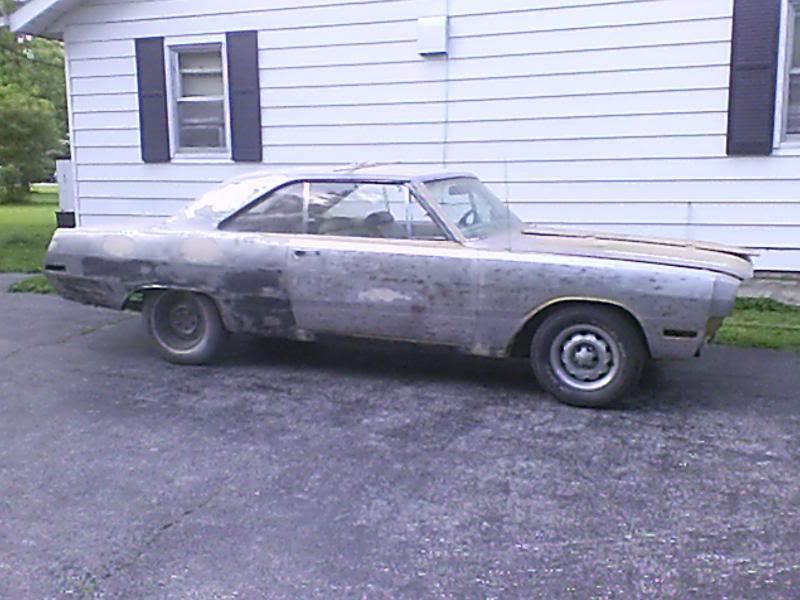
No updated pics this morning - it still looks the same (in pictures). I spent yesterday block sanding, finding & fixing the dimples & waves, and then re-priming. Also, stripped the engine compartment, removed door weather stripping, and started to prep the trunk for paint.

Goal for today - finish body work (1 final block & then re-prime) and then shoot the trunk, deck lid and door jambs and trunk lip. Tomorrow will be prep and paint underside of hood and engine compartment...

Gary,
the trunk turned out very nice. I expect to tackle my trunk this weekend. I will strip the sealer, wire wheel the snot out of it and spot blast the surface rusted areas. What do you do for prep down in the valley between the quarter panels and the trunk drop off? I have power washed mine and intend to get it cleaned up as well as I can with wax and grease remover before priming. What else? Thanks. L8r and keep up the good work.

Jim
 
Jim,

One thing that I have found really helps is to hit the areas that are hard to sand with some Bulldog Adhesion Promoter. This helps the paint stick to those areas where you really cannot scuff the paint to get a good mechanical bond. Hope that helped...
 
Gary,
When you get teh rear quarter reinstalled, do you know what you plan to use to replace the caulk that was used around the wheelhouse and along the base of the rear panel? This is the stuff that looks like asphault and apprears to have been applied with a fire hose. Thanks.

Jim
 
Okay - pretty much finished up my portion of this build installed new door handles, put the bumpers and grille back on and hit it once more with the buffer and some microfine

Hopefully the owner (now a member here) will keep this thread going for us to see his progress :)

done 1.jpg


done 2.jpg


done 3.jpg


done 4.jpg


done 5.jpg


done 6.jpg


done 7.jpg


done 8.jpg


done 9.jpg


done 10.jpg
 
Next up is 1972 Dodge Charger. Hemi Orange with a 400. Getting body & paint done plus new vinyl top and headliner. Maybe a few otherf things as well. Depends on what the owner wants.

Went and looked at a 71 Demon today for another potential client. Cool car. Numbers matching 340 4 speed car. Runs like a top but needs some brake work and a few other things. E5 red as well Needs body and paint and a few other things. Owner seems really interested in having me do the work. He wants a really pretty driver not a show car. Seems like I am carving out a niche...
 
Things seem to be working out for ya Gary,that's great.Kinda thought you would land on your feet.8)
 
Dreno - Thanks. Not quite on my feet yet though. Got to play catch-up until we have a little something back in the old bank account...Hopefully though the work will keep coming in. I think what I am going to do is dedicate 35 hours or so a week to customer resto work and put the rest of my time into my 70 Challenger R/T in order to get it ready to sell. I am used to working about 60 hours a week so I should have plenty of time to work on it if I keep up that kind of pace. Only problem is, space is kind of tight in my shop to work on 2 cars at once. Once I sell the Challenger, then I'd say we are back on our feet. My wife has also decided after 12-1/2 years as a stay at home Mom, she's ready to go back into the "workforce."
 
-
Back
Top