txstang84
Well-Known Member
:sign3:
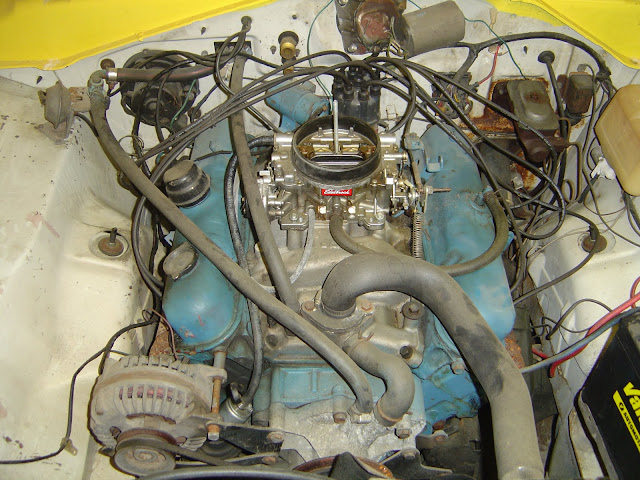
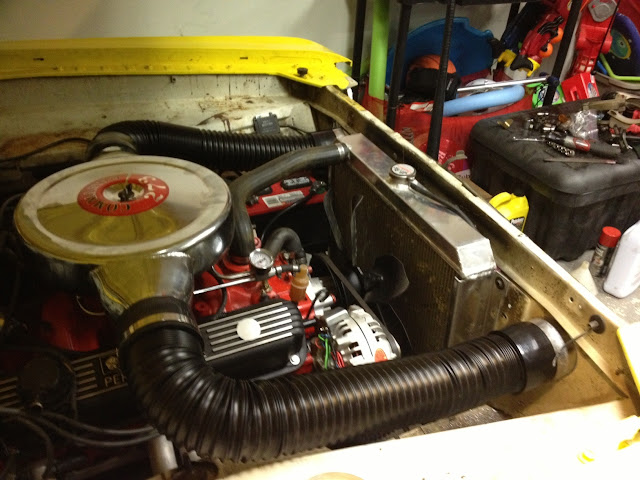
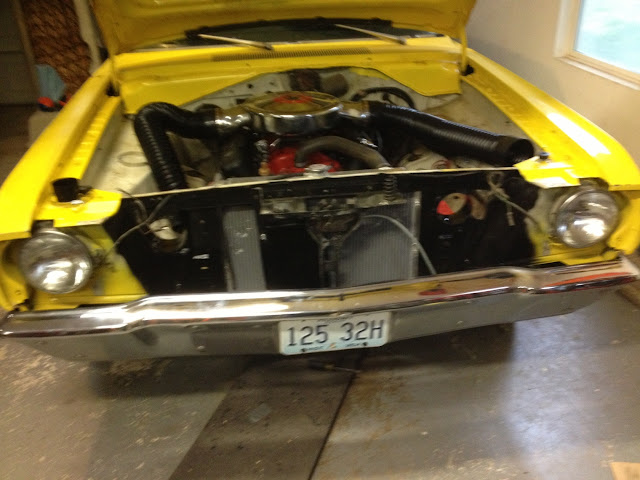
If I were you since you are so deep into it. I would pull the engine and replace the pistons with some KB 107's to up your compression to 10:1 or so and do a backyard shade tree rebuild. New bearings, hone it etc. Face it the engine is old and your gunna be pulling it in the next few months anyway so may as well do it now is my thought.... I did what you are doing on another engine I had in my swinger and my bottom end took a **** on me in the first 2 weeks..... out came the engine.

I hear what you are saying. What took a **** on your engine in 2 weeks?
I found pieces of the piston in the carburetor and the mufflers when I fired up the new engine!! Shrapnel was flying everywhere!
Geeeezus! Pieces of piston in the carb?? I've heard of and seen some [I thought] pretty spectacular carnage, but I can't say that I've ever seen that...wow...
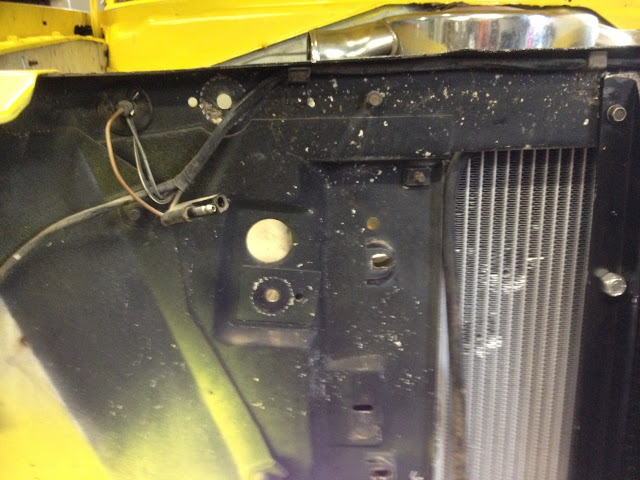
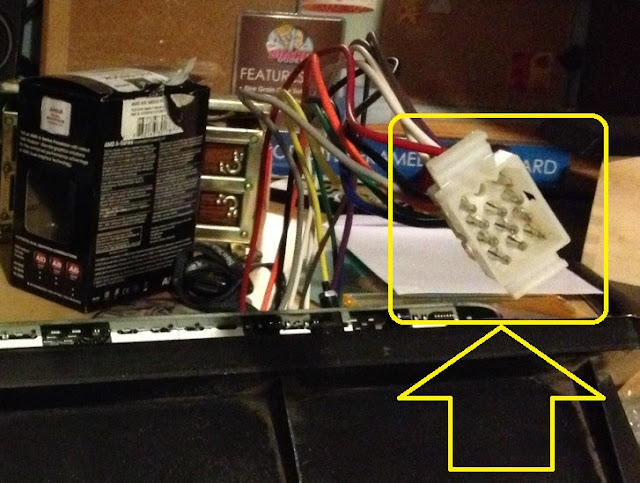
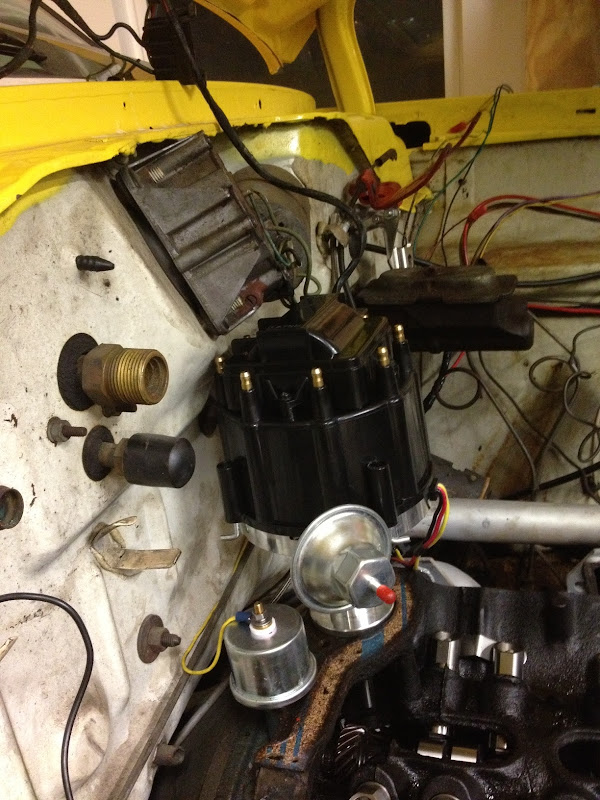
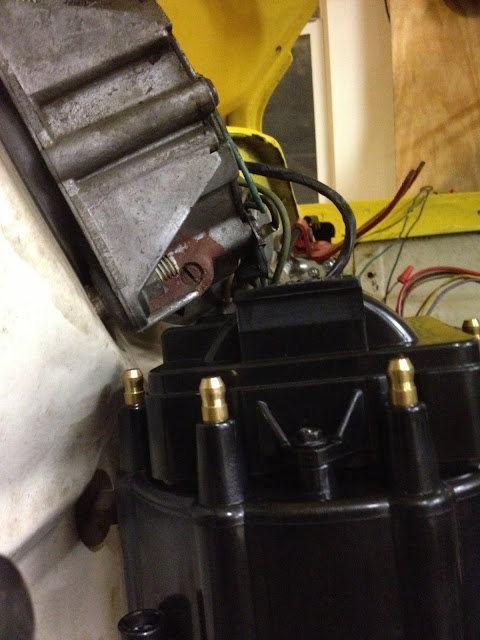
Yeah, there's a link on it here somewhere. You just use a small jewelers screwdriver under the hood side to press in the little tab inside the connector.
If you're looking at the bulkhead connector under the hood, you can see the terminals inside; on the back of the flat side of that terminal end, there's a little tab that locks it in place...if you press that tab in with the tiny screwdriver, it'll allow you to pull the wires out one by one from the inside of the car.
Make sense?