justin hughes
Miss my car
this is an awesome thread. i will be watching it.
Do you have links to XFI and fast system? Will they work with the transmission? Also, what about the "drive by wire"? The thing I like most about the Mopar harness is that it is idiot proof.
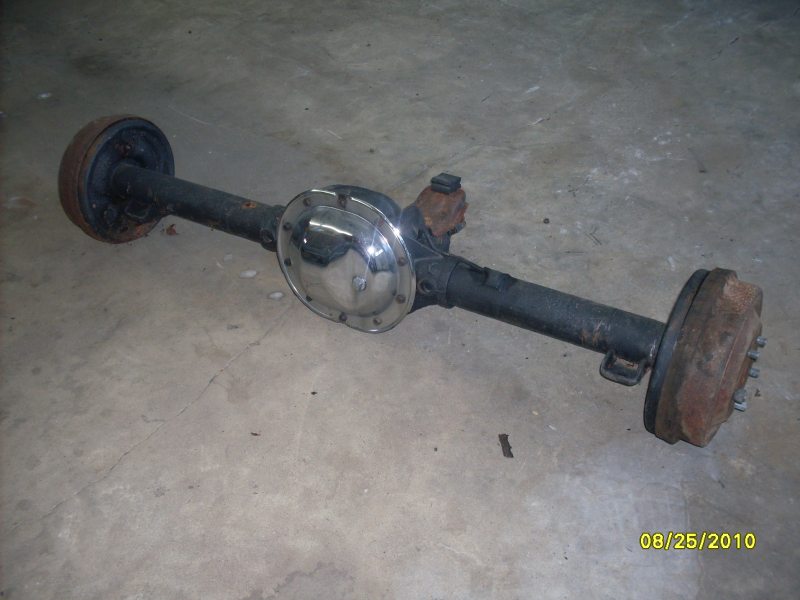

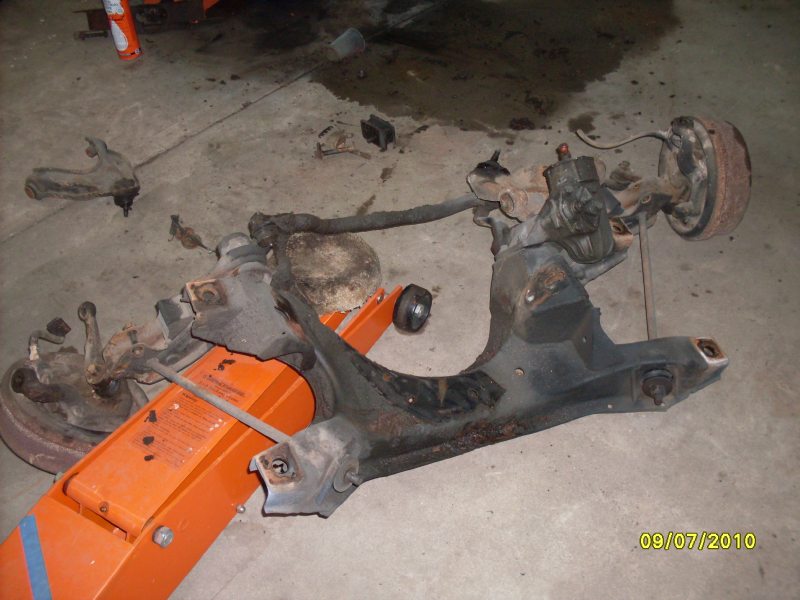
Cool, what gears are in the 8 1/4?
He said it has a 3.21 gear. When I take the cover off, I will know for sure.


You DA MAN!!!
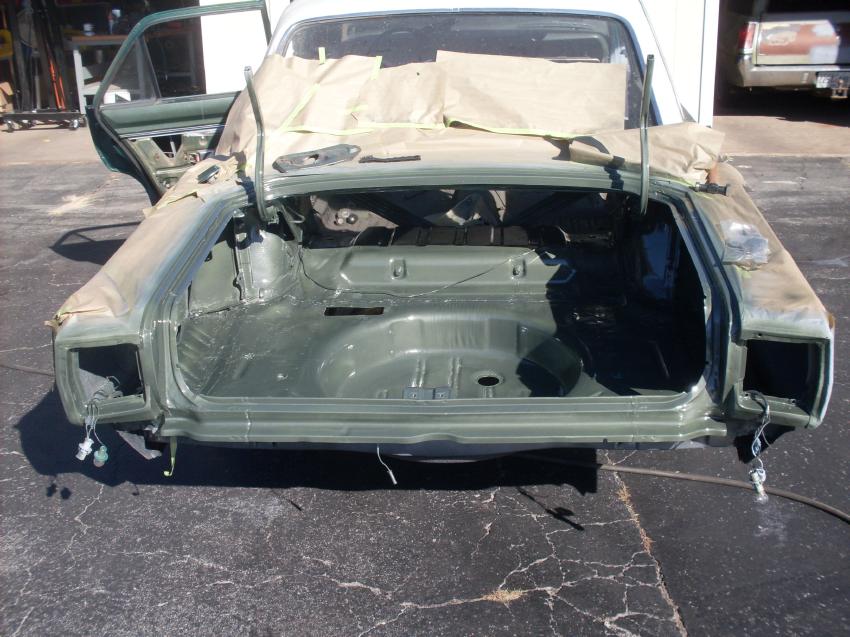
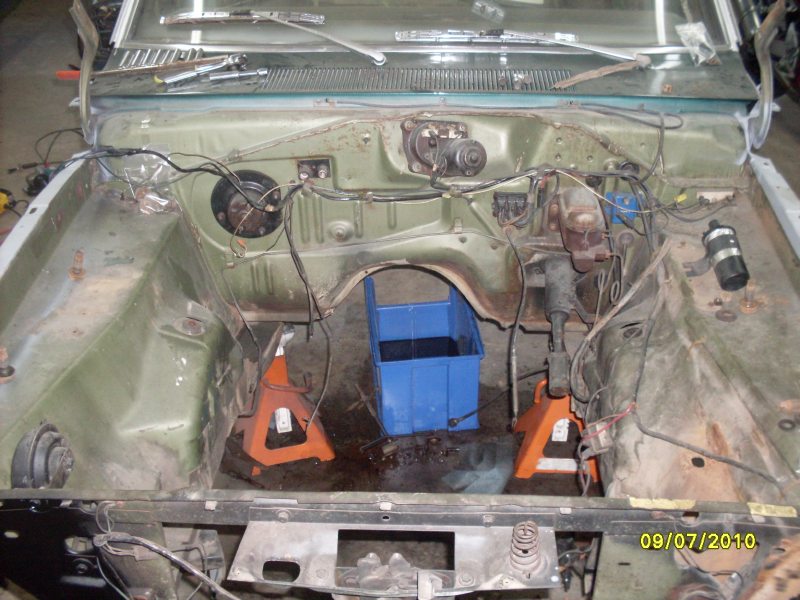
Love the 68!!!
Not too sure of the 4 door sleepers though!! LOL!!!
LOVE THIS THREAD!!!:love7:
Good job so far!8)
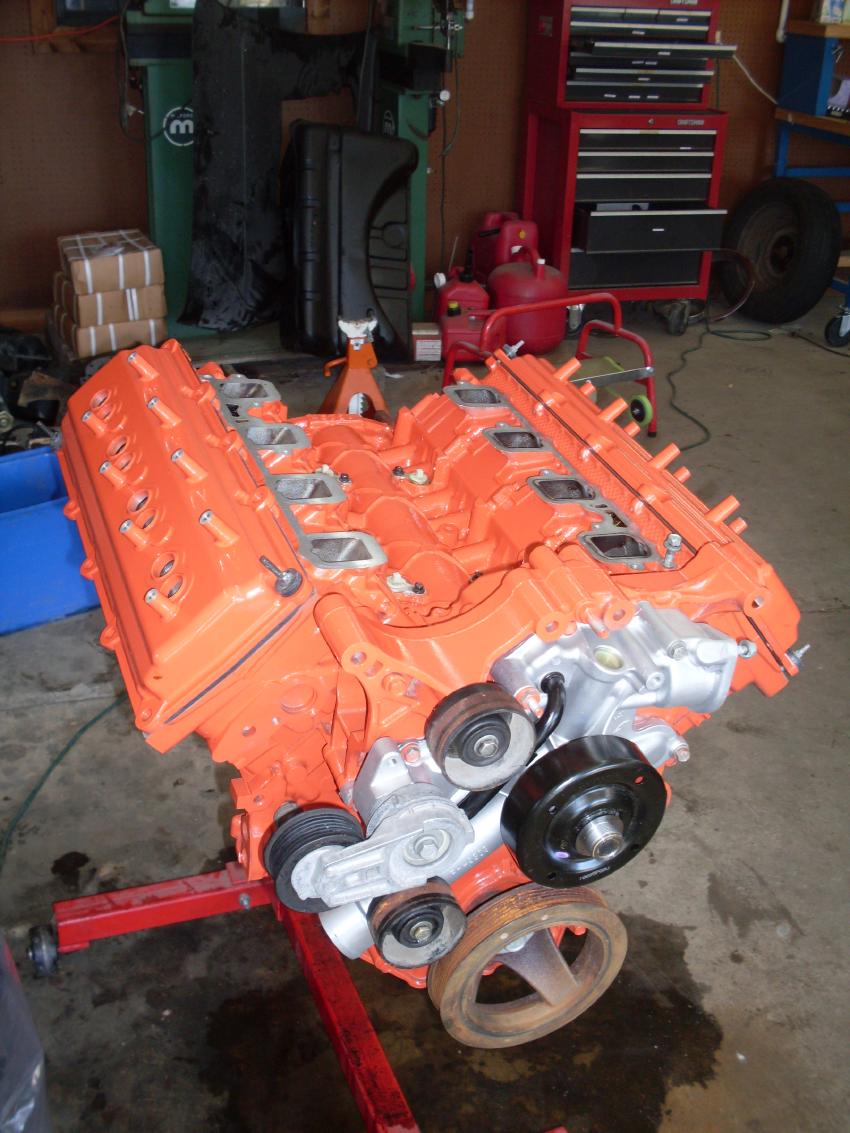
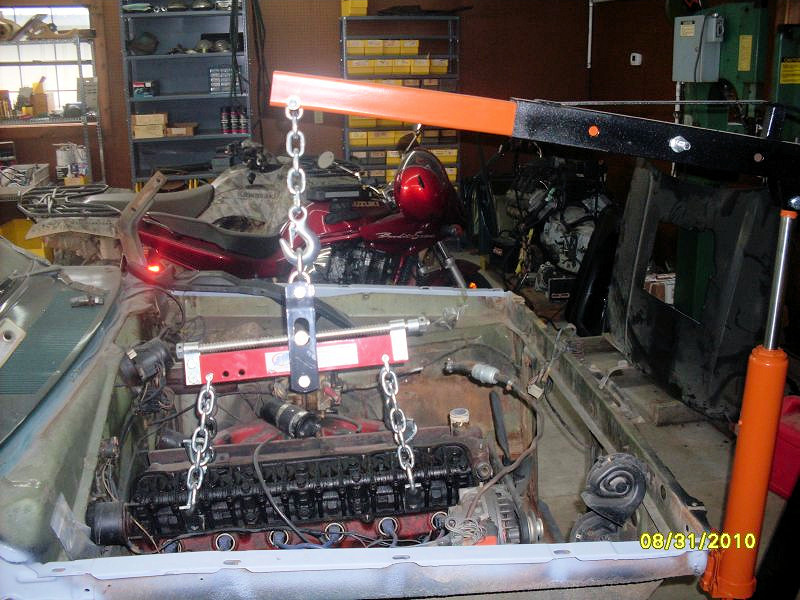
I have a HIGH degree of knowledge on the 5.7 and 6.1 and would be happy to help out with any questions on that species of HEMI...
Does the Wilwood setup allow for any larger rotor setup?