everybody seems to be forgetting we're talking 1/2", not 3" or more. really, it's 1/2". can we please have some perspective, it won't make the car a dangerous death trap will it. once the alignment is reset the difference will probably be un noticeable. remember...... 1/2".
neil.
I think you’re completely underestimating the difference that can be made by moving a major suspension point by a 1/2”. Moving the LCA pivot down with respect to the UCA mounts will change the camber curves, bump steer profile, and roll center.
Now, I couldn’t tell you off the top of my head if that will be detrimental, or how big an effect it will be, but it’s something that should be considered. Look at the Hotchkis UCA’s for E bodies for example- they move a single suspension point, more than a 1/2” but not 3”, and in doing so completely change the anti-dive and camber curves. Or consider that some of the handling set up Mopars doing competitive events are now running 1/2” taller upper bump stops to improve some of those suspension geometry characteristics- it’s not a negligible amount. And the K-frame spacer would change the control arm angles in the opposite direction from a taller upper ball joint.
A 1/2” drop in ground clearance isn’t negligible either. On my car for example I don’t have a 1/2” to give up and remain easily street-able since my header flanges are already sub 4” to the ground. Which would mean I’d have to raise the body, which would again change the roll center and decidedly for the worse, raise the CG, etc.
The Hemi cars that did this weren’t built for handling, certainly not the level that can be achieved today. Maybe they weren’t death traps, but they weren’t AutoX competitors either.
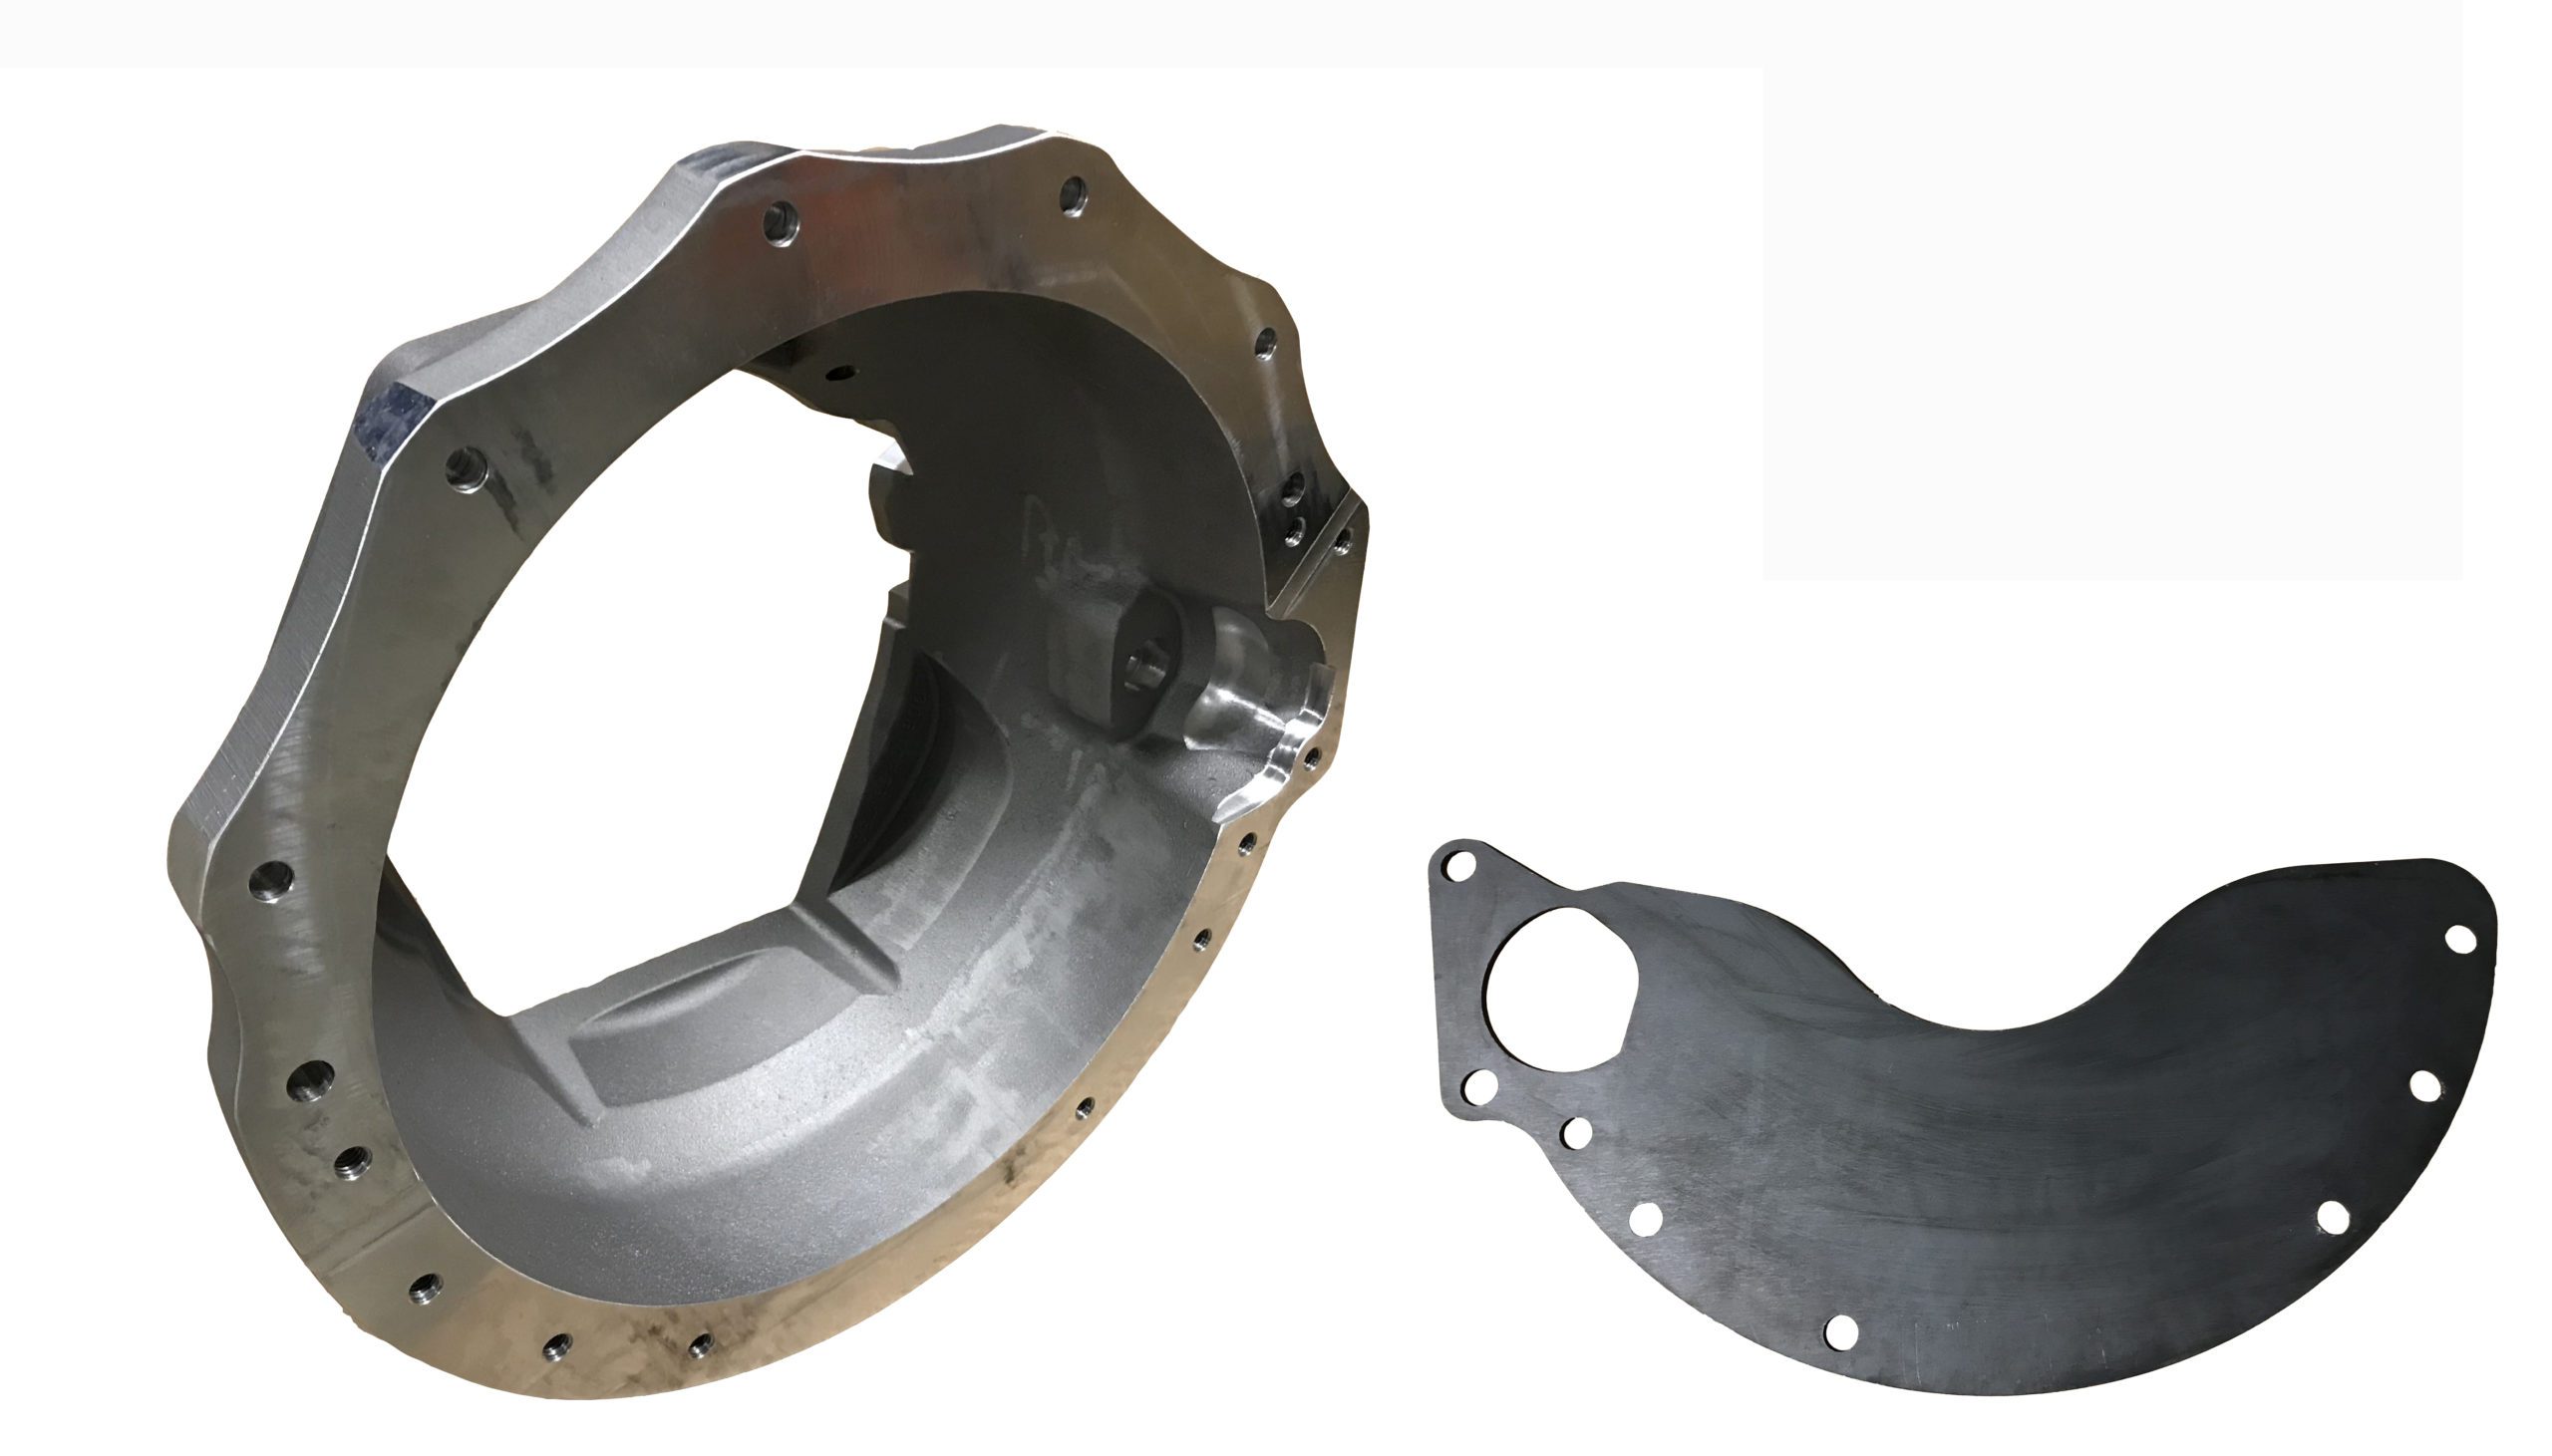
I’d rework the HVAC ducts given the choice, unless I was going to plot out the entire suspension geometry to determine exactly what I’d be changing and by how much.


 it may even fit now without any more tunnel/ac duct cutting, fingers crossed.


