bayyum
Well-Known Member
it all looks good to me ") lol great job
lol great job
lol great job lol great jobgreat progress, cars looking great
what size is your rear rims, and whats the back space?
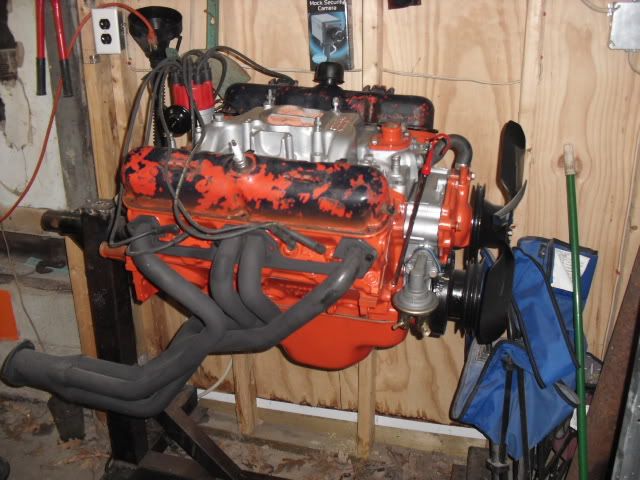
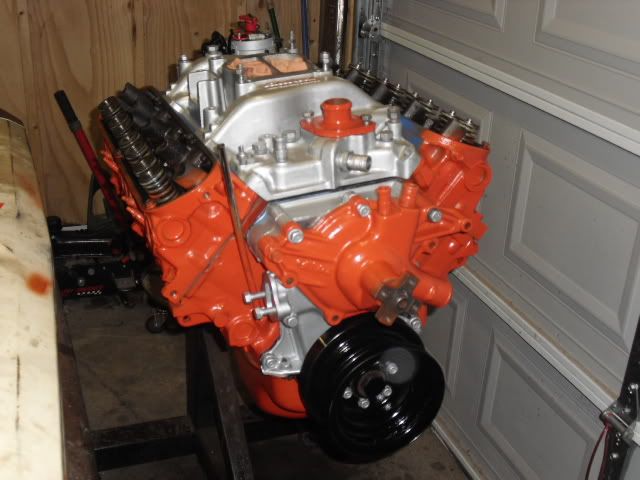
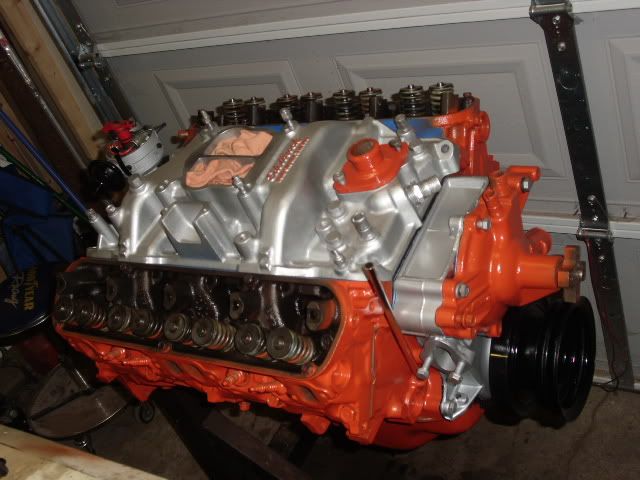
With small details like the intake lettering...I can't wait to see the final product! Its the small details that really stand out to me at a carshow.
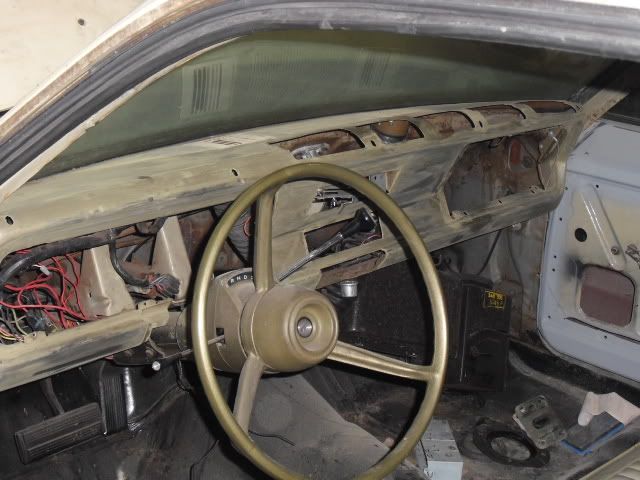
As for the cluster; did you think about leaving the border black and painting the raised edges around it? Similar to how it looked stock, but with the rest of it now blacked out, it might really stand out like the outline of the gauges do! (hope that makes sense).
KEEP up the great work dude!
well, you have a plan!!!
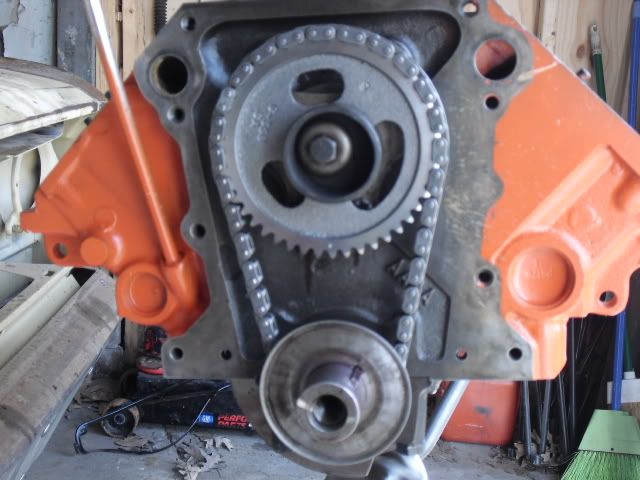
it is always good to see your progress.that means, that you are headed in the right direction.
Ahem.. (cough, cough)
please refrain from verbage without pics:-D:-D:-D