72 duster Build progress

-
Thanks guys!

Just took my windshield out and I am getting ready to put the engine in.....I will post pictures when there is enough progress worth taking pictures of so stayed tuned!
 
ENGINE IS IN!!!!!! took all of 15-20 minutes lol....gotta love old mopars....lowered her in and all the motor mounts lined right up and bolts slid right in.....gotta love it!.

didnt think I was going to do the engine for a few more days but I got bored and was looking at it and said screw it....engine is going in tonight.....so i did it lol

will post pictures later.
 
Heres pictures for everyone!!!! let me know what you think

Windshield out
DSCI1055.jpg


Ready to go
DSCI1040.jpg


DSCI1041.jpg


In.....covered the new paint incase of any mishaps but all went smooth!
DSCI1042.jpg


Tossed the old valve covers on and covered the intake so my chain wouldnt scuff up the new paint
DSCI1043.jpg


DSCI1044.jpg


DSCI1045.jpg


Mounted in,valve covers on looking good
DSCI1051.jpg


GETTING CLOSER
DSCI1052.jpg


DSCI1053.jpg


DSCI1054.jpg
 
hey man! great progress! everything looks terrific! why did you use the earlier style water pump? I have one of those on my 68, but from my understanding, in order to change, ill need a 70 and newer water pump, timing cover, alternator brackets, and crank pulley? correct??? lol
 
I have no idea lol!

This pump and cover were on the engine when I bought it and were factory style for the block which is a 1967 la......so I am running it.

dont see any problem with it....either way it will keep it cool and if I remember correctly its a shorter pump and wont put my fan as close to the radiator.
 
yea..i can understand that...which is cool..lol...i was actually looking to switch to the aluminum water pump, but the outlet is on the passenger side, not the driver, so id also have to change radiators...what a lot of work man, just to run an aluminum water pump!
 
yea..i can understand that...which is cool..lol...i was actually looking to switch to the aluminum water pump, but the outlet is on the passenger side, not the driver, so id also have to change radiators...what a lot of work man, just to run an aluminum water pump!


I looked into it and compared gaskets and what not and I dont see why you would have to change front cover and crank pullys and all of that?

the water pump gasket is the same between the style I am currently using and a factory duster water pump.....should all be the same,just a simple pump swap...MAYBE a different water pump pully to make up the difference in offset?

anyone else have a for sure answer on this subject?
 
I have read the whole thread now and i can only say... wow. The details, the colors, the hard work.... Just awsome!


THANKS.....goes to show that only a few hundred dollars a month can go a long way when you match it up with attention to detail and some elbow grease.

Thanks again!
 
You dont have to change the timing chain cover for the later aluminum water pump, you just need the one with the timing marks on the drivers side. You will have to change all the pullys and brackets because the aluminum pump is longer if I remember correctly, just switched the water pump over on my 68 motor.
 
Just picked up a rebuild kit for my eddy carb.....have it tore down and soaking and I will polish it while its apart also.

Picked up some new champion spark plugs.....and I just order my new alternator.

Tomorrow I will probably go see about a radiator.

And then I need to look into a torque converter so I can get my trans bolted up.

Brake booster and master cylinder should be here tomorrow

so everything should start to come together on the project now.

My duster fund is starting to dwindle though so I will probably have enough to make it run,move and stop but hey......I still have made laot of progress so that is a big leap for me!!!

once I have it running and moving and stopping under its own power ...then I can get back to focusing on the other areas such as reassembly of the interior and finishing up body work and getting it ready for paint.

I would like to think I could get the duster "done" before summer is over.....But its hard to make it all happen on a limited income and with not having much help and still having to do other everyday stuff.....but Ill keep working on it!

so stay tuned everyone because the duster will soon be running and I will record a video of it when the time comes that I get it running.

I wouldl ike to thank everyone who has kept tabs on my thread and for everyone who has left me such great comments.....Hearing what you guys think about my work and all the great comments you guys leave help encourage me to stick to the same pace and to keep paying attention to the little details and making sure quality does not take a back seat to the speed the job is done at.

Thanks FABO...you ROCK!:cheers:
 
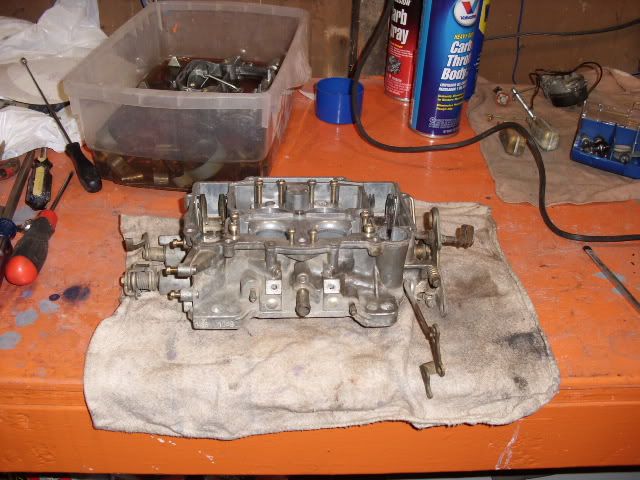
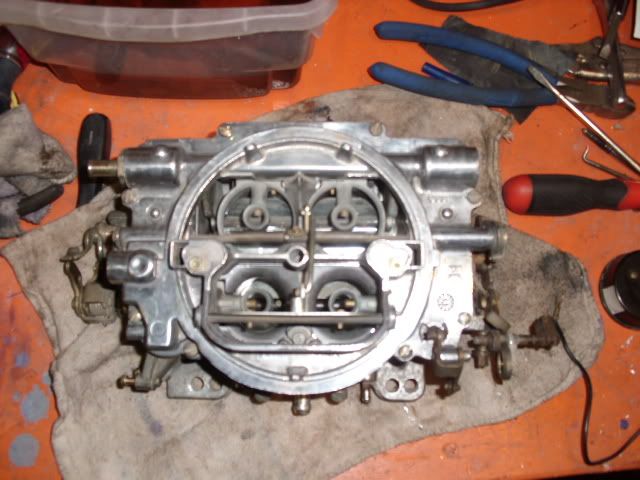
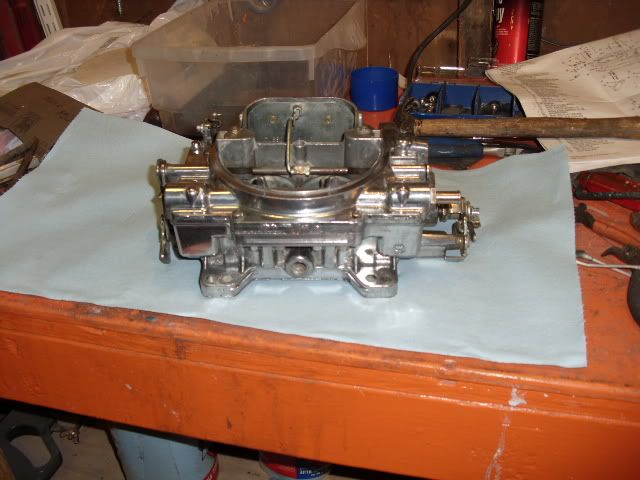
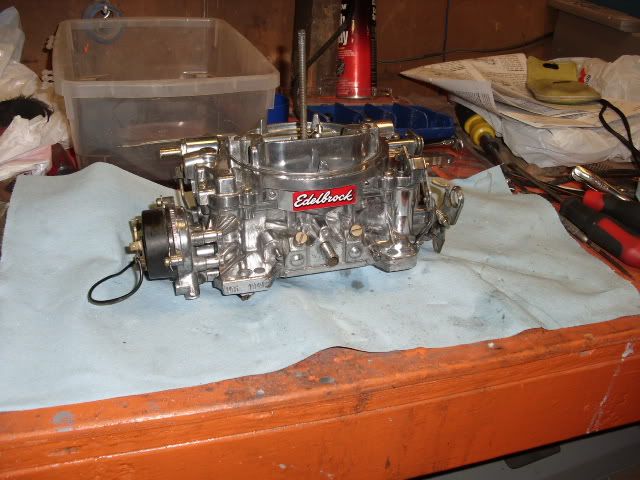
Decided I was going to run a rebuild kit through the eddy carb I picked up used from a buddy and I am glad I did....it was FULL of sand and dirt from being on a mud truck....I poured enough out to fill a spray paint cap up almost.

it went KINNDA smoothly....a jet would not budge and the soft brass chizzled away when I tried to turn it out so I figured if I was going to have to replace a set I would do all 4.

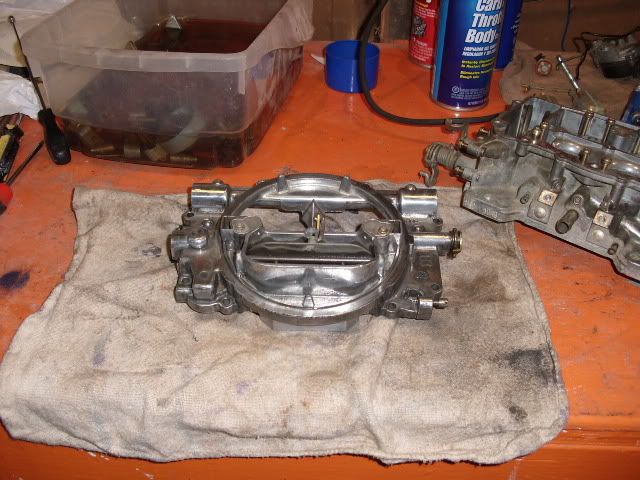
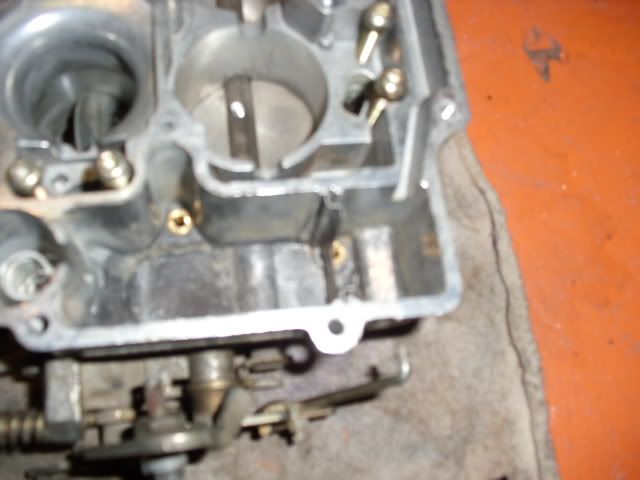
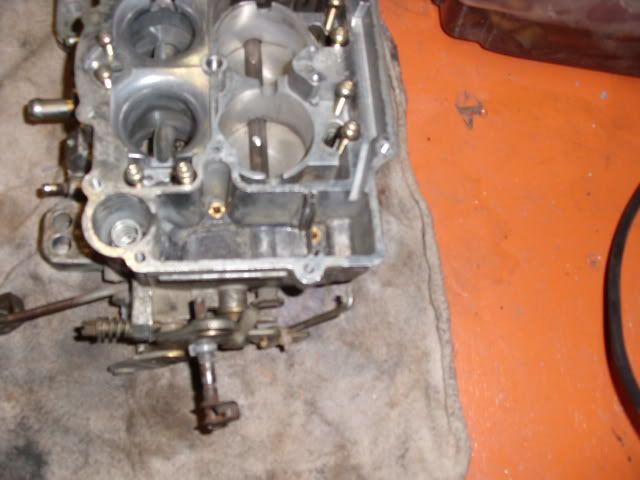
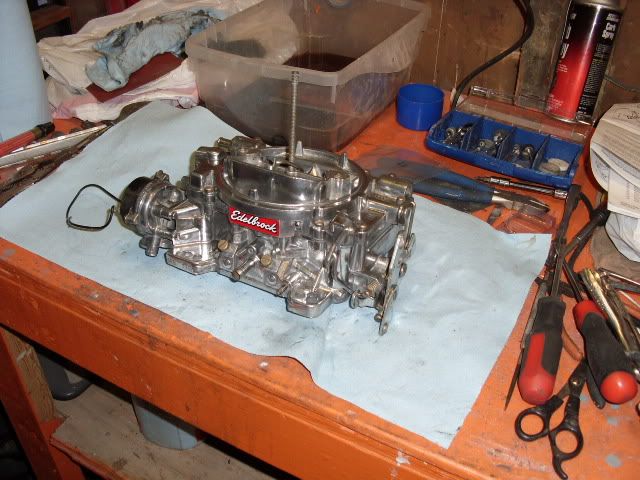
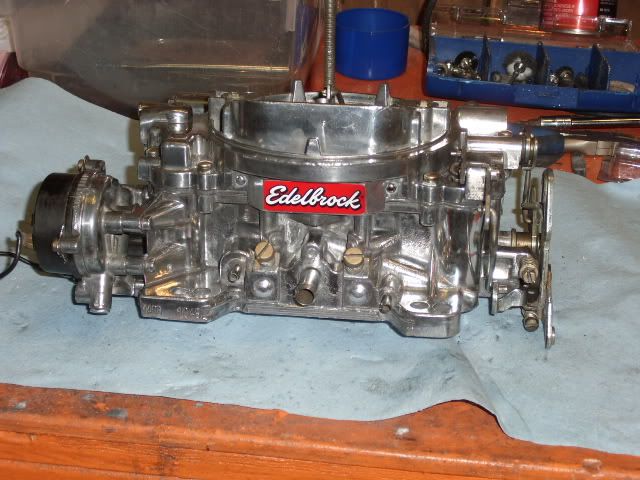
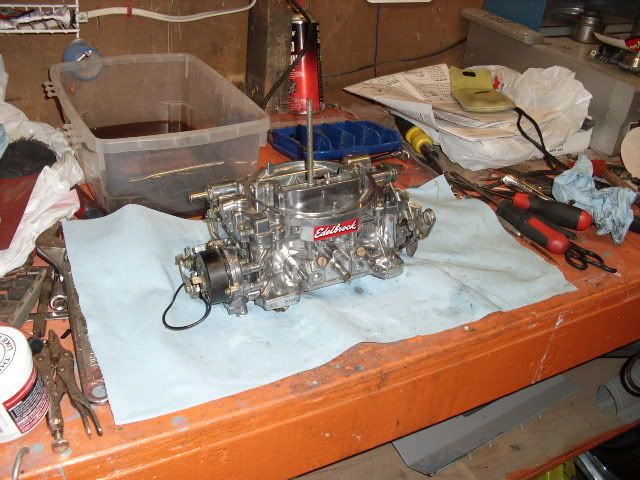
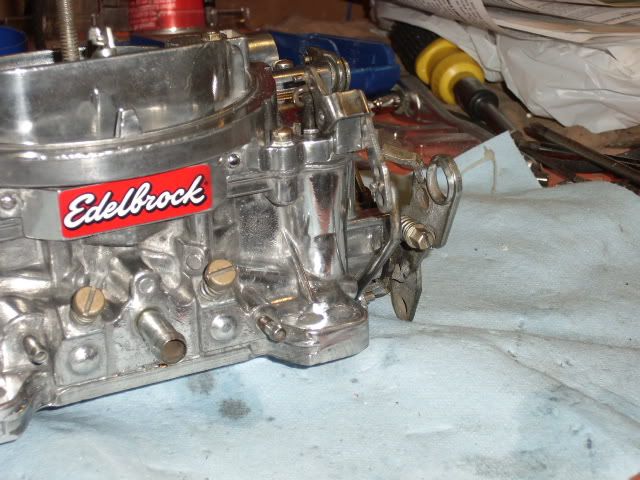
I cleaned and inspected the metering rods and changed the springs,change the accelerator plunger and spring,all new gaskets,thoroughly cleaned inside with a fine wire in all ports and nozzles,new clips on all linkae,new screen filters,reset the floats to spec, had a gummed up secondary shaft and I got that nice and free and springy again....like a brand new carb!

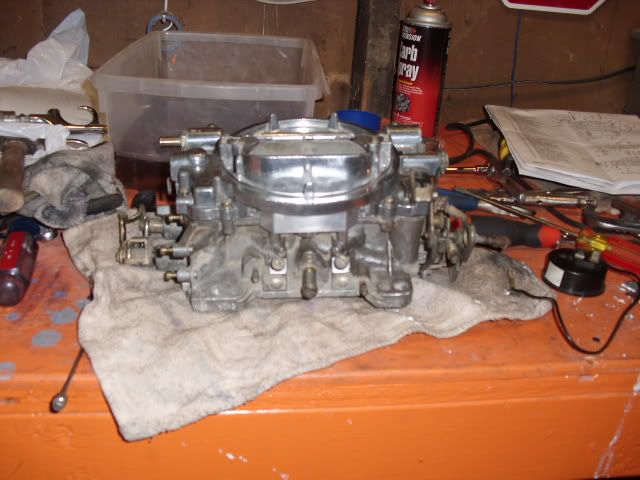
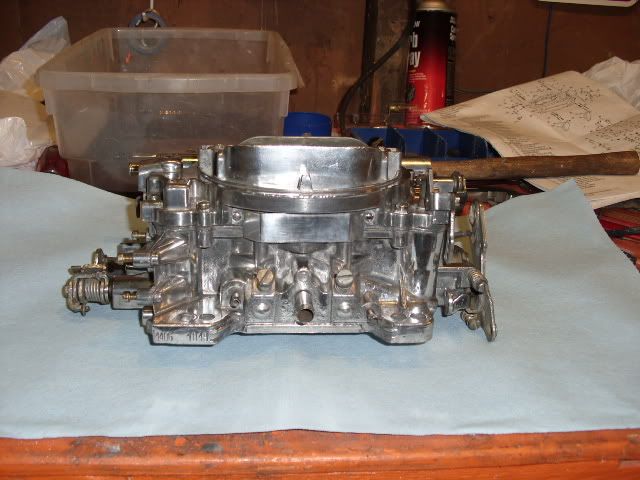
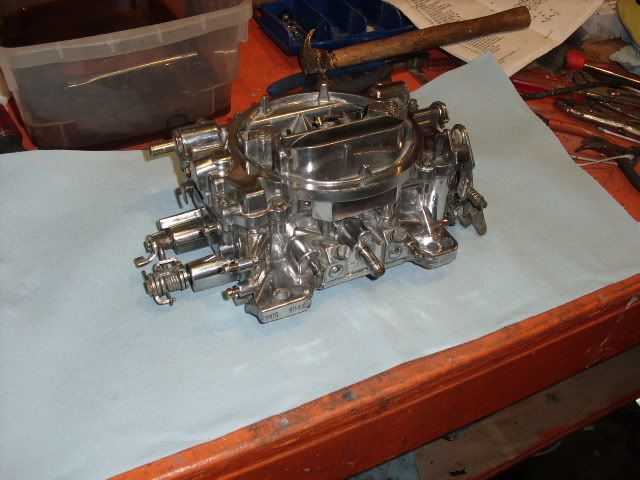
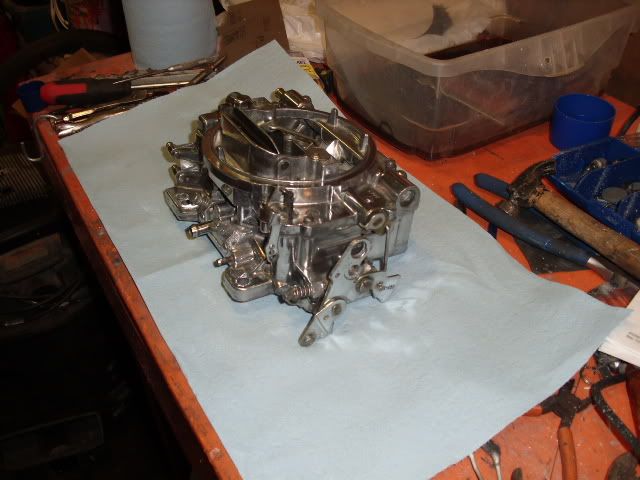
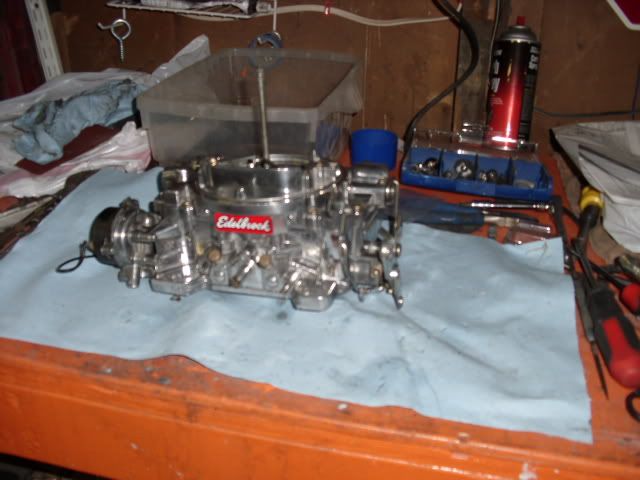
I forgot to get before pictures but I got some pictures after I ripped it apart and after I put it together and pictures of the top of the carb after I did my first run of polishing on it... (it did look worse than the bottom of the carb....now I have to polish the bottom half and then one more once over of polishing on the hole thing so it will not only work like new but will look like new also!.

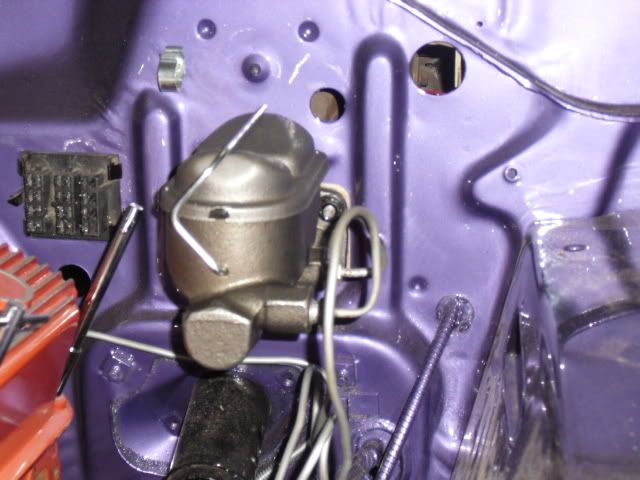
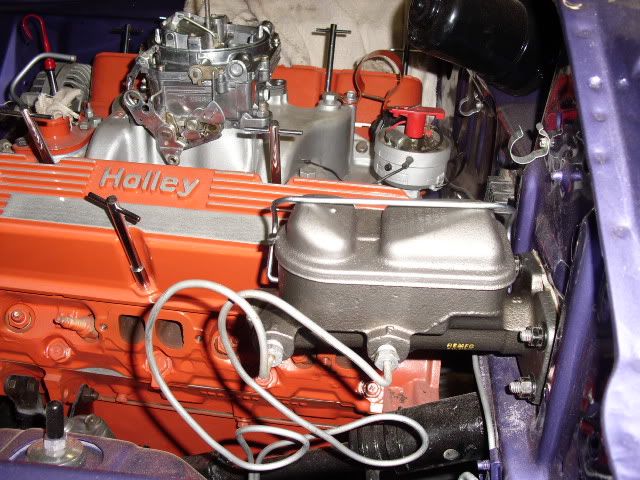
I also have been having trouble hunting down brake parts and a torque converter so until I get those....that stuff is holding up areas of the build.

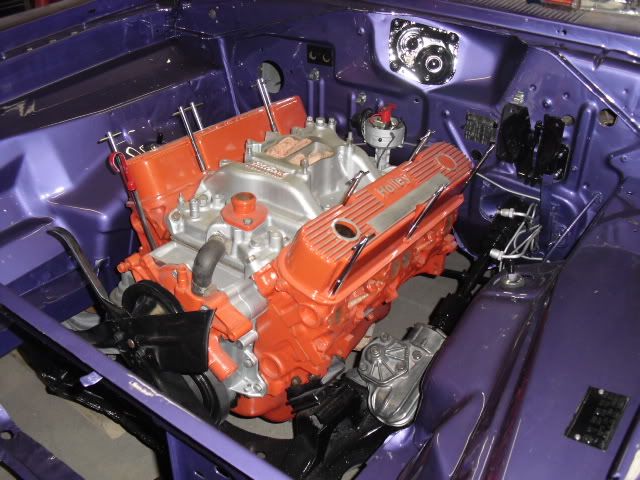
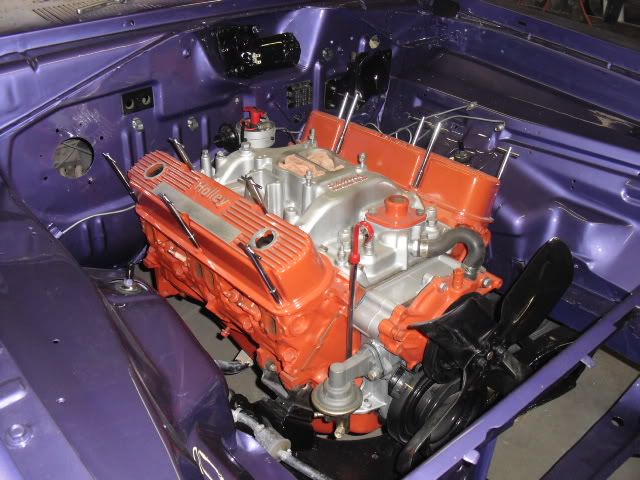
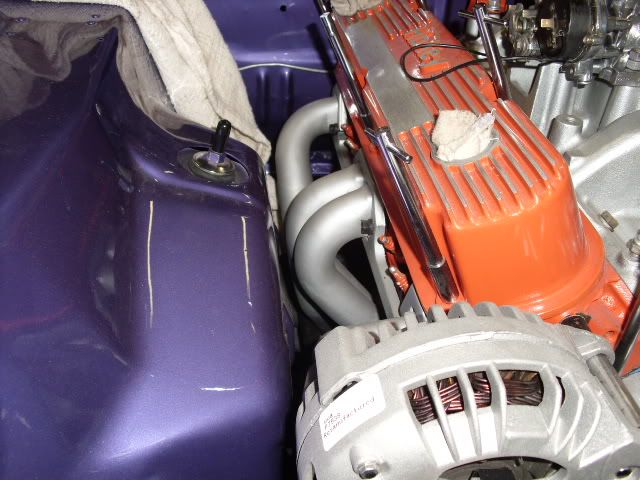
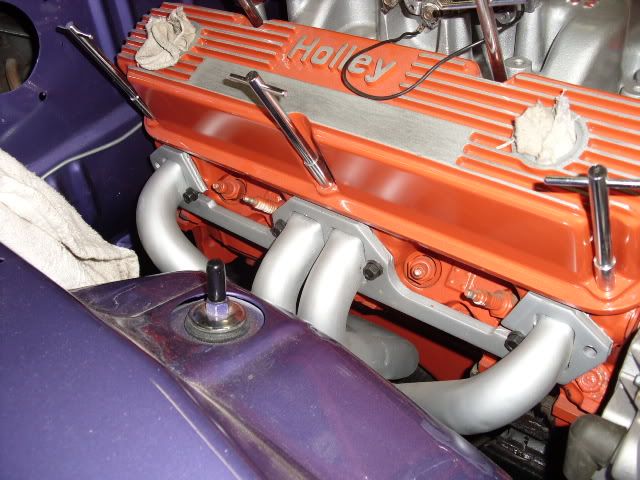
I did start putting my headers in, I got my passenger side header in and had some clearance issues at the torsion bar but I have that problem solved....now tomorrow I may move on to doing the drivers side header.

DSCI10562.jpg


DSCI1057.jpg


DSCI1058.jpg


DSCI10592.jpg


DSCI1060.jpg


DSCI1061.jpg


DSCI1063.jpg
 
The edelbrock painted logo wore off after I had the carb dipped in a cleaner bath.

But I have a new one I will be putting on in its place.

Just incase anyone noticed that i figured I would mention it LOL
 
Dang dude this is going to be probably the best 1972 Duster I have ever seen!!! Keep up the hard work and Keep those pics a comin!!!


I don't know about the best one lol but I will try to make it as nice as I can.

Thanks for the comments and I will keep everyone posted as i make more progress
 
your duster is coming along so greatly!!! i cant wait to see it finished, i bet it'll shine like no other 72 duster. way to go on the work bro!! keep it coming !!
 
!!!!UPDATE!!!!

Ok everyone.....I havnt updated you guys in about a week because I have been very busy chasing down parts , I have been busy making vinyl stickers for people, working on the duster,spending time with family and my fathers B-Day was yesterday.

anyways....I have been making progress!.

Got my TCI stall converter ordered and it will be here monday.
Got my new alternator and got it all mocked up in place.
Got my new manual brake pushrod and installed it.
Got my new master cylinder and installed it.
Picked up a brand new radiator and installed it.

I made alot of measurements and looked over a family members duster and dart real well to see what exactly I would need to look for in a radiator ( I am running the old style water pump which has the inlet on the drivers side rather than the passenger.....and since I needed a radiator anyhow I figured I would get a radiator that would work for my setup rather than buy a new pump and pulleys and still have to get a factory radiator.

anyhow....I ended up going to my local junk yard and my dad knows the owner and he had a room upstairs that he kept TONS of brand spanking new classic car radiators in and it jsut so happens that he had the exact set up I needed and only charged me $85.00 for it.

It was out of a Chrysler Cordoba I believe he told me (not sure of exact year) but it was a v8 radiator and it was the HD radiator aswell ...(he pulled out his parts book and told me all the specs on it.

anyways its a PERFECT fit besides the fact I had to drill my own mounting holes in the core support and I got the hole saw out and cut a hole in the bottom of the core support so I could drop the pet **** through for easy access for draining.....but it looks very clean and is not "boogered" in and looks factory and should keep my v8 plenty cool! IM STOKED!

Picked my alternator up and got it mocked into place with belt and all so I could see how everything would line up and all looks good.

Got the passenger side header in .....had to do a little clearance work where the header was to close for comfort at the torsion bar but it came out very clean.....(driver side I have yet to do).

Ordered a brake pushrod from ebay with a master for about$12.00!!!

Installed the rod and went and bought another new master cylinder for the heck of it since there only $25.00 for a new remaned one.... (i was told that the 73 power disc brake master cylinders worked best for a manual brake set up due to the difference in the size of the chambers? ....so thats what I got.

I am still working hard at it and will get everyone more progress updates as i go....I will post pictures of what I have done so far in a minute.
 
OH and i finished polishing and rebuilding my edelbrock carb ( it came out pretty nice if you ask me)
 
above you can see pictures I posted last week ( page 6 ) when I first started working on the carb.......these are pictures just as I was finishing up.

DSCI1069.jpg


DSCI1070.jpg


DSCI1071.jpg


DSCI1072.jpg


DSCI1073.jpg


DSCI1074.jpg


DSCI1076.jpg


DSCI1077.jpg


DSCI1080.jpg


DSCI1082.jpg
 
P.S. New edelbrock logo courtesy of an edelbrock catalog I had that came with edelbrock stickers in it LOL
 
Carb sitting on the engine so i could get an idea of how it looked as a package
DSCI1083.jpg


New master
DSCI1084.jpg


Im not keeping the lines bent that way (I am going to coil them up and bring them into the master from the bottom)
DSCI1085.jpg


New radiator
DSCI1086.jpg


Bolted in!
DSCI1087.jpg


Another look at it
DSCI1088.jpg


from the front
DSCI1089.jpg


From the other side
DSCI1090.jpg


Even had a perfect recess in it to clear the core support lip!
DSCI1093.jpg


New alt
DSCI1092.jpg


Header
DSCI1094.jpg


Again
DSCI1095.jpg
 
what I did to mount the radiator after drilling the holes was....I ran a washer and bolt through that radiator and then 1/8th inch thick rubber washers between the radiator and the core support and then a washer an locking nut with a nylon ridge in it on the out side .....I think it came out looking clean.


Let me know what you guys think of all the new progress updates!
 
Correction.....I think the radiator is from a late 50's early 60's maybe AMC Rambler.

Wanted to clear that up in case any one else had any future plans of doing this mod.

Great fit.
 
-
Back
Top