340sFastback
Well-Known Member
The car is gonna be a beast with that stroked 5.7 and manual trans!!
this thing looks awesome! wish i had your body skills. i have two questions? why stick with the early 2005 style coils where you have to use the short cheater wires, instead of the dual coil on plugs. and what kind of K member is this? Thanks in advance for the response, and again love the project!


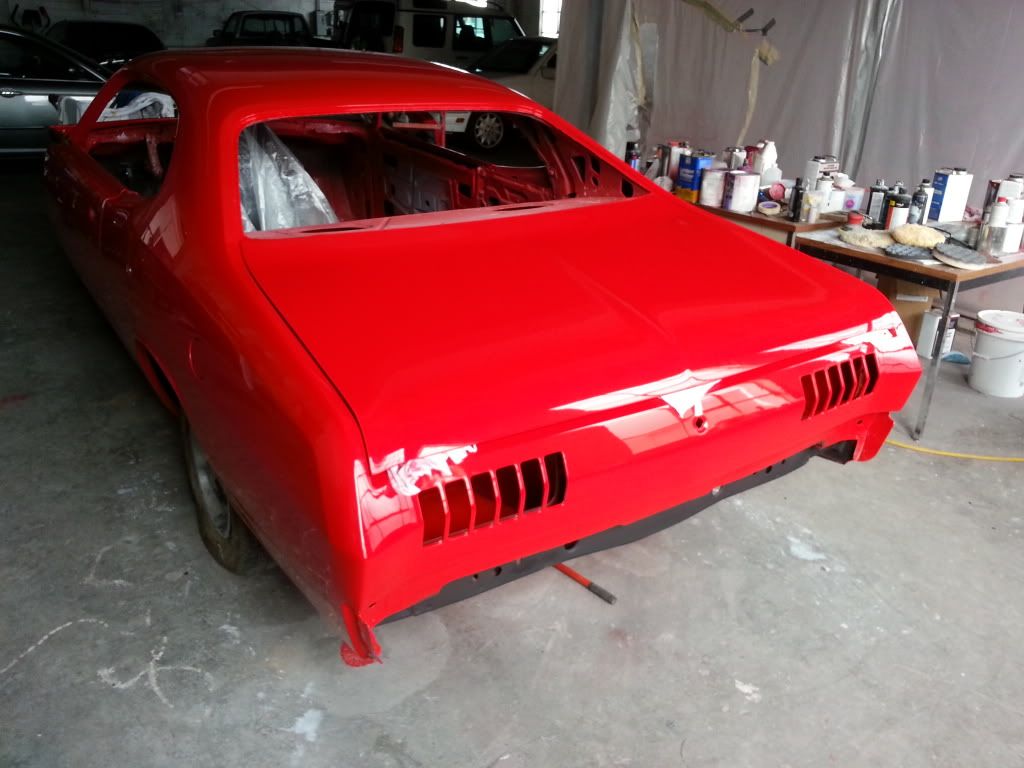
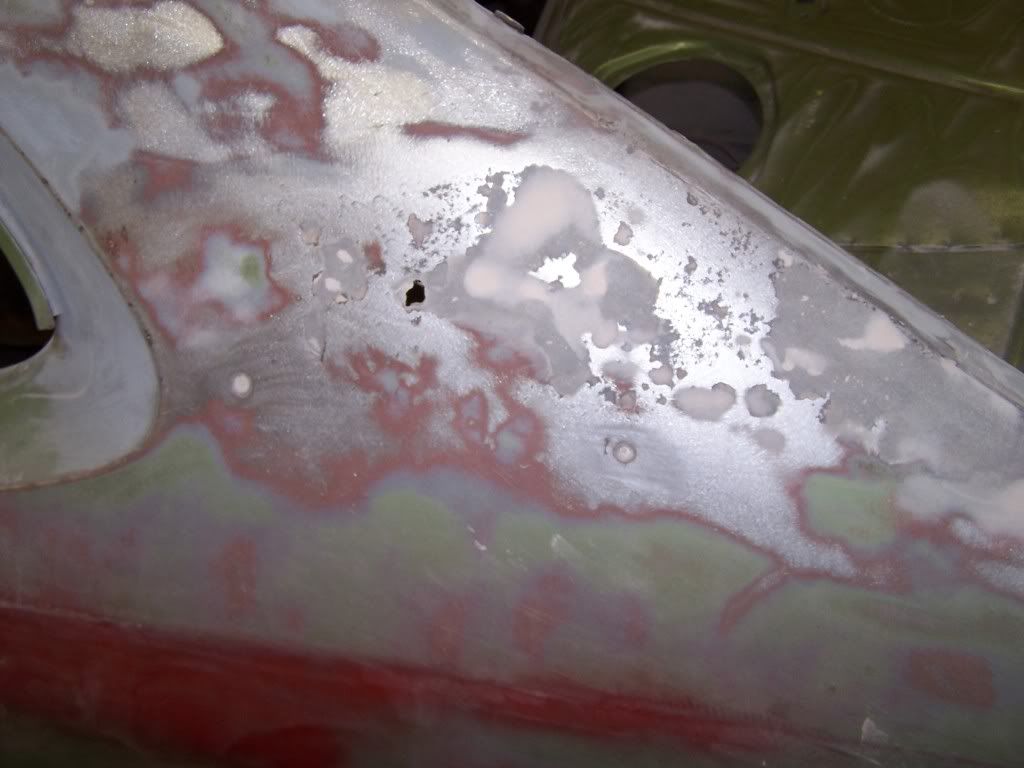
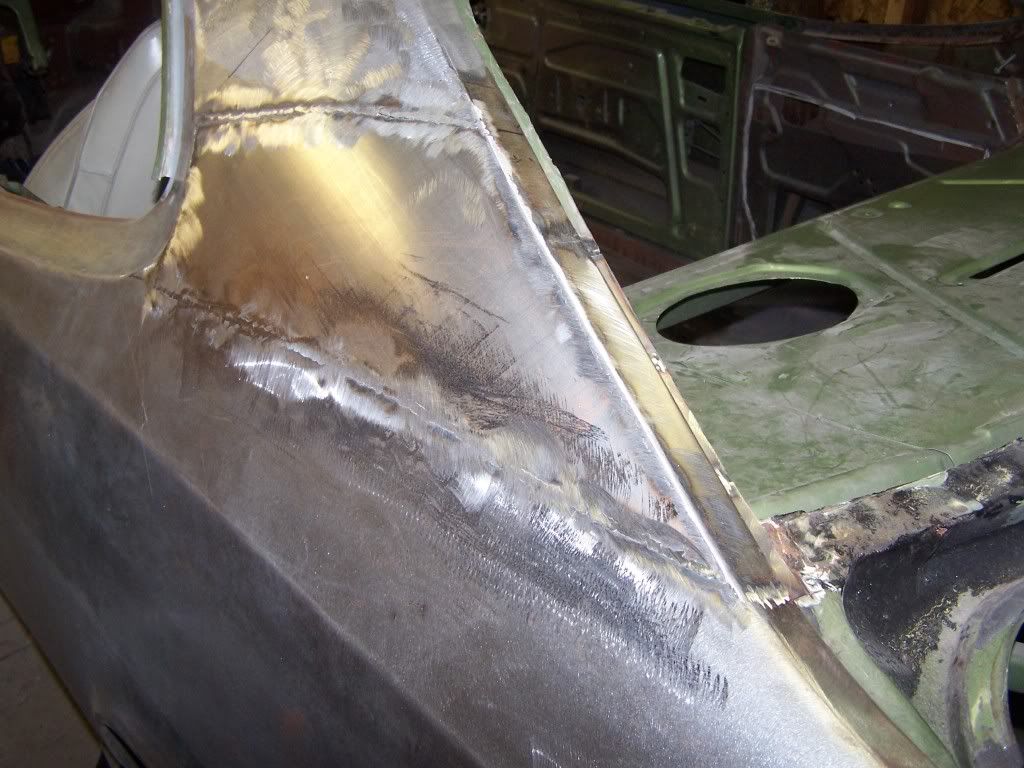
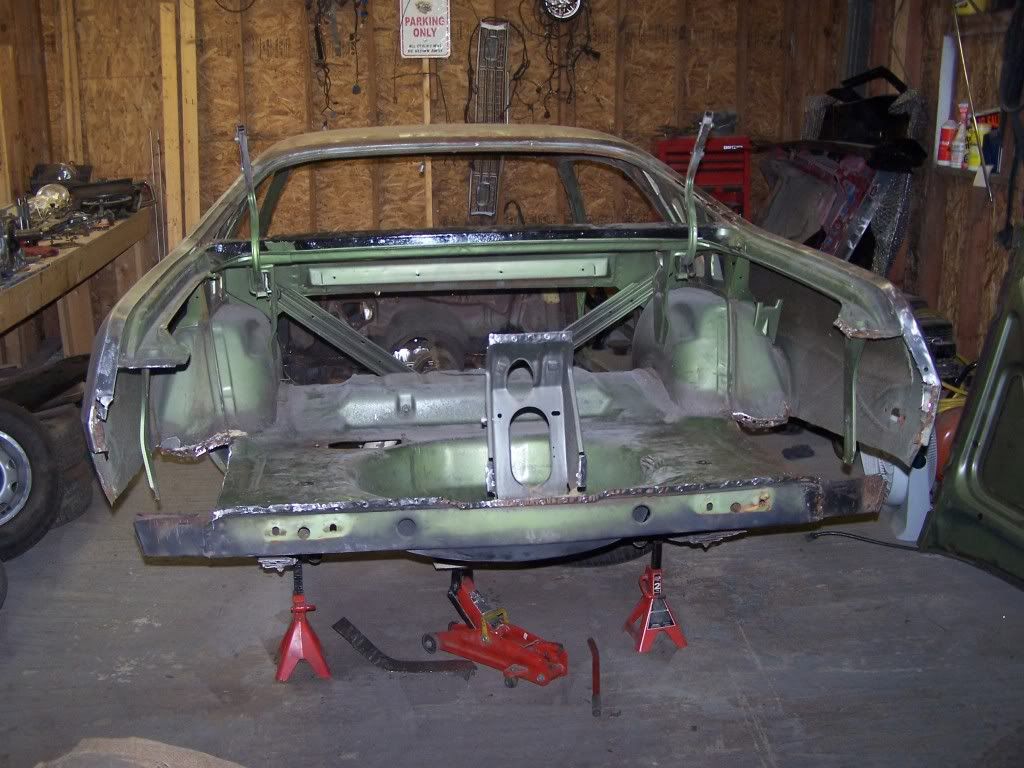
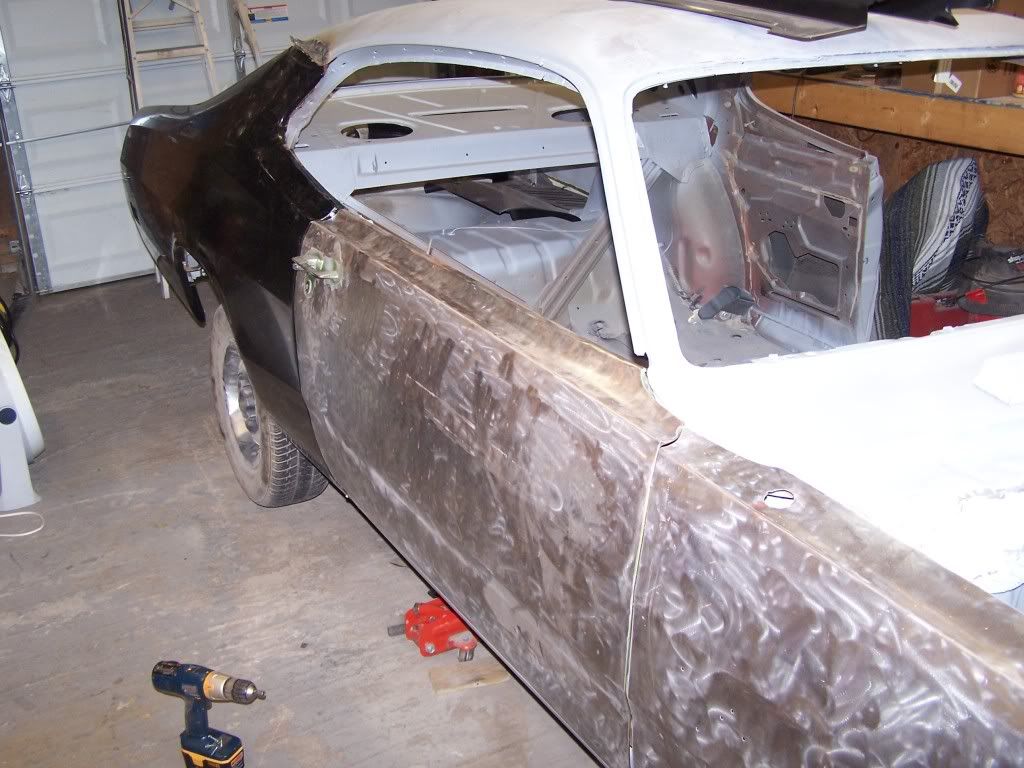
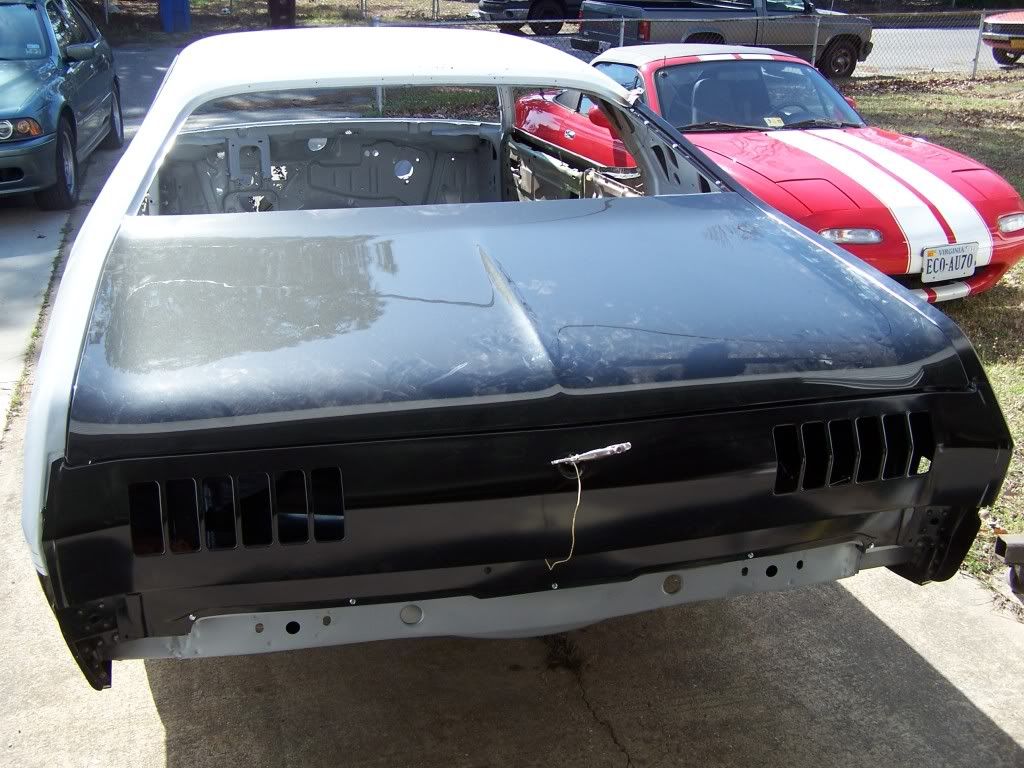
just wondering, how did you fix the curve of the quarter panel to match the doors at the top? I see in the one pic u have the same problem as I do. just wondering if u have ideas you could share about how to fix it.I tore the whole car apart and stripped the exterior with a paint eater disc. That's when my "rust free" car started looking ugly. Obviously, it's not as bad as what you guys up north have to deal with, but it's not what I thought I was getting into. It needed all the floor pans, both trunk extensions, a tail panel, both of the sail panels were rusted through where the vinyl top was and also in the lowers behind the wheel, patch the rocker on the right side, rust through and thin spots on the roof from the vinyl top, hole under the battery tray, etc.
While I was at it I found a good deal on a '72 Dart front end, and a hood from another member here.
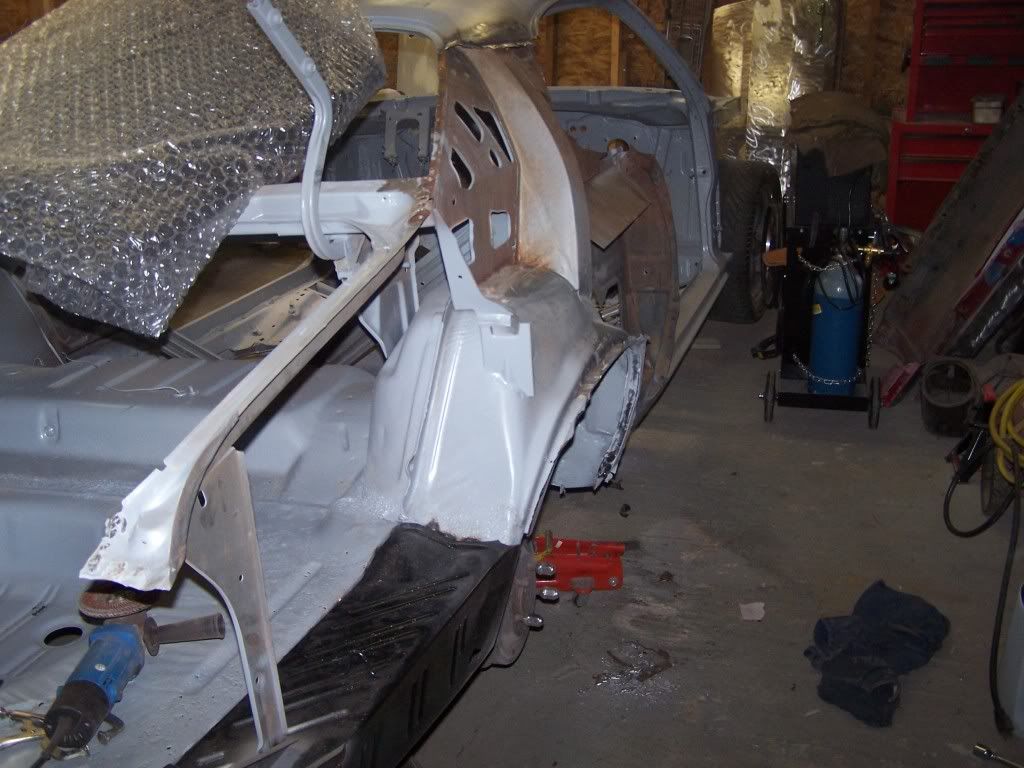
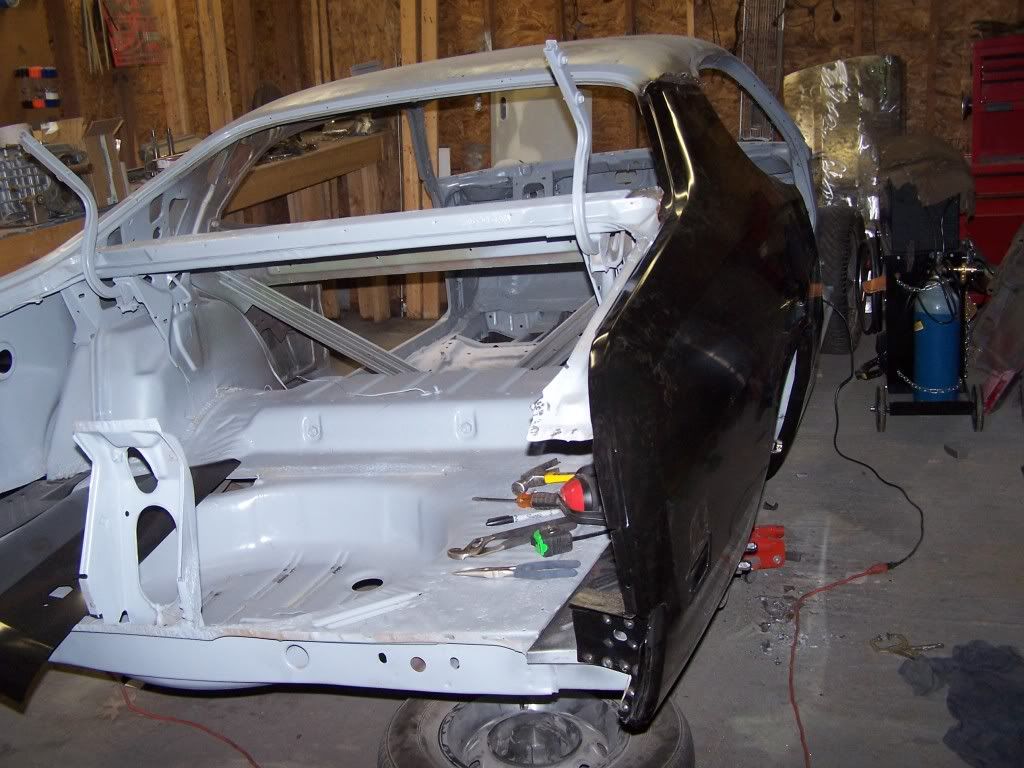
I had the jambs and underhood sand blasted by a buddy and primed with SPI epoxy.
So far the only work that I haven't done myself is the patch on the sail panel.
-Jon
Me no unnnerstan'...............why is there a big-*** hole in the bell like that, and no support for the nose of the starter?