needsaresto
Well-Known Member
- Joined
- Nov 13, 2004
- Messages
- 7,622
- Reaction score
- 280
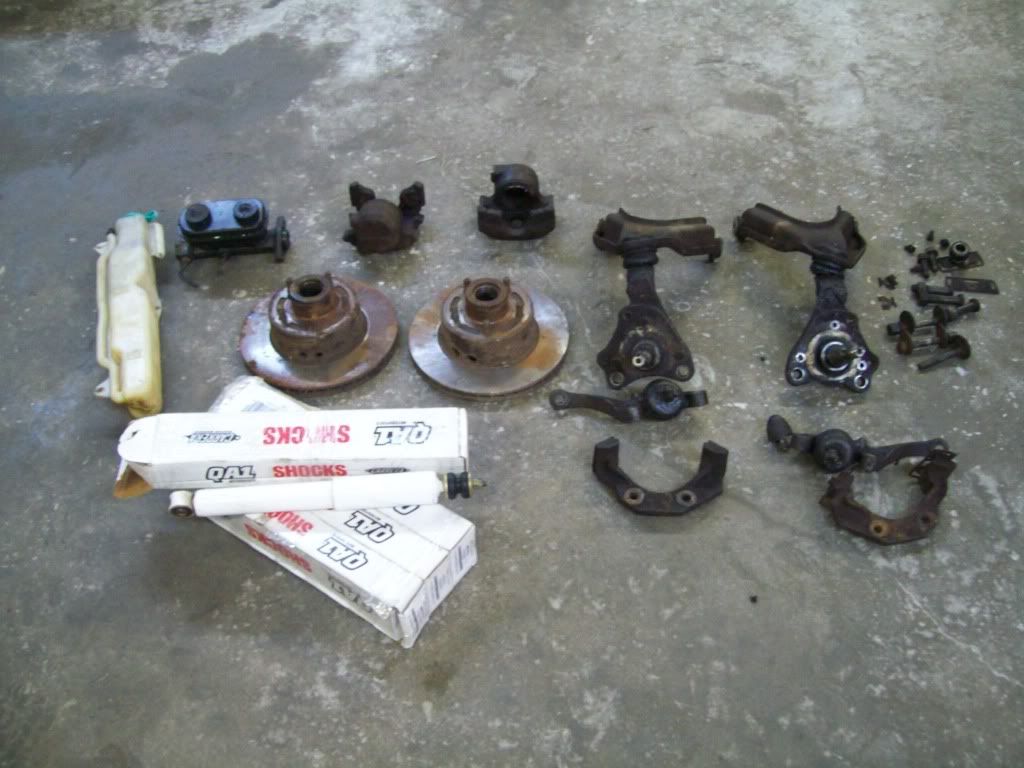
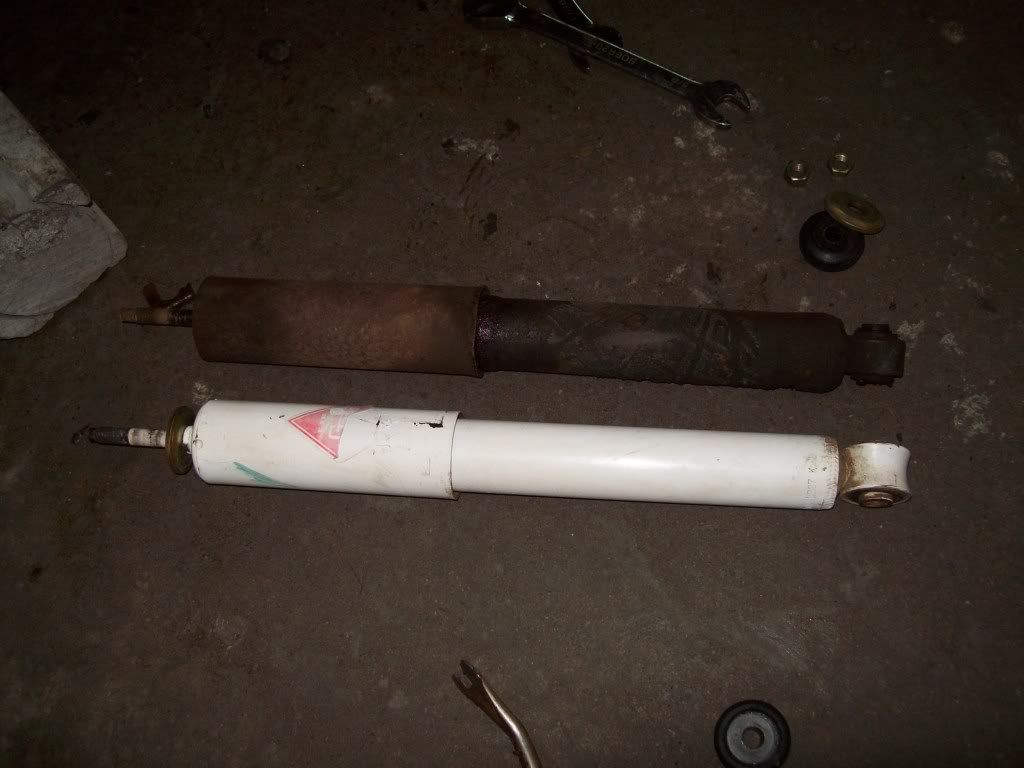
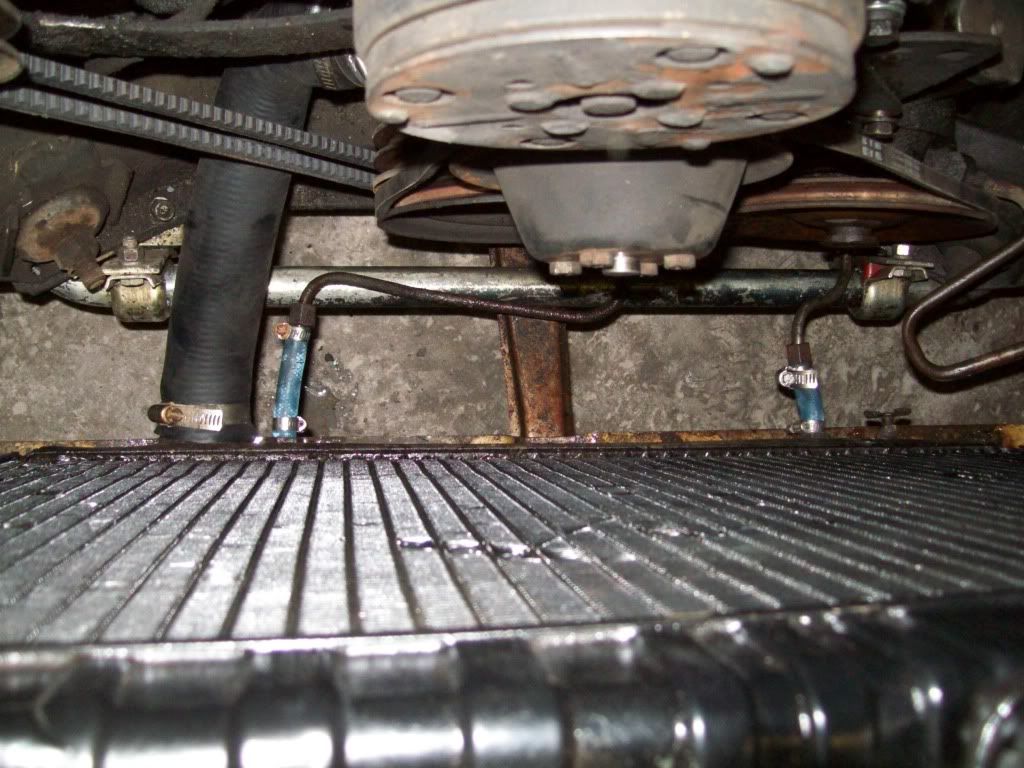
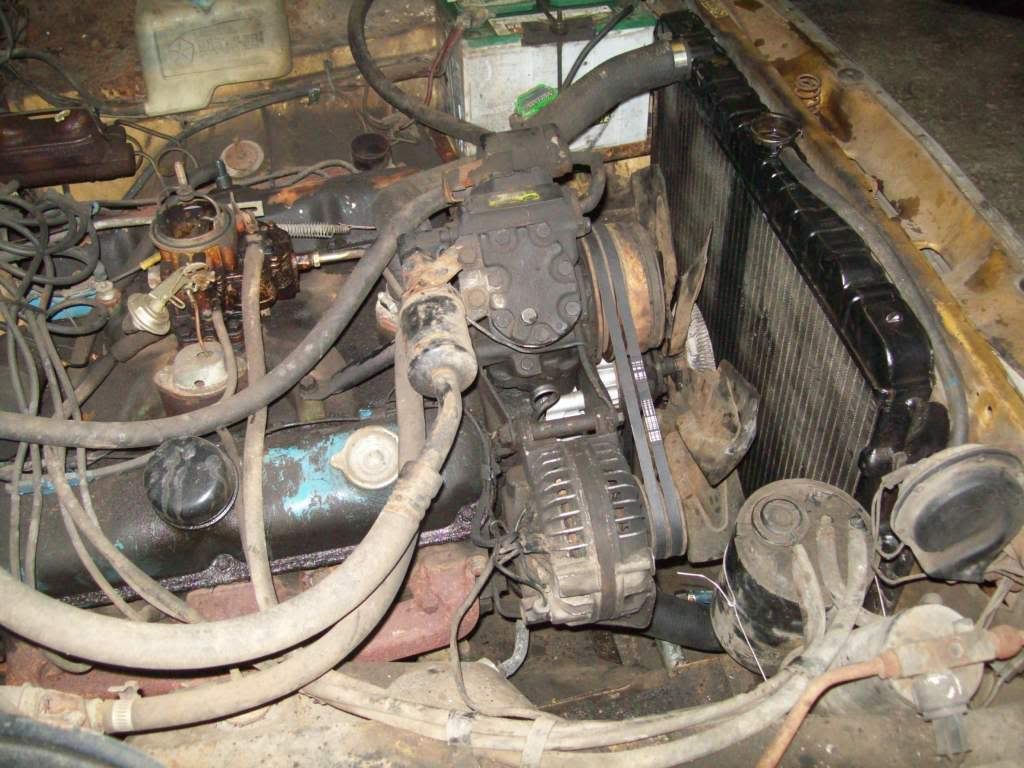
Looks like the timing cover survived,lucky for you...Water pump musta been making one heck of a noise!
Looks like the timing cover survived,lucky for you...Water pump musta been making one heck of a noise!
You totally stole my idea on the street legal road race Duster. I guess great minds think alike.
 Do you have a thread about yours? I'd love to check it out!
I dont have a thread about mine yet. My Duster is currently parked in a shed over 2,600 miles away. And you could be right about the idea, I just thought about it a month ago.
Ok, you had the idea first. But, we both plan on going about building it differently. I plan on using a 6.1L Hemi that has been bored and stroked to 7.0L and coil overs on all four corners and other road racing goodies.

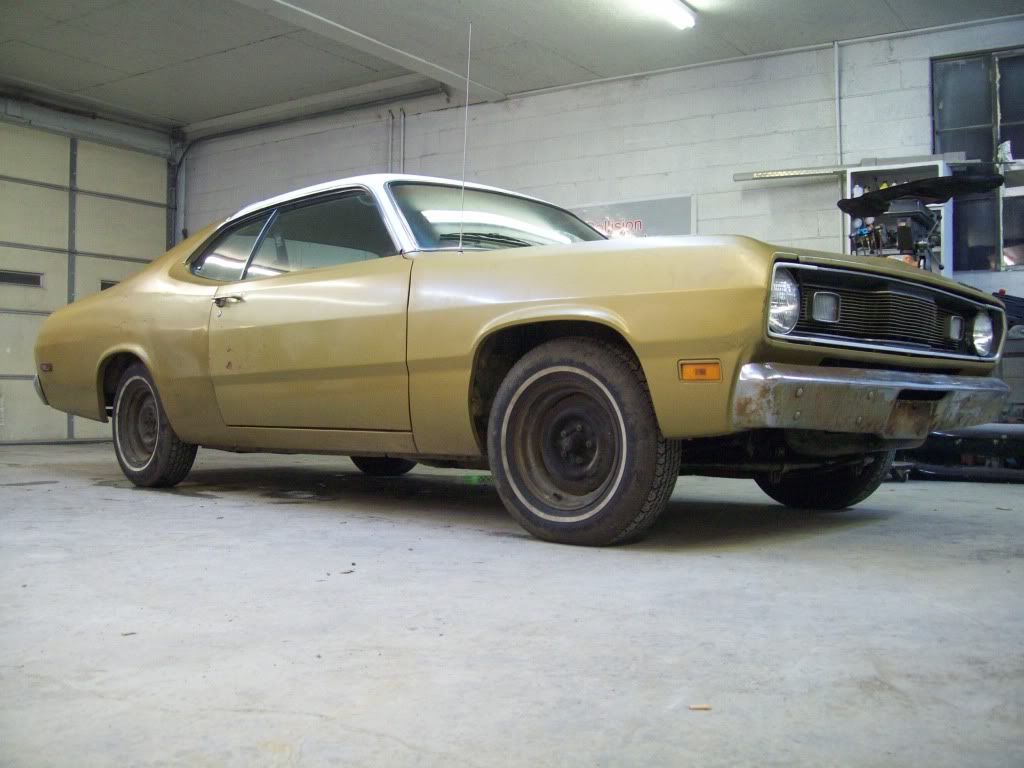

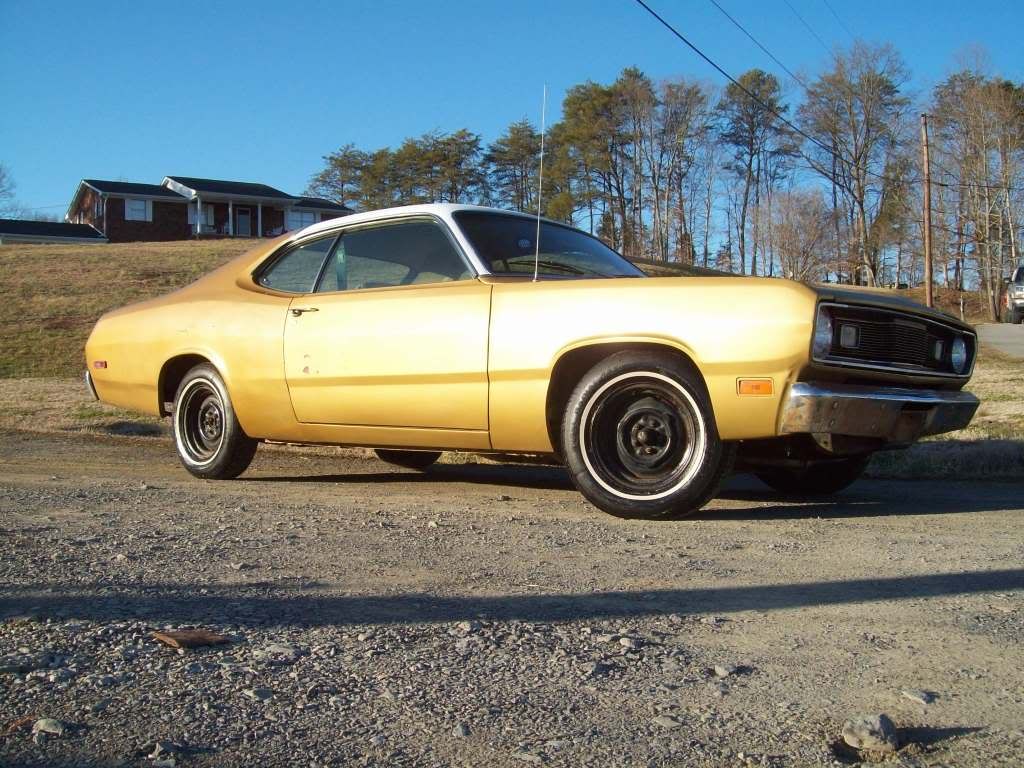
easy to see my choice. nice car.
easy to see my choice. nice car.
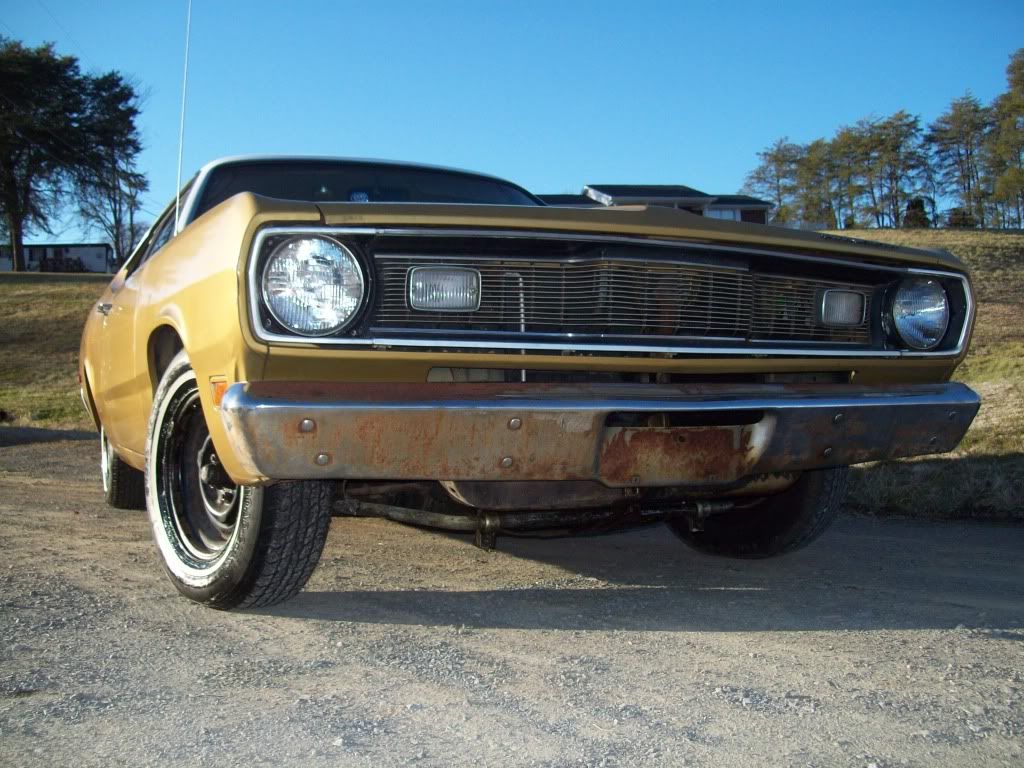
Yes, tell us the secret.What program are you using to change colors and how?
What program are you using to change colors and how?