door panels

-

BigRichieO

Colorado Mopar
Joined
Jul 16, 2006
Messages
575
Reaction score
9
Location
Arvada, Colorado
I didn't have the cash to buy a new set of door panels and the originals are red (red door panels and lime green car not a good combination) and a little beat up, so I thought I would make my own. I was thinking about sewing a pattern on the vinyl but when I made a test piece I found out that I bought too soft of vinyl and I found it very hard to get the lines straight when I pulled the vinyl tight. So this is what I came up with instead.

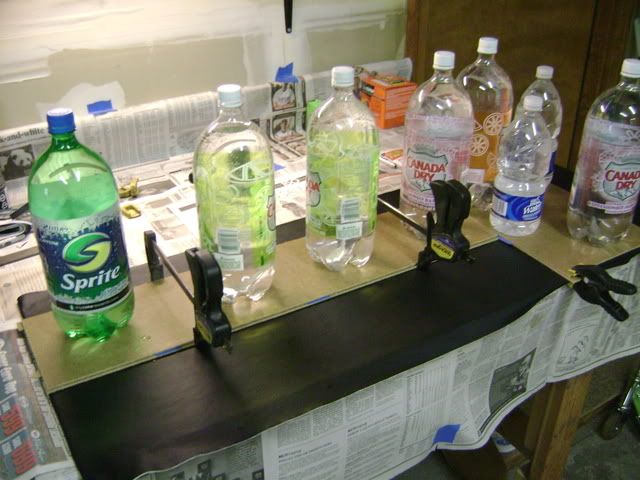
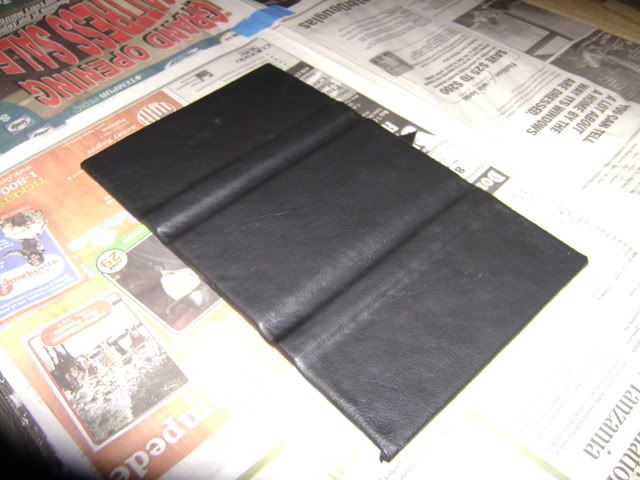
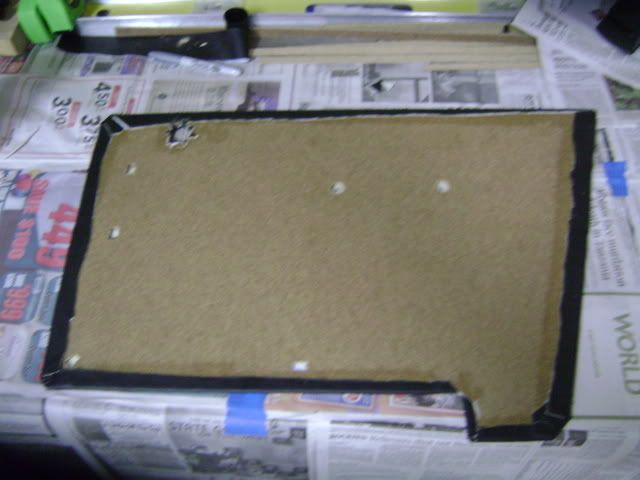
This is a test piece that I made to see if the new idea would work.

DSC01115.jpg


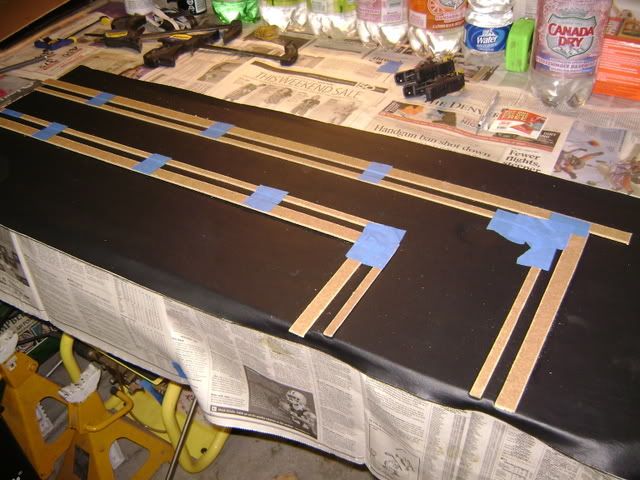
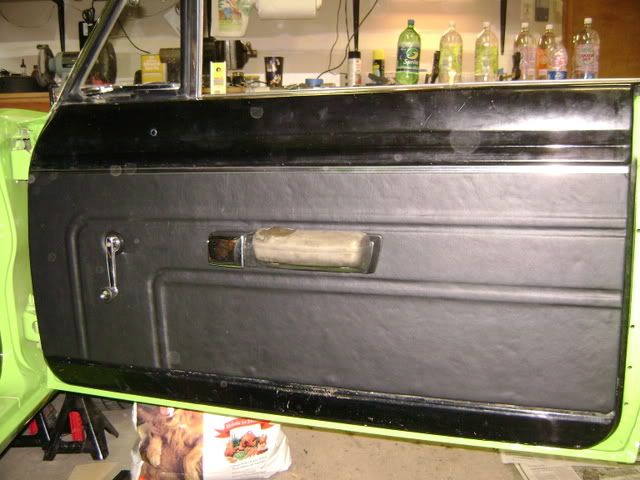
Here is the raw passenger side rear, I figured I would start with the driver side rear though, in case it turned out really bad. It's pretty hard to see the rear door panels while driving. I made the panel and cut pieces out of the same material to make the stripes, then I glued them on the panel.

DSC01119.jpg


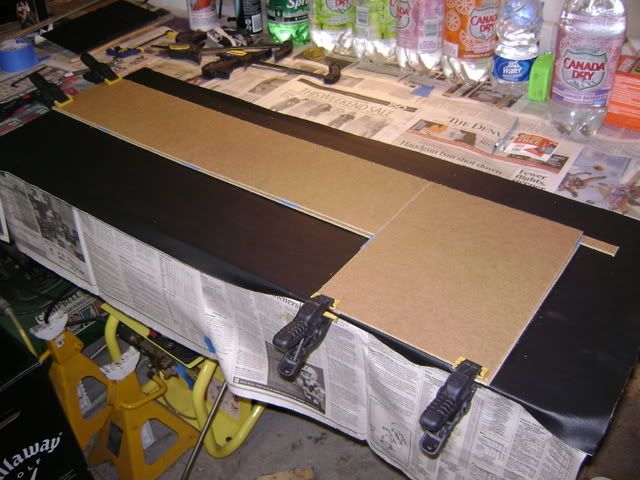
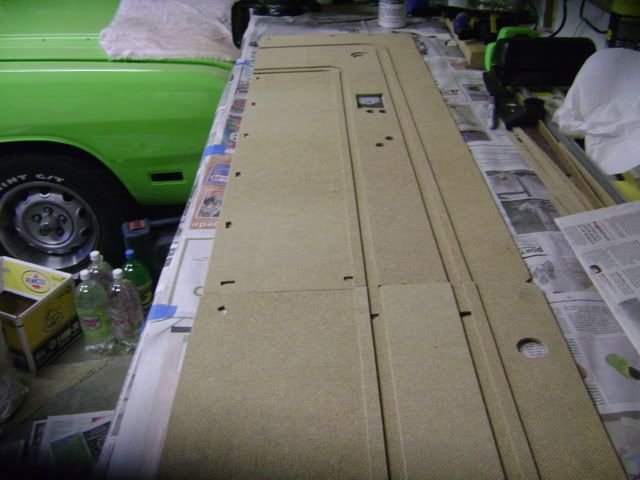
I continued the pattern on to the front door panel and then turned it down to kind of match the bumble bee stripe that I'm going to have on the car.

DSC01121-1.jpg


Here's the front and rear together, they don't match exactly but there is the break between them with the door opening trim.

DSC01120.jpg


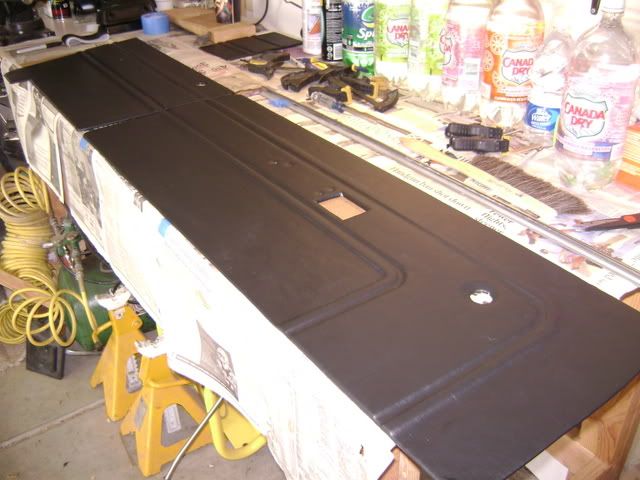
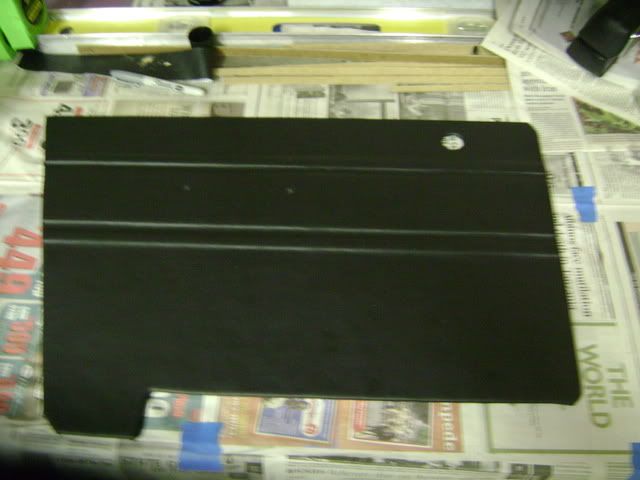
This is the finished drivers rear, I think it turned out OK. The pictures don't really look that great, it's hard to see the seperation between the stripes, live they don't look too bad. I'm going to continue making the other panels and use these until I can afford the remanufactured versions.

DSC01123.jpg


DSC01122.jpg


What do you guys think? Have any of you tried to make door panels yourself?
 
wow that looks really good, I havent tried making door panels but I think I will now
 
Nice! Good Job!

I agree...makes me want to try making my own...and mine are great!
 
x3 nice job! very rewarding work.

a couple of tools that help are a plastic screen spline roller (puts nice sharp edges on insets) and a rolling pin ( for nice smooth surfaces ) and you probably have those kicking around the house..

again nice work. :cheers:
 
Thanks for the encouraging words guys. It's taking a little more time than I thought it was going to but I can see the light at the end of the tunnel.

I used 1/8 inch partical board for the panels. I took a small sample off the original panels with me when I got it so I was sure to get the correct thickness. I don't think the stuff that I bought was actually called partical board but I did get it at Home Depot, and it is some sort of press board. It has a smooth side and a the side shown in the picture has a texture. It really grabs the style of vinyl that I bought. I got a 4' x 8' sheet and I think it was less than $10.

The vinyl that I got has a little fiber type backing on it so I didn't think that I needed any other or more backing for it. I ended up getting that at a local fabric store called Hancock Fabrics. It was in the clearance area and I got it for $3 a yard. With such a good price I bought 3 yards just in case I had to take a couple of tries at it.

The glue that I'm using is 3M Super Trim Adhesive and I just ran out of it so I need to get another can to finish the job. That is it for the materials.

DSC01126.jpg


I used a jig saw to cut everything out. A drill, a 5/8" and a 1 1/8" paddle bit to make the holes for the window cranks and arm rest holes. A file to smooth out some of the rough corners and that's about it, stuff that I would think almost every garage has. I didn't think about using a rolling pin like player1up said but that might have come in handy. I think that hardest part of the project so far has been trying to get the vinyl to stick down in the groves of the "stripes". I ended up cutting narrow strips to jam in them, then I put on some clamps, more boards, and 2 liter bottles on them for weight until the glue has time to set up. I'll take a picture of the last panel that I'm going to do to show you all.

Thanks again.
 
I finished my door panel the other day and got some pictures of the parts I used to get the stripes to stand out a little better.

This is after I sprayed the adhesive on both sides of the materials and let it setup a bit. I jammed the smaller strips in the grooves. I used small pieces on the curved areas then taped it to hold them in place. It was easier to cut a little wider ones for the outside edge of the design.

DSC01131.jpg


Then I clamped and covered all those those with bigger pieces so I could put some weight on them.

DSC01130.jpg


Clamped and weighted down with 2 liter bottles.

DSC01127.jpg


The final product.

DSC01132.jpg


Here it is installed, I need to get new arm rests and I need to refinish the gloss black on the door, but you get the idea. It looks like I need to clean the camera lens, the water spot looking circles are not there in real life.

DSC01129.jpg
 
nice job :thumleft:
Is that door handle burlwood and chrome ? Thats what I want my seatbelt buckles to look like.
 
Unfortuniatly the door latch is chrome and what you're seeing is the reflection of the extremly poor condition of my front seat. They are on the list of things to do also but I don't think the seats will be an in the garage type of project.
 
Very nice job. I am sure you have inspired many on this site to give it a shot.
 
Dittos on that, hemiduster. Because some previous owner of my '68 Cuda cut holes in the door panels to mount speakers, I will build replacement panels myself, especially after seeing the work BigRichieO did.

Also, because the stock center console does not suit my needs, I will likely build one out of steel and junkyard parts.

Gotta get on it.
 
VERY nice good job makes me think about doing my own when the time comes thanks for the info :cheers:
 
hey man, maybe you should look into doing custom work eh?
if not for ***** and giggles then maybe to make some extra cash!
just an idea...
think about it!
 
Just a footnote:
DARN FINE JOB!!!!!
When I redid my Door Panels I used the same thickness Lexan, cut/drilled/sawed/cussed all the required holes, etc.
And WA LA! No more Hardboard/moisture worries!
Did the same for my Spare Tire Cover and Package Tray and final coated with a paint roller - Texture is darn near dead on.
WARNING! Don't try to cut Original style Speaker Grates though.....
Never happen!
(Unless you have a CNC Mill handy)

Later,
Bruce B.
 
Very nice work thanks for the thread I'll be re-doing my panels today and making some kick panels and the rear package tray. very nice work indeed.
 
Thanks for the kind words guys!! I appreciate it, I can only hope that someday my stuff will look half as good as most of you people's rides look.:notworth:
 
Wow that is cheap enough I will try it...when I get to that point. But I will definitely give it a go, it is really worth it!
 
awesome job like everyone else said.i always thought that the more you could do yourself,the better you feel about the cars ,maybe a little more pride in it ?and like everyone else i think i might do something similar with my panels.
 
Awesome. I was planning on making my own panels, since Im missing the drivers door one. Ive just gotta decide on the pattern now!
 
-
Back
Top