I have a 73-76 K member in my 67 Dart. I did this because I like the spool
Mounts and because the 1 year only 1967 idler arm is a crappy design that costs too much.
Years ago I swapped in a 360 using “seasoned” mounts that surely only got worse over time. It has been 20+ years since I put this engine in, but the way.
In the next couple weeks I’m pulling that engine to put in a fresh one so I figured I’d get new mounts. I saw an ad on this forum for used mounts and new inserts.
I’m just now taking a second look…

While grungy, they don’t look too bad. They could probably be cleaned and used as is. In the past, I’ve filled the voids with RTV or windshield urethane.

Note how the bolt fits the hole nicely.

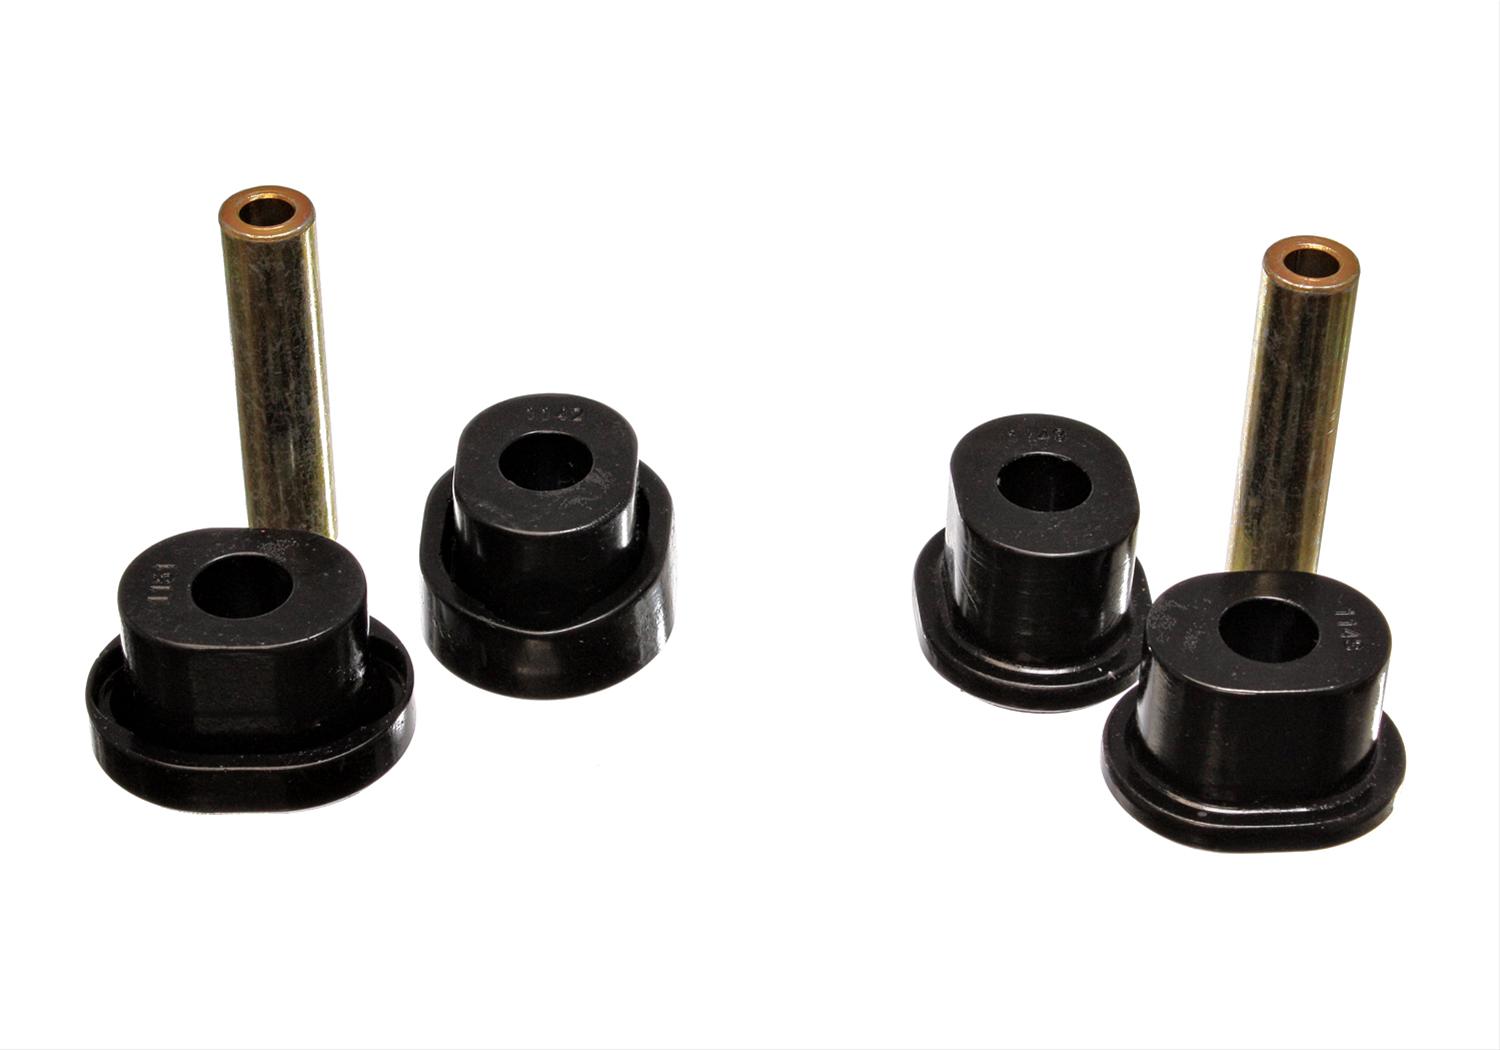
The inserts must press in? I’ve never done this but I figured I’d give it a try.

Look at the hole. Dim lighting in here didn’t allow me to see immediately that these have a steel insert much bigger than the bolt….

They filled the gap with molten rubber? Really?


Sure, the bolt can be jammed in there….

But what about wear? Won’t the rubber fail eventually?

What about removing all the rubber from the hole and pressing in a sleeve? There would still be rubber between the steel center and the whole bracket anyway.
Made in India…GREAT.
Are all the new inserts made this way? I have not dealt with replacing these before.
This OEM oven shows what happens when the insulating rubber breaks apart.

Maybe these made in India inserts would be okay as is ?
I might just use these old mounts after cleaning them up.
Mounts and because the 1 year only 1967 idler arm is a crappy design that costs too much.
Years ago I swapped in a 360 using “seasoned” mounts that surely only got worse over time. It has been 20+ years since I put this engine in, but the way.
In the next couple weeks I’m pulling that engine to put in a fresh one so I figured I’d get new mounts. I saw an ad on this forum for used mounts and new inserts.
I’m just now taking a second look…
While grungy, they don’t look too bad. They could probably be cleaned and used as is. In the past, I’ve filled the voids with RTV or windshield urethane.
Note how the bolt fits the hole nicely.
The inserts must press in? I’ve never done this but I figured I’d give it a try.
Look at the hole. Dim lighting in here didn’t allow me to see immediately that these have a steel insert much bigger than the bolt….
They filled the gap with molten rubber? Really?
Sure, the bolt can be jammed in there….
But what about wear? Won’t the rubber fail eventually?
What about removing all the rubber from the hole and pressing in a sleeve? There would still be rubber between the steel center and the whole bracket anyway.
Made in India…GREAT.
Are all the new inserts made this way? I have not dealt with replacing these before.
This OEM oven shows what happens when the insulating rubber breaks apart.
Maybe these made in India inserts would be okay as is ?
I might just use these old mounts after cleaning them up.
Last edited: