volitech
Well-Known Member
Hello Fabo
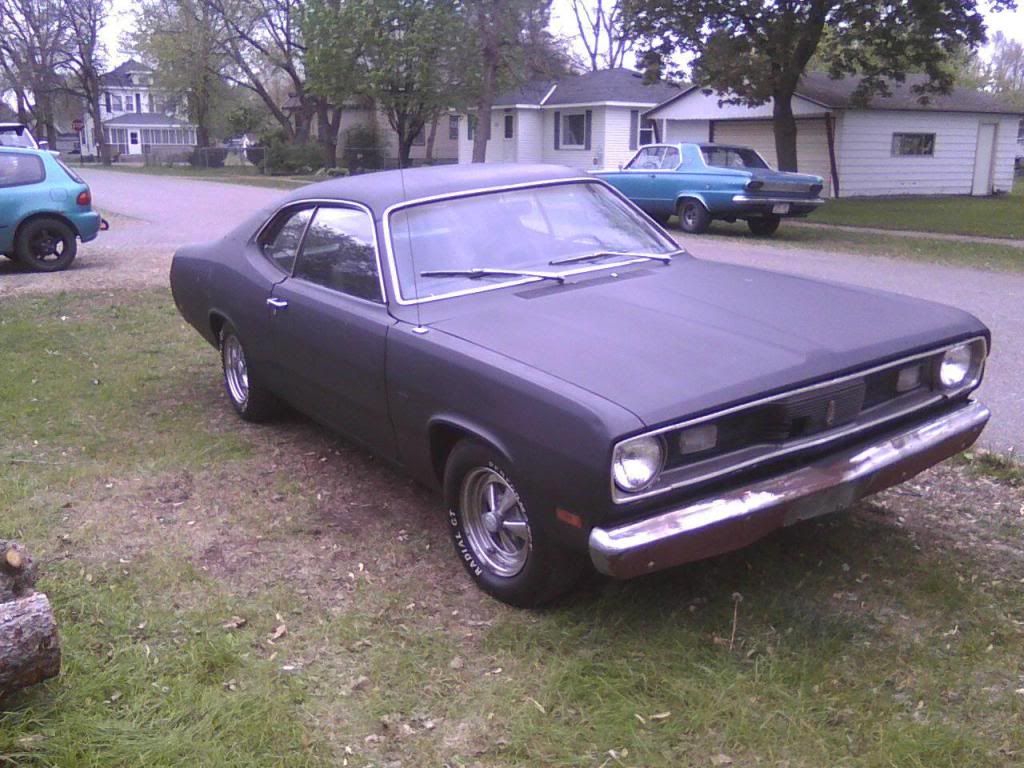
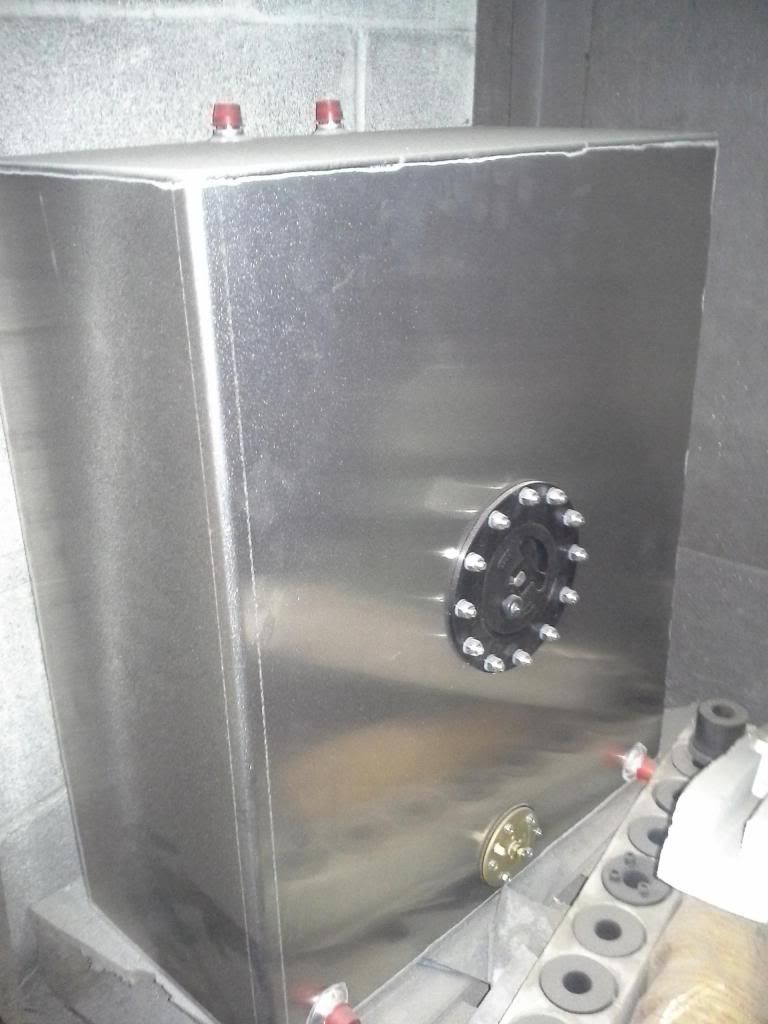
I am currently in the process of restoring a 70 duster for my father that we picked up in southern illinois. Its a 318 3 speed car that needs a alot of tlc! I have a 440 rb engine I picked up for $500 and a 4speed from a 68 formula S barracuda that was laying on a farmers barn floor! When asked how much he wanted for it he said just get it out of my way and it yours!! :glasses7: SCORE!!! It needed a rebuild but I got it done for $425 so all in all not bad....
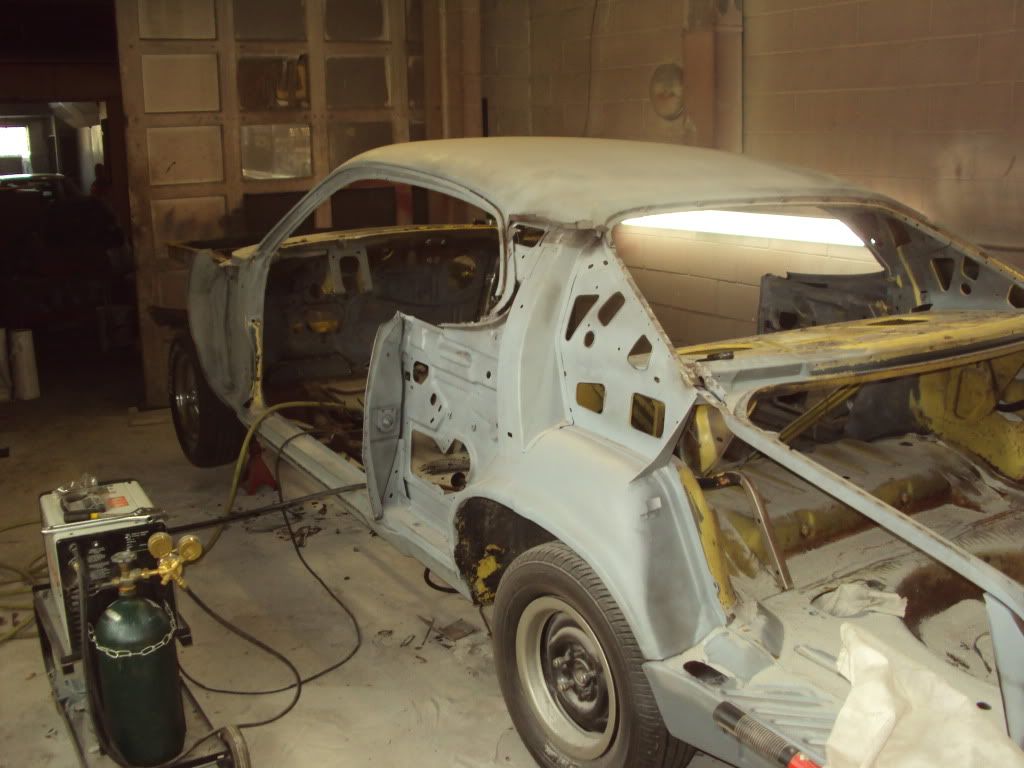
Pics of the car...
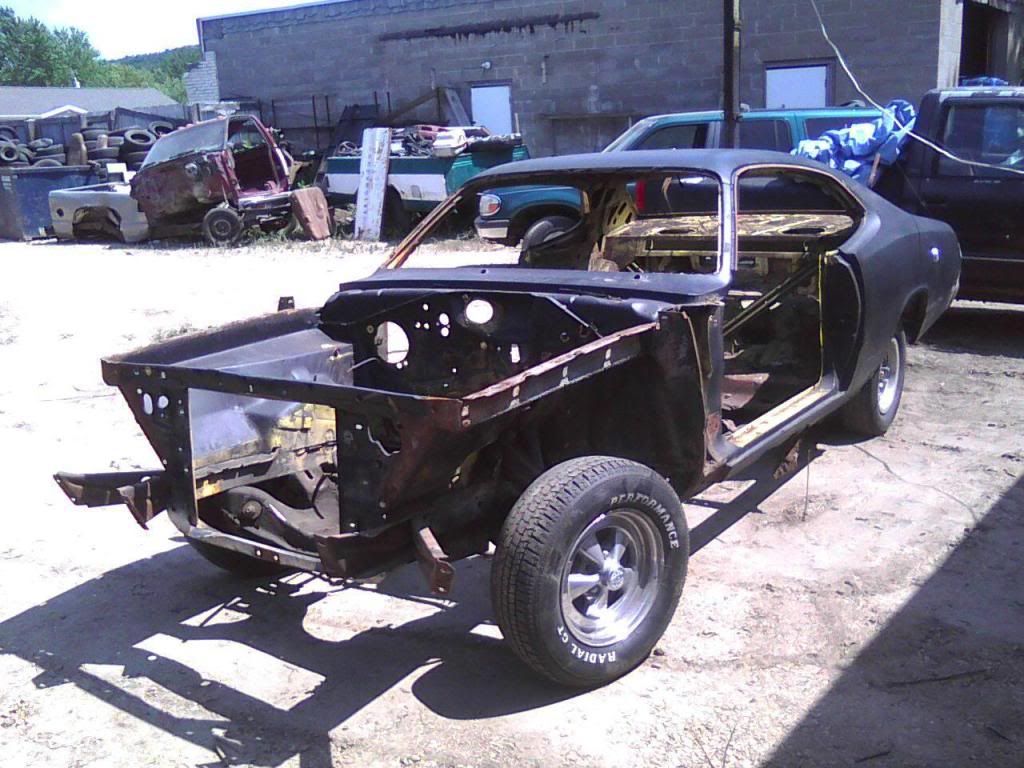
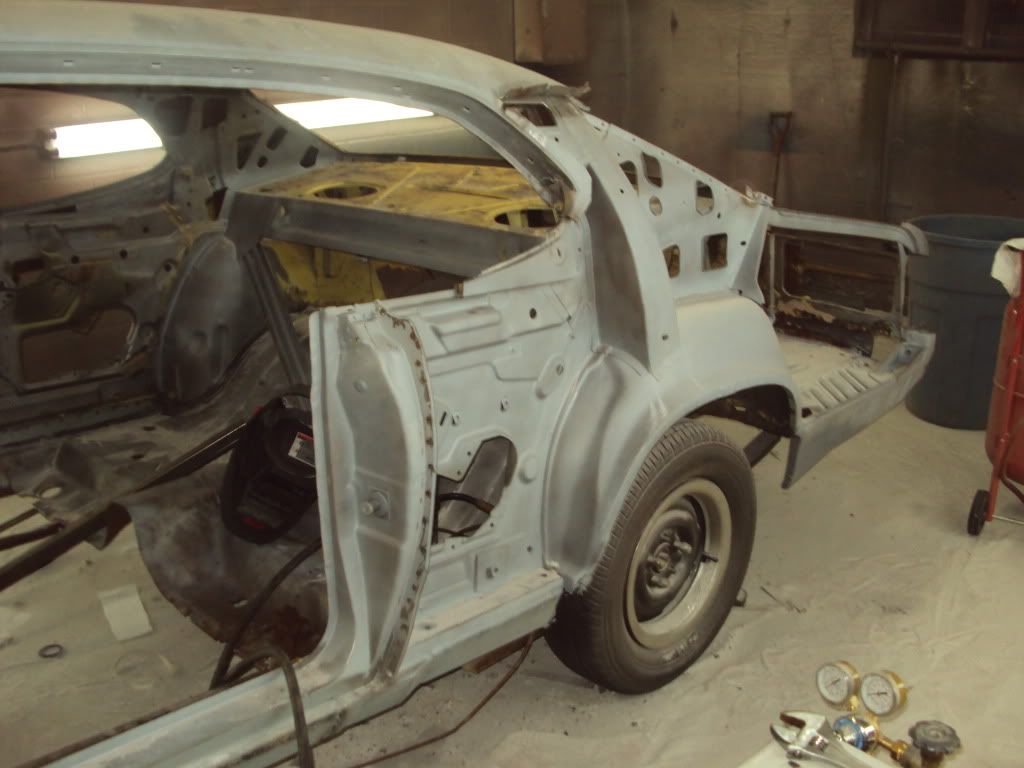
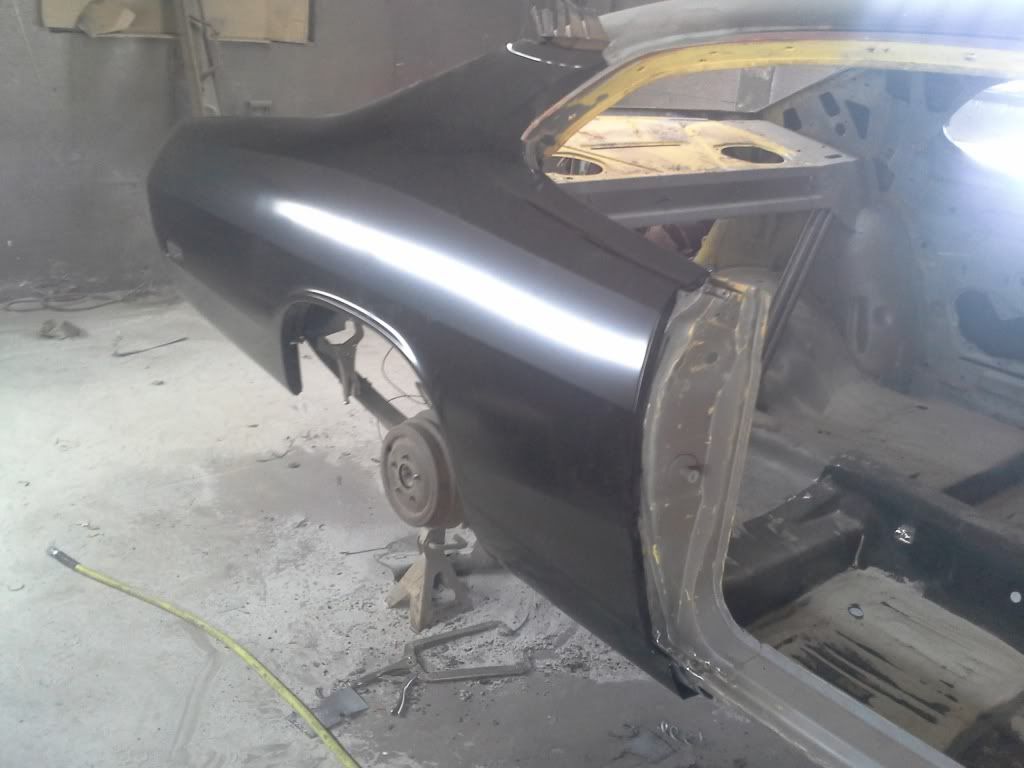
I then stripped the car down as far as I could and still be a roller...
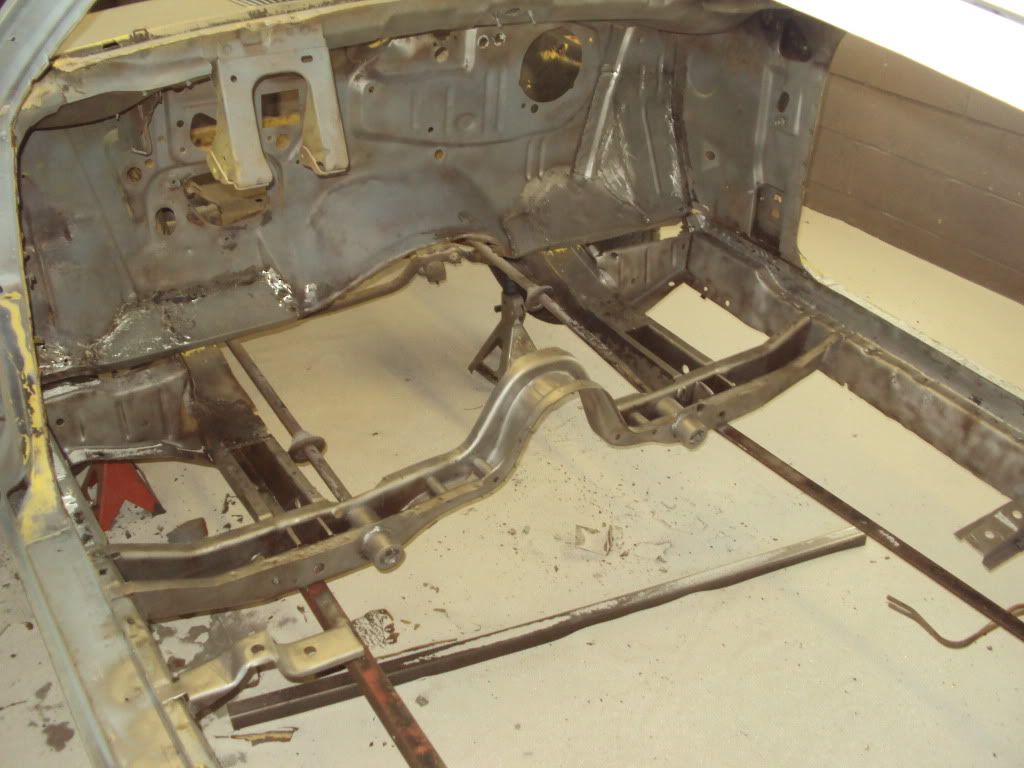
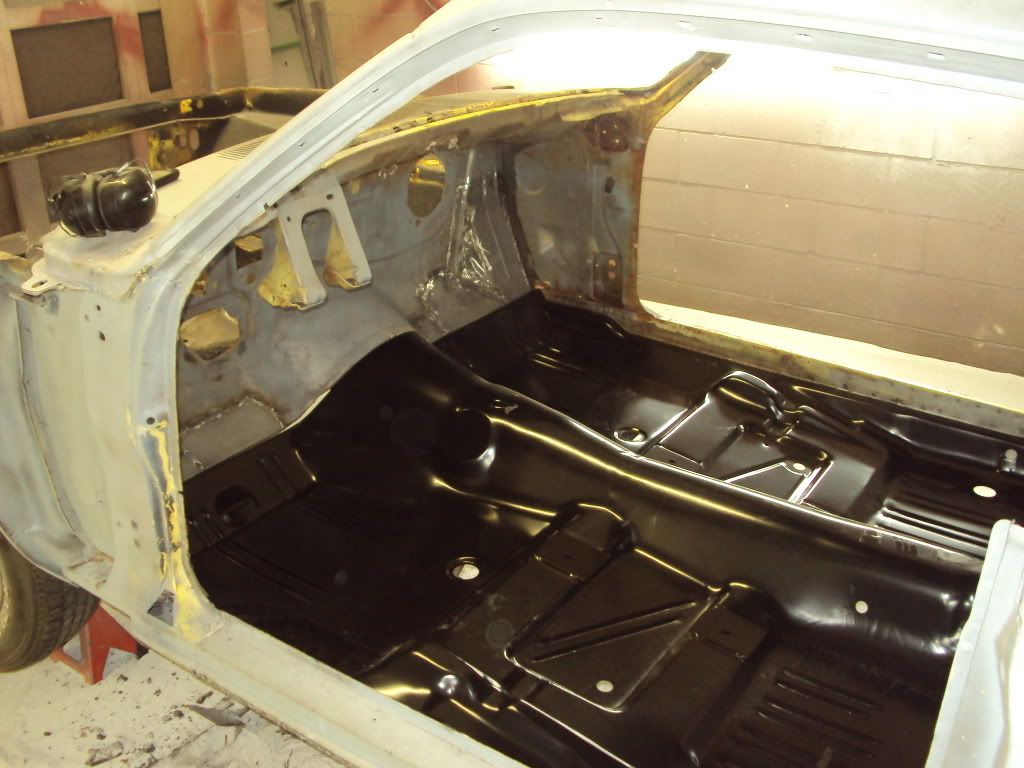
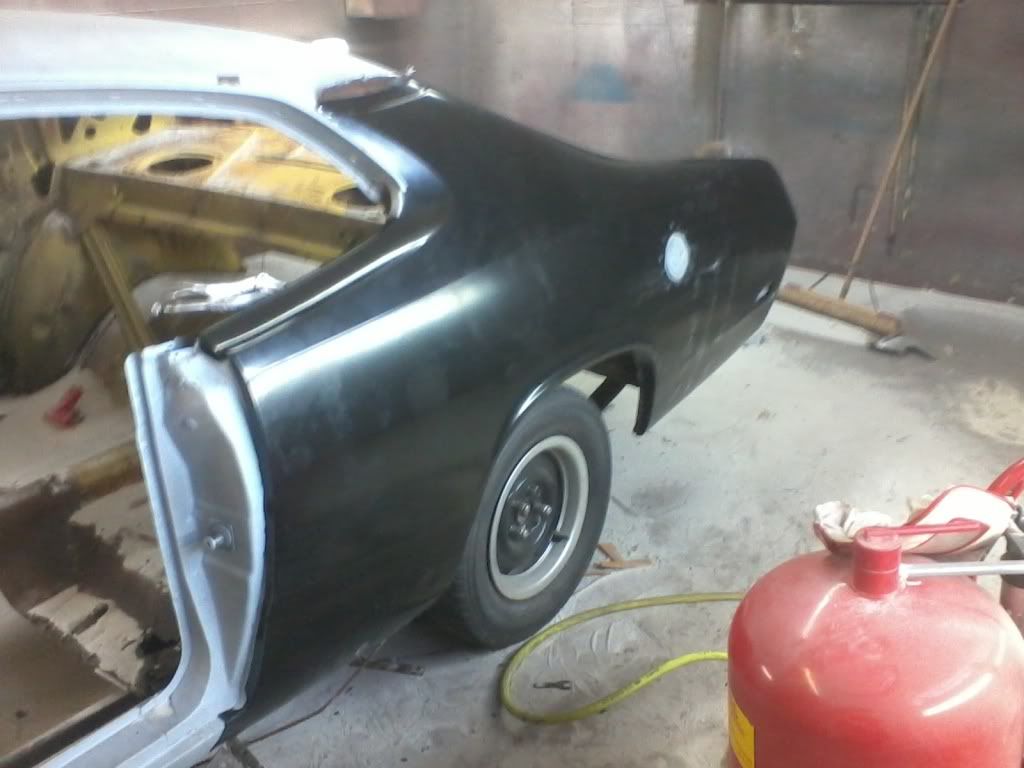
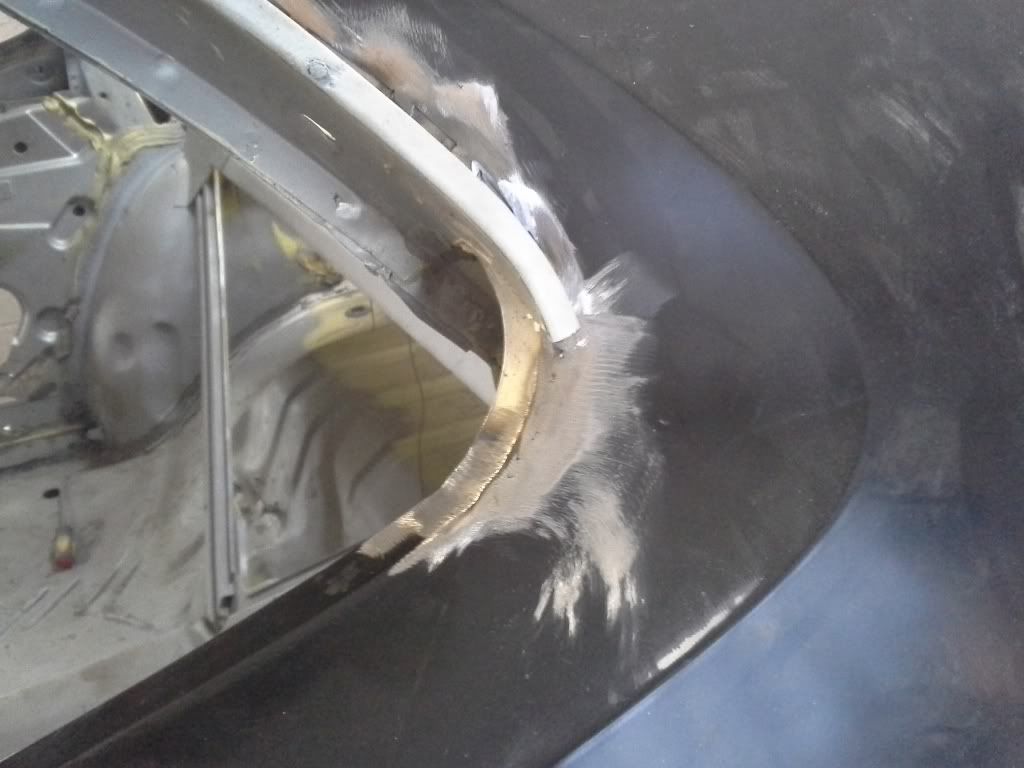
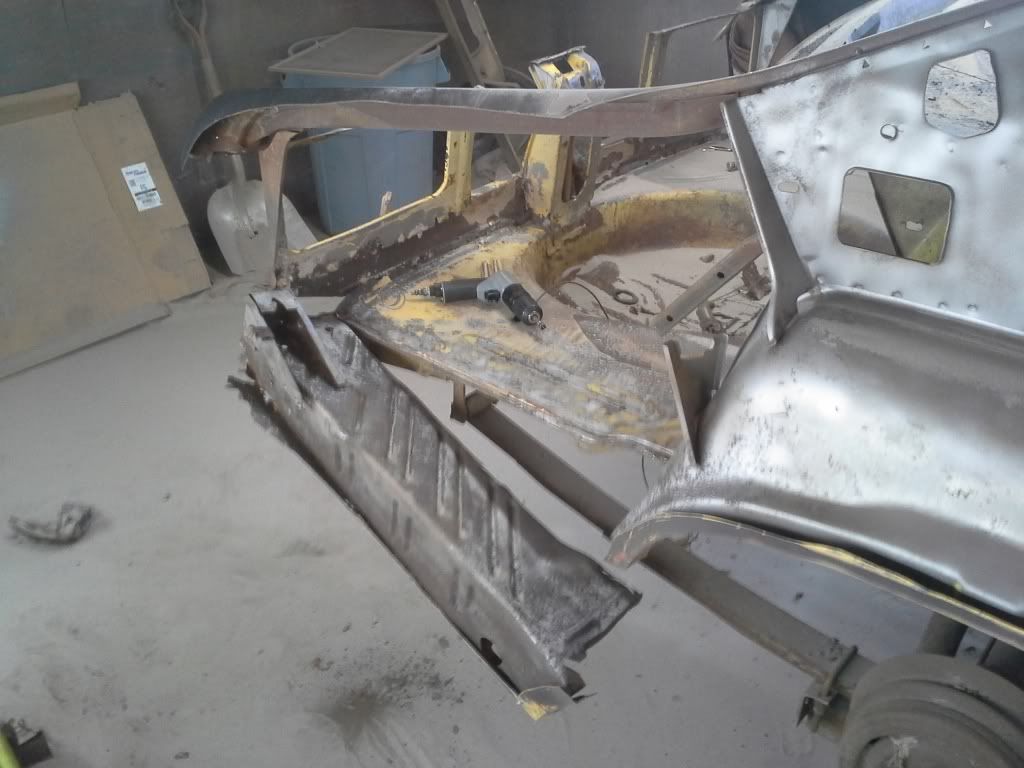
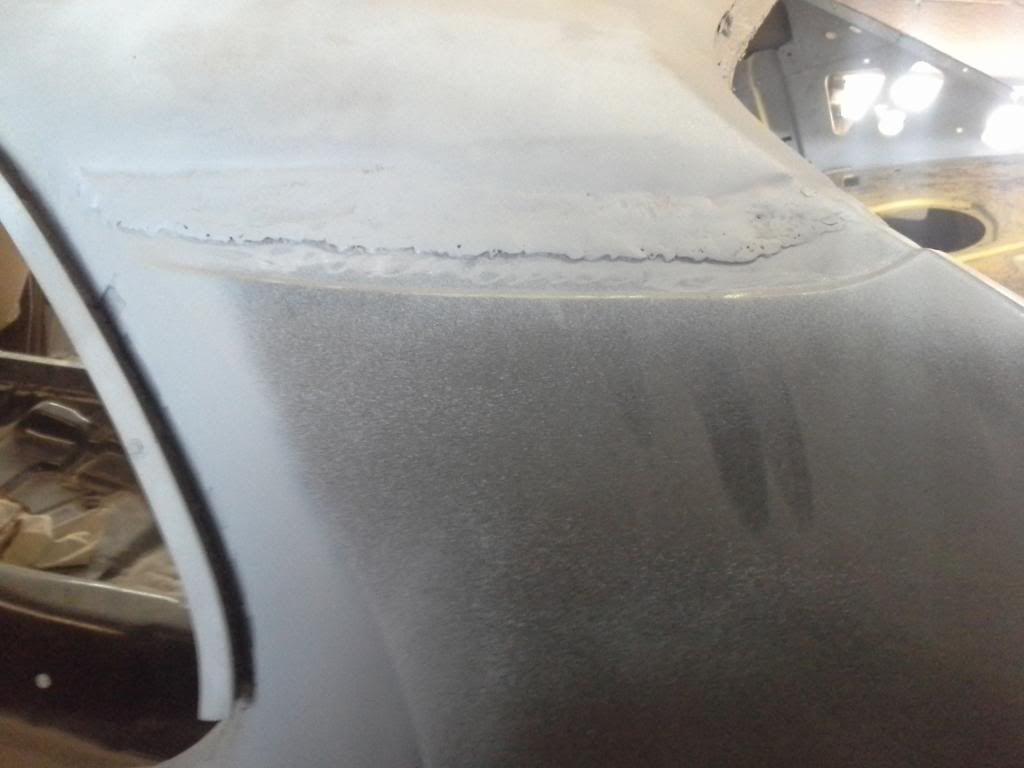
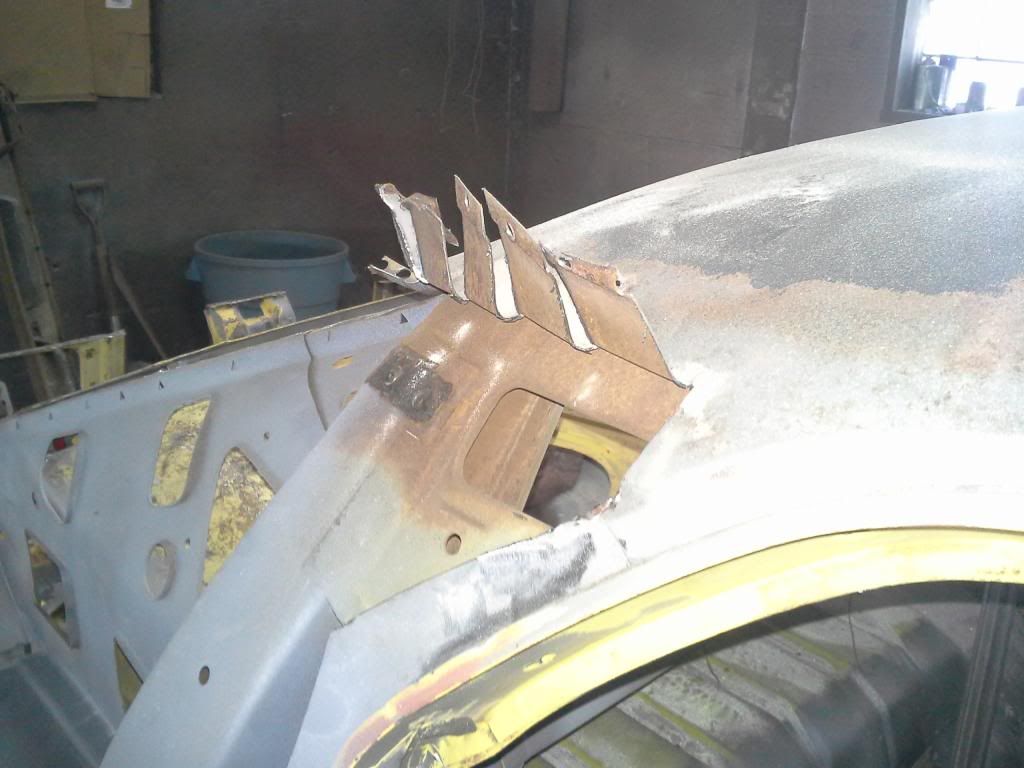
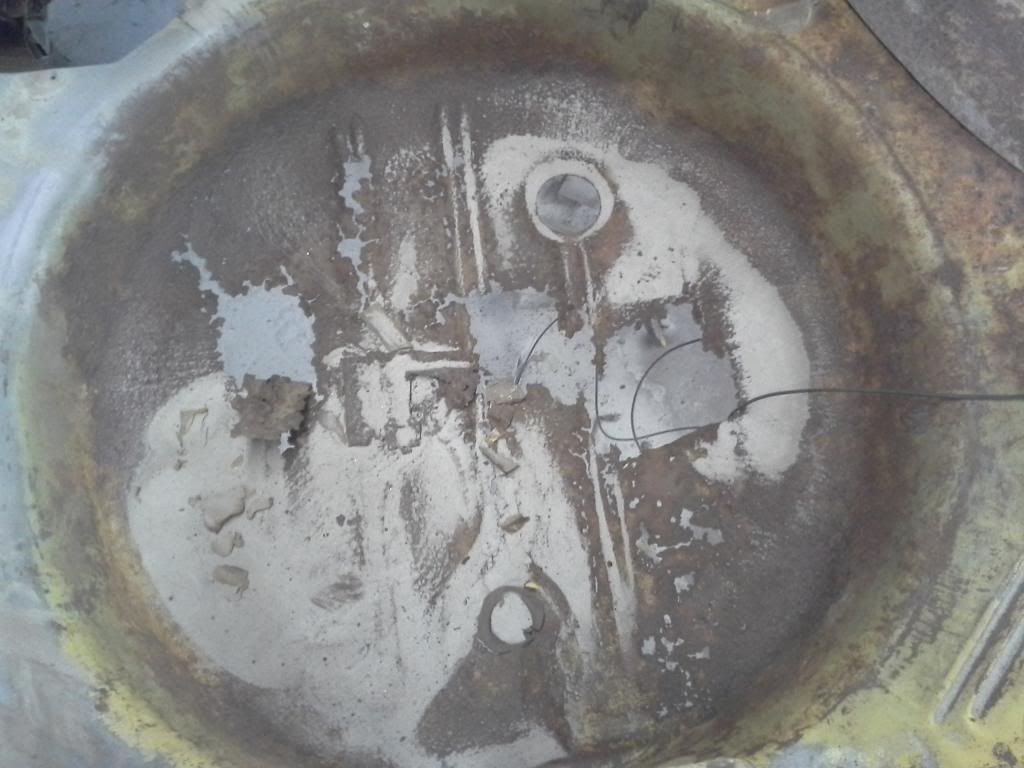
I found huge holes in the floor pan the rear quarters are both full of mud and the taillight pannel is shot but its pretty solid where it needs to be the most... Fire wall needs some repair on the passenge side... So i removed what was left of the old floor pannel and the left rear quarter. You can see where i repaired the fire wall....
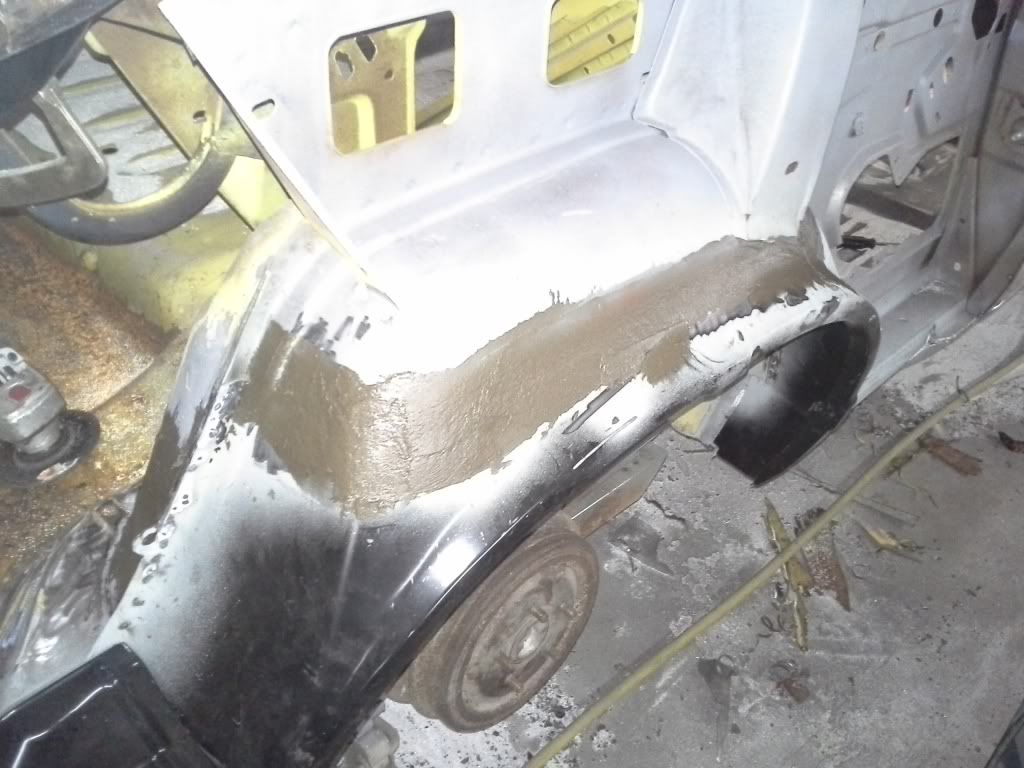
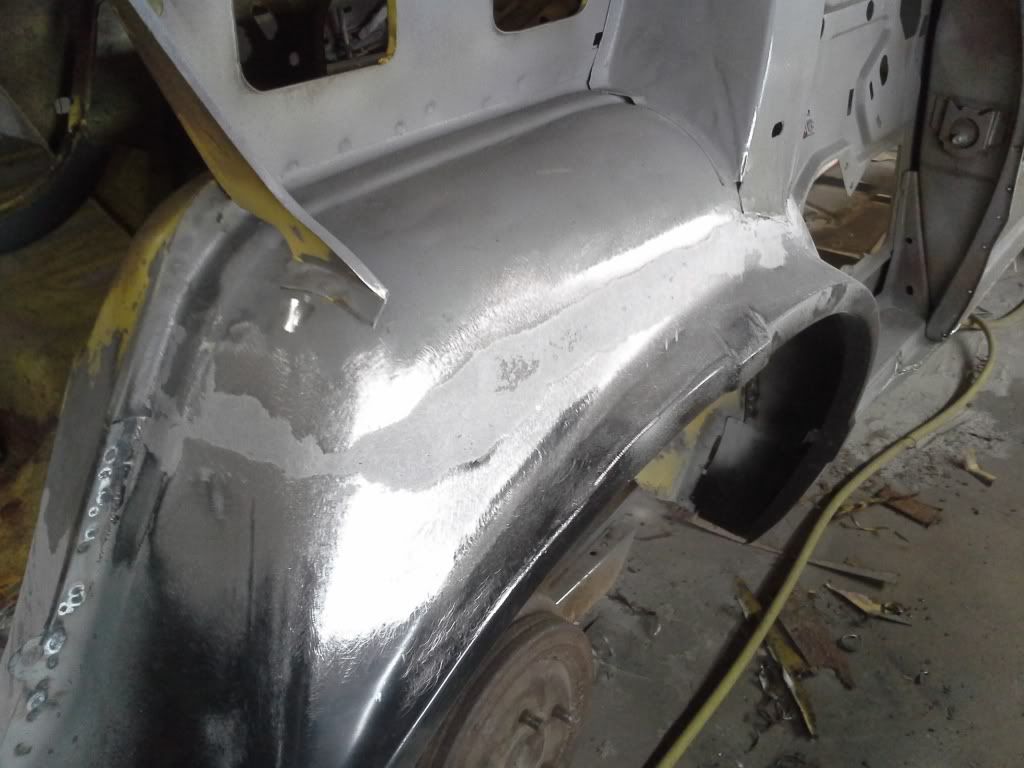
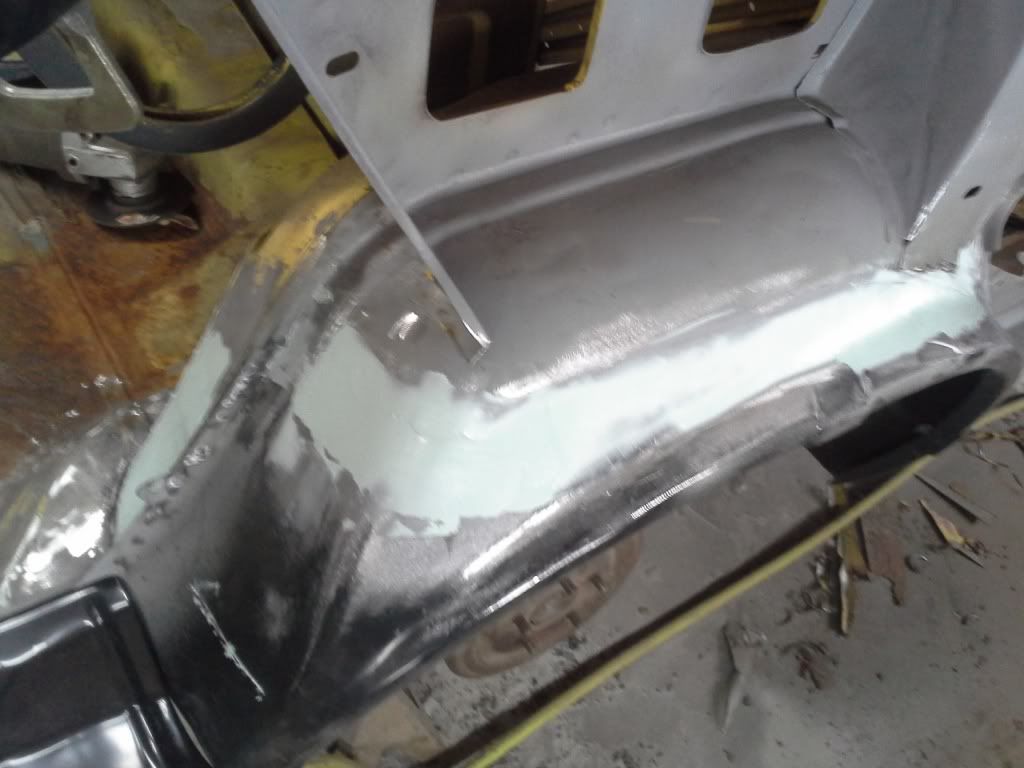
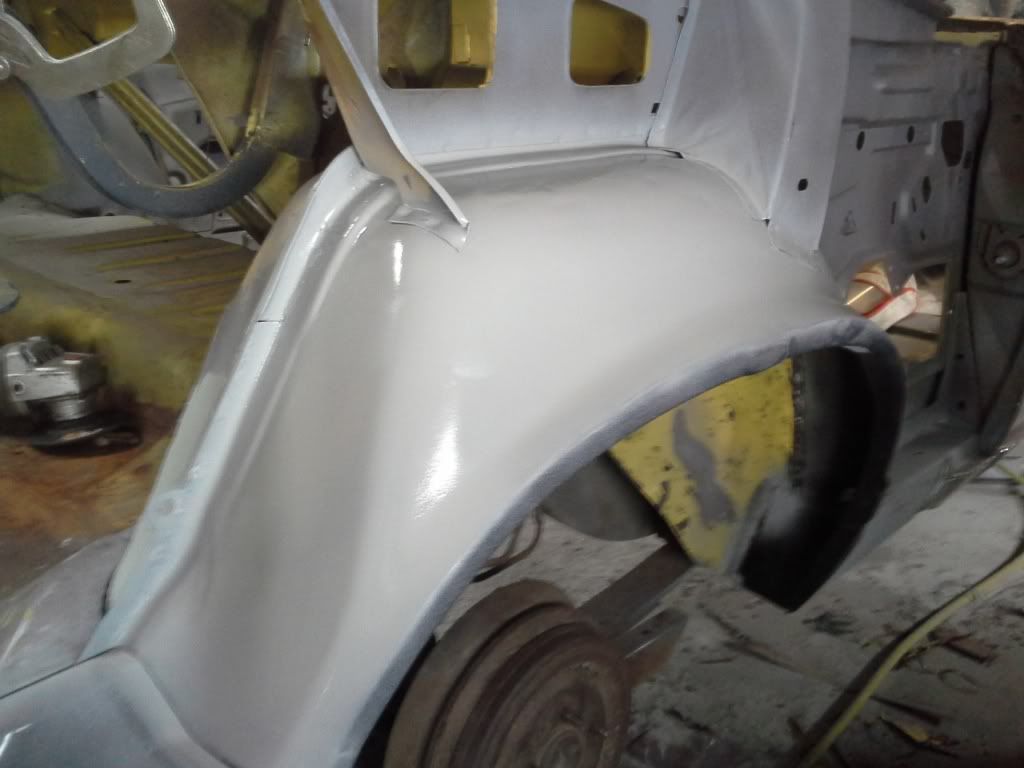
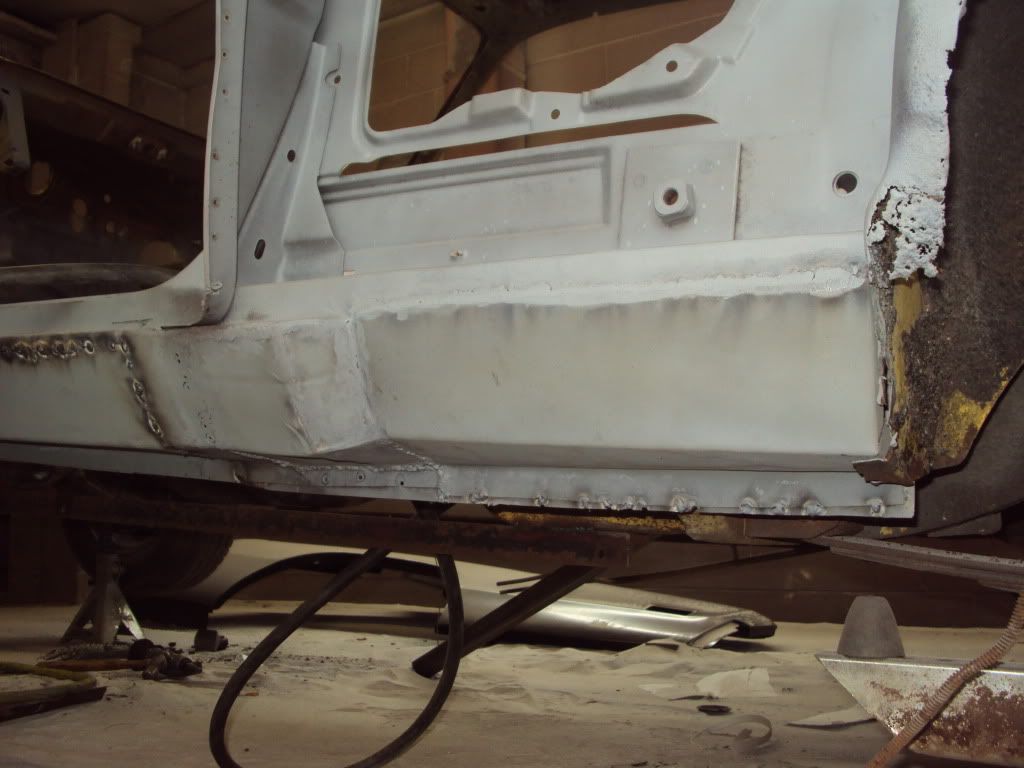
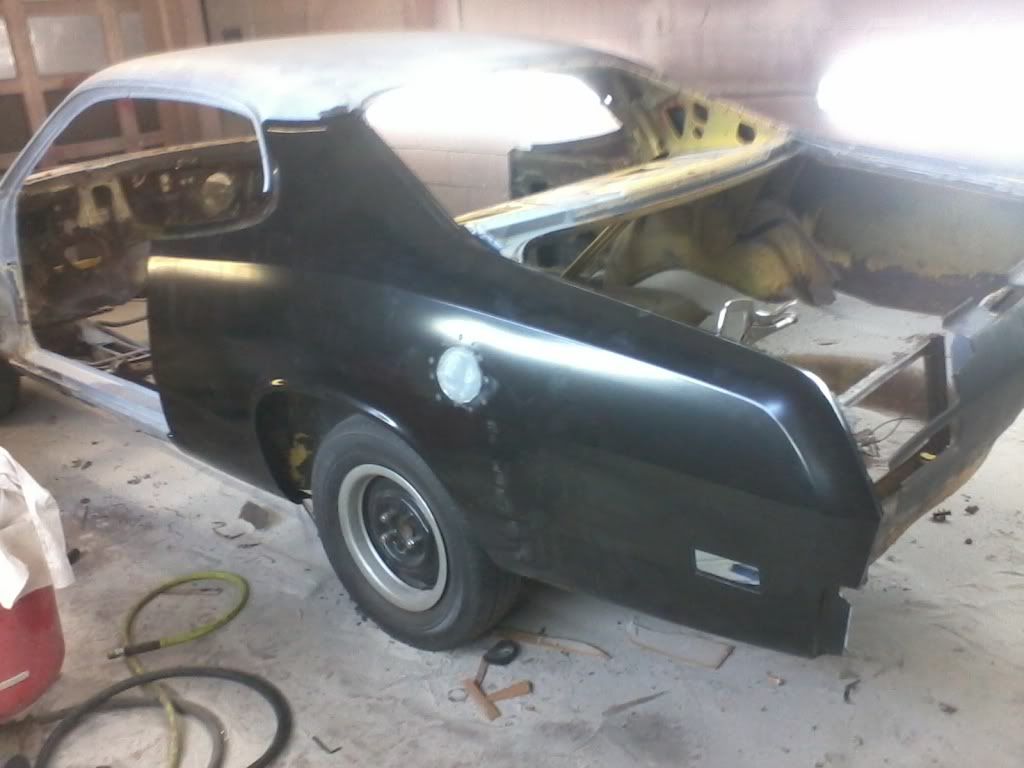
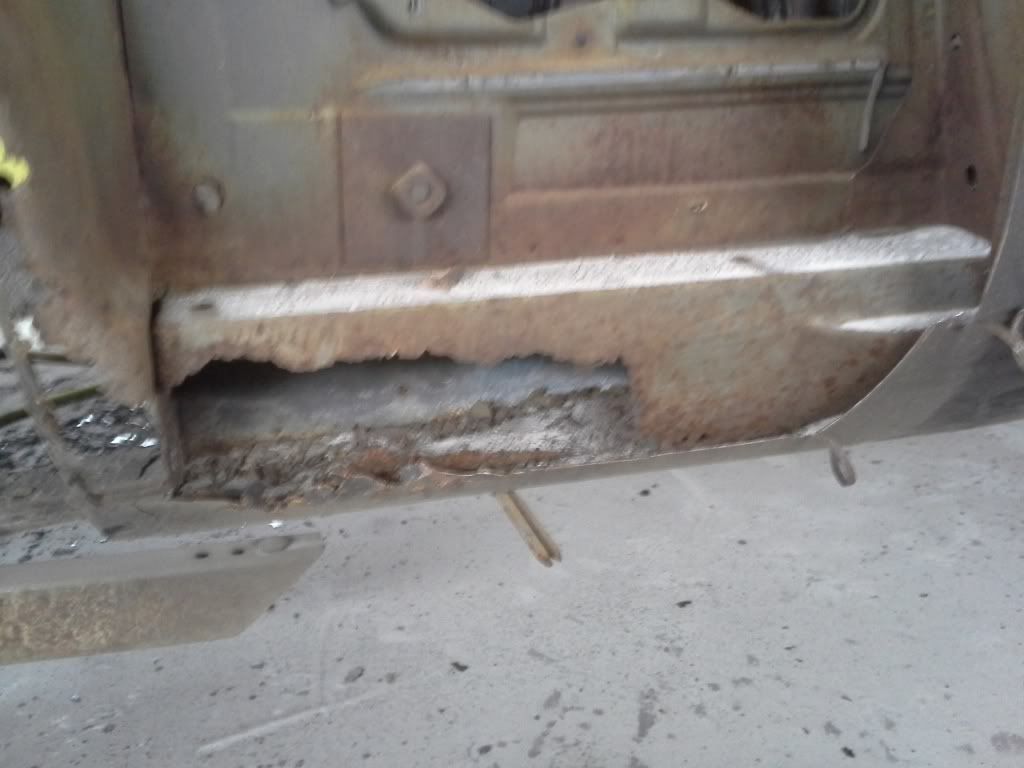
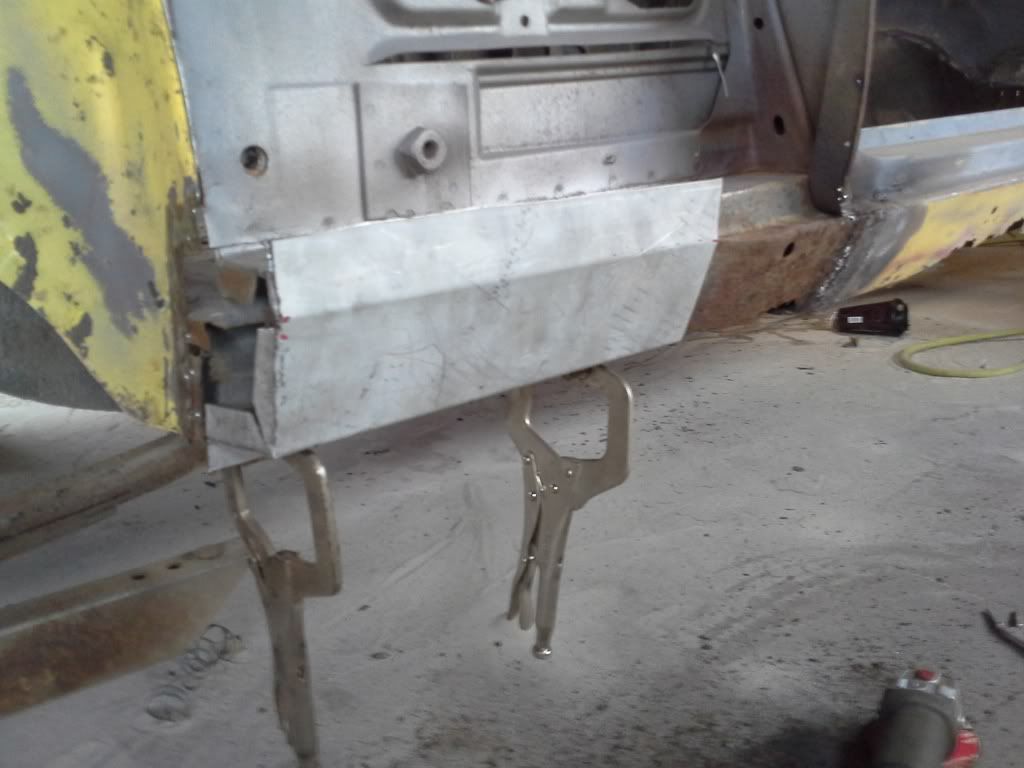
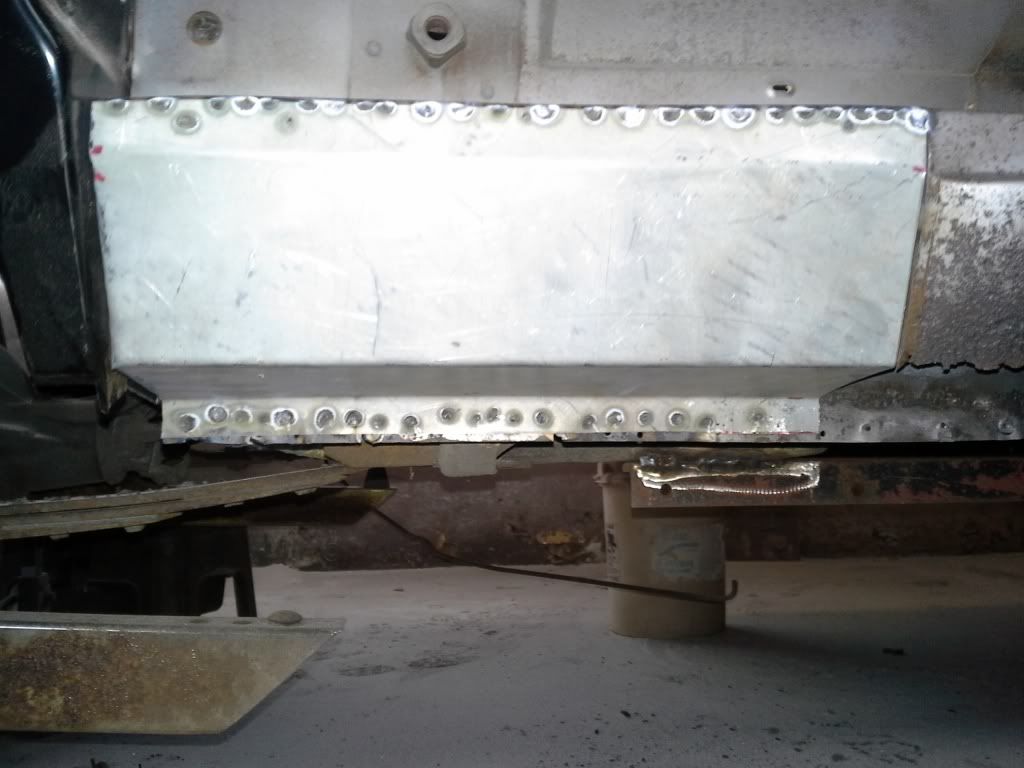
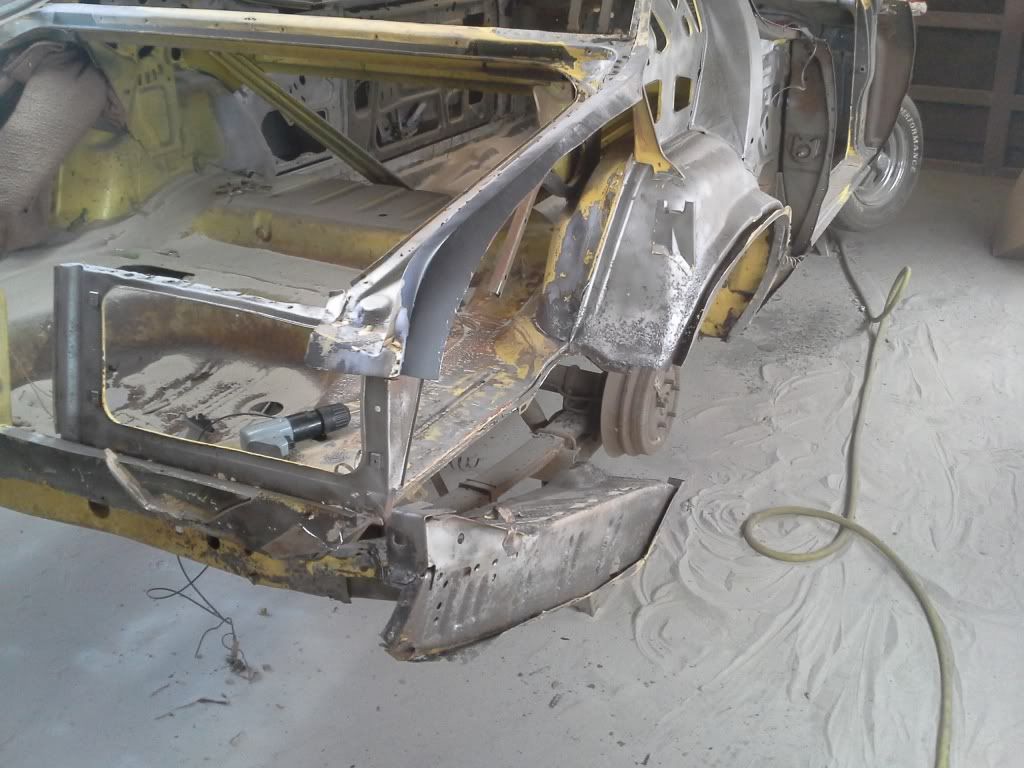
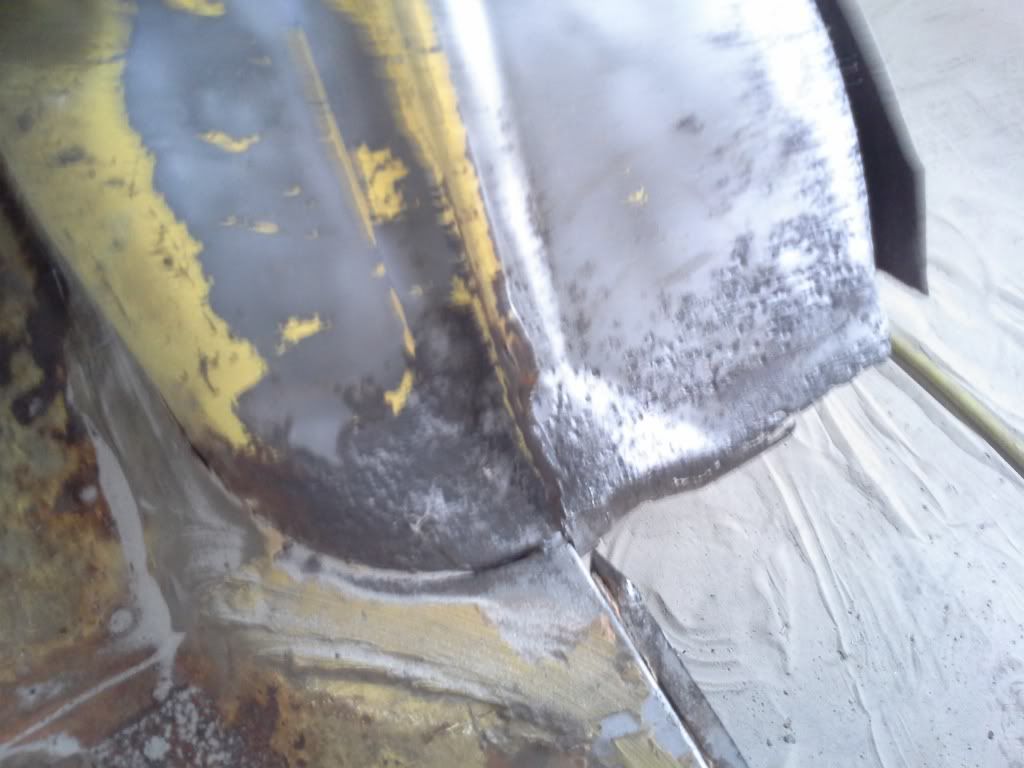
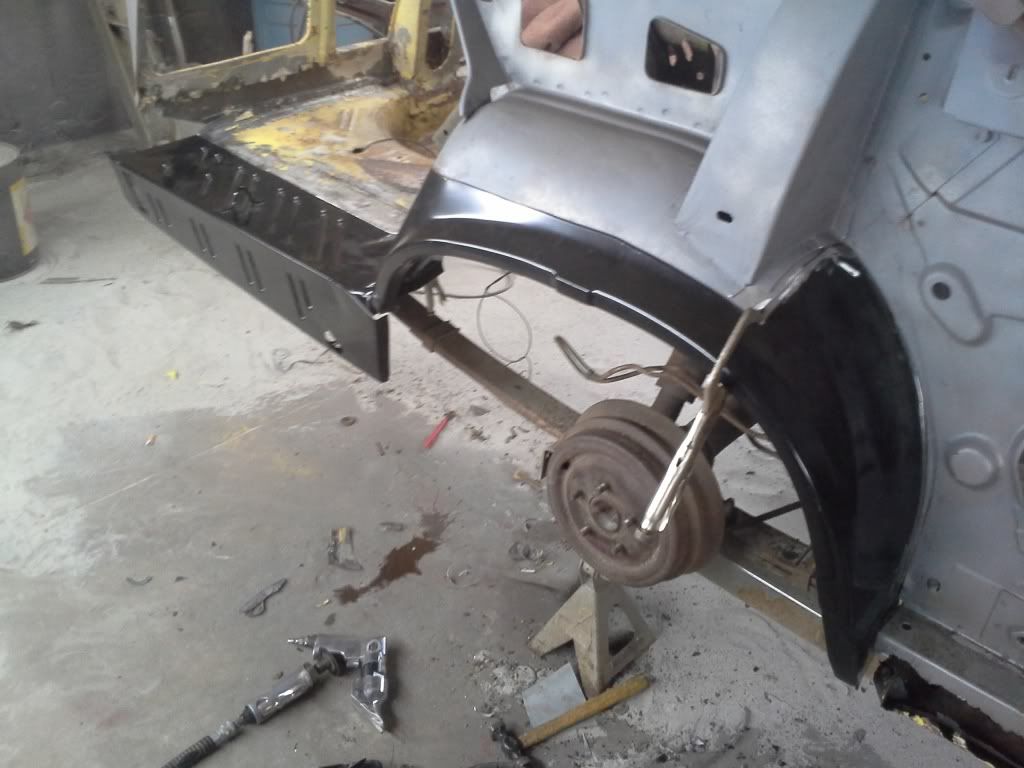
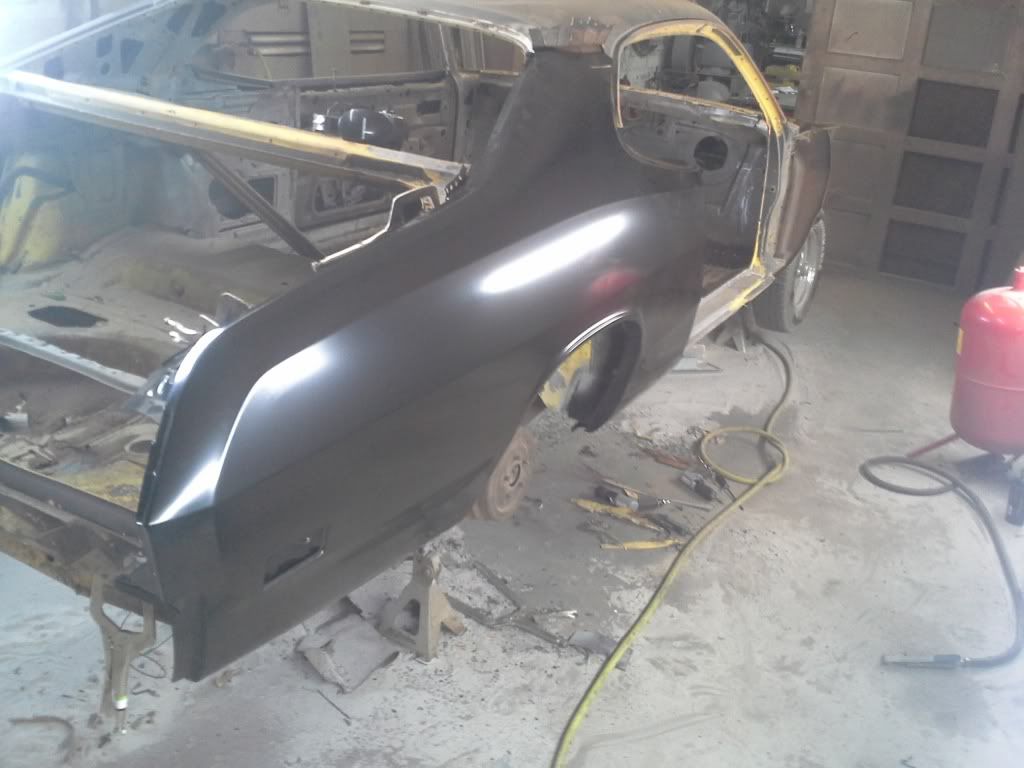
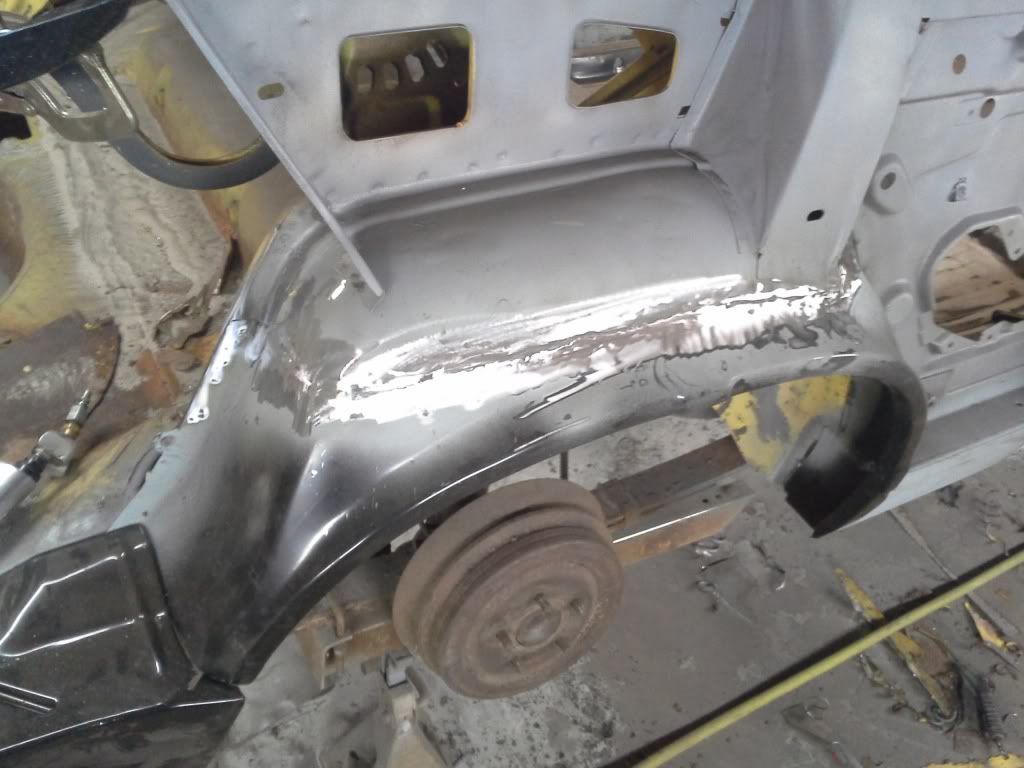
I ended up rebuilding alot of the lower rocker behind the quarter...
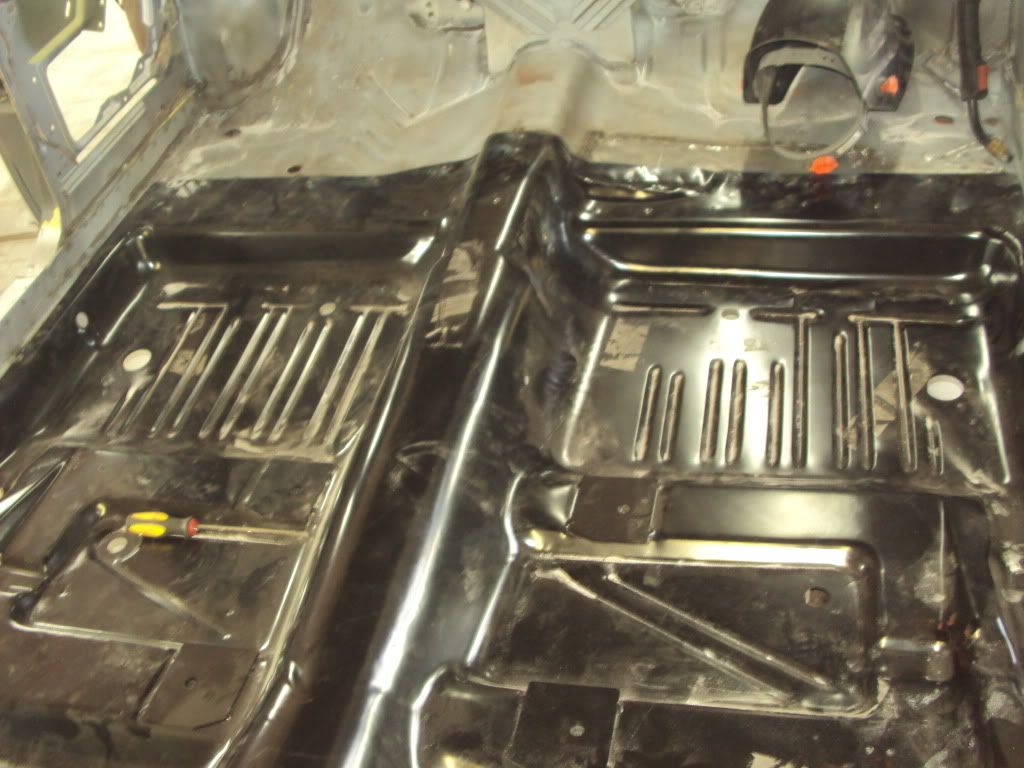
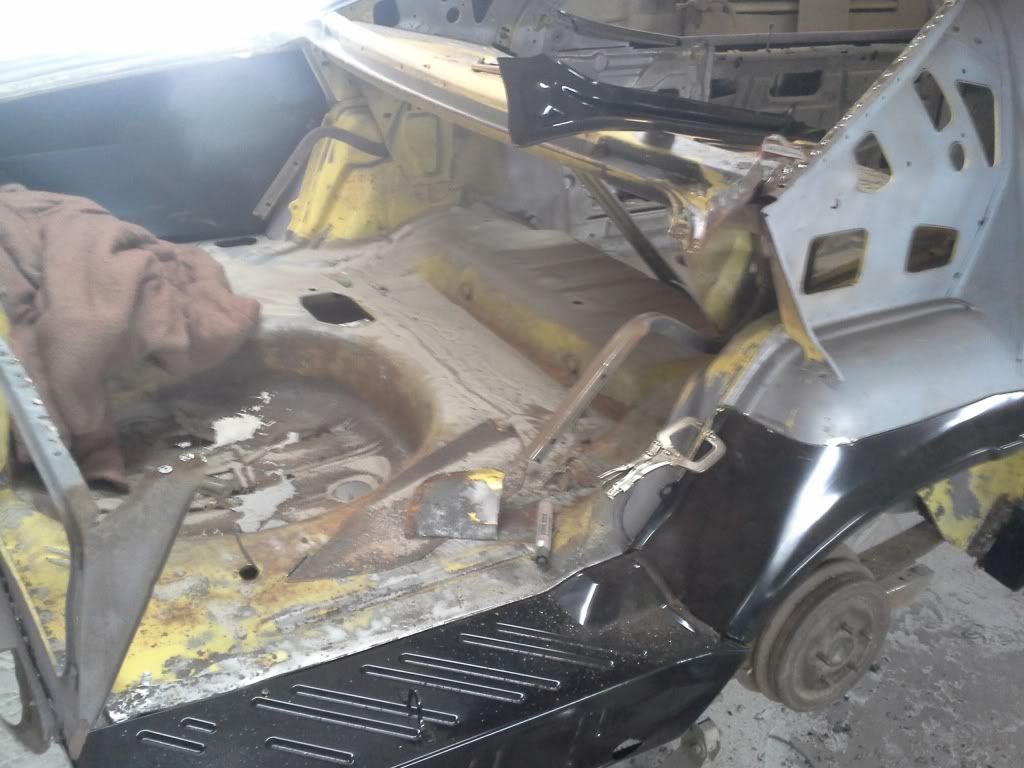
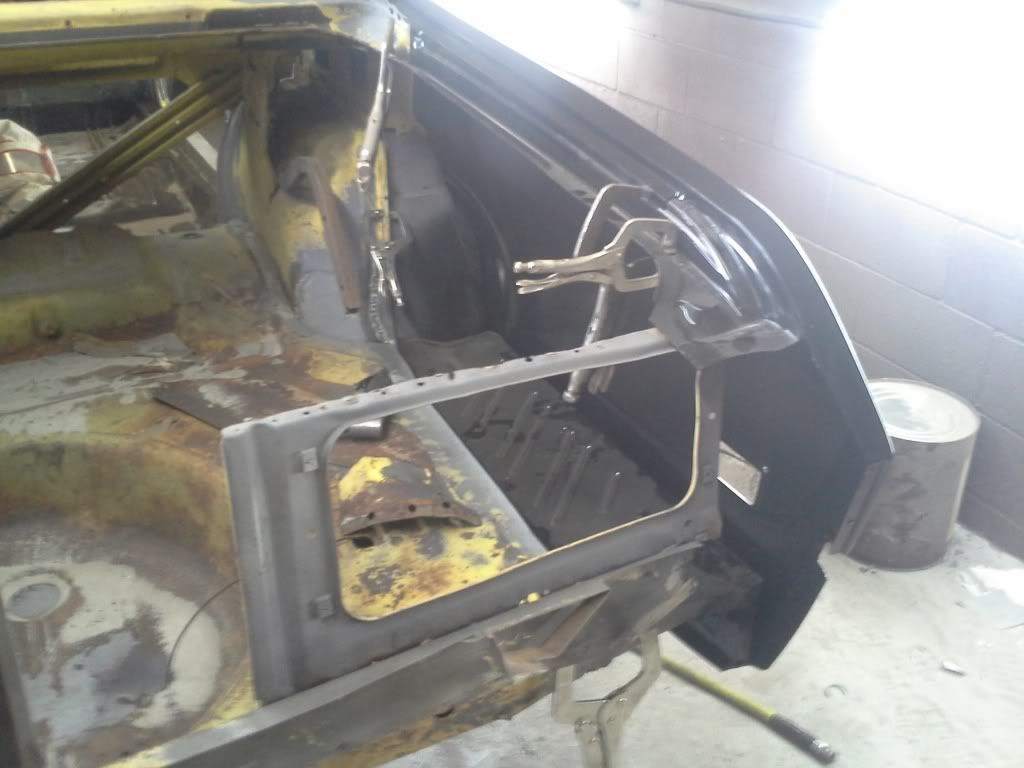
I then fitted the floor pan and finaly welded it in to day....
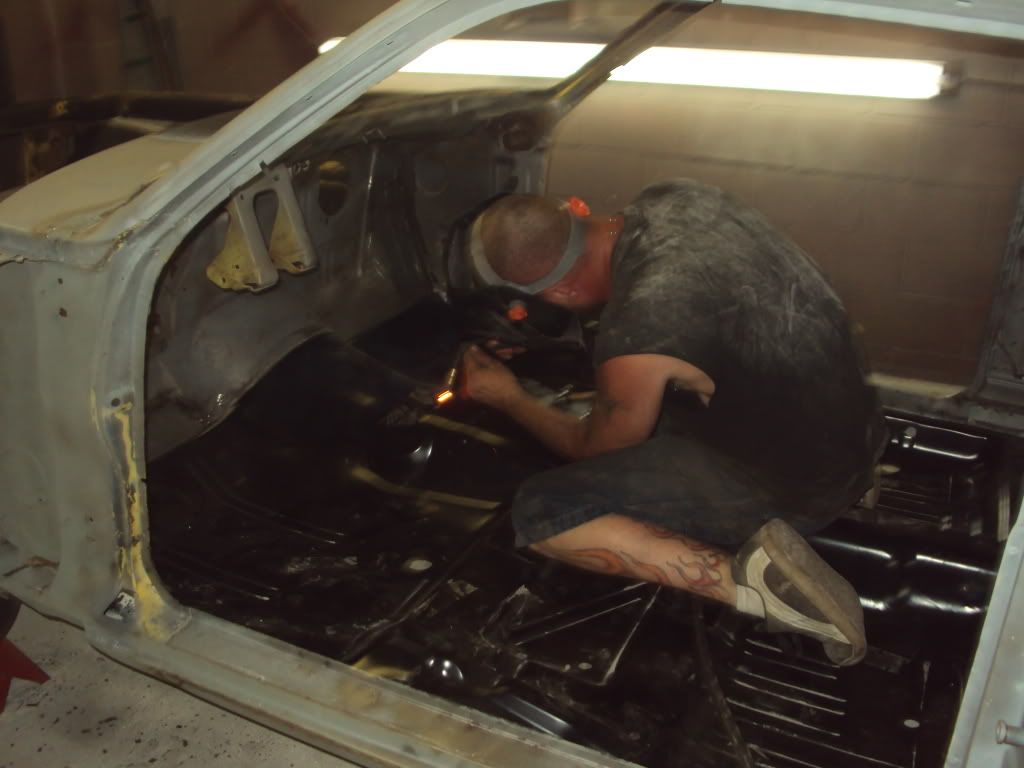
And this is me welding away.....
I hope to have the left quarter mounted on whensday and the start removing the right side and see how bad that is..... More to come!
I am currently in the process of restoring a 70 duster for my father that we picked up in southern illinois. Its a 318 3 speed car that needs a alot of tlc! I have a 440 rb engine I picked up for $500 and a 4speed from a 68 formula S barracuda that was laying on a farmers barn floor! When asked how much he wanted for it he said just get it out of my way and it yours!! :glasses7: SCORE!!! It needed a rebuild but I got it done for $425 so all in all not bad....
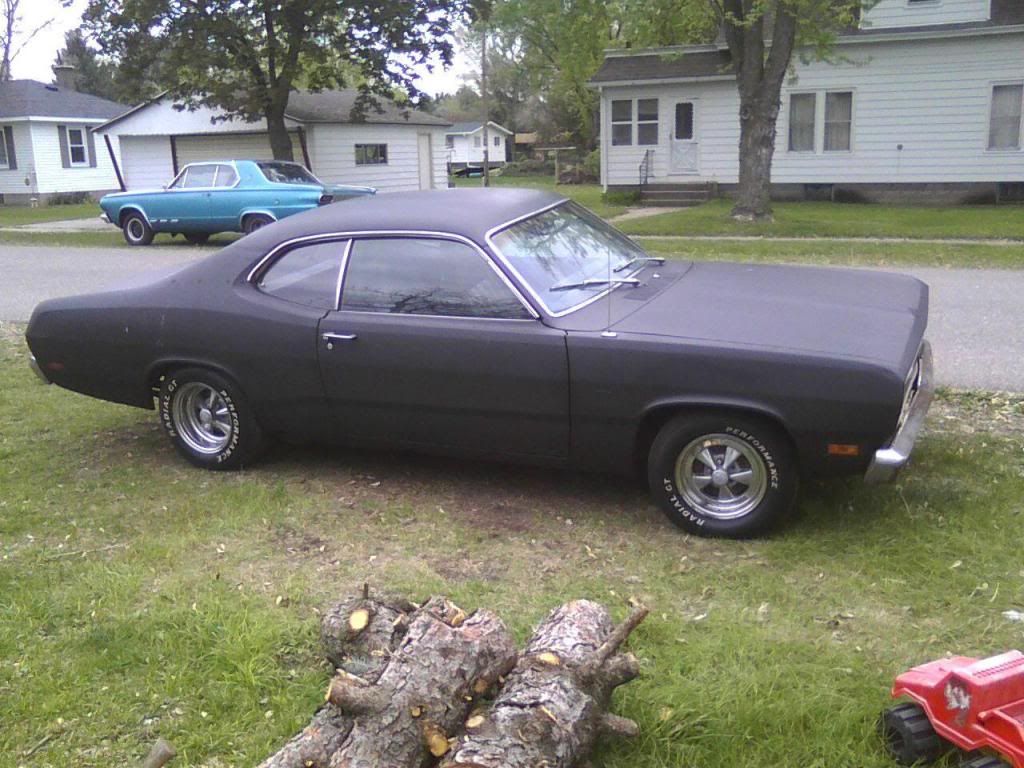
Pics of the car...
I then stripped the car down as far as I could and still be a roller...
I found huge holes in the floor pan the rear quarters are both full of mud and the taillight pannel is shot but its pretty solid where it needs to be the most... Fire wall needs some repair on the passenge side... So i removed what was left of the old floor pannel and the left rear quarter. You can see where i repaired the fire wall....
I ended up rebuilding alot of the lower rocker behind the quarter...
I then fitted the floor pan and finaly welded it in to day....
And this is me welding away.....
I hope to have the left quarter mounted on whensday and the start removing the right side and see how bad that is..... More to come!

")