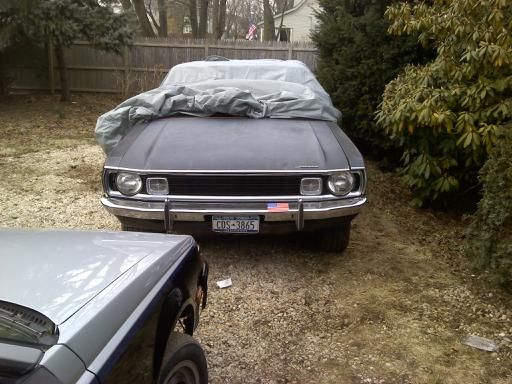
My first muscle car build thread (lots of pics)

-
I spoke too soon. It does idle but in gear let out the clutch and it just bogs down and dies.

Every time I think I'm out of the woods something else gets me.
 
I feel silly, The shifter was so sloppy that I was getting 3rd gear instead of first! That explains why it seemed like it had no power. so we had a misdiagnosed symptom.

Still misses a tiny bit at mid rpm range and the idle is slightly rougher than I think it should be but, this is probably just a combination of minor tuning and fouled plugs.

The mopar gods shine upon me once again :burnout:
 
Last night I took the wheel and lock off my old column. Was a bit harder than I expected. Today I got the wheel and lock out and put my lock and wheel on, so now all my keys work in the ignition.

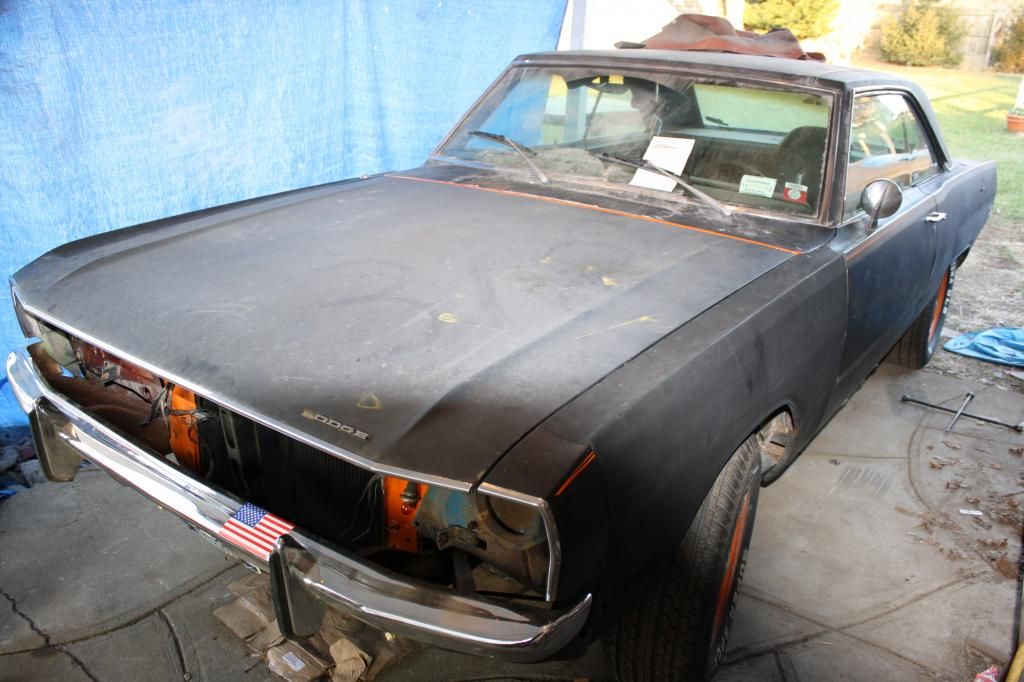
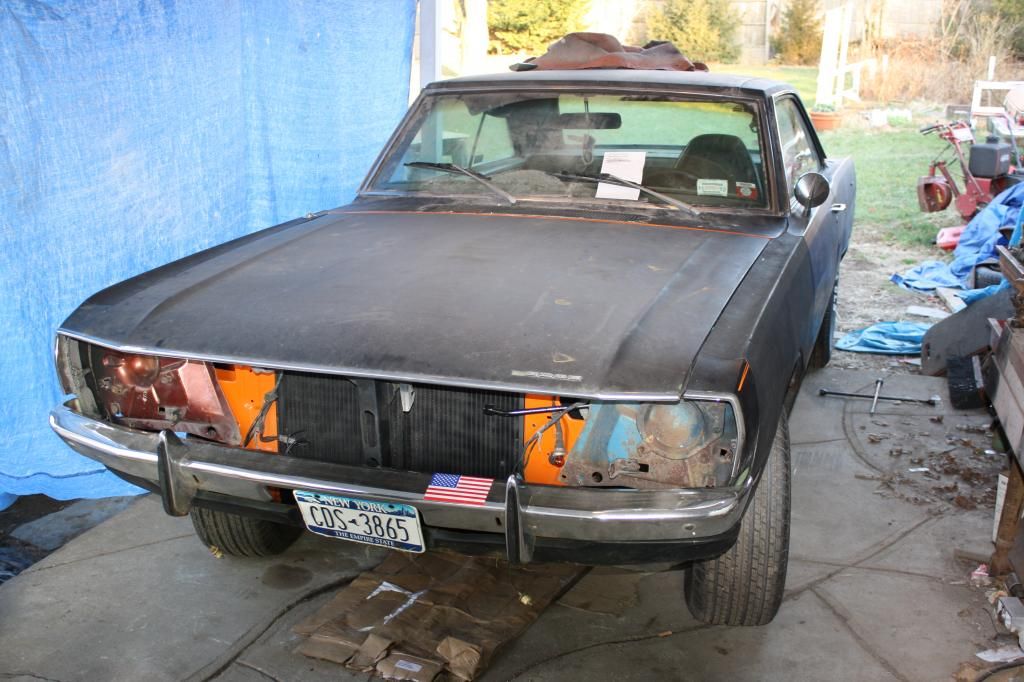
Then I gave the fenders a quick flat black treatment to somewhat match the faded and chipped flat black on the car. got those bolted up, hood bolted up and valance bolted up. Starting to look like a car again. Still have to put the lights in and mess with the gaps a bit more. The one fender rubs my tire. I took a measurement and one is 8 inches in the front and the other is 7 inches. So I guess ill have to cut an inch out of the one fender.
 
IMG_2346_zps81d654ac.jpg


IMG_2345_zps04953566.jpg
 
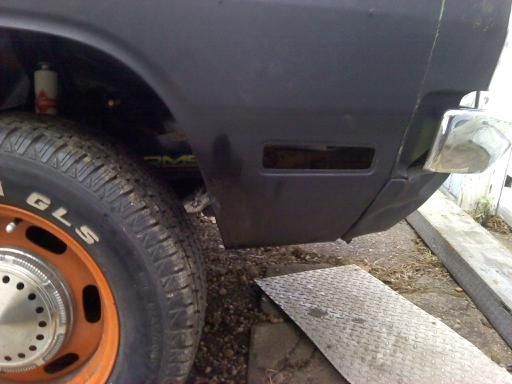
Been focusing on my homework lately. yeah that's right, I have homework during the winter break. lame! anyway I got out tonight and just did some minor things. put the headlights in and got them working, then I found one of those plastic things to hold the plug wires that clips nicely into the valve cover. Just wanted to get the two wires off the header but man did that clean the wires up visually. Ill have to put one on the other side. Then I decided to cut the fender on the other side so it doesn't rub. Its raining so ill save the welding for another day. Also checked my lights and they all work! that's always a good thing.

I have a few projects I can work on indoors as well, like the go wing mounting and the grill "restoration".
 
welded the fender up and hit it with etch prime.

downsized_0113131613_zps023e66fe.jpg


The wheel bearing on that side was loose, probably need a new one now but I just tightened it up to specs for now. probably good enough to do a few miles around town when the time comes.
 
I had $40 I was saving towards a starter but, I decided since the starter seems to work as long as you don't get it hot that I would put it towards other stuff.

Priced out the local places because I was hoping to put it on this weekend. Then I checked out rockauto and everything was a lot cheaper. I actually ordered more stuff than I intended to.

inner and outer wheel bearings for the one side, 2 ballast resistors and an oil light sender. $28 to my doorstep can't beat that. can't work on that stuff this weekend but at least I have money left over for a tube of grease and maybe some studs for the other seat.
 
I've been pushed out into the elements and am no working with no roof over my head in the mud. fun! at least its mostly together.

Went out today and tightened the belts up, topped the coolant off, fixed the passenger seat and put that in. Getting dark now so I'm going to call it quits.
 
I had $40 I was saving towards a starter but, I decided since the starter seems to work as long as you don't get it hot that I would put it towards other stuff.


Mini starter from the junkyard? Love the build!
 
I have been waiting for some warmer weather to take care of all the loose ends. Today was pretty nice so I did what i could do without laying in the snow.

Put the new ballast resistor in, put the new oil pressure sender in,adjusted the choke a bit, two coolant hoses were leaking so i tightened them up more.

still more work to do but i wasn't going to lay in the snow.
 
Put the seatbelts in a couple days ago thinking I am almost ready for the street.


Decide to go out today and play with the timing. Put the light on it and it said 40 btdc, revved it and it didnt really move. idle seemed a little high so i tried to get that down and it didn't seem to want to go down no matter what I did. Don't know what is wrong. It was one of those days where every little thing was going wrong and pissing me off on top of it all.:banghead:

Did you leave the vacuum advance connected when you checked it?
 
No I yanked that off and plugged it. I'm starting to think maybe my choke was stuck on a bit. Ill have to check tomorrow when the suns back out.
 
FWIW, the choke was stuck.


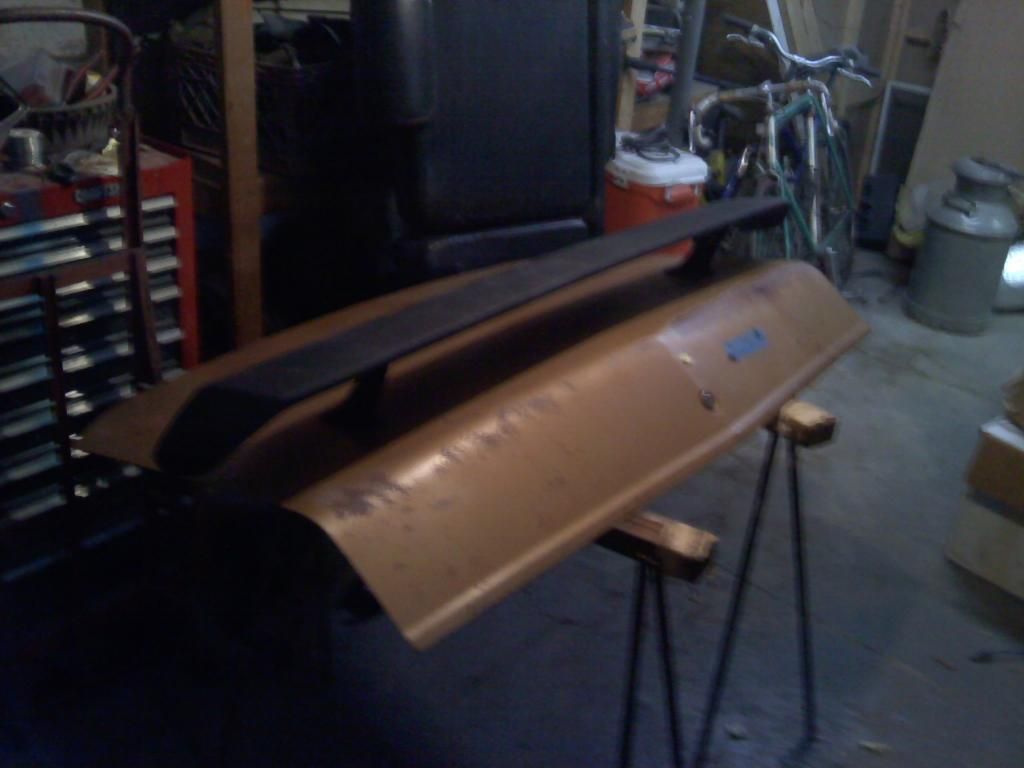
Anyway today it was cold and windy as hell rain and snow are coming. So it seemed like a good time to tackle one of my projects i could do indoors. I've had a go wing for a while now sitting in the box. Last summer I bought a go wing provision trunk lid and for christmas I got the brackets. I measured and drilled the holes out, sat it on there and it looked killer, the wing was straight and even side to side. Then I put the brackets on and the studs didn't fit. Eventually i got the studs to at least go through. I think the aftermarket wing had the pedestals mounted half an inch closer together than a stock one. they were on the way inside of the holes in the trunk and and in the brackets. But I did manage to get it working. I don't have the weird factory bolt for the brackets but i dont think it would work anyway. Just going to use two nuts on the bracket and one nut down on the sheetmetal. anyway just need to give the trunk a quick coat of flat black and it is ready to go on.

0306131717_zps391623c5.jpg


Looks BAD ***.
 
Looks good. Contemplated put a go wing on the dart but it looked too crowded with my Cb Antenna. So the antenna stayed and the wwing went to the attic
 
Painted the trunk black the other day but haven't put it on just yet.

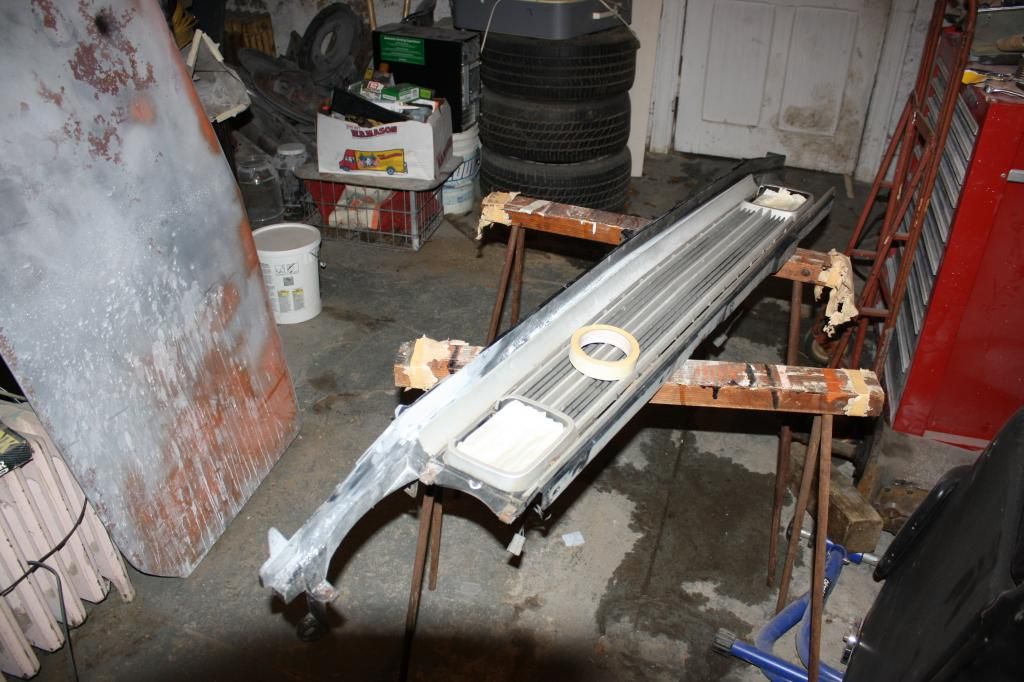
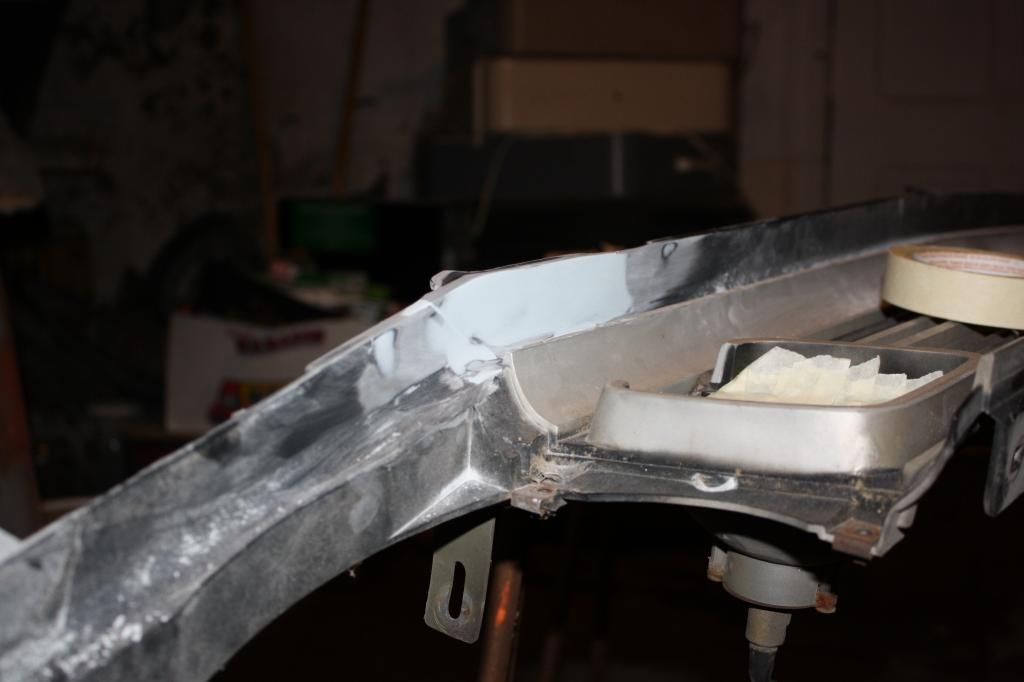
I got around to working on my grill. There was a big piece broken off and the previous owner of the grill tried to glue it on all sloppily, which broke rite off before i got it home. so I had the missing piece with some nasty dried glue slobbered all over it. Had to sand the glue off to get it to fit rite. Then glued it nicely with some good adhesive. Today I threw some puddy on it and sanded it down smooth. I think just a scuff pad and it is ready to paint.

IMG_2469_zps4f09bb41.jpg


IMG_2470_zps69f62150.jpg
 
I'm still diggin' this build-you're making steady progress. Wish I could say the same for myself...I guess I have too many expensive hobbies, and one too many projects...
 
Well I'm operating on a real low budget, I am going to school rite now so I don't even have a job. I just make a few bucks here and there. my dad is a body man so that helps a bit with that stuff. I only have 2 cars both have turned into projects so i guess I'm sinking money into both but, I put more towards the dart. I know lots of people with 10 project cars and none are finished or even close. Ill stick to my two for now!


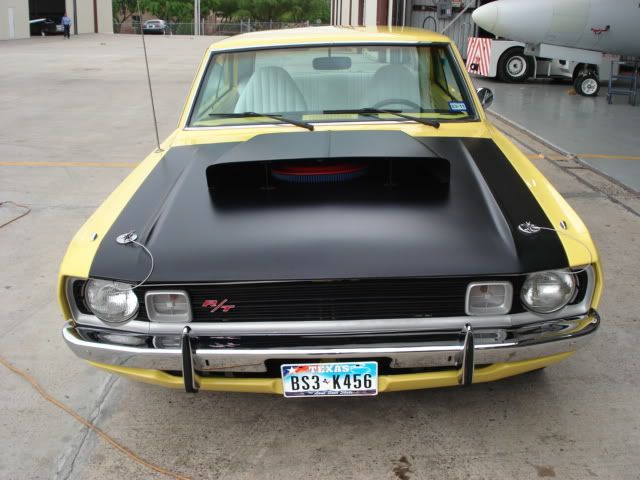
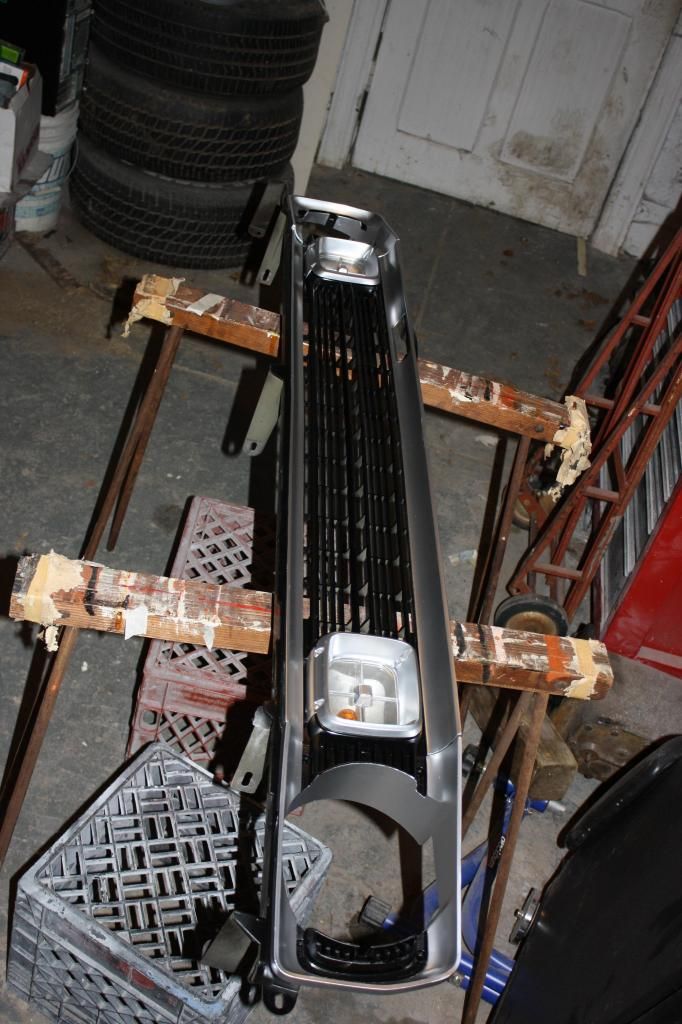
FWIW I am going to paint my grill like this but, no R/T emblem.

grill1.jpg


Looks more aggressive than factory


30313100001_large.jpg


My dad wanted to put a small stripe of orange in the grill but I think it would be tough to do and make look good.
 
Looks good to me Dan. I think 74 had a good point too-a couple lines would've worked well. But, I'd leave it alone now since you're done painting it-looks way better.
 
I like the black. Putting the orange might look good but you run the risk of making it look to busy. I say stick with the black. :happy1:
 
-
Back
Top