My first muscle car build thread (lots of pics)

-
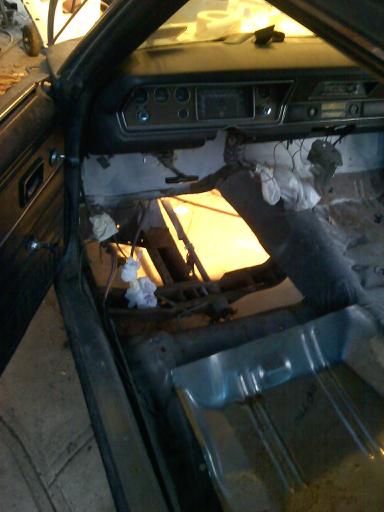
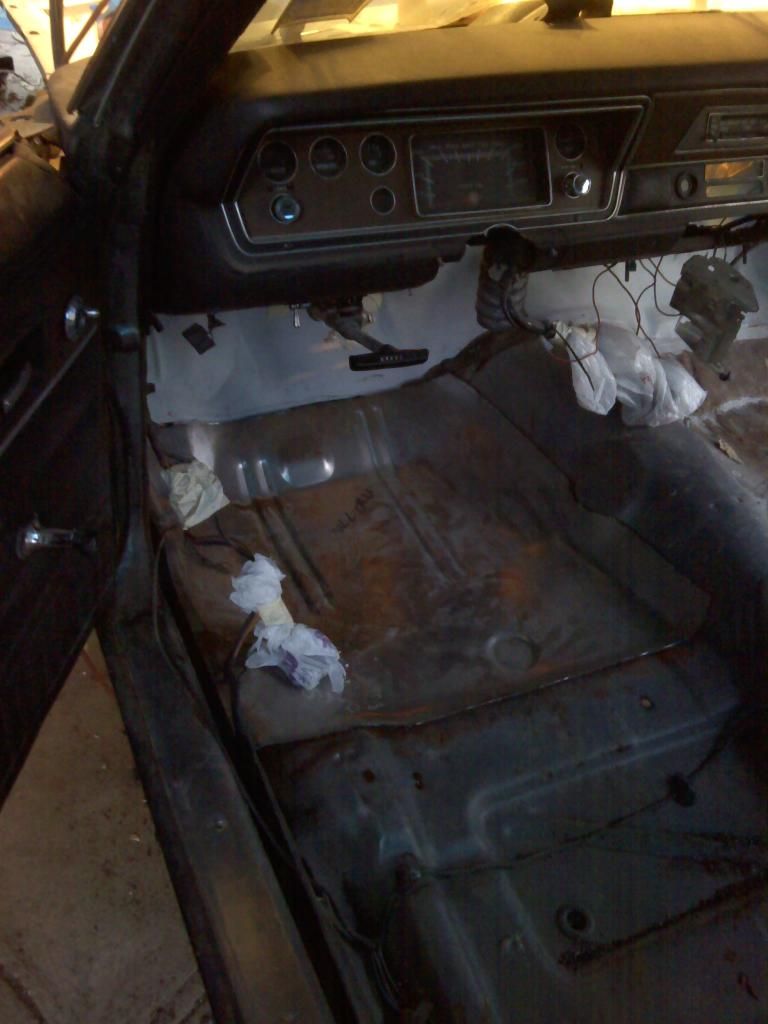
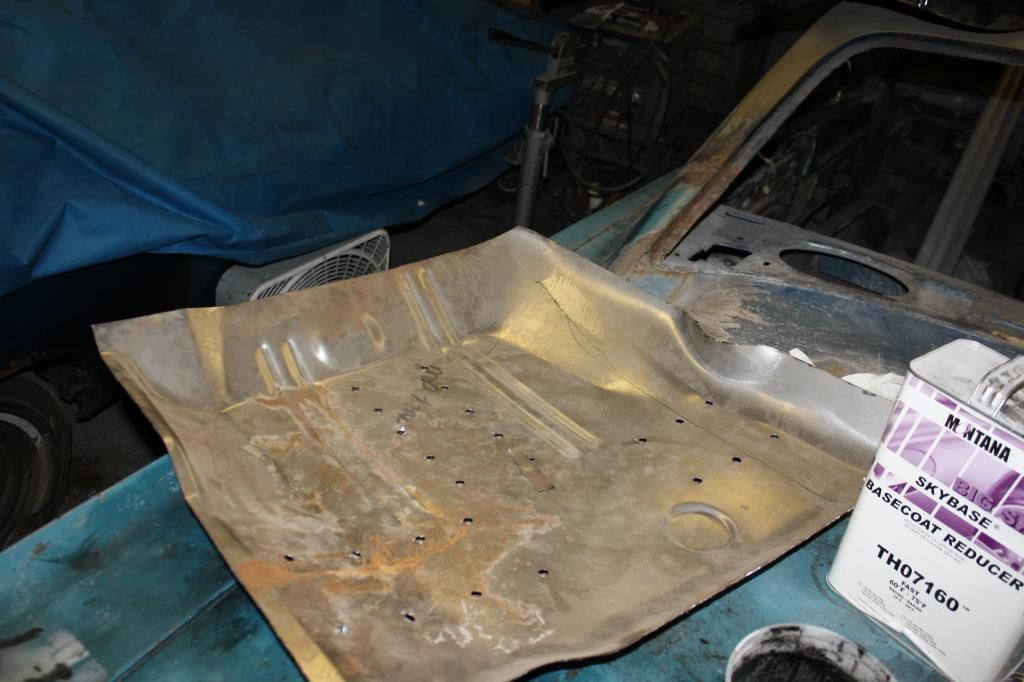
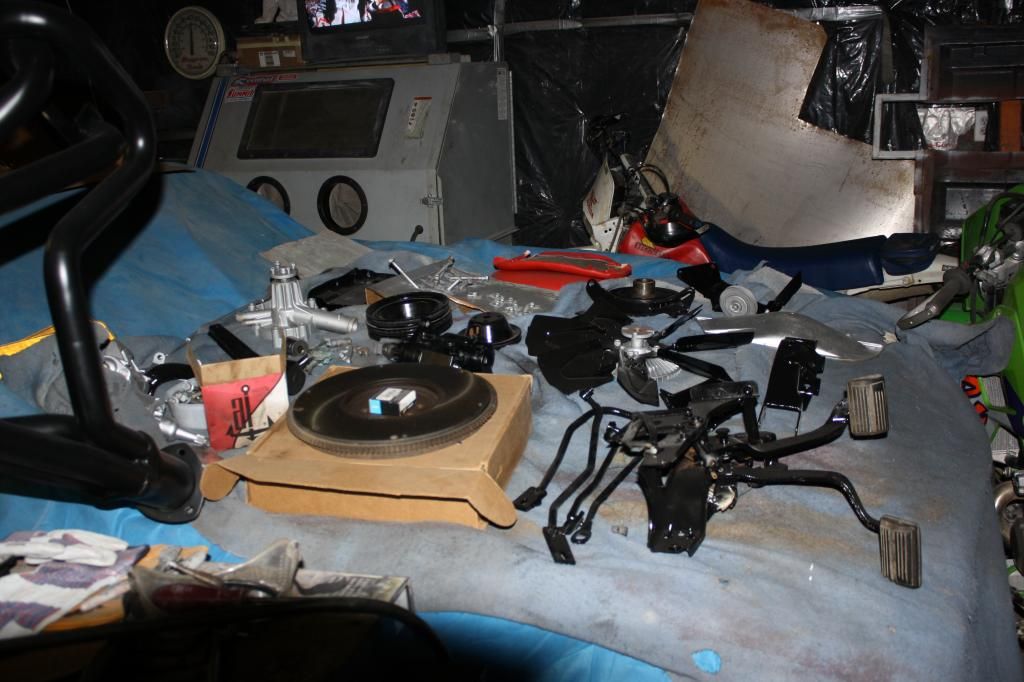
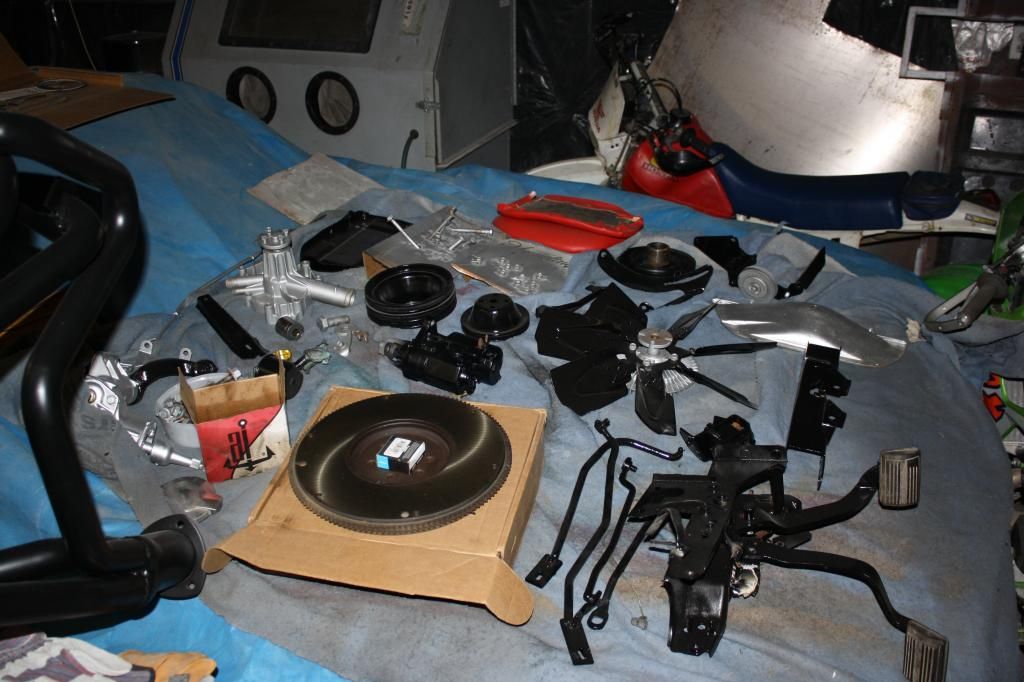
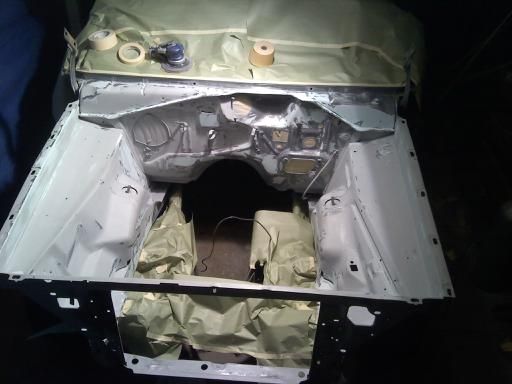
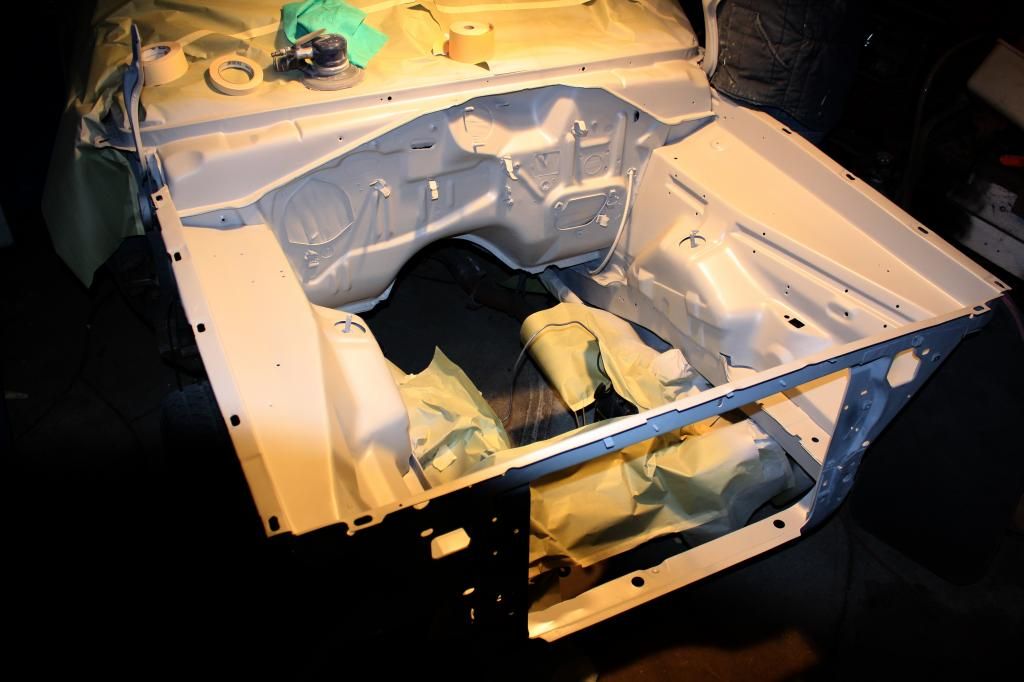
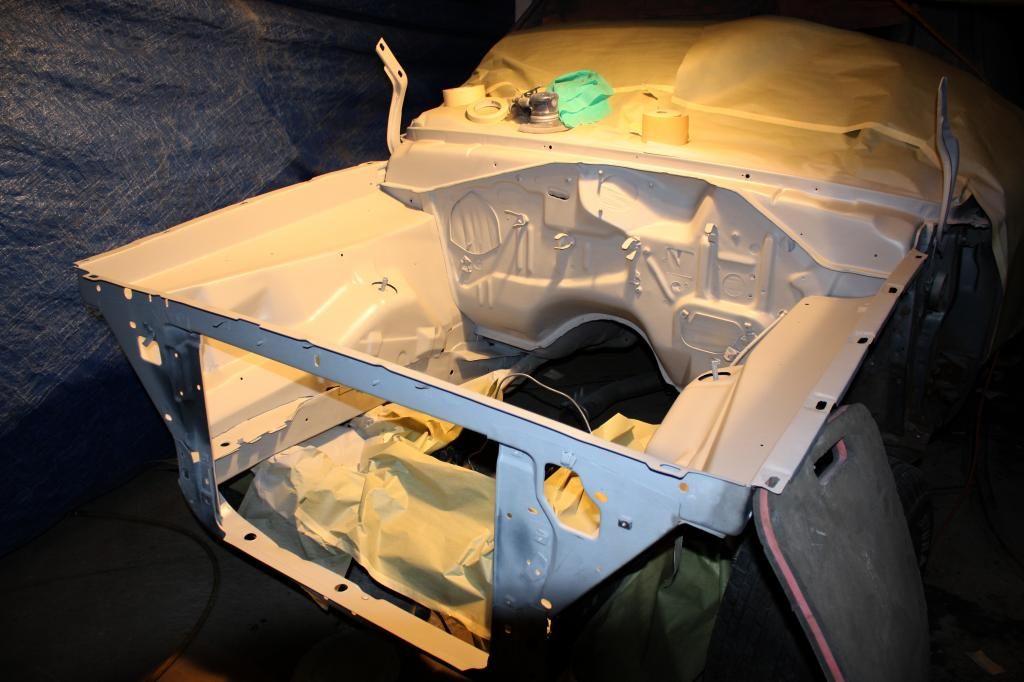
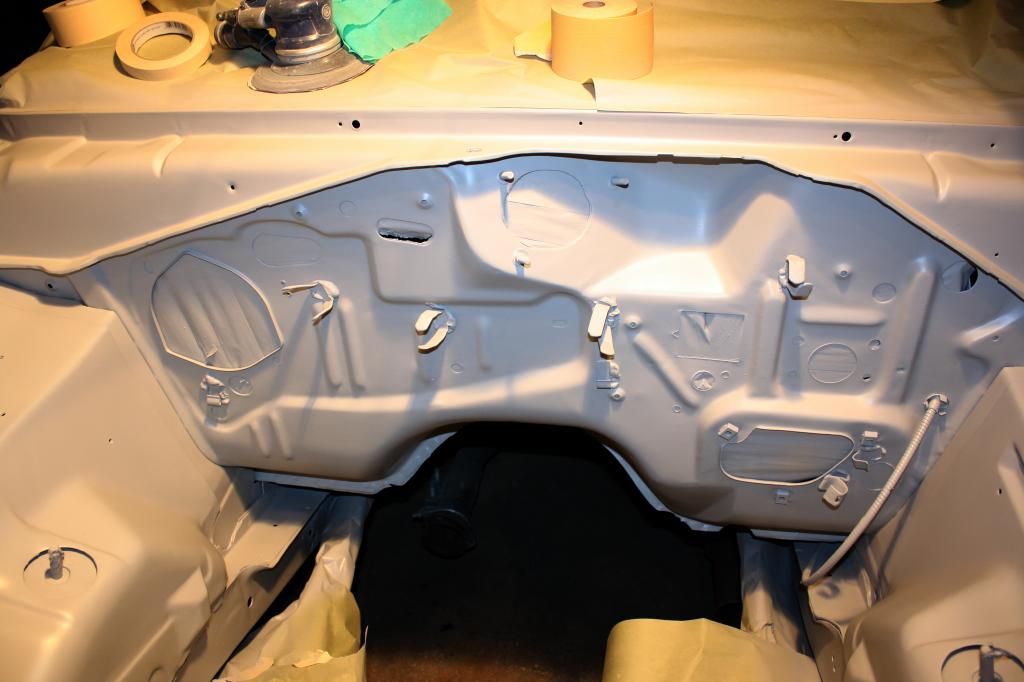
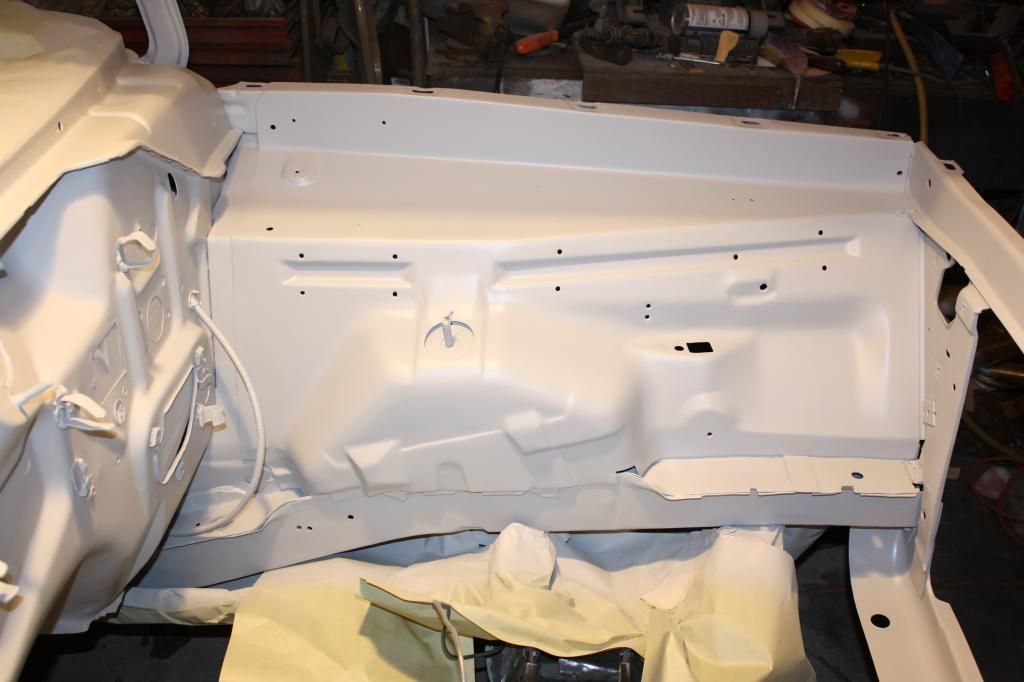
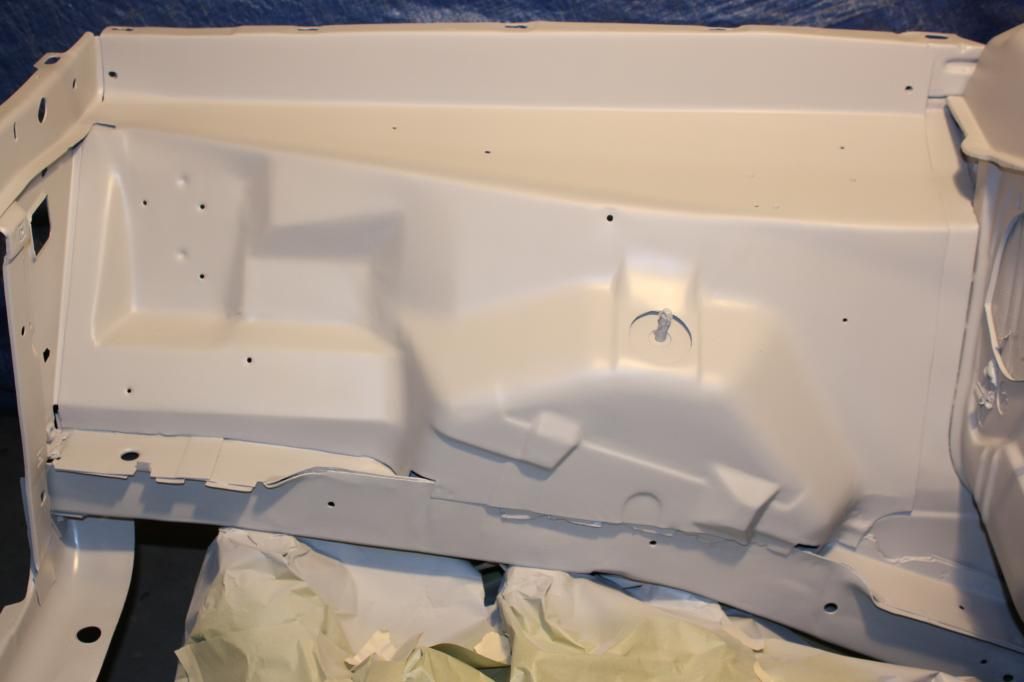
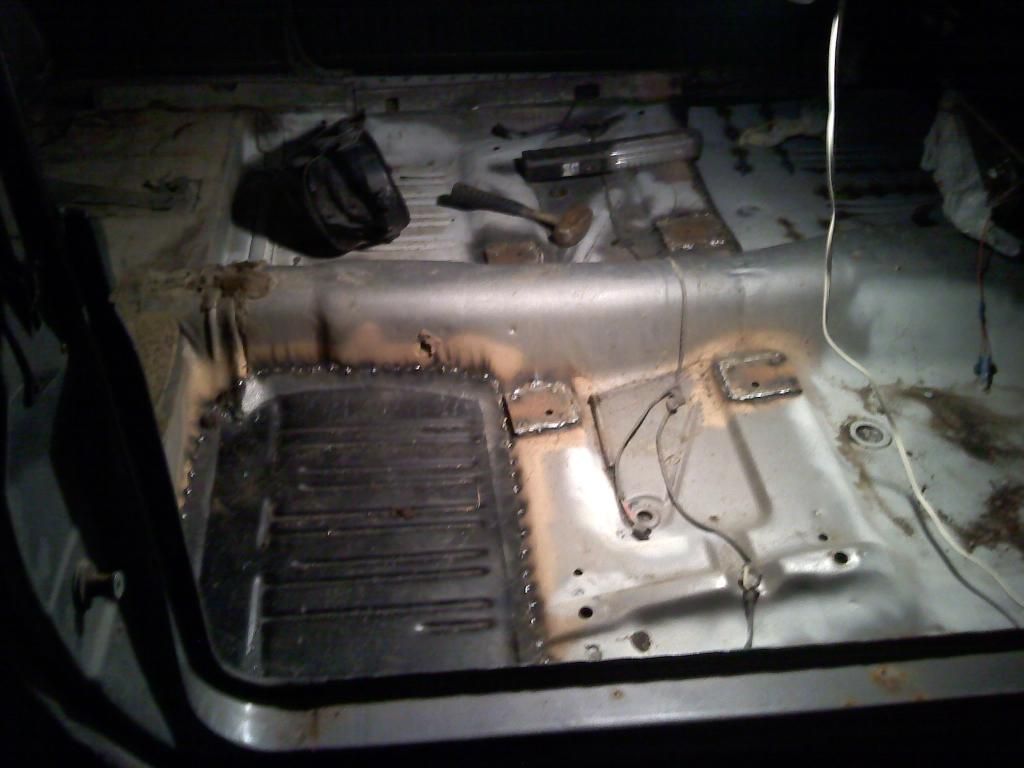
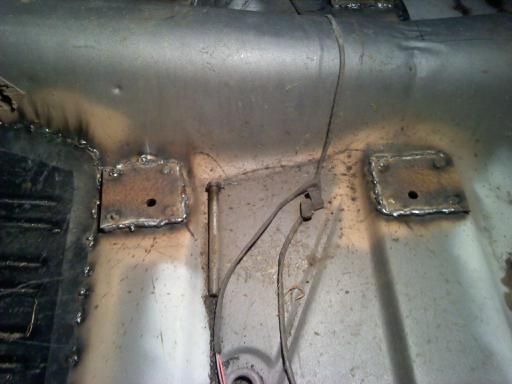
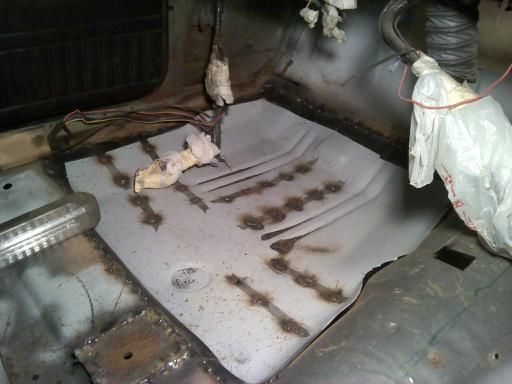
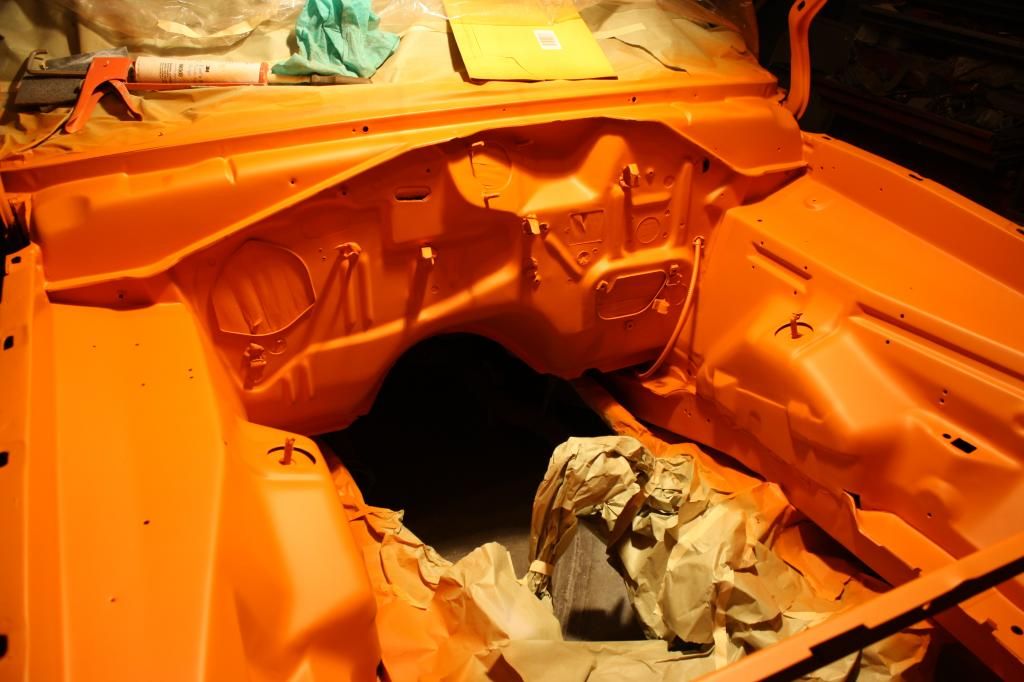
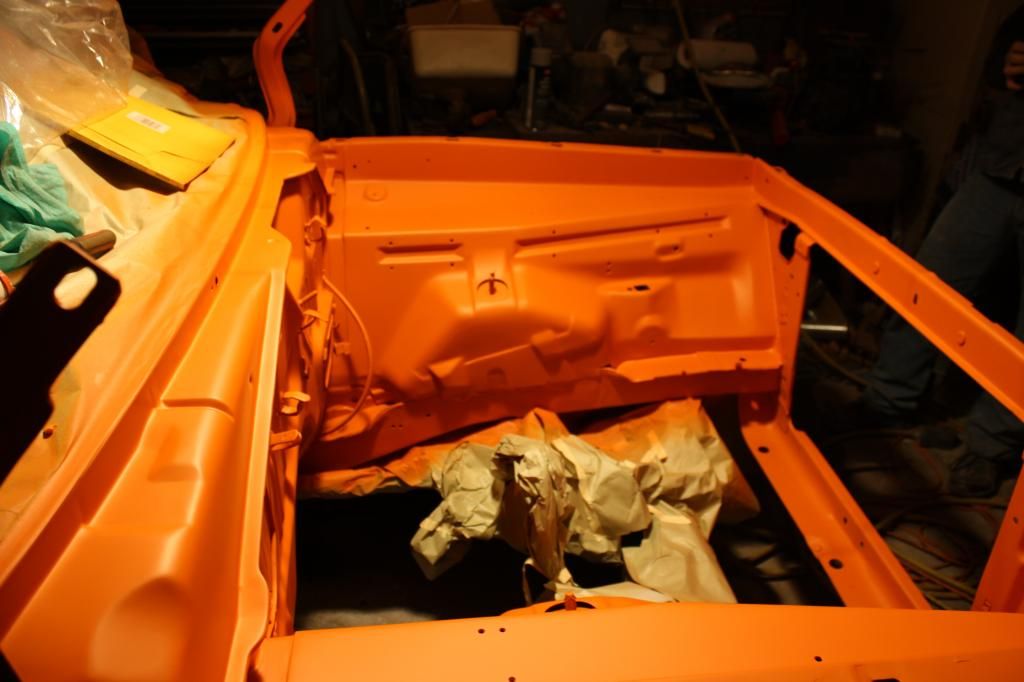
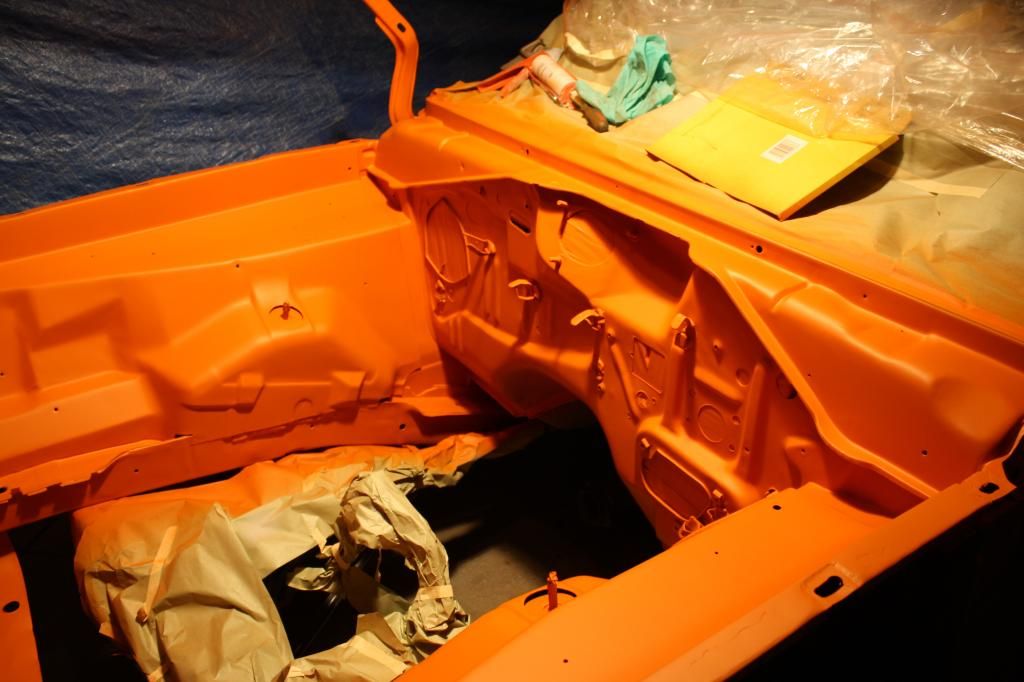
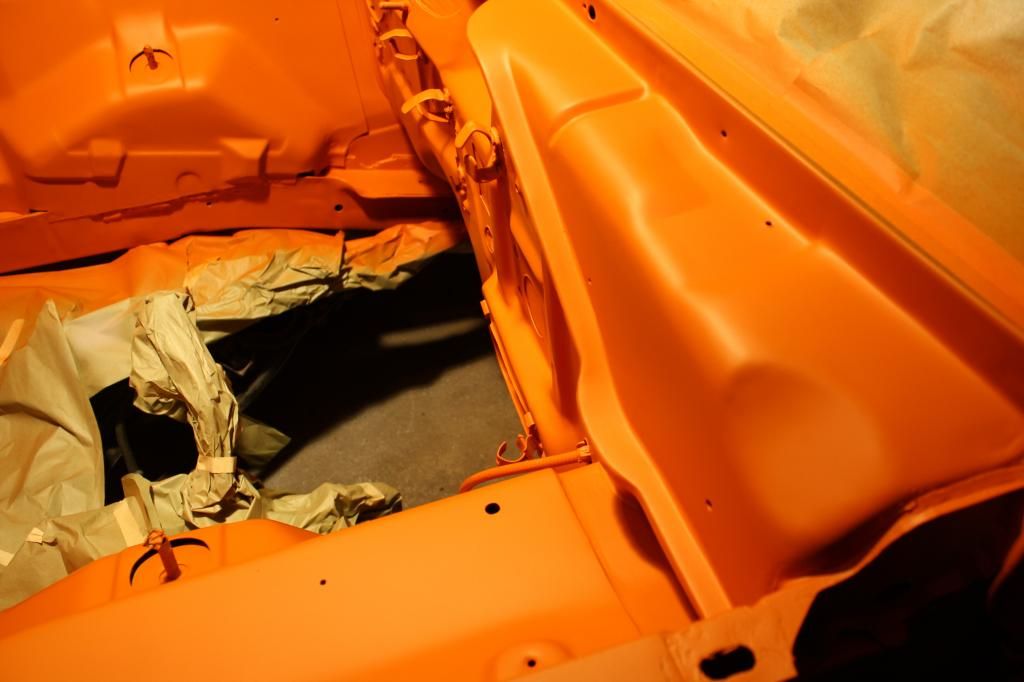
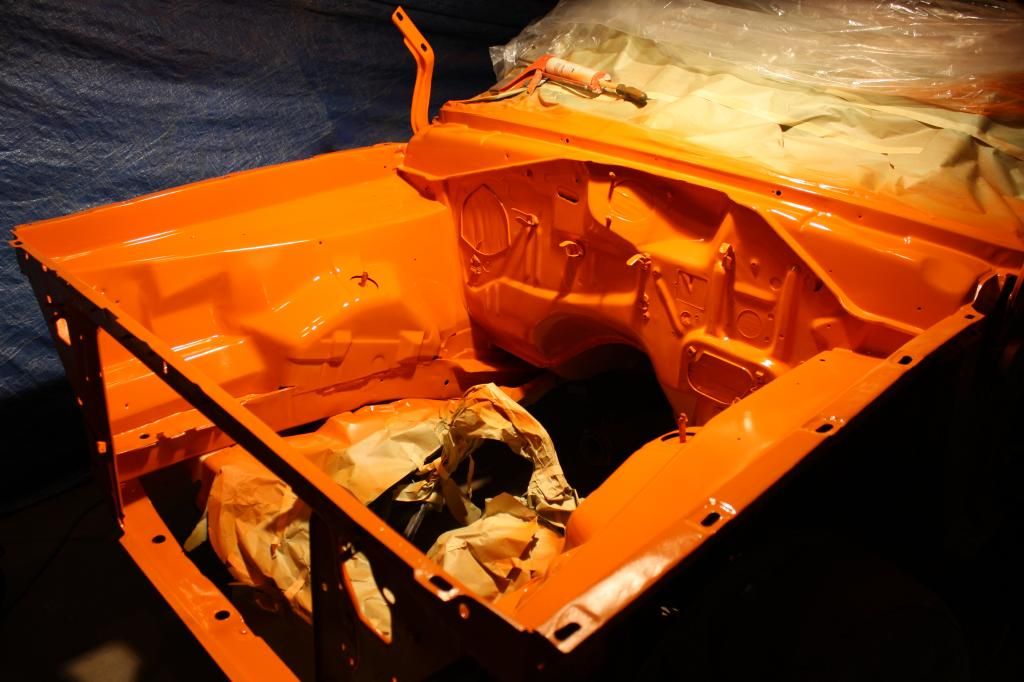
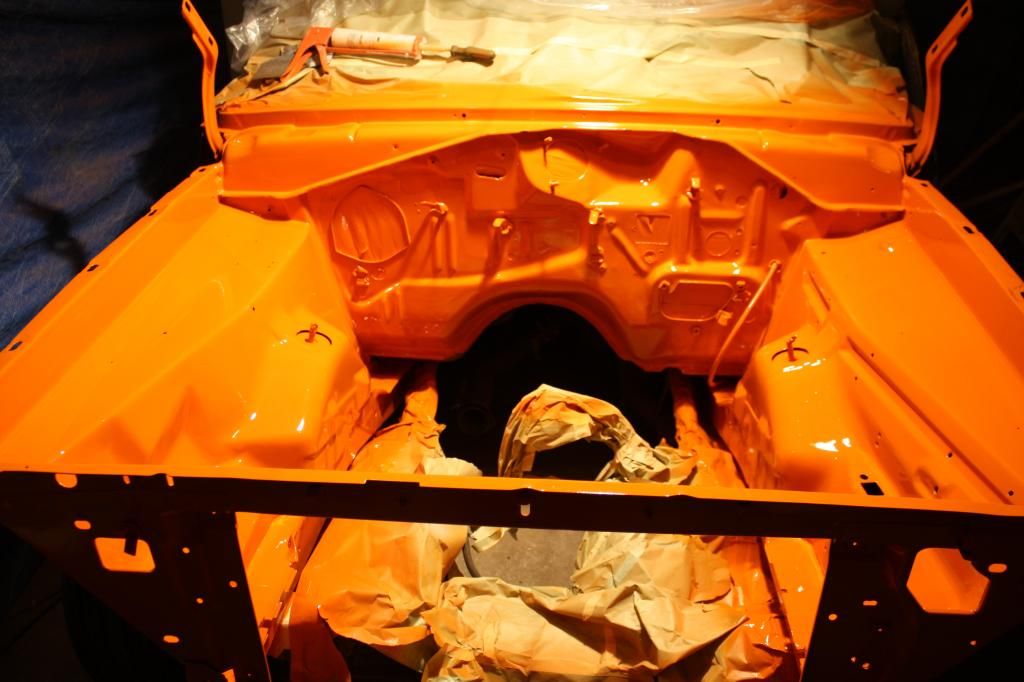
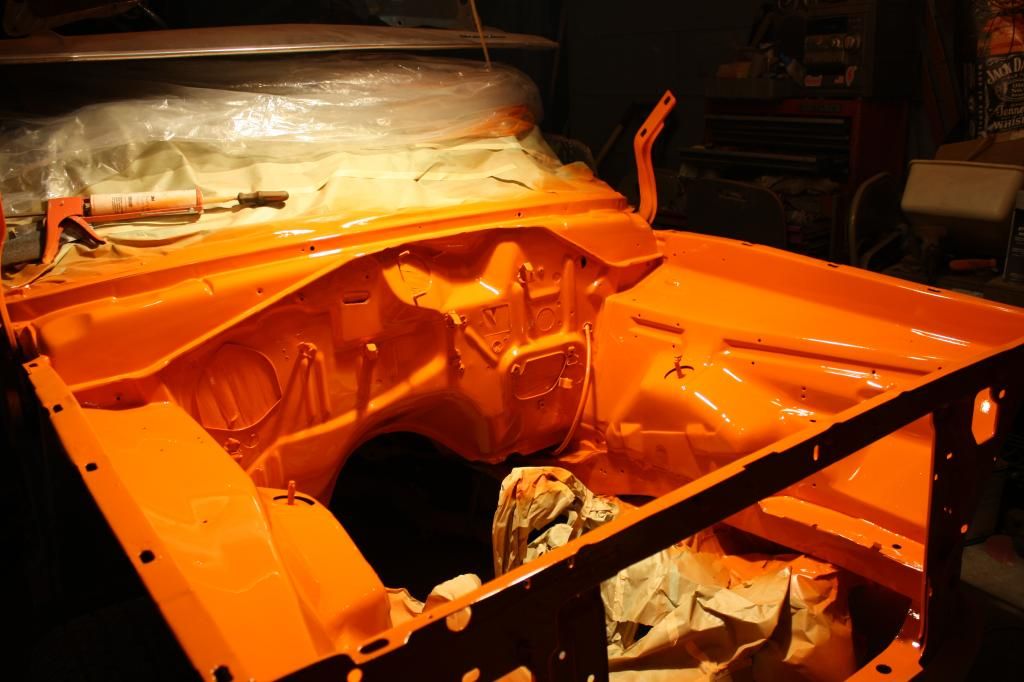
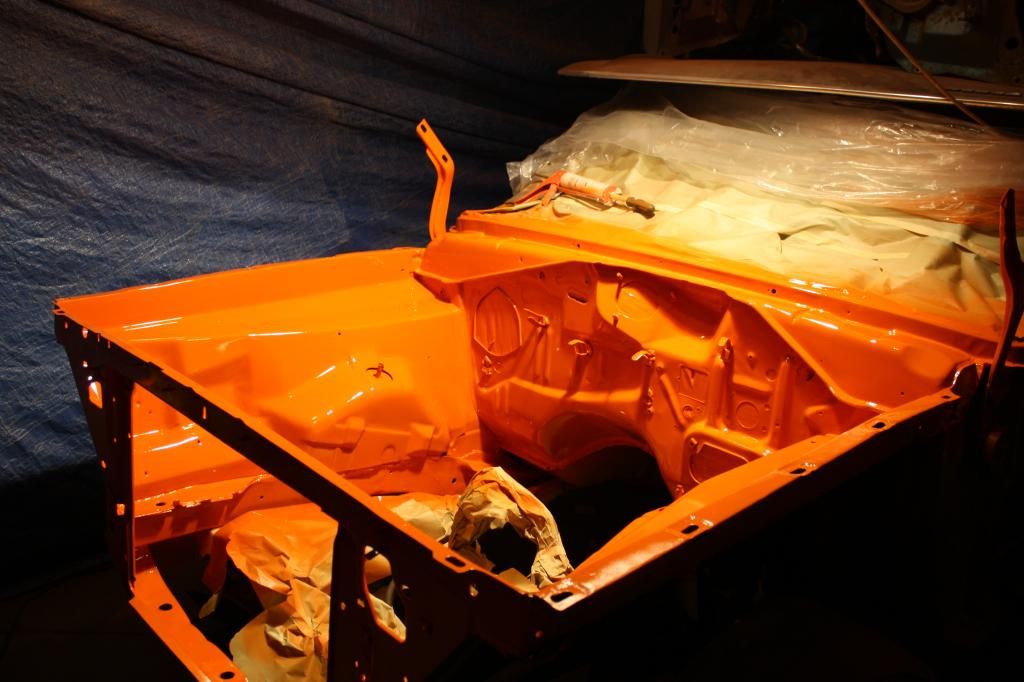
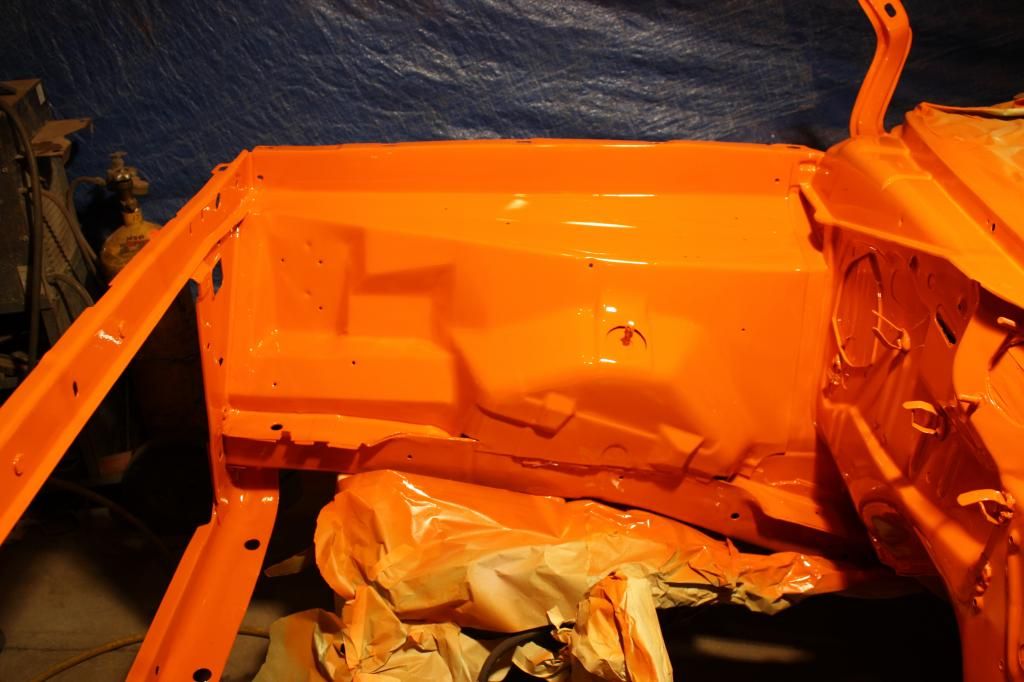
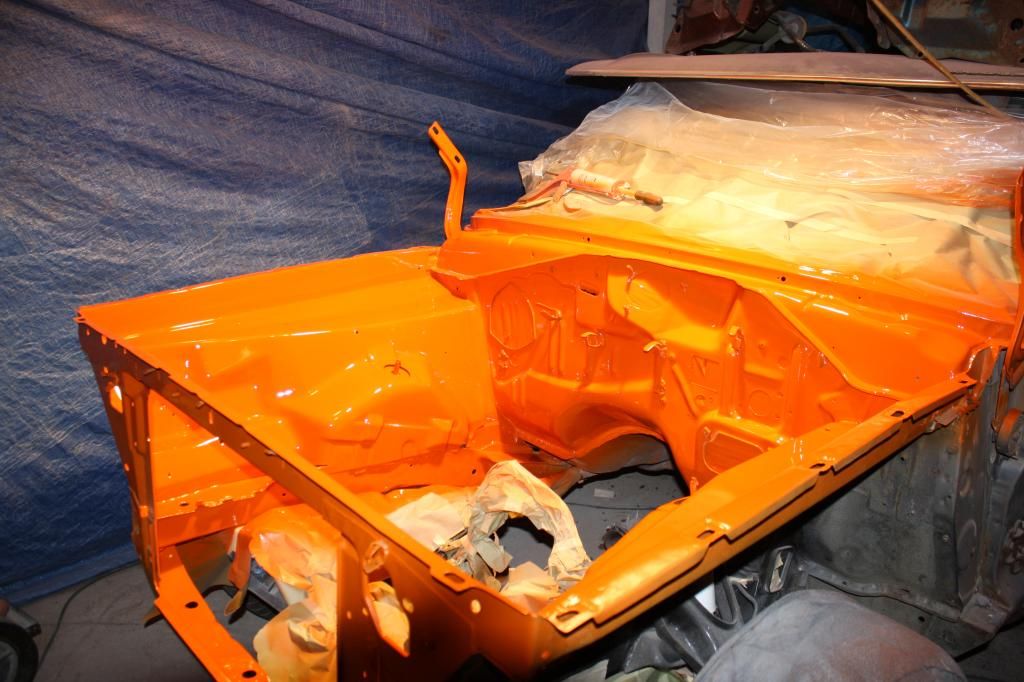
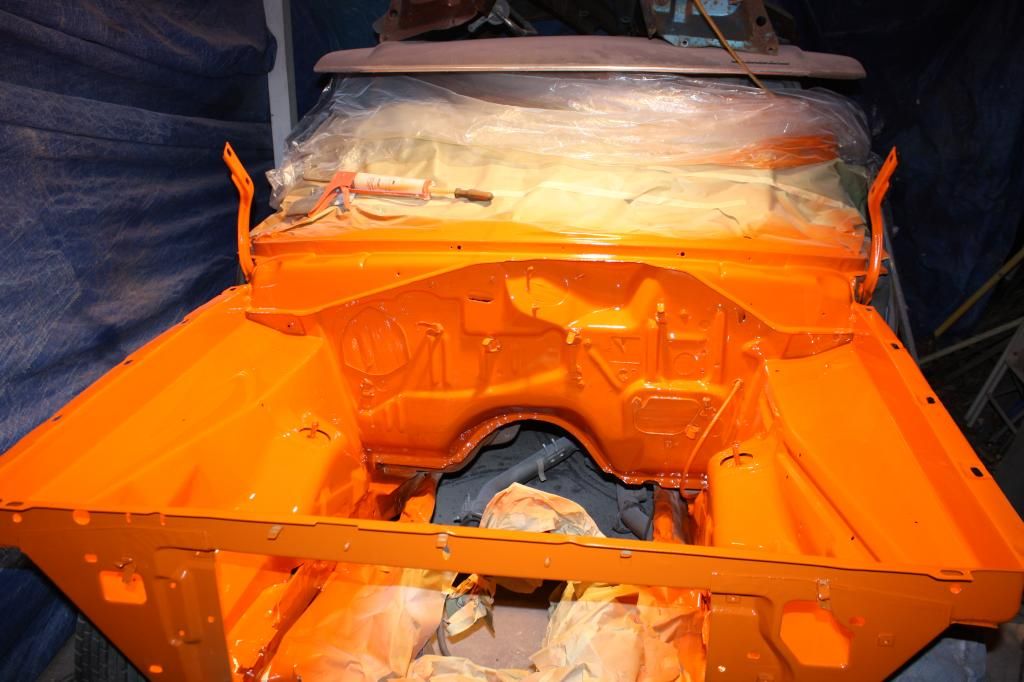
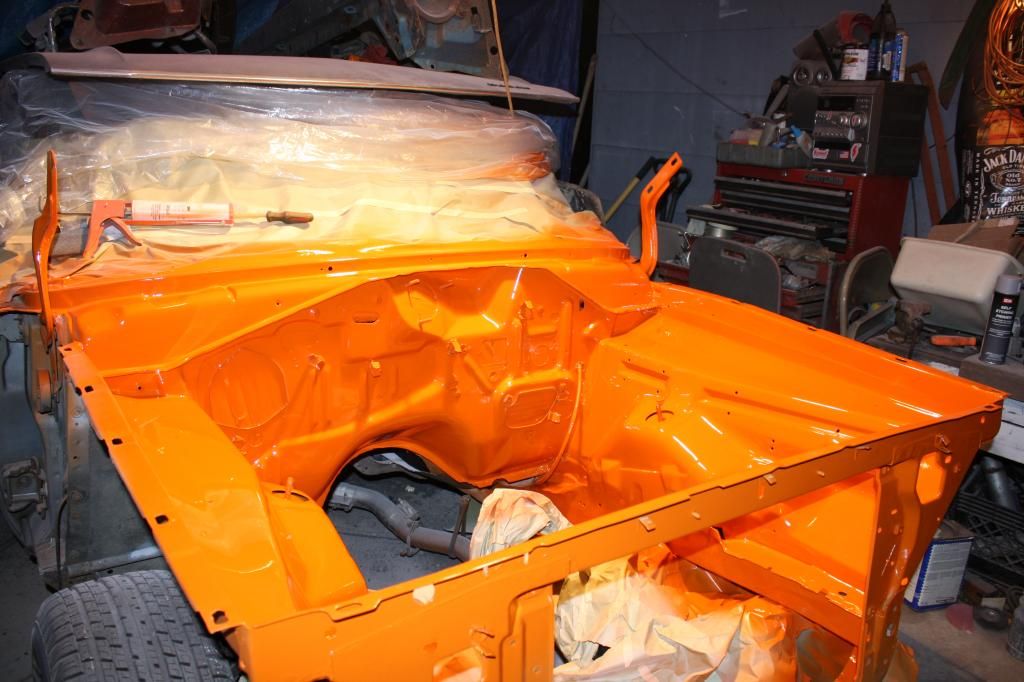
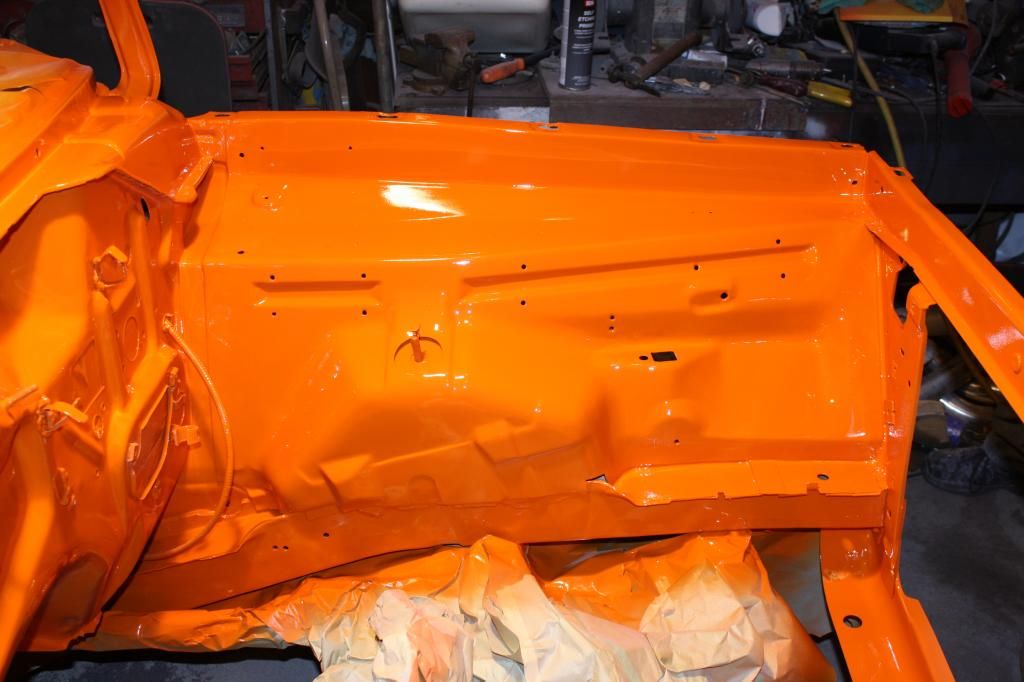
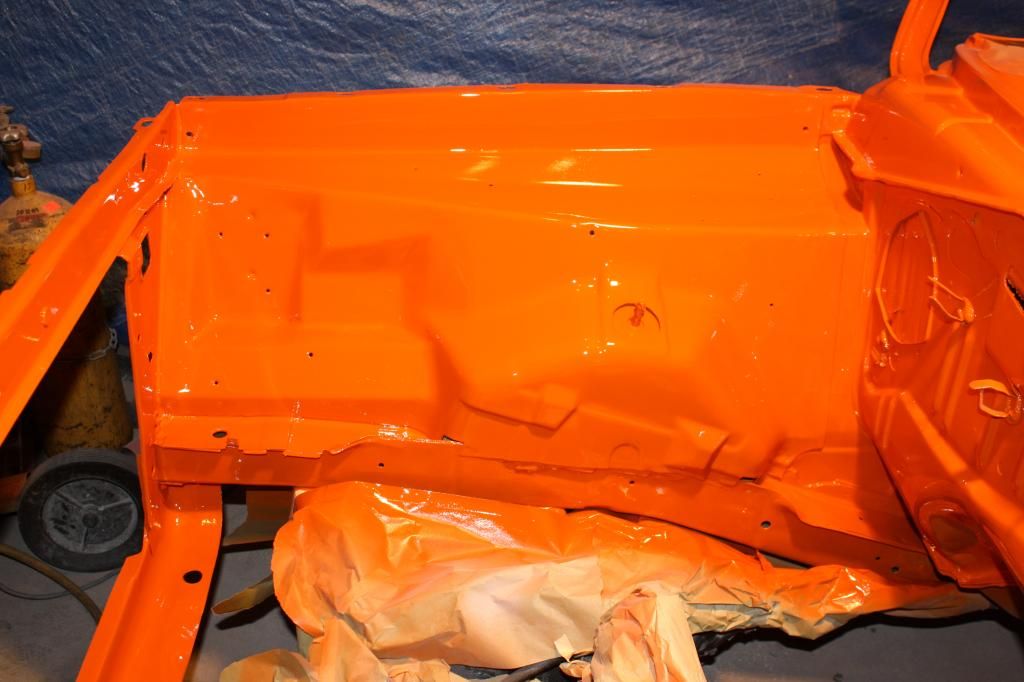
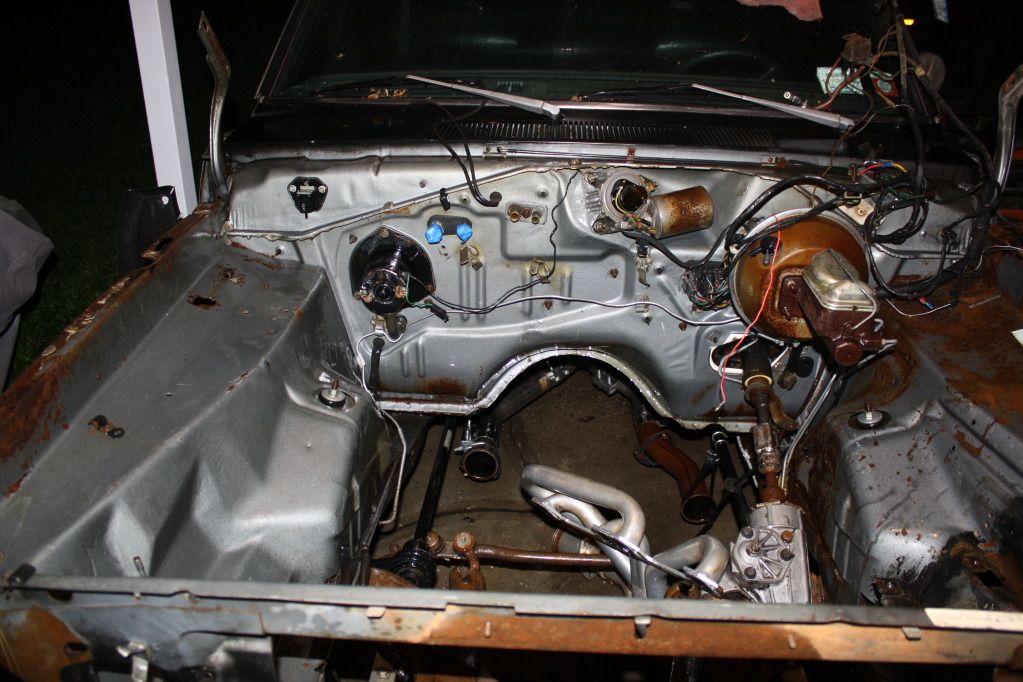
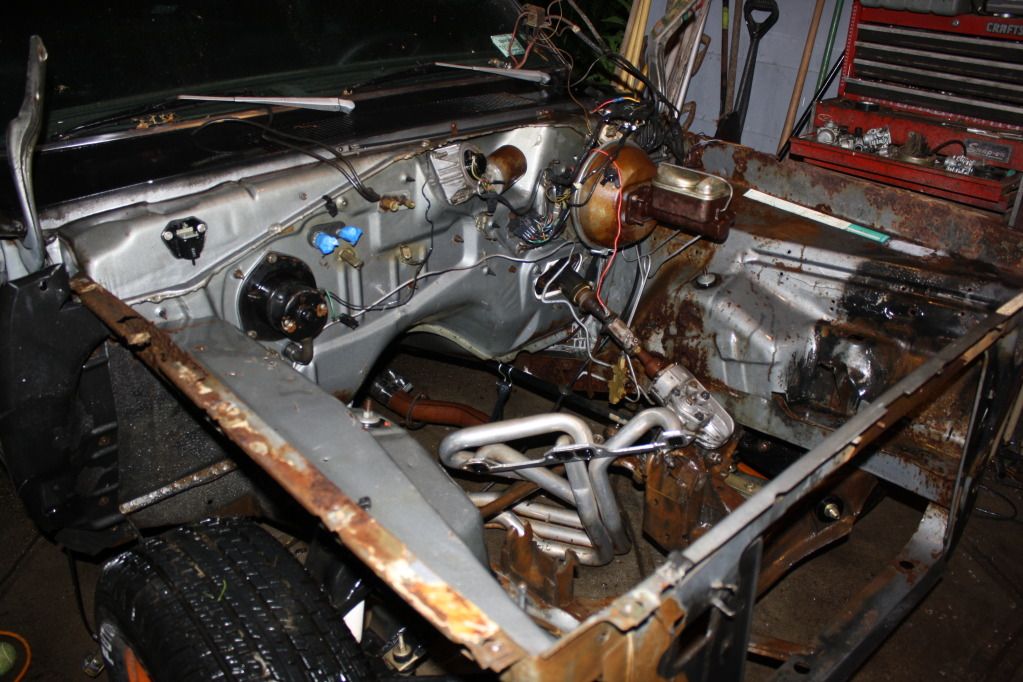
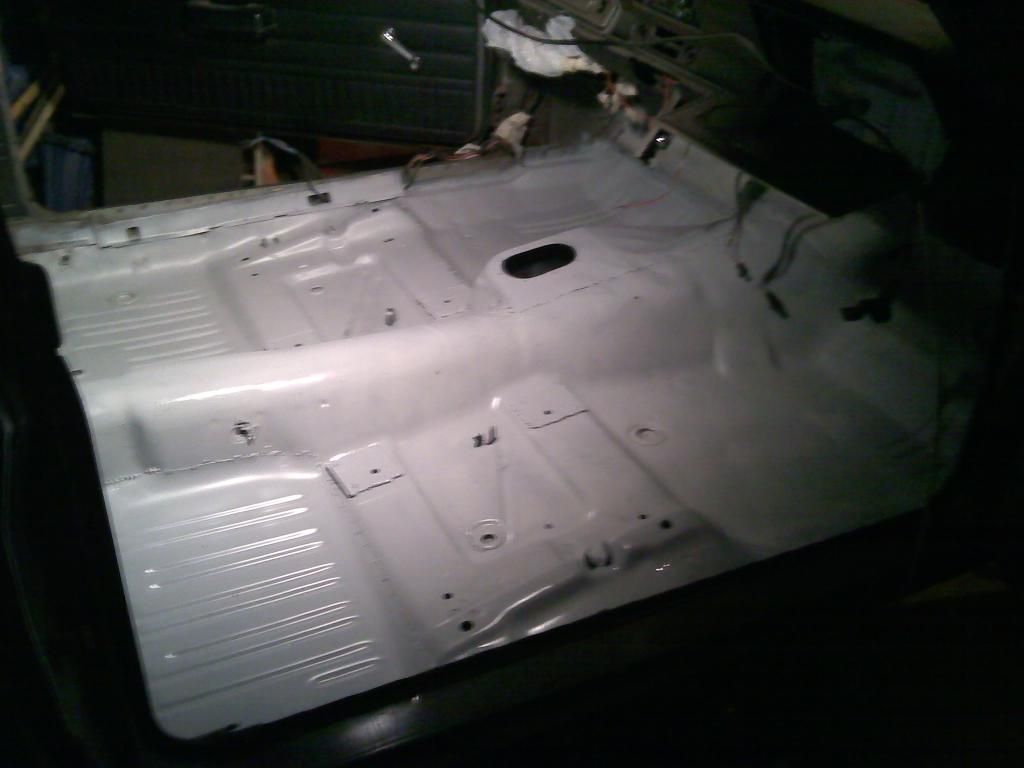
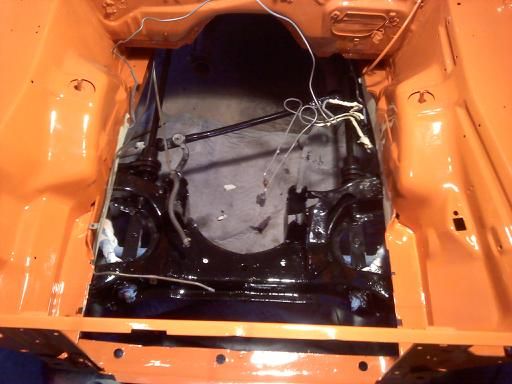
Getting back on track. got out there today and took the A body buckets out of my moms barracuda in the garage, broke a few studs but nothing I can't handle fixing. one seat track had a loose bolt that was F'd up so i had to run the tap over that. Tightened that up, drilled the holes in the floor for both seats. Sat down in one and enjoyed it for a bit. Scraped a bit of seam sealer. Then made some support brackets out of some thick steel I found in the garage. I still need to grind them blast them and drill a few places to spot weld them on. maybe tomorrow. Dad saw a bolt that was snapped off in the radiator support so i had to drill it out and tap it.

Doesn't feel like i got much done but I spent a lot of time. I figure if I've got the carpet out and I'm messing with the floor I have to set it up for the buckets. Hopefully ill get more done tomorrow.

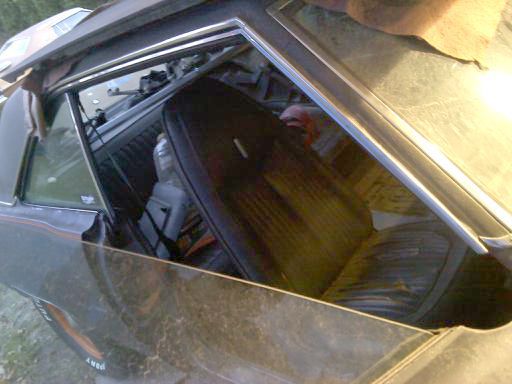
This is the better seat
downsized_1116121634.jpg
 
kicked some *** today! Drilled out those seat supports for spot welds, then blasted them and hit them with weld through primer. took a while to drill through the metal its thick.

Then i started cutting the rot out of my floor. The game plan is weld the floor pan in then cut the 4 speed tunnel. anyway i cut out the rot on the drivers side, then trimmed the patch to fit. then i saw an article in hot rod magazine last night where they were replacing the floor. They fitted the patch in then for the spotwelds on the frame they went underneath and marked the frame on the floor pan. Glad i looked that up because it saved me the half hour or so i would have spent scratching my head figuring out what to do. so i marked the bottom, drilled some holes for the spot welds and sat it back in there and they all looked good!

Gaping hole!
downsized_1117121619a.jpg


Test fit
1117121619.jpg


then i moved on to the rear floor rot hole, cut the rot out, nicked what i believe is the fuel vent line but didn't got through! lol. Fitted the patch, fit real good out of the box but the backside had to be hammered down flat. no big deal. got that all set up and ready to go. For the floor patches now I just have to do some sand blasting then wend them in.

Dad said that he wants to get the engine bay in final prime tomorrow! He said maybe we will paint it thanksgiving and maybe the engine could go in that weekend.
 
Got ALOT done today. I got outside and started blasting the floor, got that blasted up nice hit it with some primer but ran out of weld through primer. Still need to blast the patches and squirt some weld through primer and they will be ready to weld. I'm speculating one day left to finish the floor.

Got a couple pictures of some of the stuff. No good picture of the floor because it was dark outside.

Front floor pan, ready to be blasted

IMG_2181.jpg


Painted bits one more time

IMG_2182.jpg


IMG_2183.jpg


IMG_2184.jpg


Paint :D

IMG_2186.jpg


Re-enforcement plates for the bucket seats

IMG_2187.jpg


I have some more good news, The car is in [size=18pt]PRIMER!!![/size]
Layed down nice, dad says minimal prep work to spray color. he is thinking Wednesday maybe for color. very excited


One shot prior to primer

downsized_1118122030a.jpg


Primer!!!!!!!!!

IMG_2193.jpg


IMG_2188.jpg


IMG_2189.jpg


IMG_2190.jpg


IMG_2191.jpg


Frame rail even though i plated it blended nicely.

IMG_2192.jpg


Very happy tonight, going to go wash the bondo dust out of my hair.
 
Welded in my floor patches and seat supports. Still gotta weld the 4 speed hump in there and grind everything down smoothish.

Painting everything, weld threw primer on edges.

downsized_1121121508.jpg


finished product no more holes!!
1121122200.jpg


Seat brackets
downsized_1121122201.jpg


Front floor pan.

downsized_1121122201a.jpg


dad smoothed the primer out slightly but has not seam sealed, dunno if hes painting tomorrow.
 
I cut the hole for the 4 speed setup today, got the hump edges ready in etch prime. just gotta prep the hole for welding.


More importantly, It's painted! The pictures do not do it justice. I'd like to push it out into the sun tomorrow and check it out/get a few pictures. Only one run in the paint, very little orange peel. Looks fantastic.

Check out our redneck spray booth.
IMG_2210.jpg


Base coat:

IMG_2213.jpg


IMG_2214.jpg


IMG_2215.jpg


IMG_2216.jpg


IMG_2217.jpg


IMG_2218.jpg


IMG_2219.jpg


IMG_2220.jpg


Clear coat

IMG_2221.jpg


IMG_2222.jpg


IMG_2223.jpg


IMG_2224.jpg


IMG_2225.jpg


IMG_2226.jpg


IMG_2227.jpg


IMG_2228.jpg


IMG_2229.jpg


IMG_2230.jpg


IMG_2231.jpg


IMG_2232.jpg


Before & After

IMG_1855.jpg


IMG_2228.jpg


IMG_1857.jpg


IMG_2229.jpg


IMG_1856.jpg


IMG_2230.jpg
 
Guy,real nice work! The dirty,grungy details kill you,pays off as you already know.Shot Chromabase before,really nice stuff.
 
outstanding work, i guess im not the only orange a body on long island anymore :/
 
Been really busy with school but, I had to do something to the car. Today I made a patch to close up the exposed part of the crossmember under the 4 speed hump. Then I welded the 4 speed hump in place. Knocked the sharp edges off the welds with the grinder then blasted all the welds. Sprayed the floor with primer.

Still needs to be seam sealed and then the floor coated with something, maybe canned rustoleum or bed liner or something?

1130122104.jpg


1130122104a.jpg
 
Looking good! I almost went orange with mine too. I let my fiance help pick and this is what we turned up with.
 

Attachments

  • WP_000759.jpg
    74.6 KB · Views: 481
Really really nice build! Just a question, will you grind the weld spots in the edge of the floor pans, or just paint?
 
Really really nice build! Just a question, will you grind the weld spots in the edge of the floor pans, or just paint?

I just ground them so they weren't sharp edges. I didn't bother smoothing them flat because nobody will see them once the carpet is in anyway.
 
Probably the last warm day for the next 3 months so I decided to paint the k frame again.

downsized_1203121613a.jpg


downsized_1203121613.jpg


Almost time for things to go back in.
 
I love it SirDan! I love the transformation, looking really nice.

I too have a new 73 under construction, sneaking stuff here and there but most of my time is being taken by a 2 yr old, my business and life.

Someday I can get my car looking as nice as you would want yours to be. Keep up the good work

Quick question thou, what driveshaft did you end up using for the 8 3/4 and I assume you did not narrow it right? The Mosler axles are purchsed for what purpose? You could not use the OEM one? Thanks!
 
I love it SirDan! I love the transformation, looking really nice.

I too have a new 73 under construction, sneaking stuff here and there but most of my time is being taken by a 2 yr old, my business and life.

Someday I can get my car looking as nice as you would want yours to be. Keep up the good work

Quick question thou, what driveshaft did you end up using for the 8 3/4 and I assume you did not narrowed it right? The Mosler axles are purchsed for what purpose? You could not use the OEM one? Thanks!


I got a driveshaft from my uncle. His house is literally stuffed with old mopar parts. I measured the length and he picked through what he had and found me one. Worst case scenario if you can't find a used driveshaft you can have your existing one shortened for around $100-150 with new U joints.

The reason I purchased new axles was because the OEM ones the rear had were small bolt pattern 5 on 4. My car was large bolt pattern 5 on 4 1/2. The moser ones I ordered in 5 on 4 1/2 pattern and are supposed to be stronger than OEM. I had money at the time otherwise I might have went a cheaper route.
 
Did some welding underneath where i attached the floor pans. Welding upside down sucks. got a nice burn on my wrist. got too cold to work out there so i had to stop. I will probably finish under there tomorrow. Then it just needs some seam sealer and maybe some undercoat. Then I think it might be time to start putting things back on the car. One of my classes finished and the other two finish next week so I should be able to work on it a bunch.
 
-
Back
Top