Ok Thank you 72bluNblu.
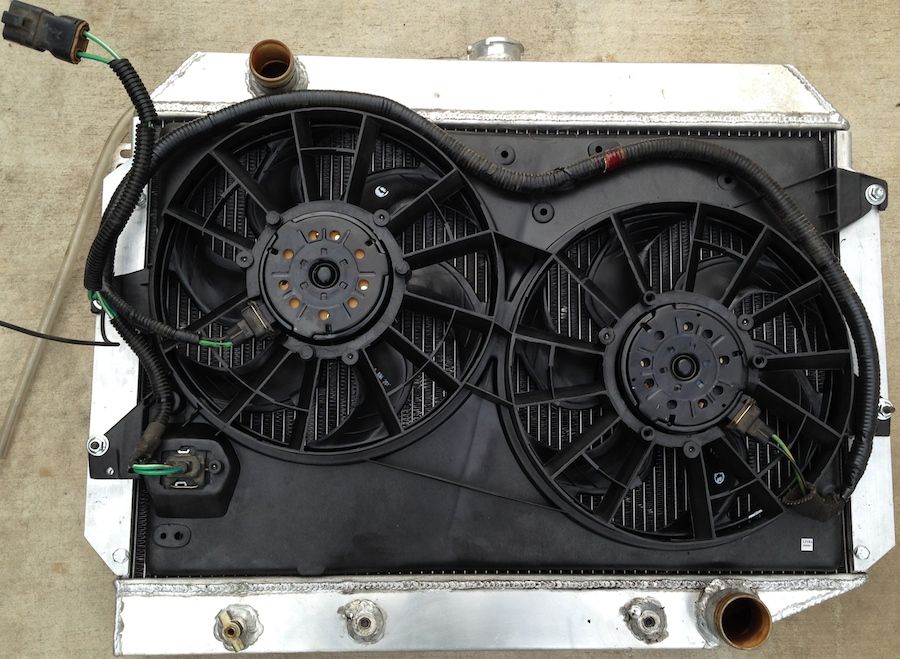
Mine did not leave the factory with a 26" rad support,figured some drilling would be the cure for that.
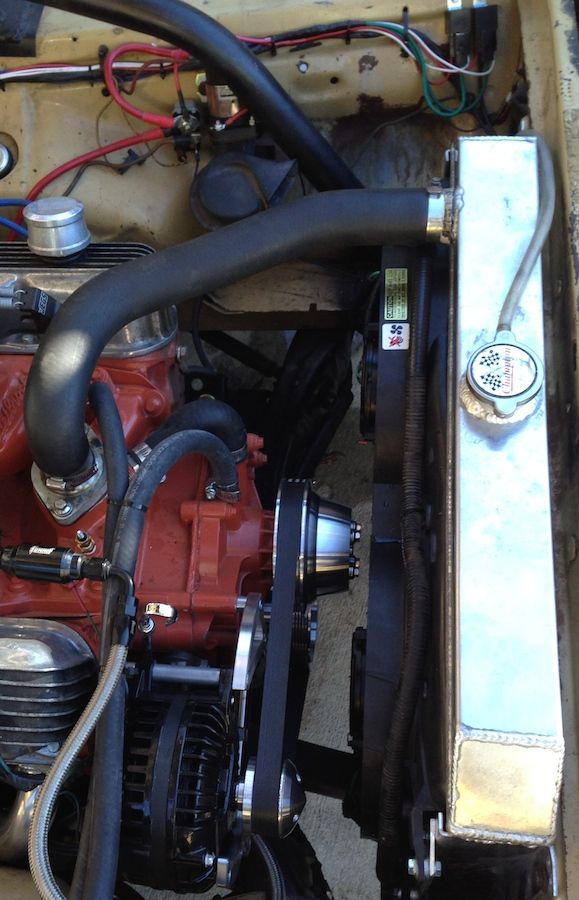
Ill grab something to shim the height on the rad up a bit when,I go to drill the support.
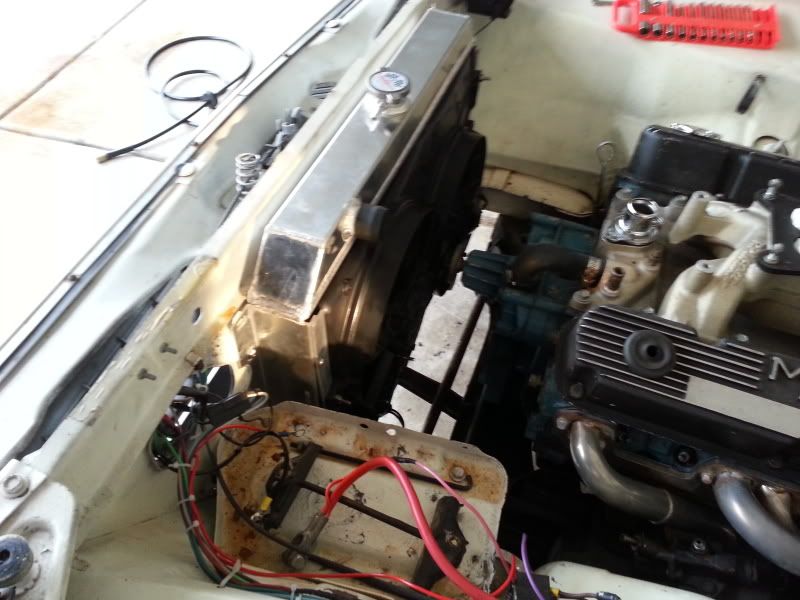
I was just wondering if there is any interference with the battery tray that I would need to modify the tray, or position the rad to the passenger side more then center it?
Mine did not leave the factory with a 26" rad support,figured some drilling would be the cure for that.
Ill grab something to shim the height on the rad up a bit when,I go to drill the support.
I was just wondering if there is any interference with the battery tray that I would need to modify the tray, or position the rad to the passenger side more then center it?


")


