Restored my hood scoops

-

Dusterdude72

IN MOPAR MUSCLE MAGAZINE
Joined
Aug 15, 2009
Messages
4,720
Reaction score
206
Location
MI 49203
For those of you who have not been following the build thread on my 72 duster ( link in my signature below) , I figured i would post this up here for everyone to see aswell.

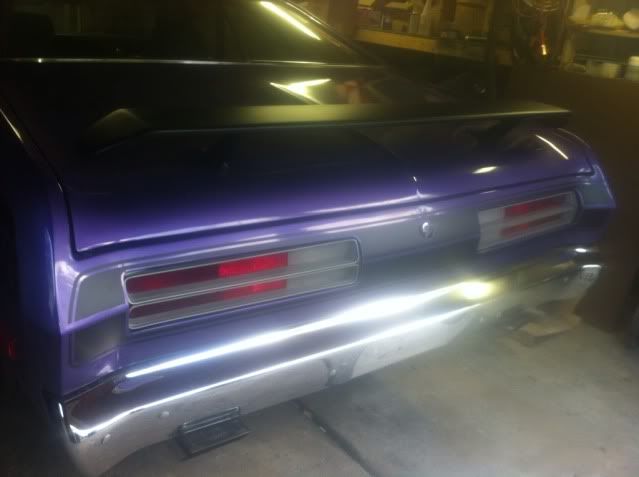
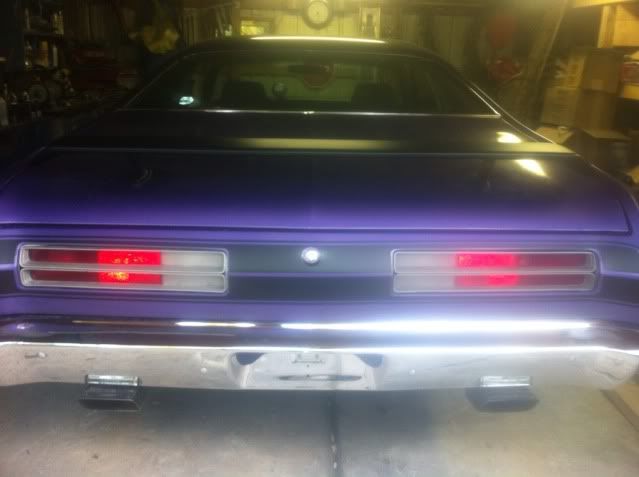
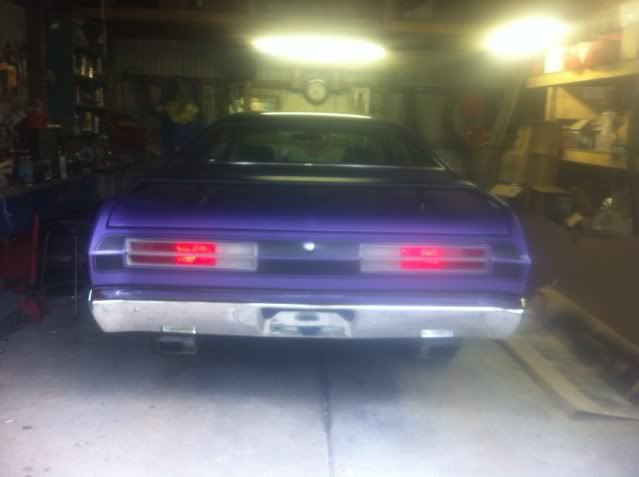
My duster is just about finished, just finishing up some of the final odds and ends of painting and such.

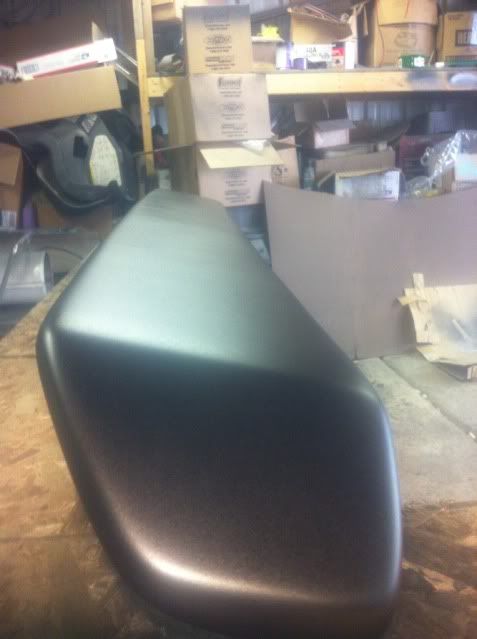
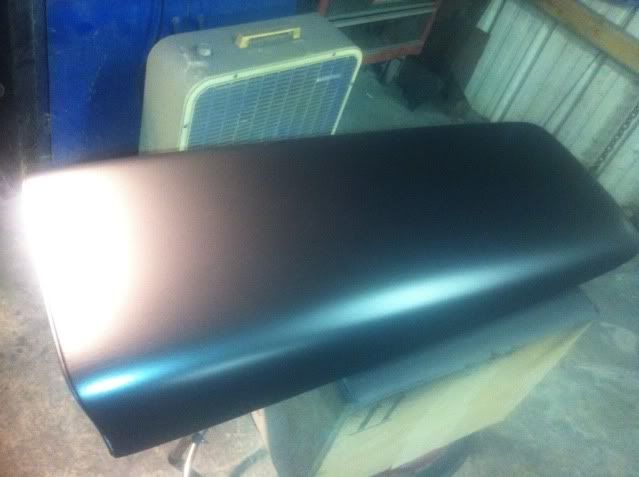
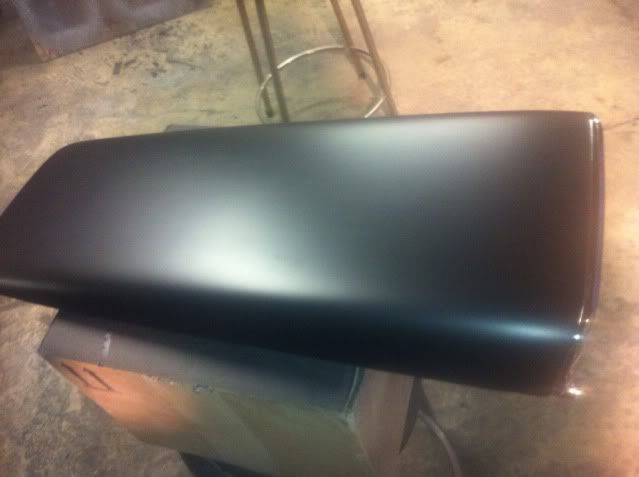
today I finished restoring my hood scoops and they came out great!.

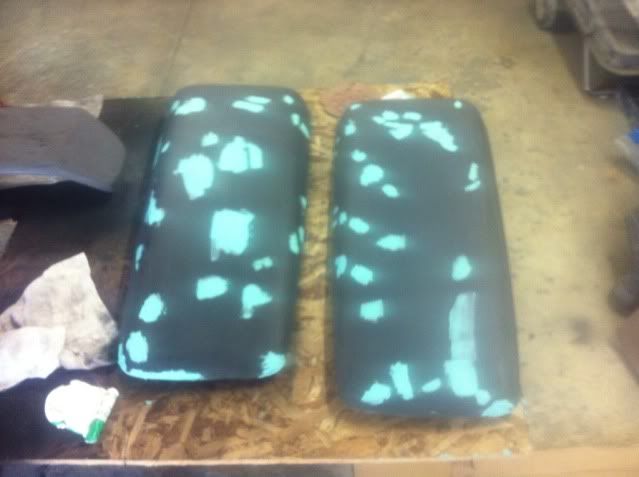
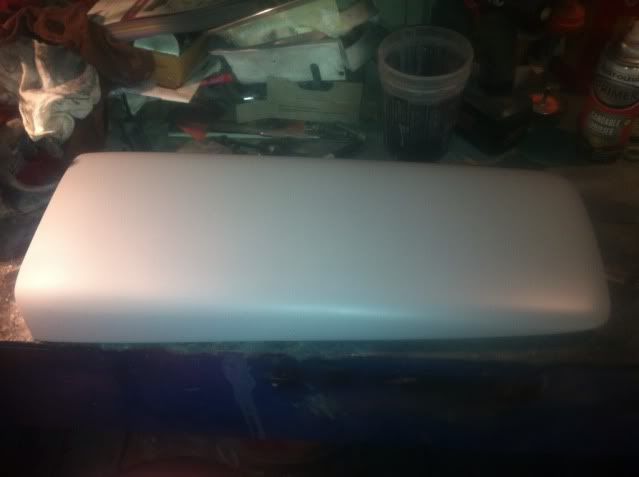
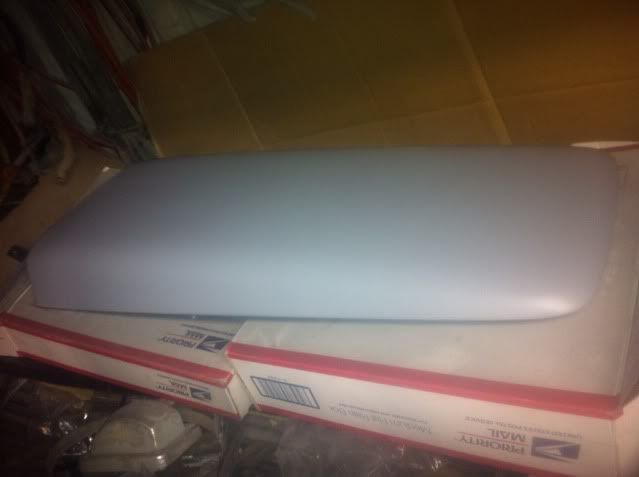
I am sorry but I don't have close up pics of the scoops prior to working on them. But they had some nasty old cracking paint on them,some chips in the fiberglass here and there and they looked pretty rough.

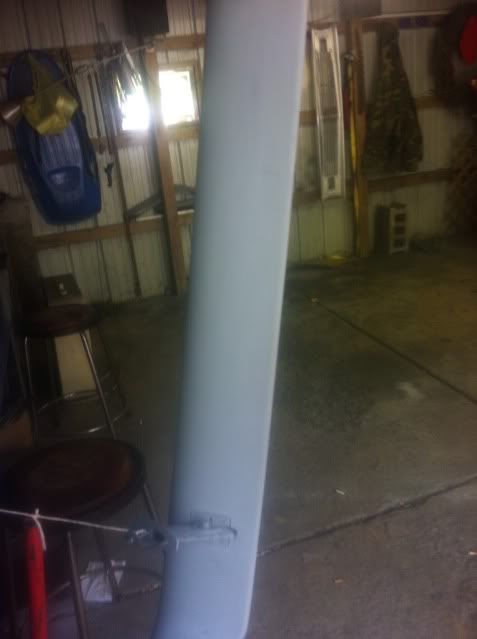
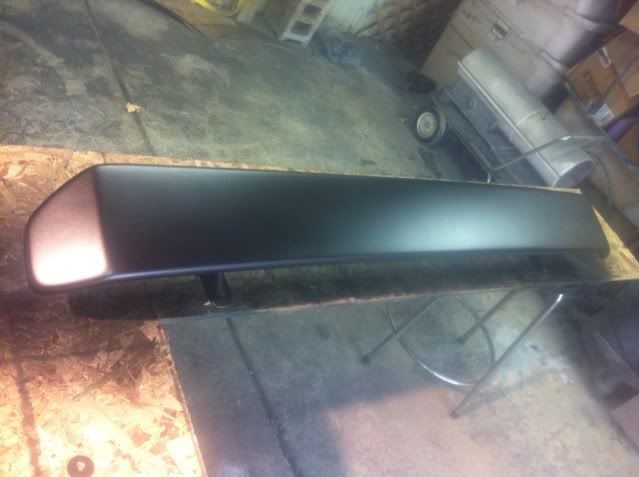
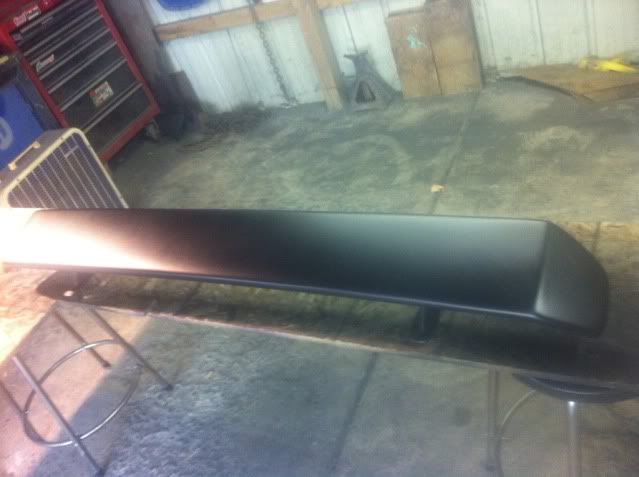
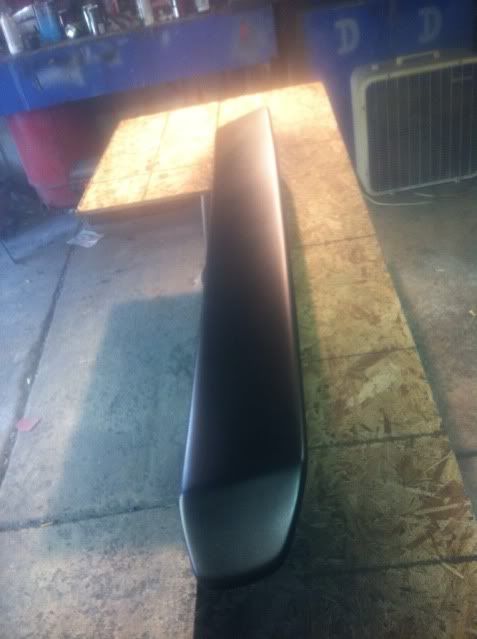
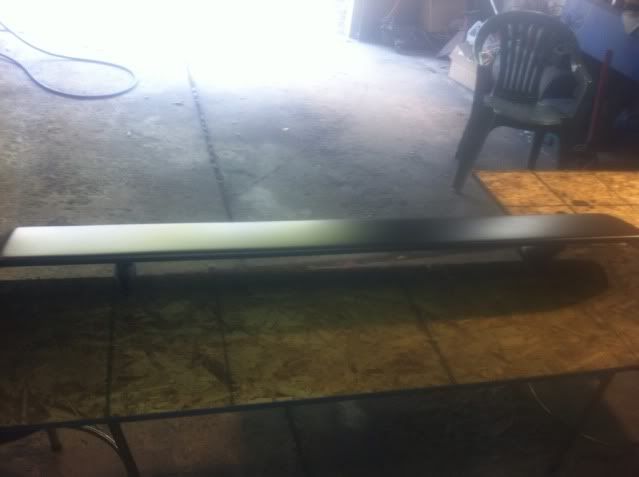
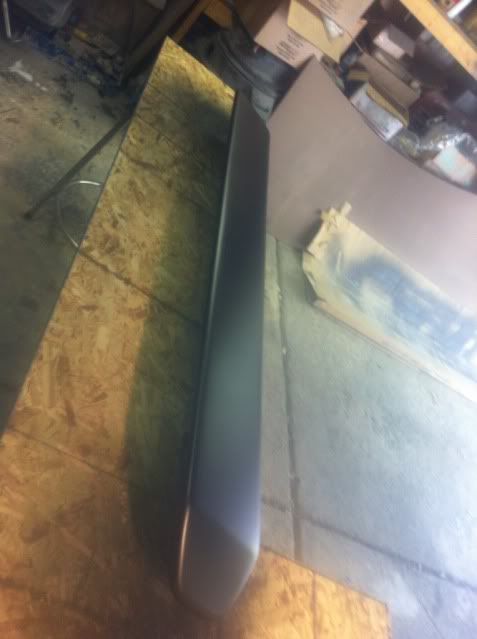
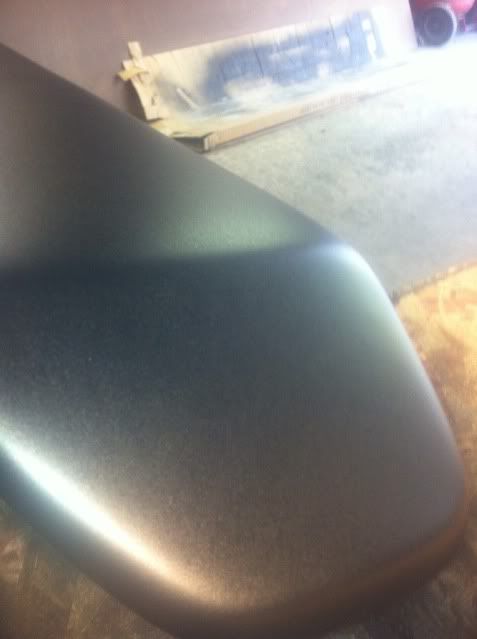
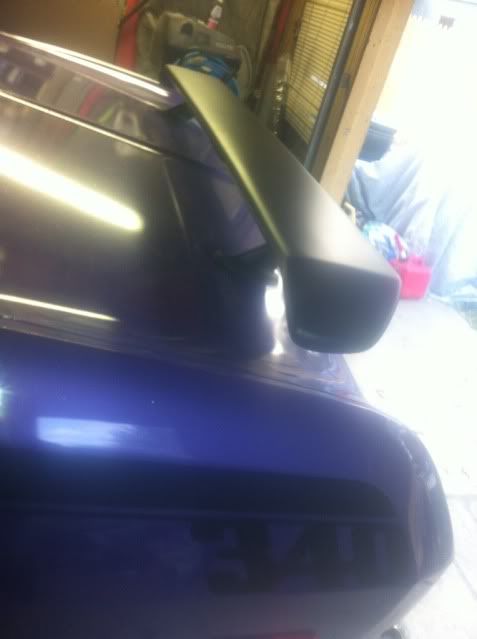
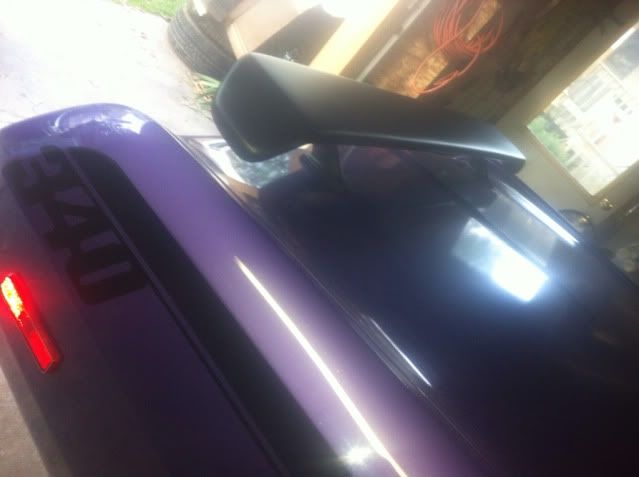
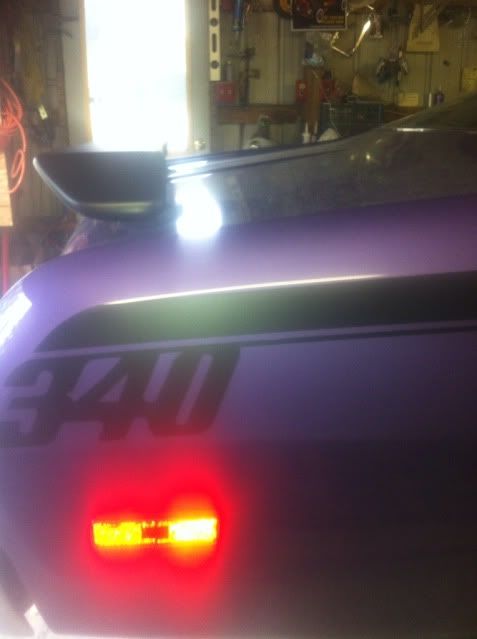
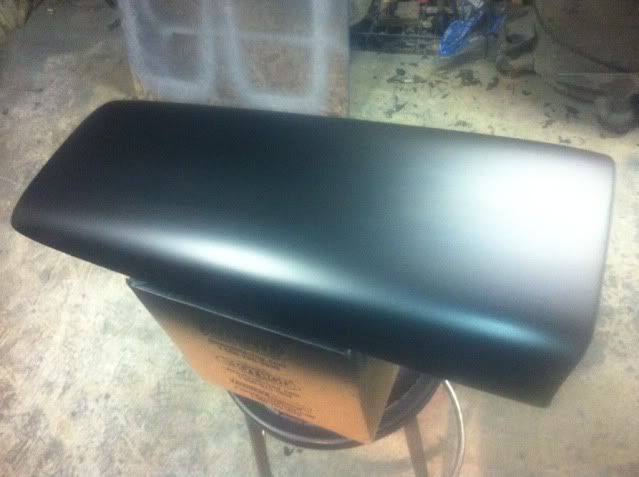
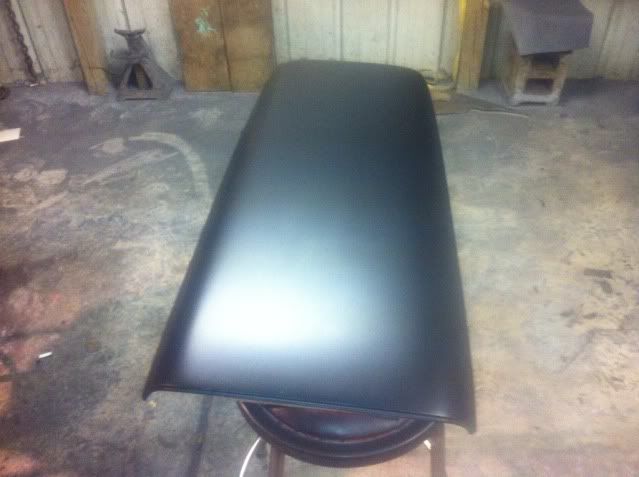
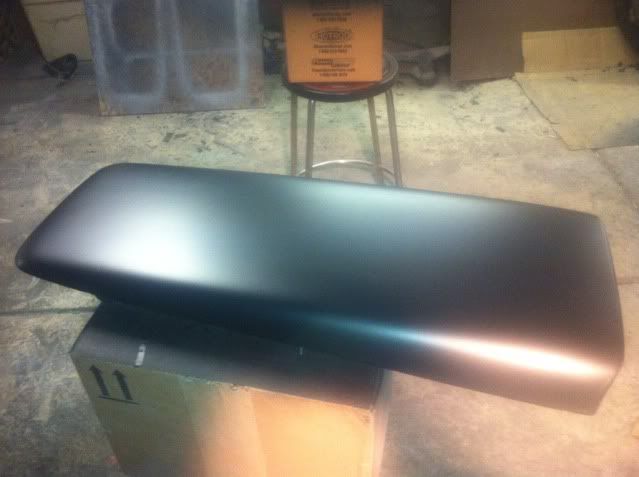
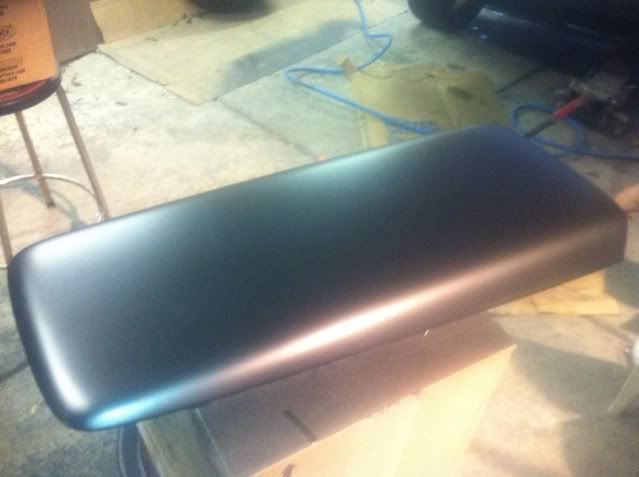
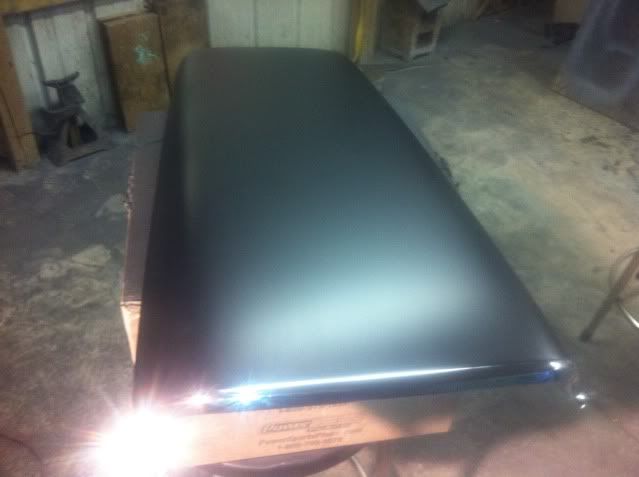
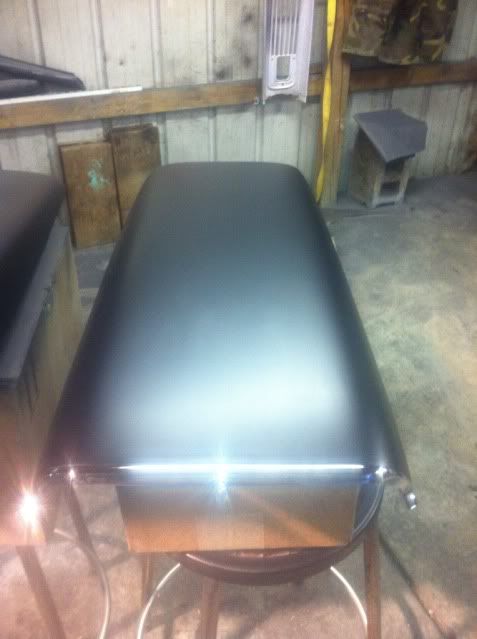
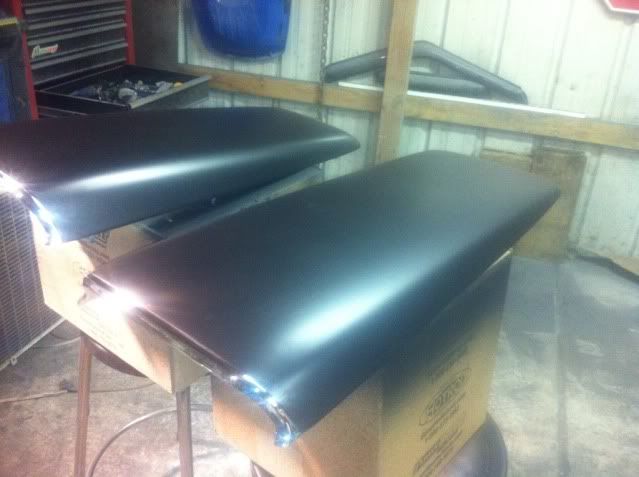
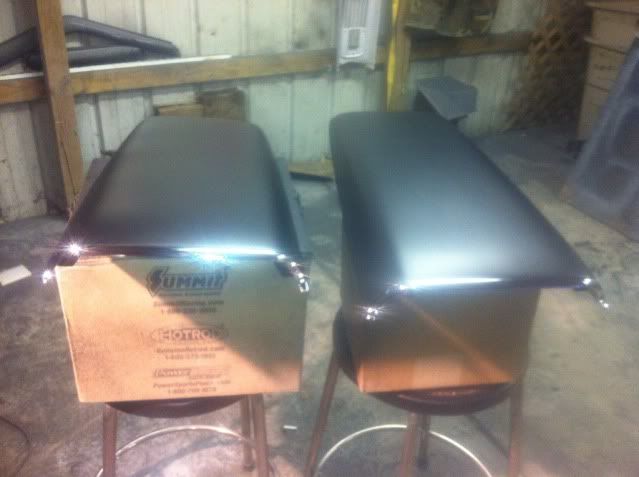
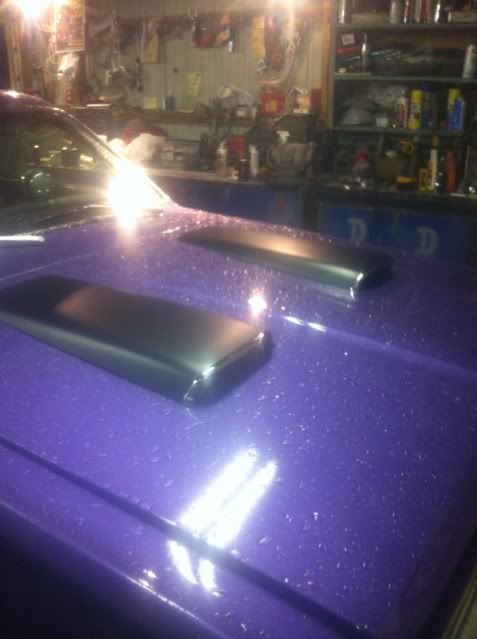
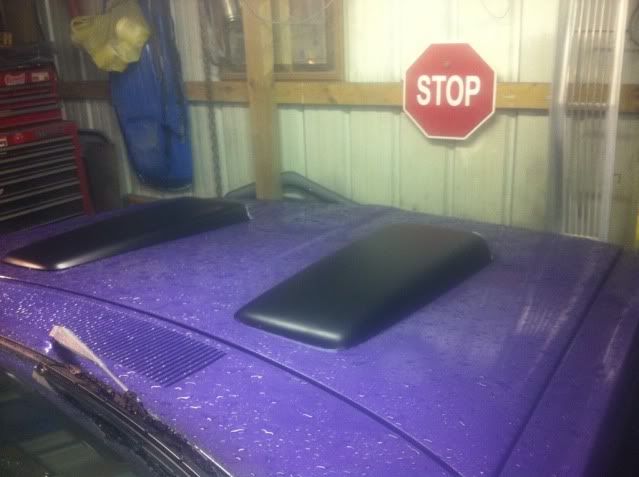
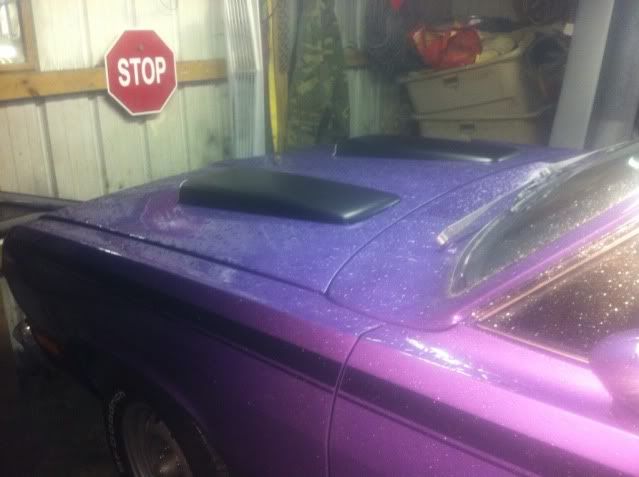
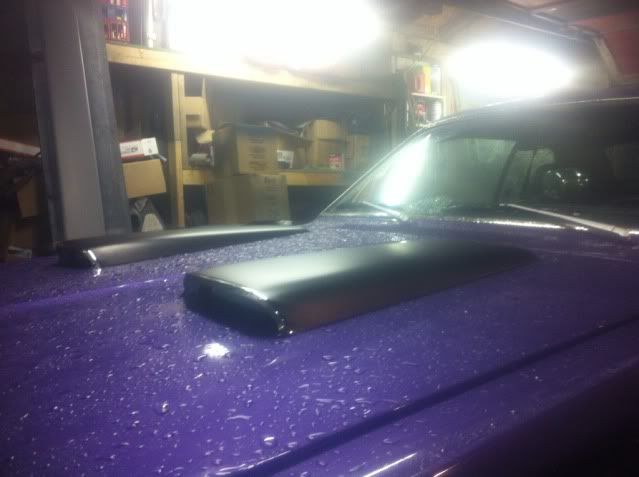
I first sanded the scoops down ,then spot puttied all the imperfections,then sanded them down again ,then 2k primed them,sanded them,wet sanded them,prepped them and then sprayed them with duplicolor bumper and trim paint (green and white can). The texture and sheen came out perfect. the exact look I was going for.

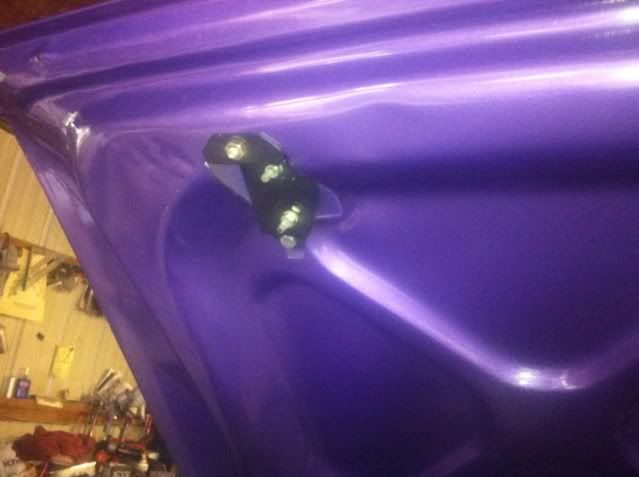
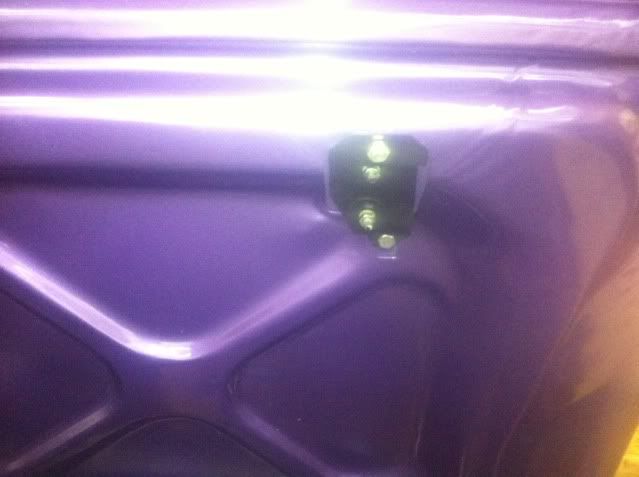
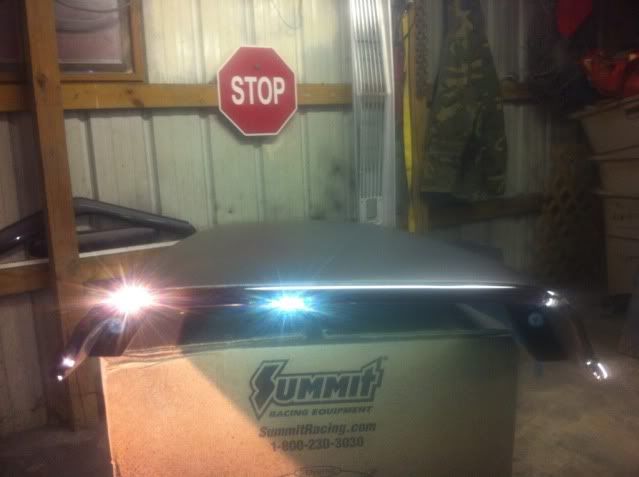
I also installed my new scoop bezels.

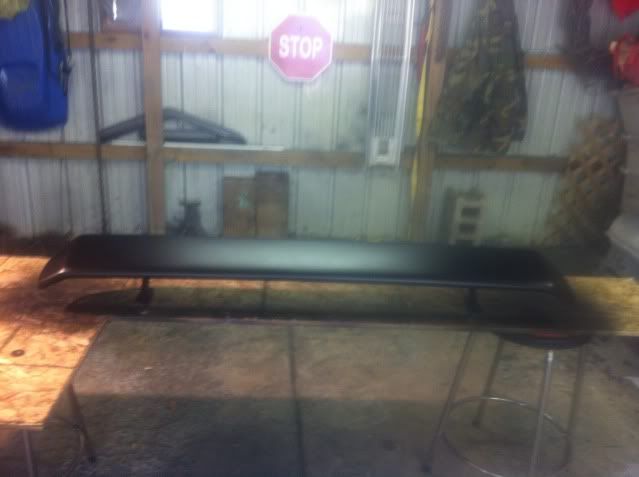
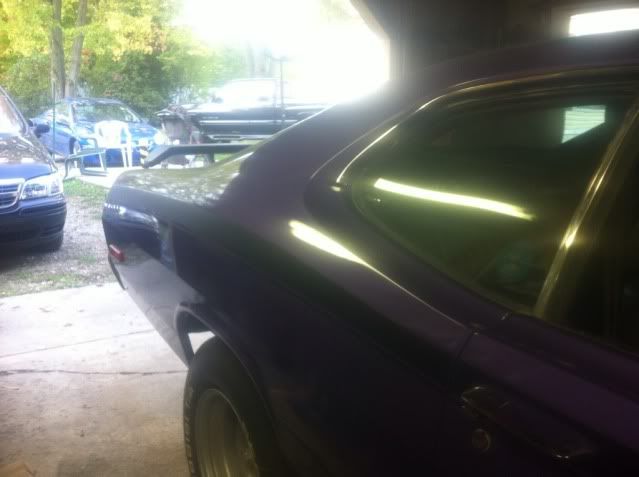
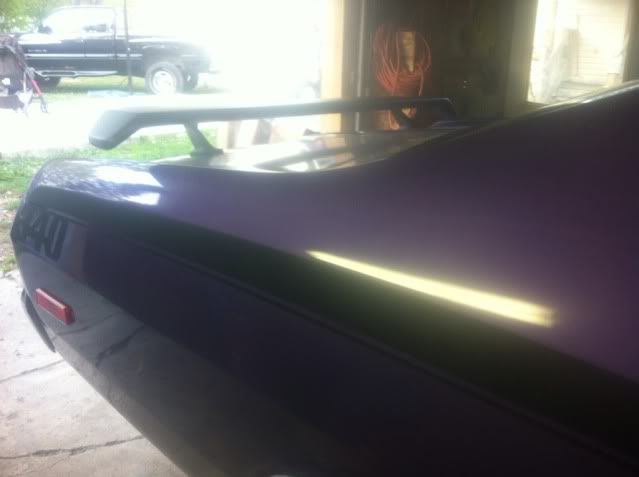
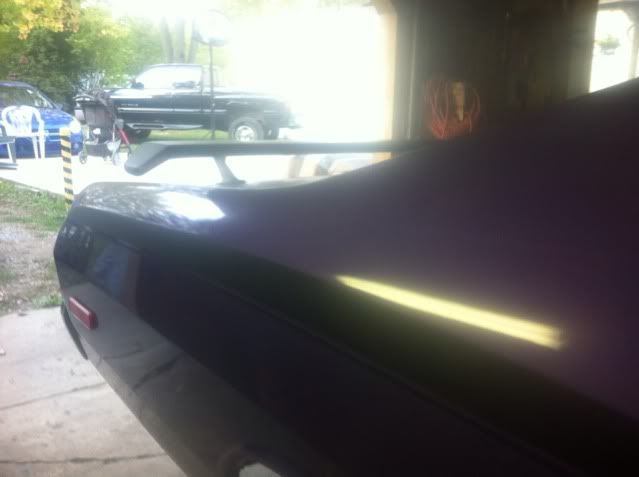
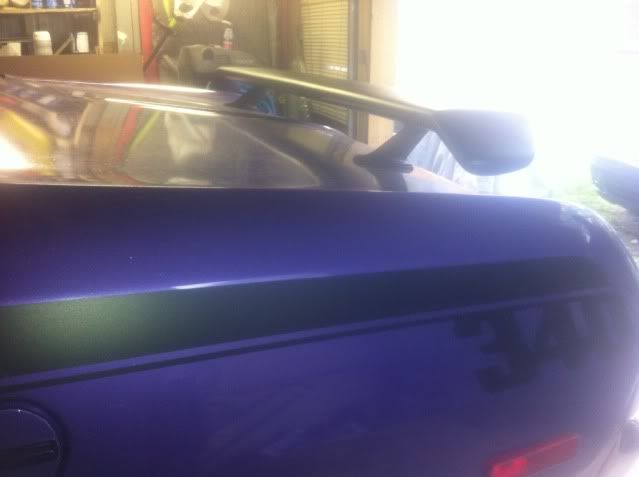
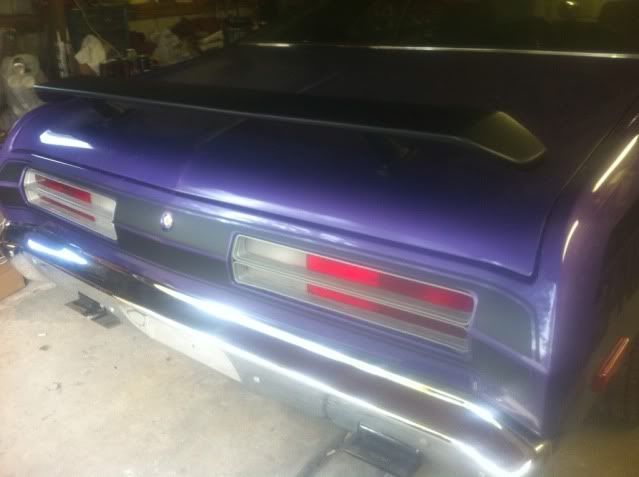
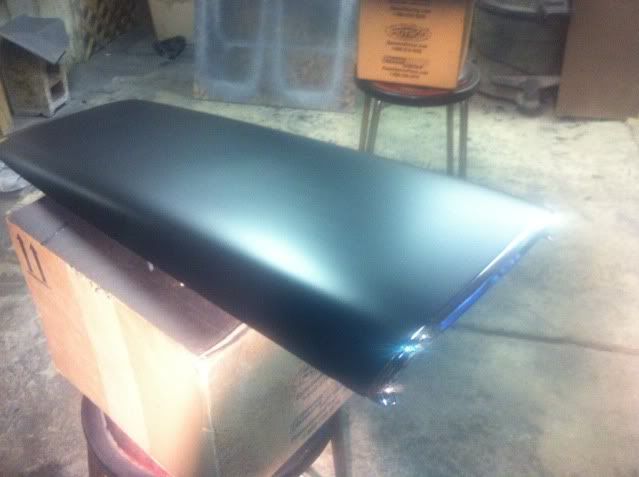
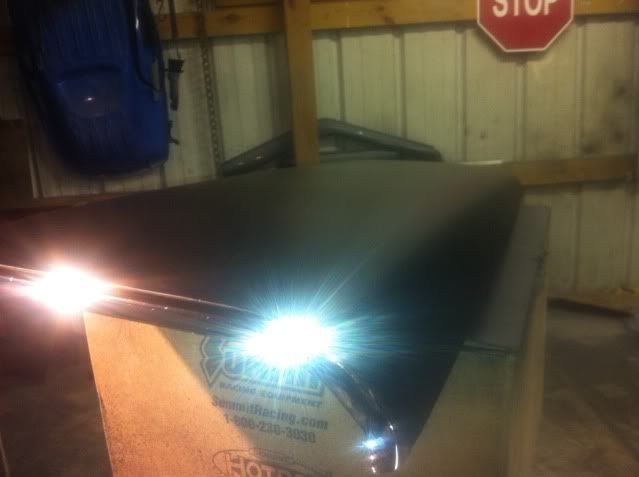
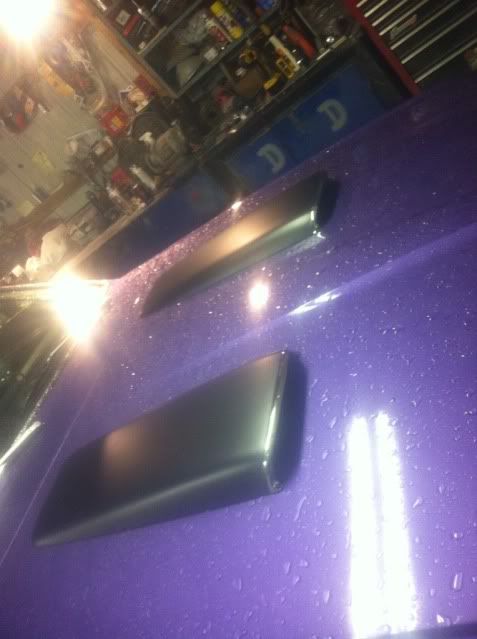
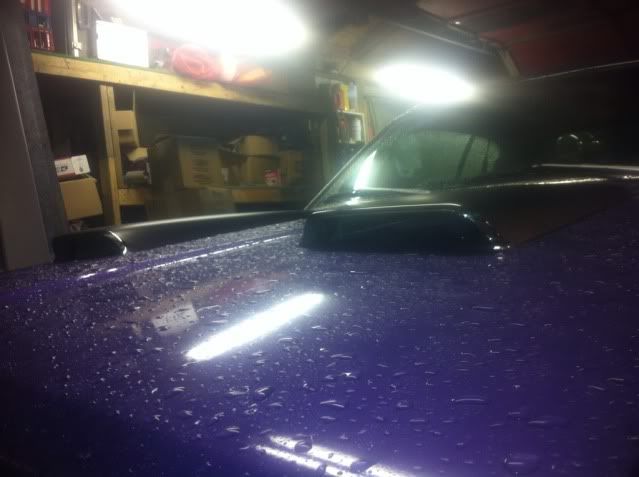
I then set the scoops on my hood to get an idea of what its going to look like ....( started down pouring when i had the duster outside as you can see by the pics).

if anyone has any questions feel free to ask.

9B17EDE2-58A5-4687-AEA7-E2EFA9F7B3F3-9138-000003A14BD741A5_zps083818ae.jpg


F34F3E99-47DC-43DA-BB1B-518010AA2131-9138-000003A13BD3E4CA_zpsa446da54.jpg


AA255874-BCCB-428D-BFD3-439BBB073E74-9138-000003A139691F32_zps93cd478f.jpg


92B44D2A-7653-49B2-9D33-C62978209C4F-10584-0000045164D39B51_zpsf226f287.jpg


D4CD9634-5A1D-4532-9442-03DDCDC50826-10584-0000045168CF32ED_zps29597b07.jpg


51502103-BC80-4D51-8686-83245D8FE757-10584-000004516BE7B991_zpsffc93187.jpg


22A599B3-3B3F-43B3-AB53-B92E5E213D12-10584-000004516F2BFD38_zpsb8d0bbd3.jpg


272DB292-2E37-4301-9220-8064D8295EA9-10584-0000045172266F42_zpsbe1c5fd9.jpg


FE627D05-D266-4FD9-A790-354C16D0DF1C-10584-000004517564FFD4_zps370100b1.jpg


9E6E7BD2-9F1A-44B0-B71C-99D1FDB46577-10584-00000451783FD5BF_zps08270724.jpg


3C7C676B-F26E-4480-A4F4-DB1447FCF2BF-10584-000004517AFEF24C_zpsa27b245a.jpg


B1A77D24-5191-4618-9C9C-F5E6C7FB06F4-10584-000004517DF48121_zpsdc5c695c.jpg


2B388028-6B01-4323-818E-3428DBD639E2-10584-0000045180C69FE9_zps0c92f39c.jpg


58B73581-E610-46F9-88D1-CBB321E4E6EE-10584-0000045183FCB167_zps494cf78f.jpg


551F6C57-99B0-4767-A467-7FA935E9E10A-10584-00000451871A50B2_zps3926d32d.jpg


467F09B4-2202-4CB1-A7F9-3DDECA060222-10584-0000045189B91442_zps2f0c15ba.jpg


2226567D-E91D-47CF-BA36-9BB7DB052123-10584-000004518C795E58_zps9e590511.jpg


45E9557B-08C3-42B7-BB2F-4B301A141026-10584-0000045190028EDF_zpsec7479a6.jpg


69E85EE0-95F5-4928-BC2D-FA7DA7CE302E-10584-00000451934D6030_zps1dbdaf84.jpg


37BFA5D4-1DB5-404B-8A03-EA7B3AFC8C29-10584-0000045196043F64_zpsc40287c6.jpg


A0686D61-9EAC-4332-A56C-93E458DA8C38-10584-0000045198E7F214_zpsaee79012.jpg


55410938-BE1D-400F-A70E-927EF30B8011-10584-000004519BFF0E7A_zpsd54f51c0.jpg


ADF81687-1D9D-40E3-91D0-0AA968A953D8-10584-000004519F0B8B35_zps2cf163fc.jpg


52D86515-D627-4050-A6E9-BCDB70A12568-10584-00000451A27A7E94_zps945a0f5a.jpg


A8E6B566-AFDA-44F1-A4C3-CE575194F66A-10584-00000451A5346FF6_zpsaa6d715c.jpg


6CE42765-84FE-49D3-BFA0-726F24FE5298-10584-00000451A7DD1898_zps4102188a.jpg
 
love the finish- my scoop and spoiler are about due for refinishing (didn't bother last year- just stuck 'em on) and I'll have to check out that paint.
 
Hell yeah, looks good!
 
Awesome photos. Were did you get the new scoop bezels? I need a pair.
 
Thanks guys ......as for the scoops bezels, I got mine from a member here on fabo who had a bunch of new sets of them (he still had a few sets for sale last i knew). badlilred was the member i believe. They look nice!
 
love the finish- my scoop and spoiler are about due for refinishing (didn't bother last year- just stuck 'em on) and I'll have to check out that paint.


If you see in my build thread....I was having issues with my satin black paint ( I was mixing it and spraying it in my actual gun) and it kept having weird reaction issues ...so finally after trying to paint my spoiler 2 times and having the same results I pitched that paint and decided to go a different route. which is when I picked up this stuff. I wish i used the stuff from the start because it came out PERFECT. It has the perfect sheen and the perfect texture and I couldnt be more pleased.

This is what i ended up using in case you were wanting to pick some up http://shop.advanceautoparts.com/we...or_7141216-p?searchTerm=duplicolor+trim+paint

yes its out of a rattle can.....but it has a nice tip for a nice fan on it and it laid out just as smooth as if i were to of used my gun. AND it has excellent coverage! . I did 3 coats on BOTH scoops and only used half of a can. I gave each coat about 10 minutes of flash time between coats. I sprayed at about 8"-10" away from the surface, And it was about 68 degrees out when i was doing the painting and in about a half hours time after the last coat they were nice and dry already.

great stuff if you ask me.

hope that helps you out some ,if you get around to restoring yours...post up some pics and share your results aswell.
 
A grade A restoration job on your scoops DusterDude72 :cheers:
They look gerrrrrrrrrate =D>
 
Thanks guys .....and they look just as good in person too!.

I had a couple buddies stop over today and check them out because they seen some pictures i posted on facebook and they were drooling over how good they came out and then when I told them it was out of a rattle can they were amazed.

normally I don't mind using rattle cans on smaller items.....normally on bigger items I try to use my actual gun so i can avoid tiger striping and what not but I decided to give it a shot with this stuff and i am glad I did. it all laid out really nice and blended very well.

$7.00 for a can of it sure beats the crap out of buying actual black paint ,clear ,flattening agent,reducer,hardener. Or going the single stage route which around here the best deal i could find was about $90.00 for a quart of S.E.M brand hot rod black.

I will for sure use the rattle can again if i find something i need to use it on.
 
Finally got around to finishing up my spoiler. sanded it,wet sanded it,prepped it and painted it (same stuff as I used on scoops) . in the pictures the paint was still a little wet but after it cured the finished dried up even a little better yet (looks good in the pictures but looks even better after it cured up some more).

check it out and let me know what you think!.

26AF7364-61EF-4830-BFB7-C6CF7A2EBA6D-20585-000007ECA5B9367B.jpg


22A604AB-408B-45B0-9FBC-3D0B3825E321-20585-000007ECA31CEBE4.jpg


33A3B2CC-C716-4DA6-A68F-FDEBE9C4A943-20585-000007ECA06D864B.jpg


654164C0-5703-468D-A1C3-266D572B7C18-20585-000007EC9D9E764D.jpg


32E6C7C6-1D70-471E-B6ED-B0A16532EC27-20585-000007EC99E920EB.jpg


E3C440B5-9C7A-4B52-BEAA-B0CA682FC073-20585-000007EC96F51E4D.jpg


34A35111-36FD-4851-A56B-BF14759C68C2-20585-000007EC9433AB05.jpg


30875FAF-7ABA-4711-A35E-0B203A246027-20585-000007EC91587E68.jpg


48430D13-165E-464A-B692-DFA8E69465D6-20585-000007EC8E7DA97C.jpg


tried getting a close up so you can see how nice the texture and sheen came out on it.

5B2131DF-625E-4C7B-9DE0-EDE4F7373CA4-20585-000007EC8B7D3566.jpg
 
Great job...looks outstanding.
The texture and sheen look just about right for dash paint also. I just might have to give that paint a try on my '69 Dart dash. Should be plenty durable for interior parts.
 
Great job...looks outstanding.
The texture and sheen look just about right for dash paint also. I just might have to give that paint a try on my '69 Dart dash. Should be plenty durable for interior parts.

Yup, its formulated to hold up to exterior weather conditions so I wouldnt think there would be any issues when using on interior sufaces either.
 
Sorry guys, I have been busy the last couple days and didnt get a chance to post yet. but yesterday i finished up getting the spoiler brackets on and polishing all the nuts and bolts and installed the new pedastal gaskets and got the spoiler on the duster. man it looks awesome! , it really adds to the look!.

Ill try to get some pictures of it with the car out of the garage this weekend but for now these will have to do.

let me know what you think!

ABF6E422-B481-4279-A3C3-212102F7D1DA-21731-00000927FFF7C0DF.jpg


33D535EC-7A8C-4DF5-856F-C665B9680C83-21731-0000092803A6A15E.jpg


5A0302F5-B113-4C04-B88A-380CEF1178AF-21731-000009280665AB69.jpg


4D1664F3-9D1C-4EC8-831C-EC9E8CCA81AE-21731-0000092809775FD3.jpg


13740CCF-3A65-4F8A-9361-F23C58325A55-21731-000009280C7BF27E.jpg


EC5746B8-425C-4F2F-87FB-033F396EB737-21731-000009280FA44D80.jpg


EA6B8B75-8313-40FA-8CC1-E95743B9E62A-21731-0000092812404D7E.jpg


6320F337-BBC5-4E64-A19C-130F8BDAC4F1-21731-00000928150CF3A4.jpg


AA422E79-596A-4262-A810-BB044D2CB8AC-21731-0000092817B185BF.jpg


CD538AE9-90C2-4DFF-9BC5-F3D9EE80D65F-21731-000009281AD024AE.jpg


D58A25DE-F532-4E4B-AEDF-709D85913B89-21731-000009281D9A9069.jpg


8C065E9D-C09B-45C6-AAE1-236079BD920B-21731-0000092820C07030.jpg


ACF0063D-1588-4601-B3C9-CCF902F60423-21731-00000928237D0532.jpg


P.S. If anyone is interested in the Duster and what all I have done to it. I have an EXTENSIVE build thread on it that is almost 50 pages long that I have been doing over the 3 year build. Lots of ideas in there for others to pick up and maybe use on their ride. ( link is in my signature below )

hope you guys enjoy.
 
-
Back
Top