the 67 Dart is apart !!!

-

68_val_sedan

Well-Known Member
Joined
Mar 11, 2008
Messages
87
Reaction score
0
Location
Allentown,PA
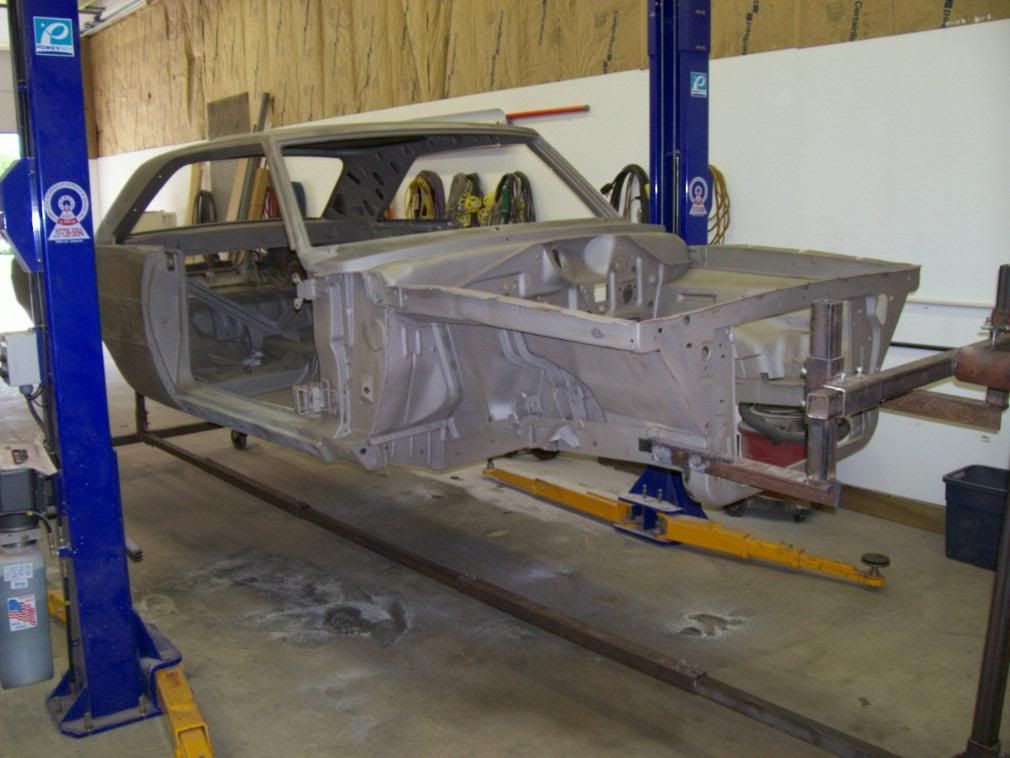
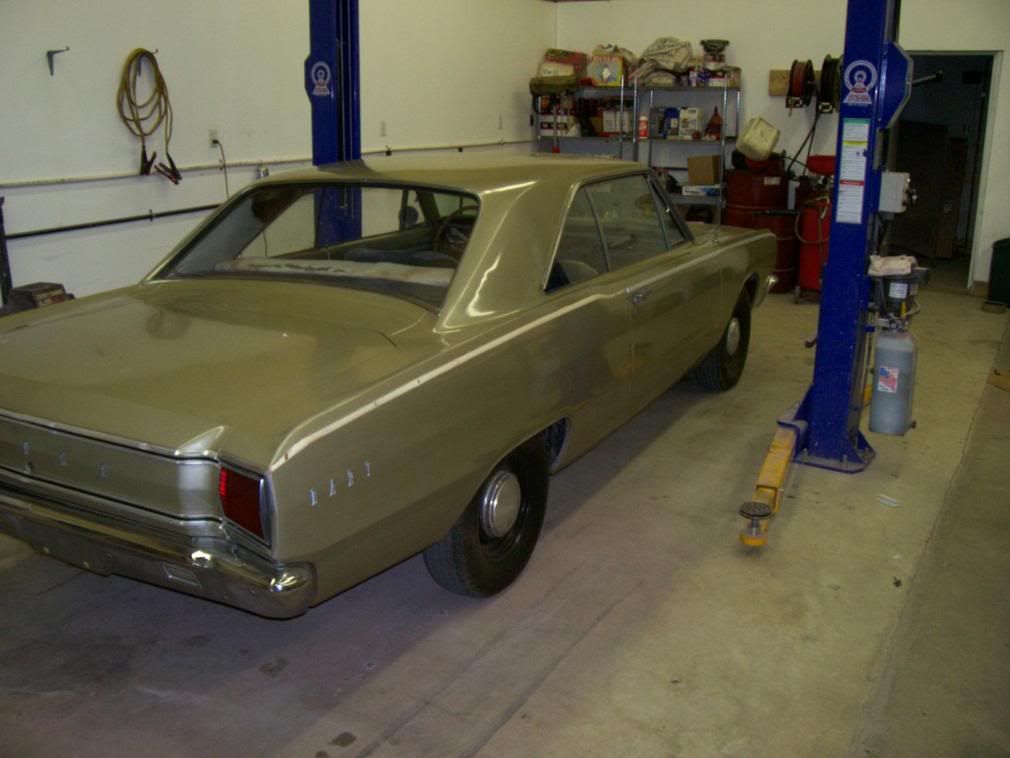
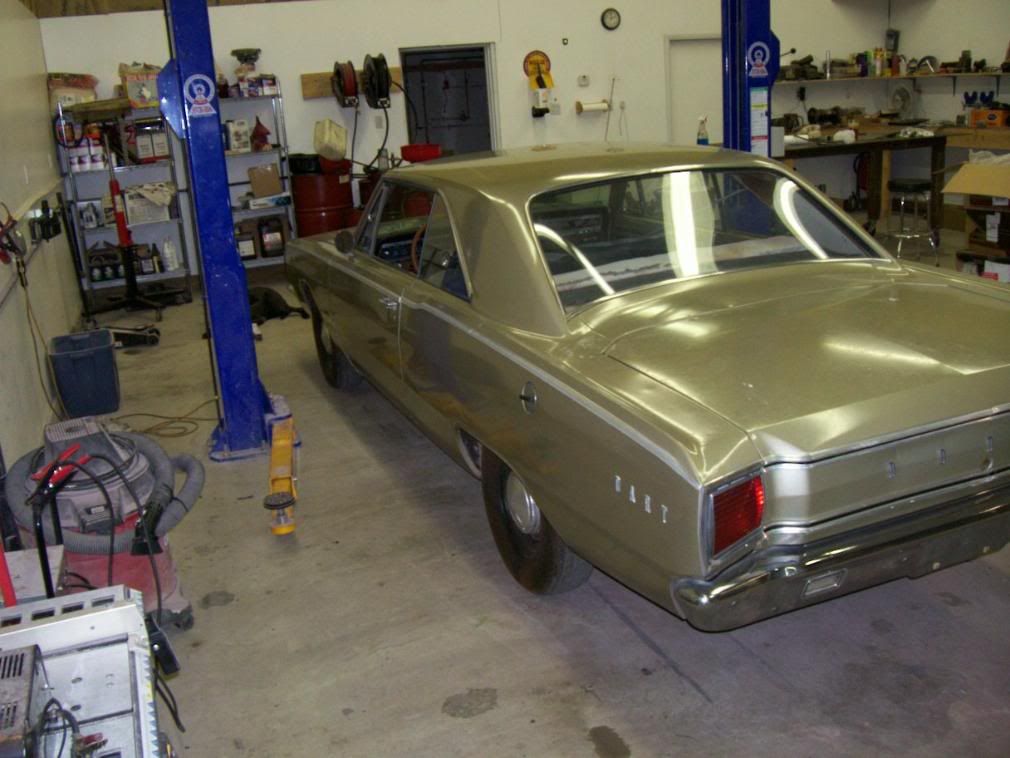
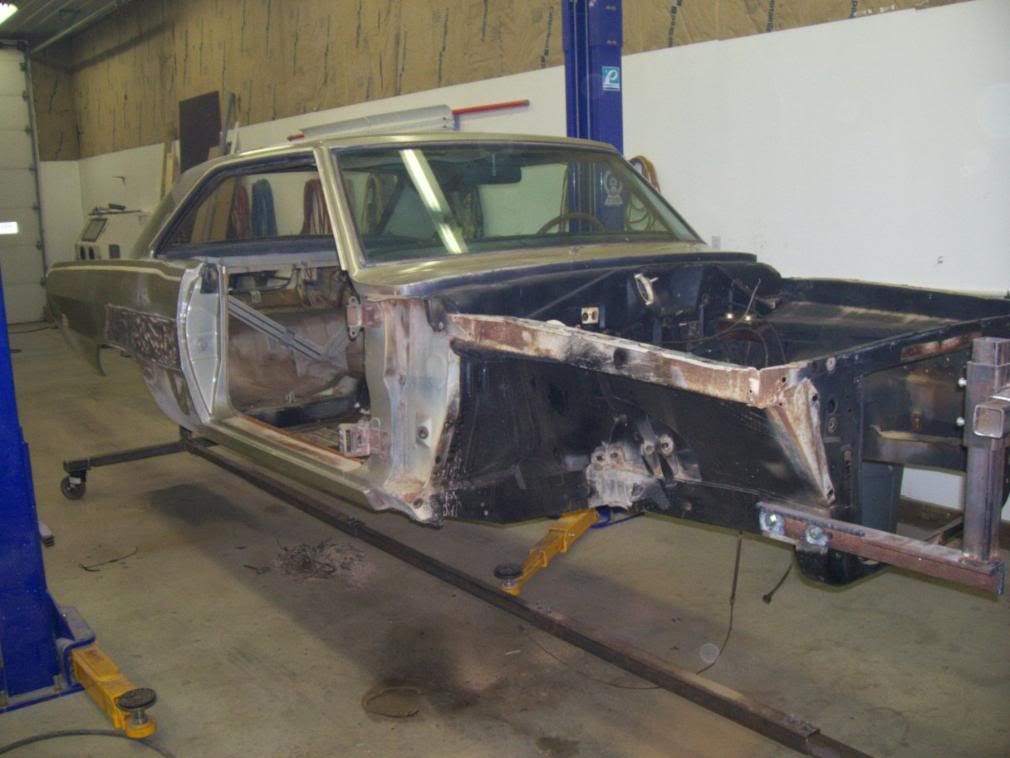
I picked up a nice 67 dart. I am doing a full rebuild of the car and have gotten started on this past week. The car turned out to be completly rust free and in overall very good shape.

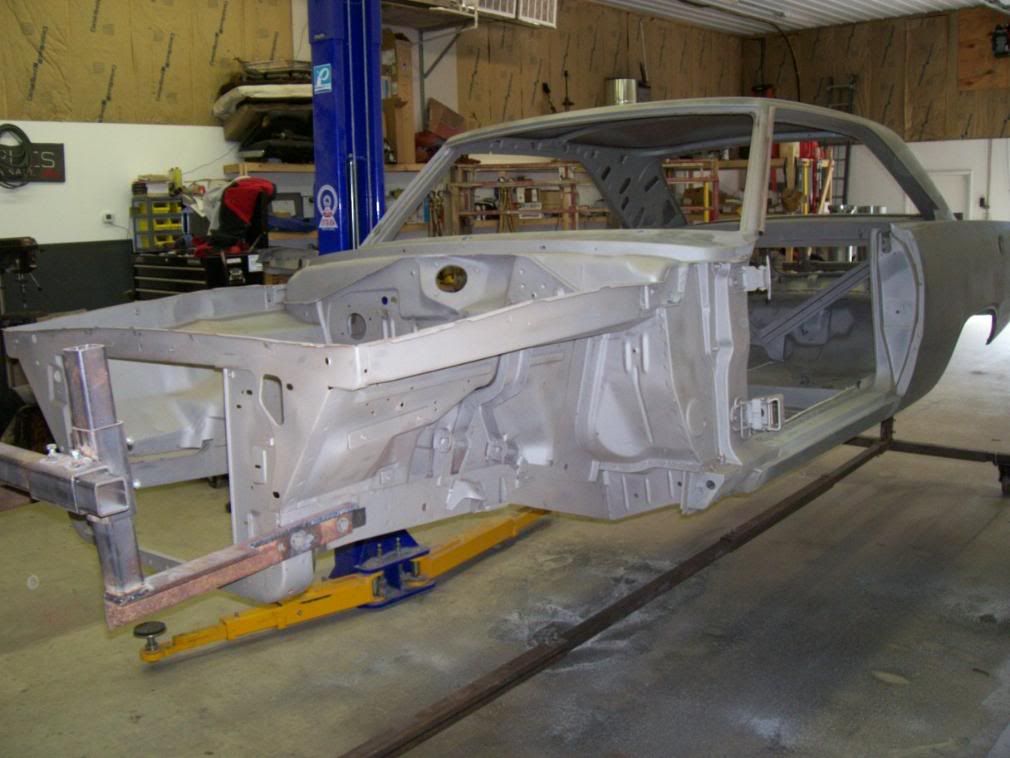
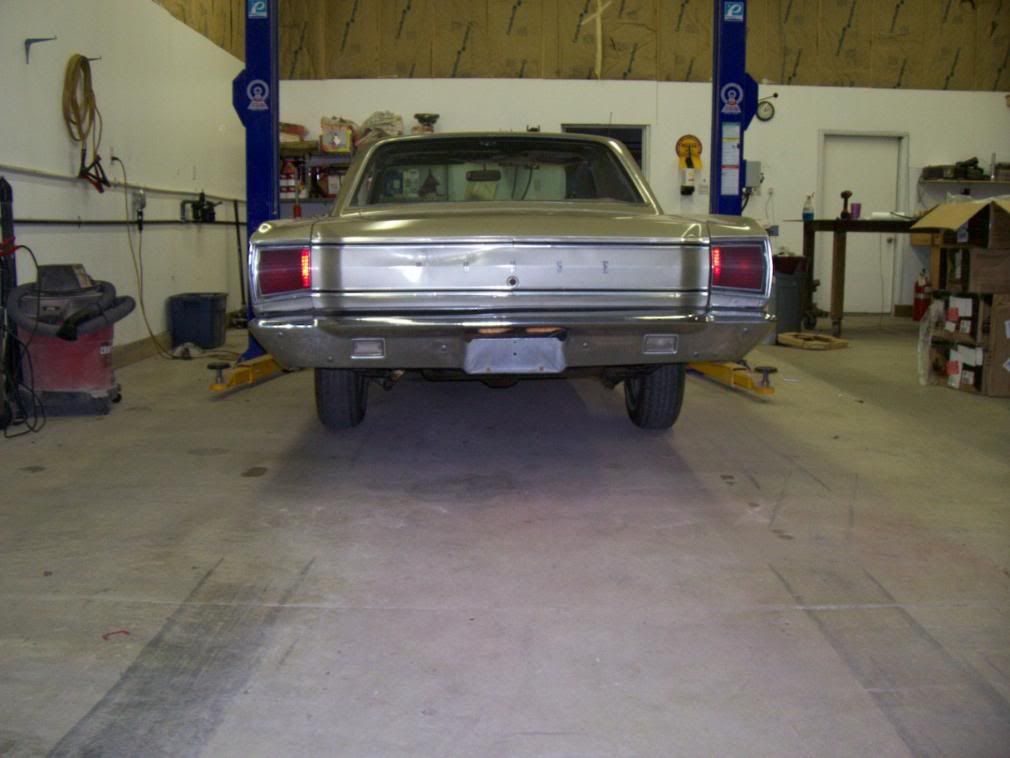
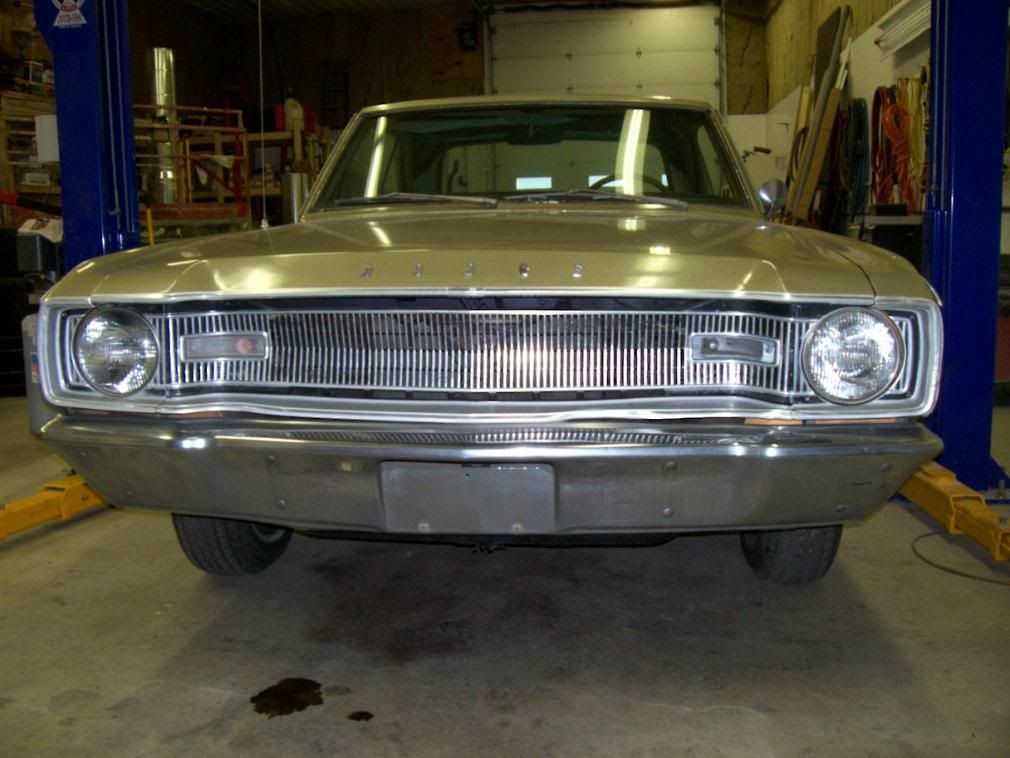
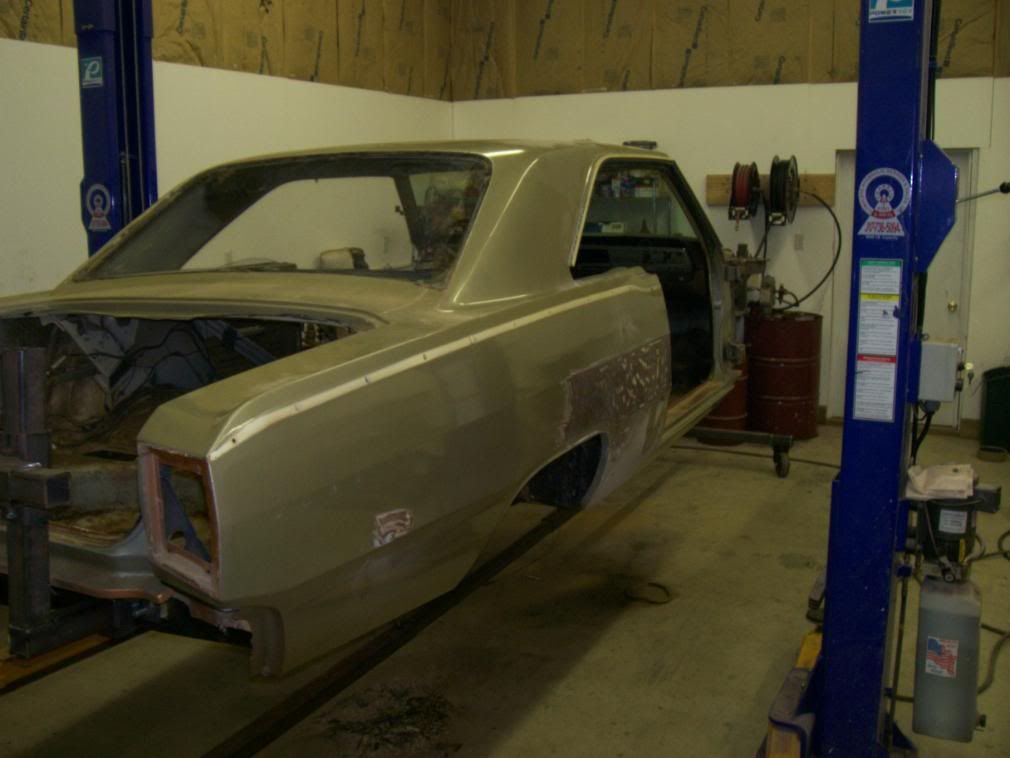
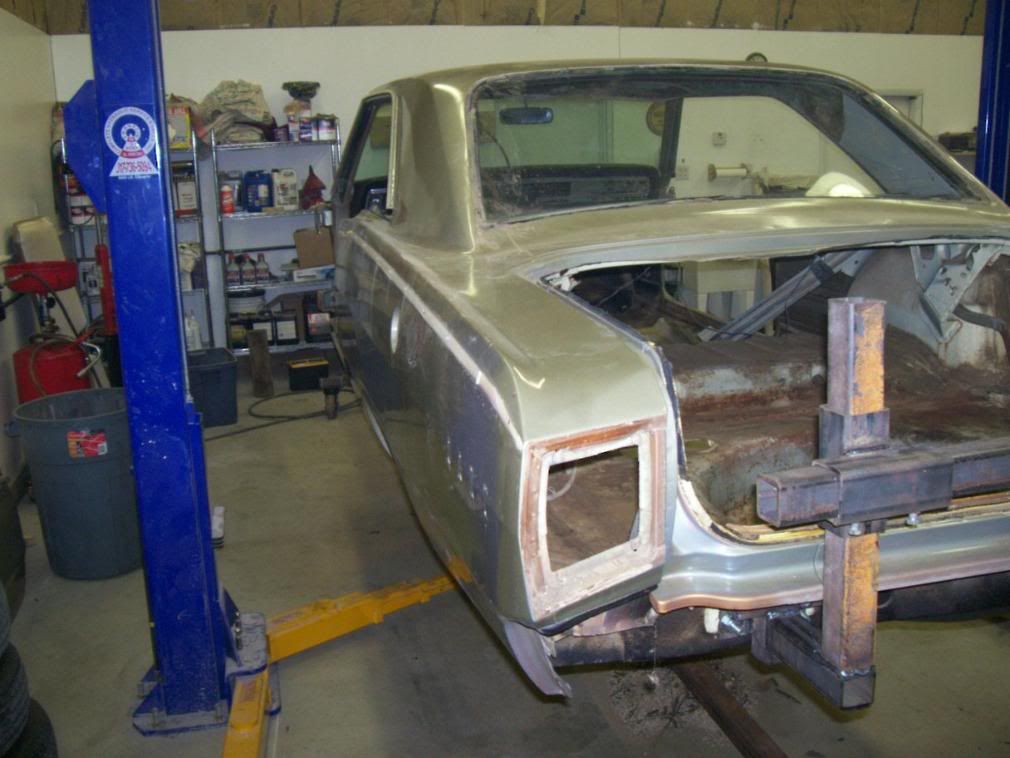
here it is when I pulled it into the shop

006.jpg


007.jpg


008.jpg


009.jpg


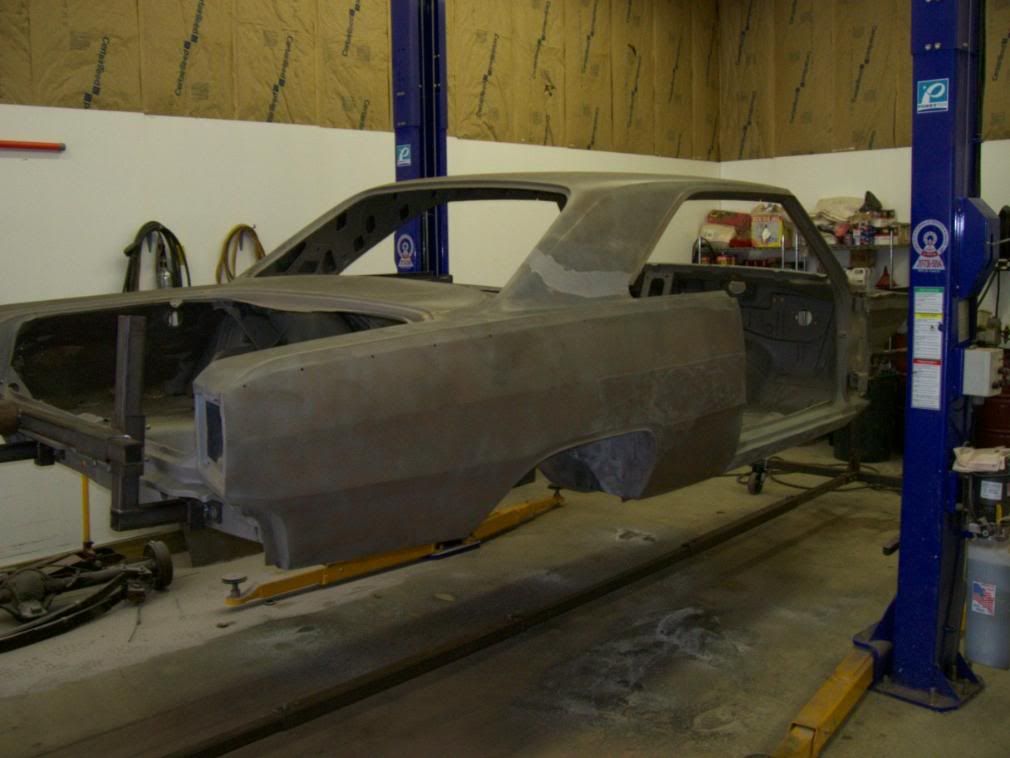
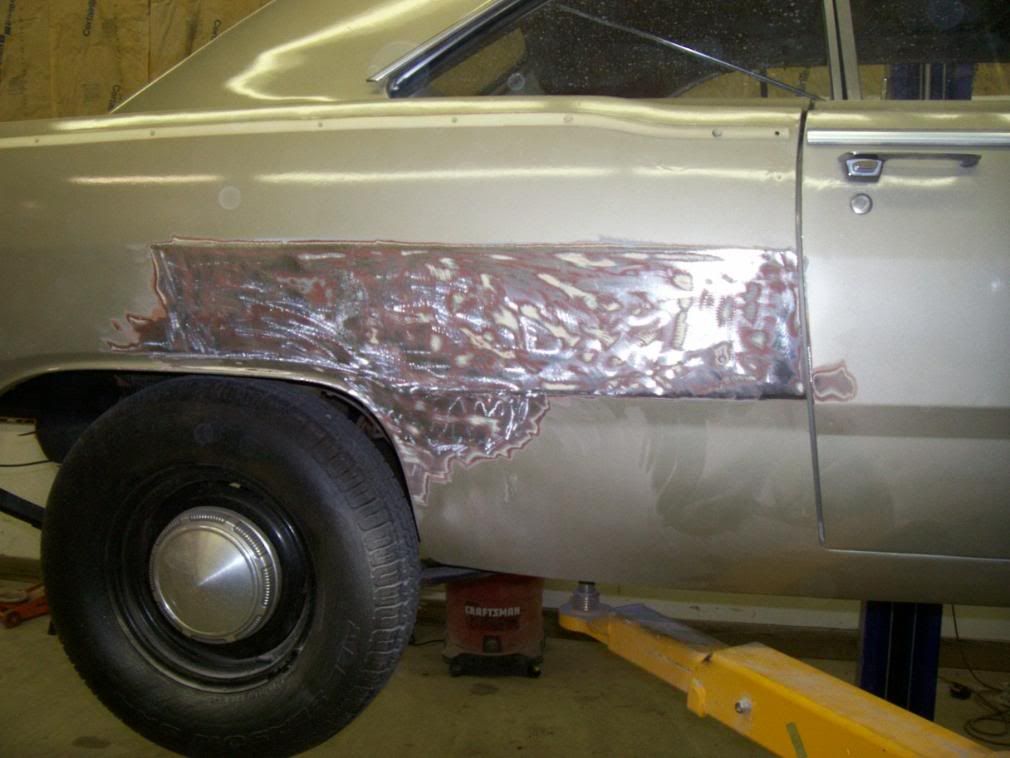
before i got very far I found some bondo and did soem grinding and it turns out that some idiot used about a gallon of bondo over the original paint to fill a very small dent

010.jpg


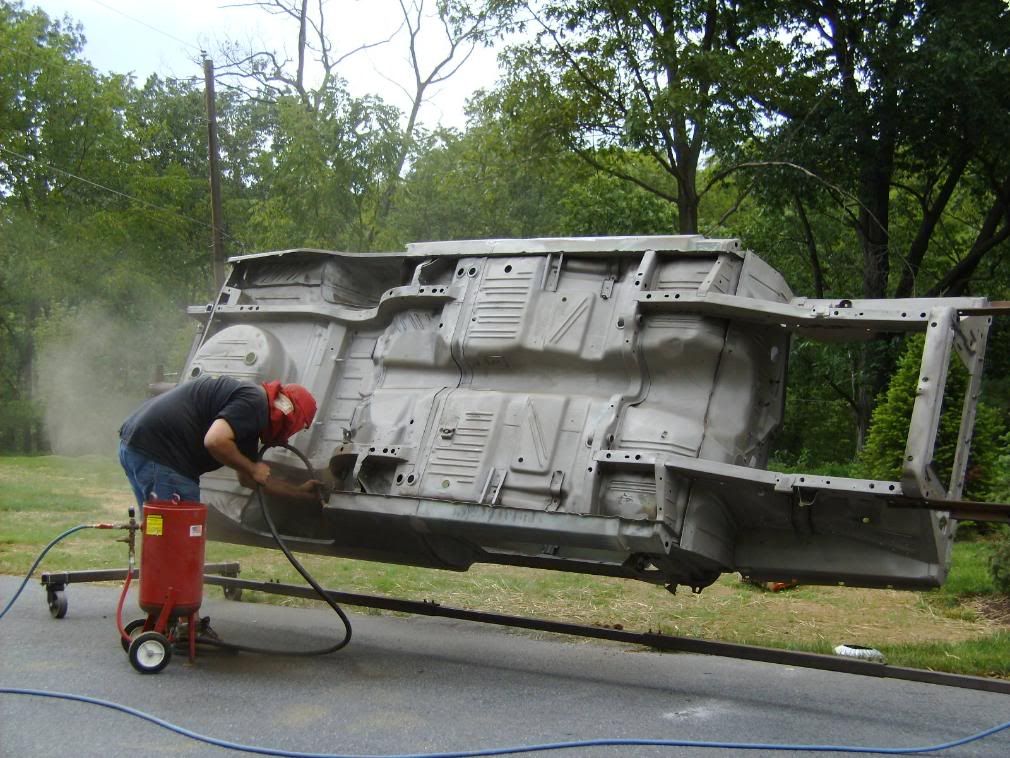
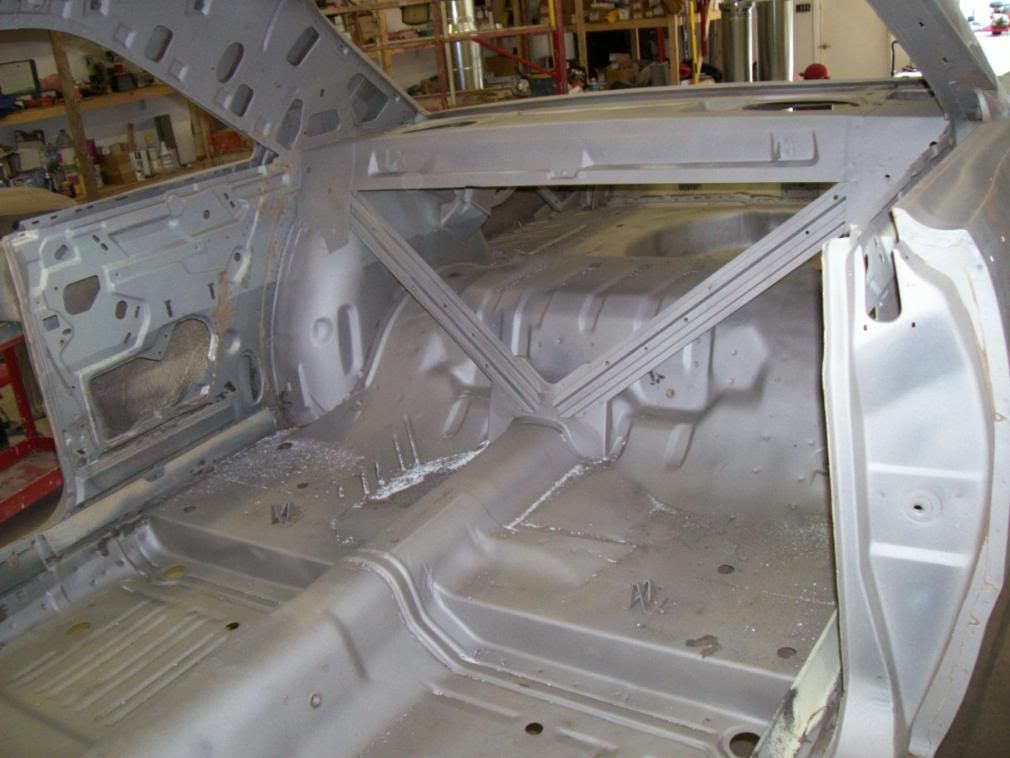
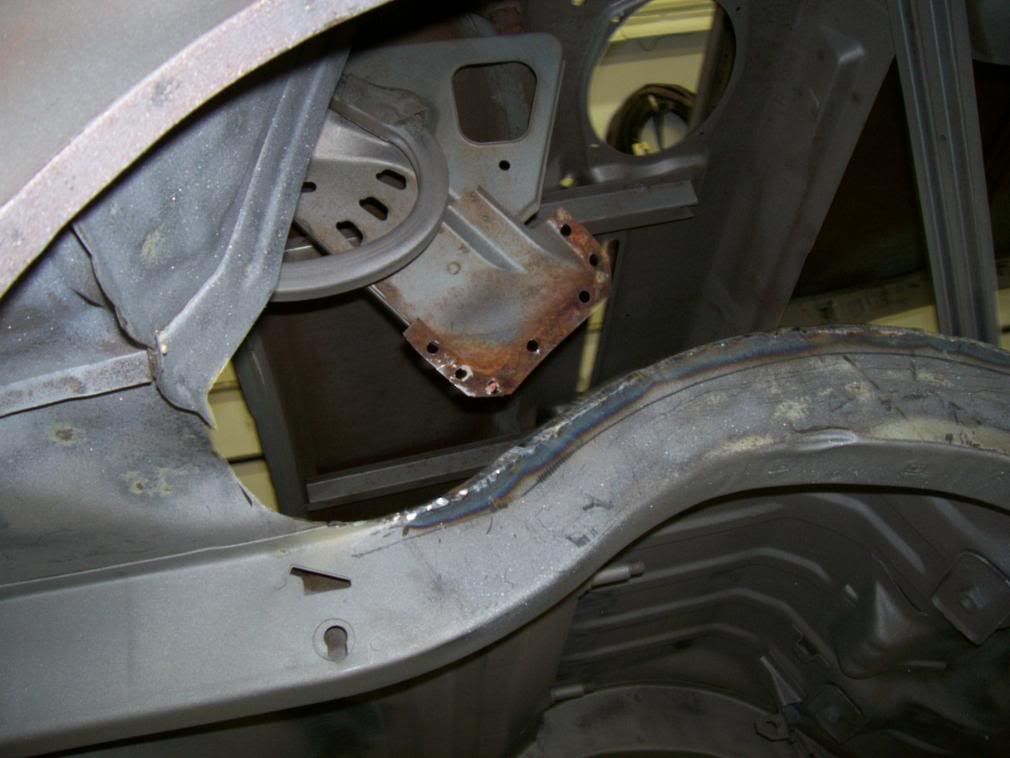
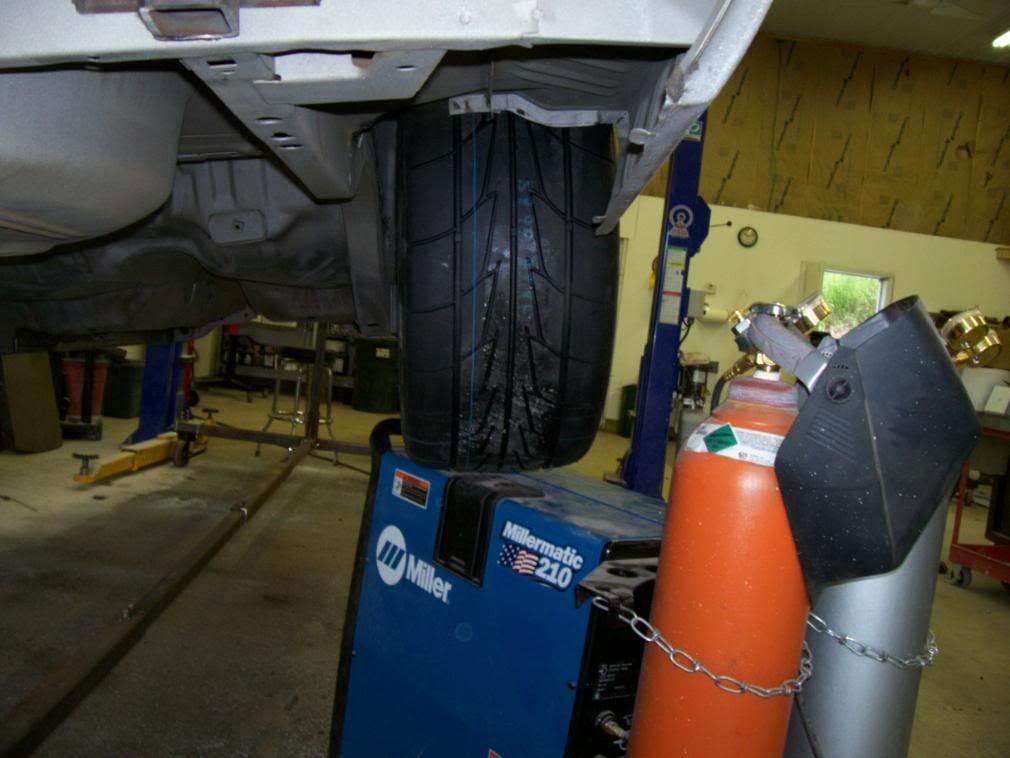
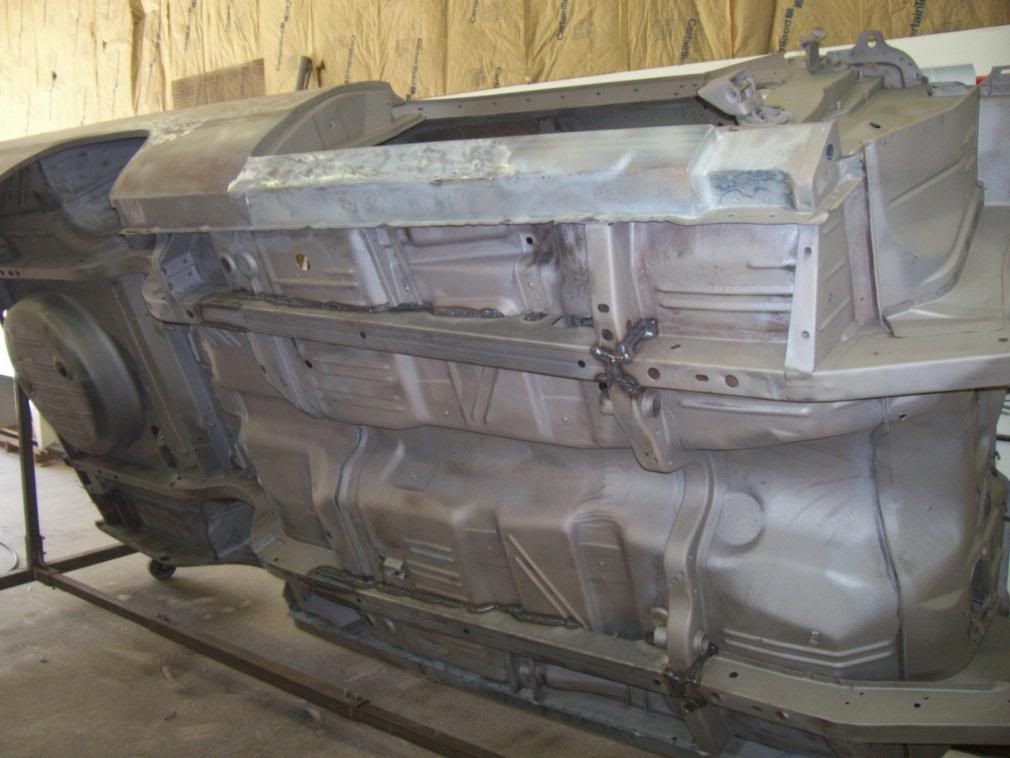
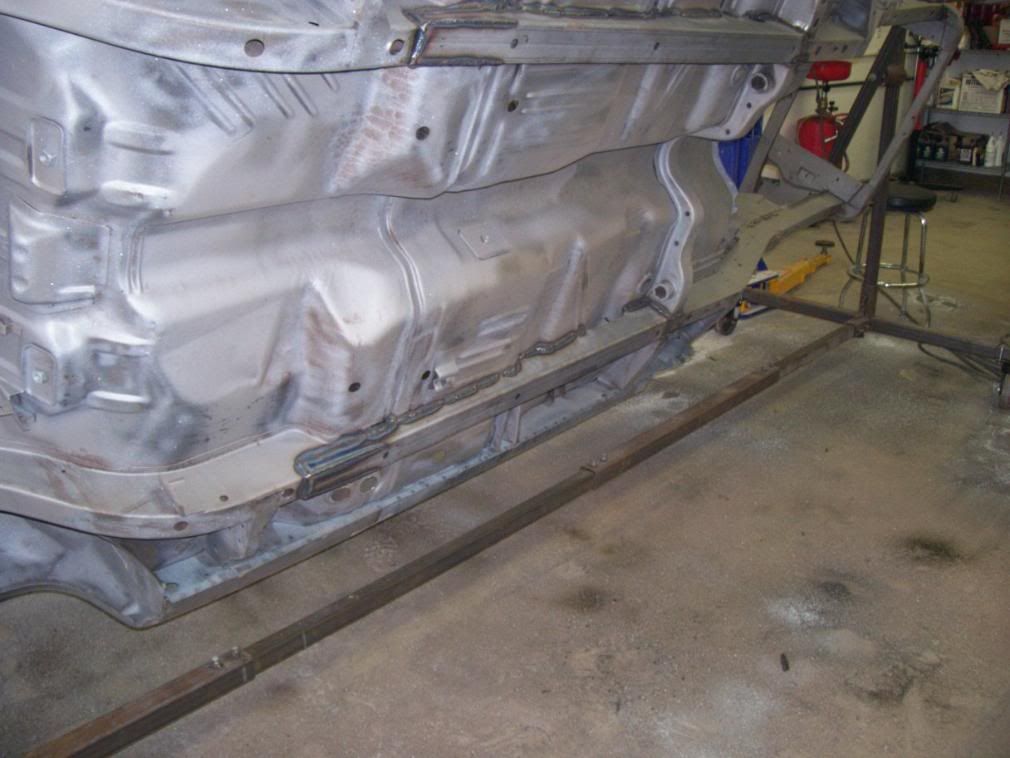
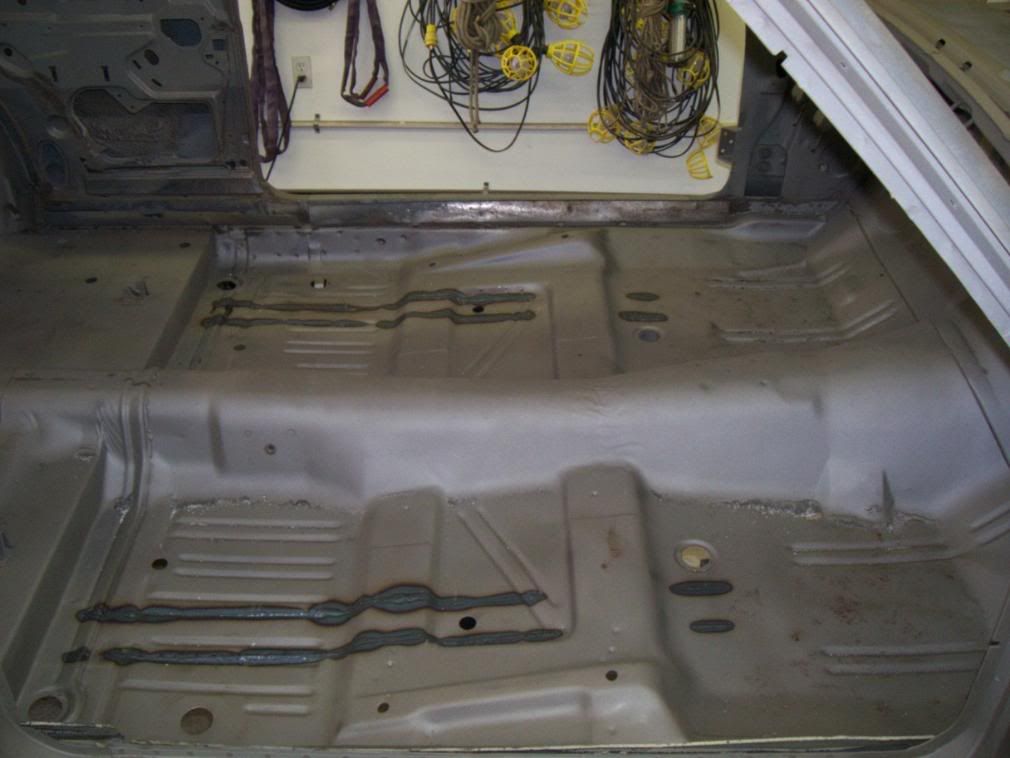
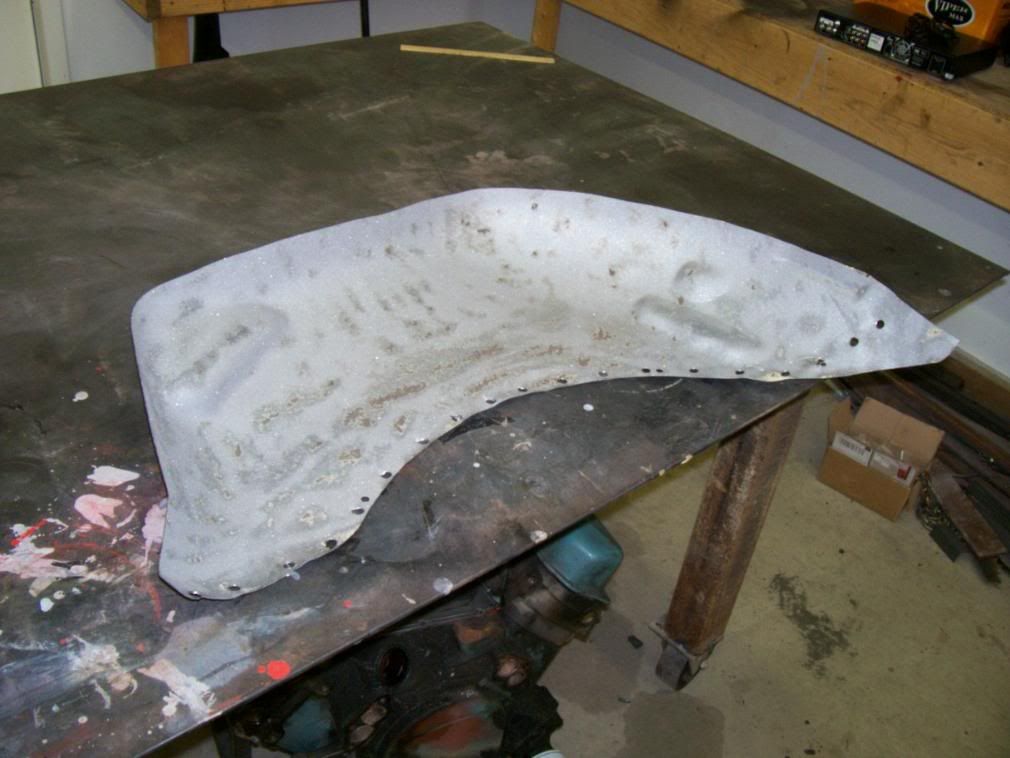
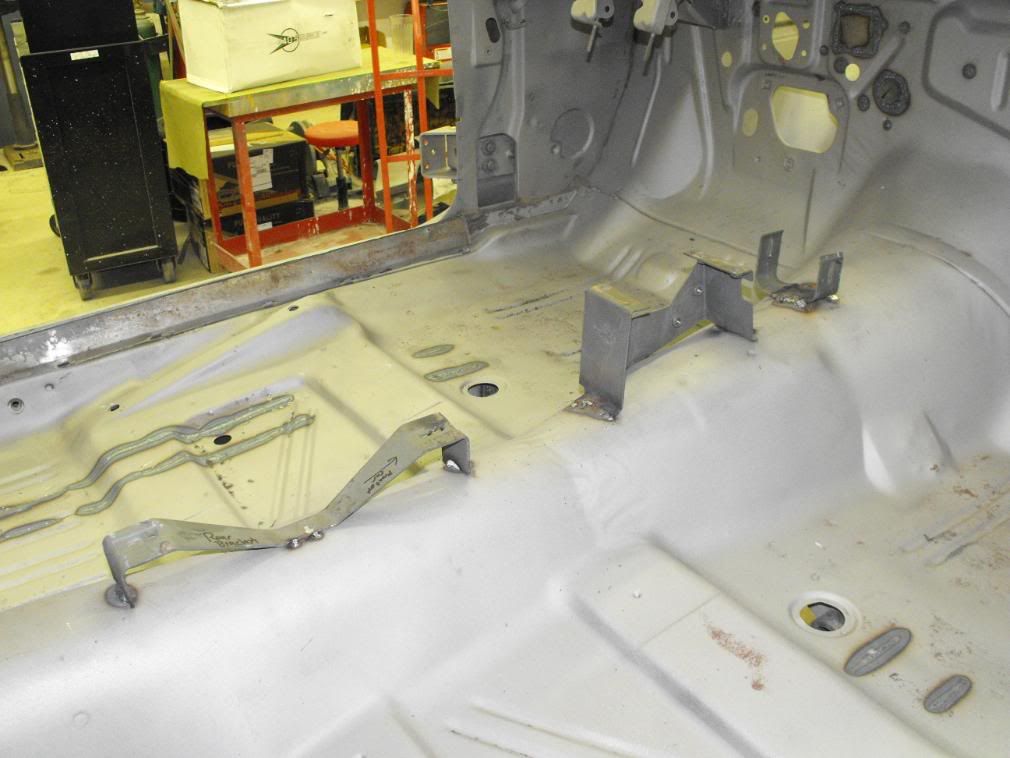
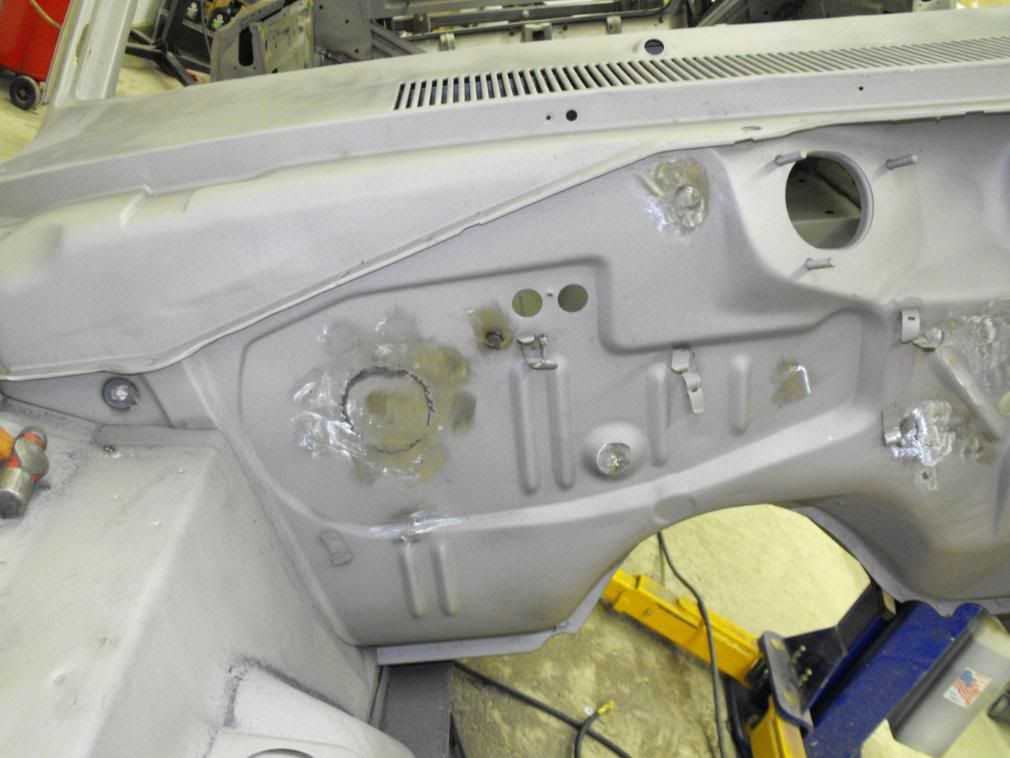
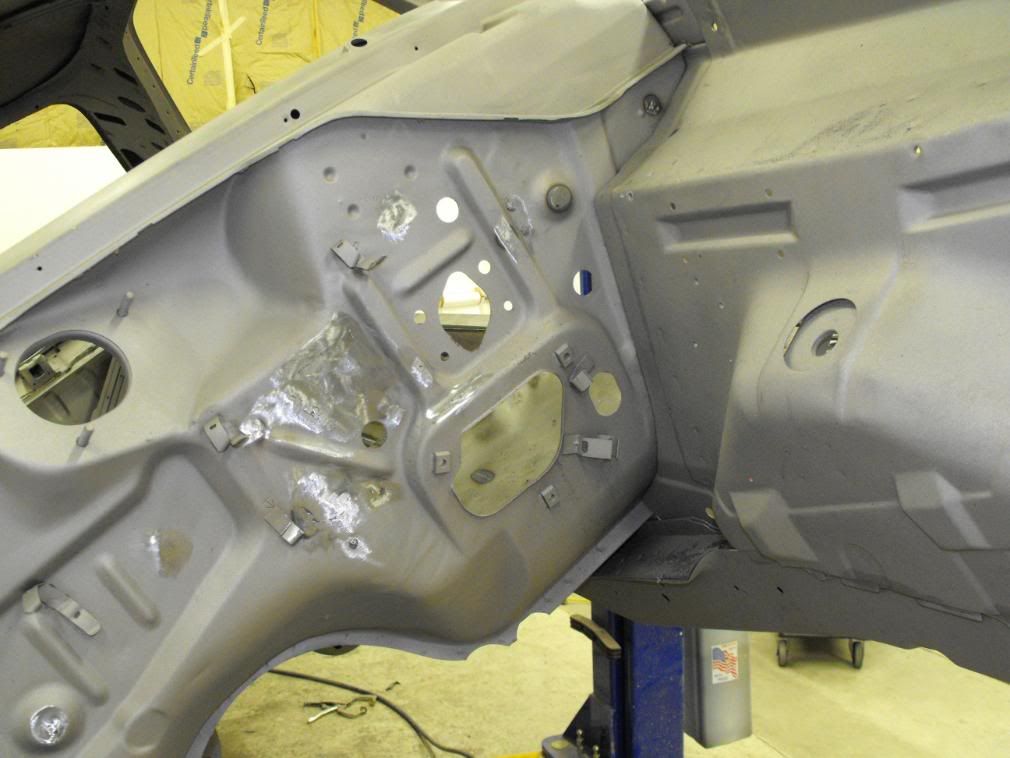
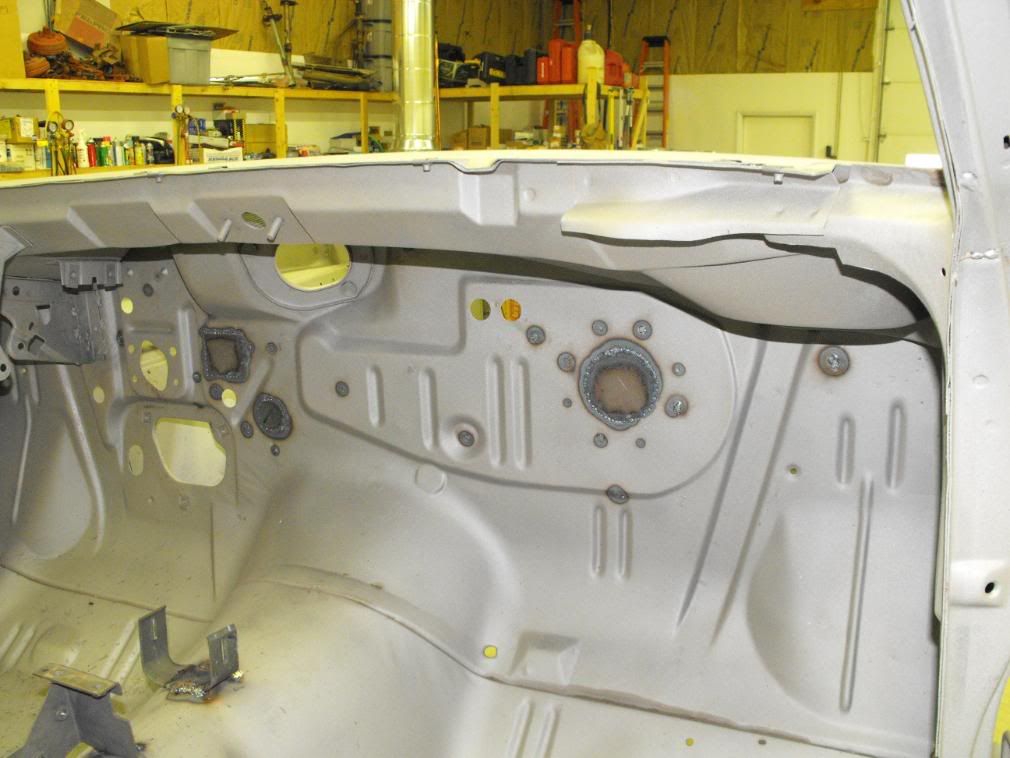
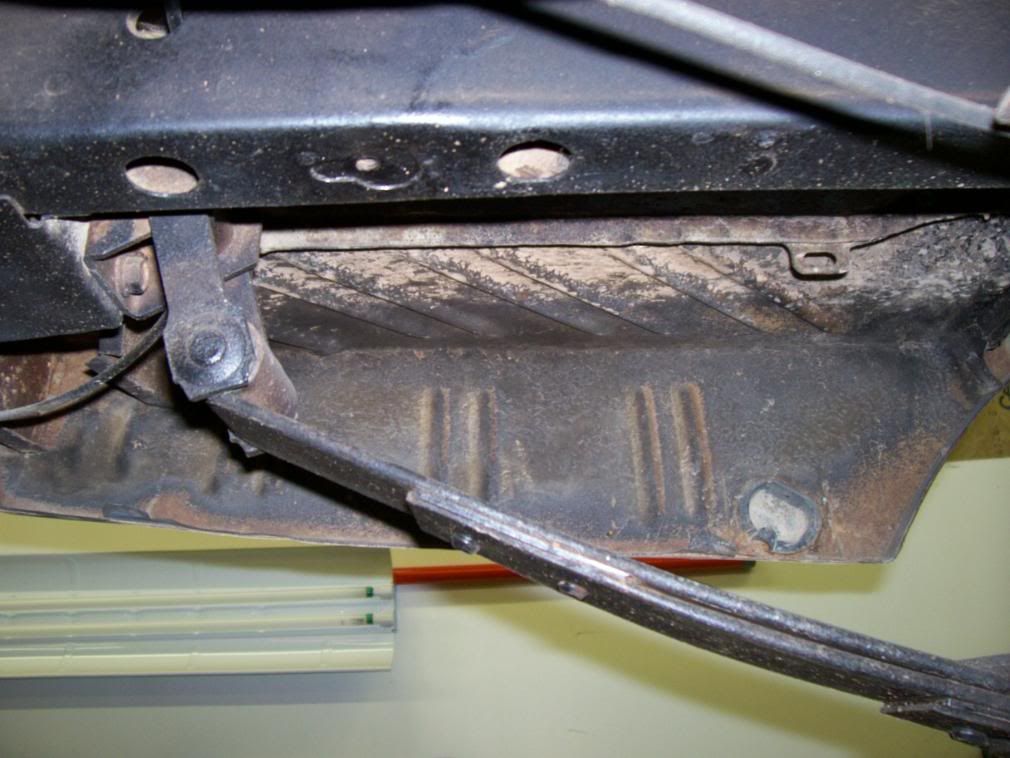
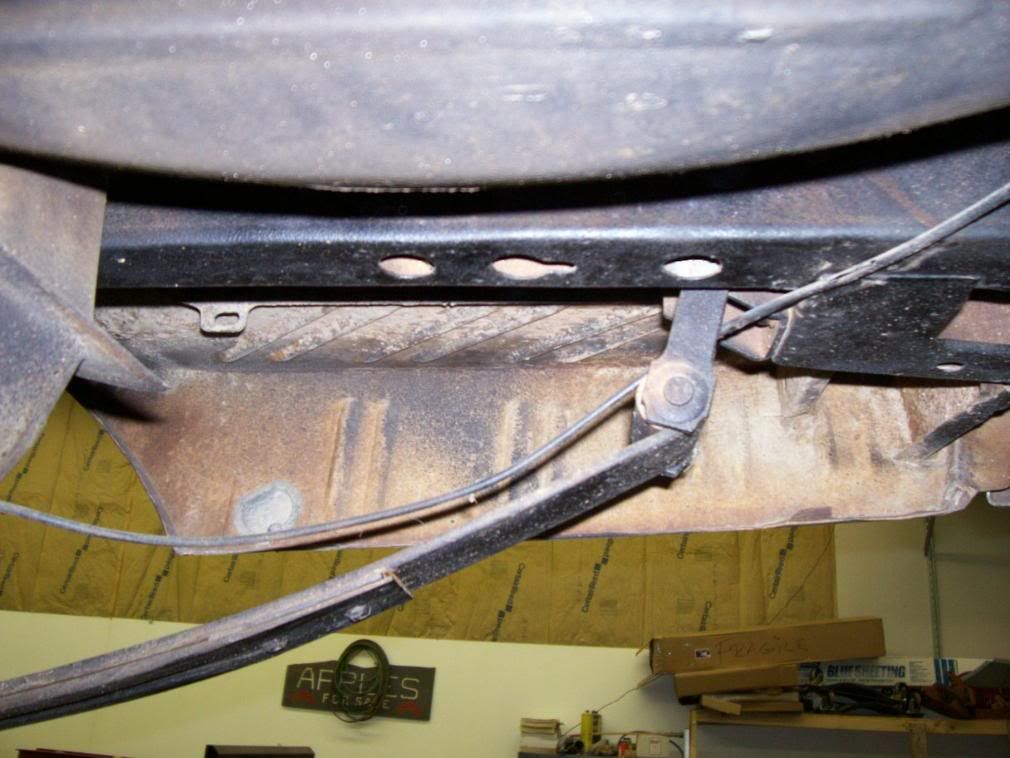
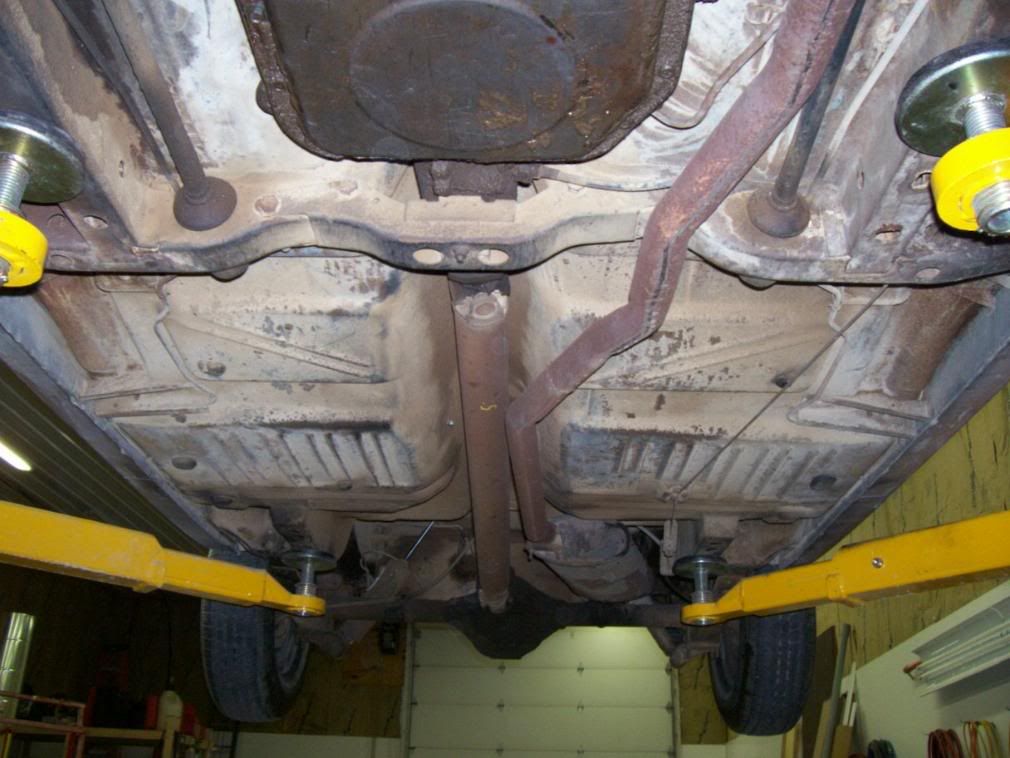
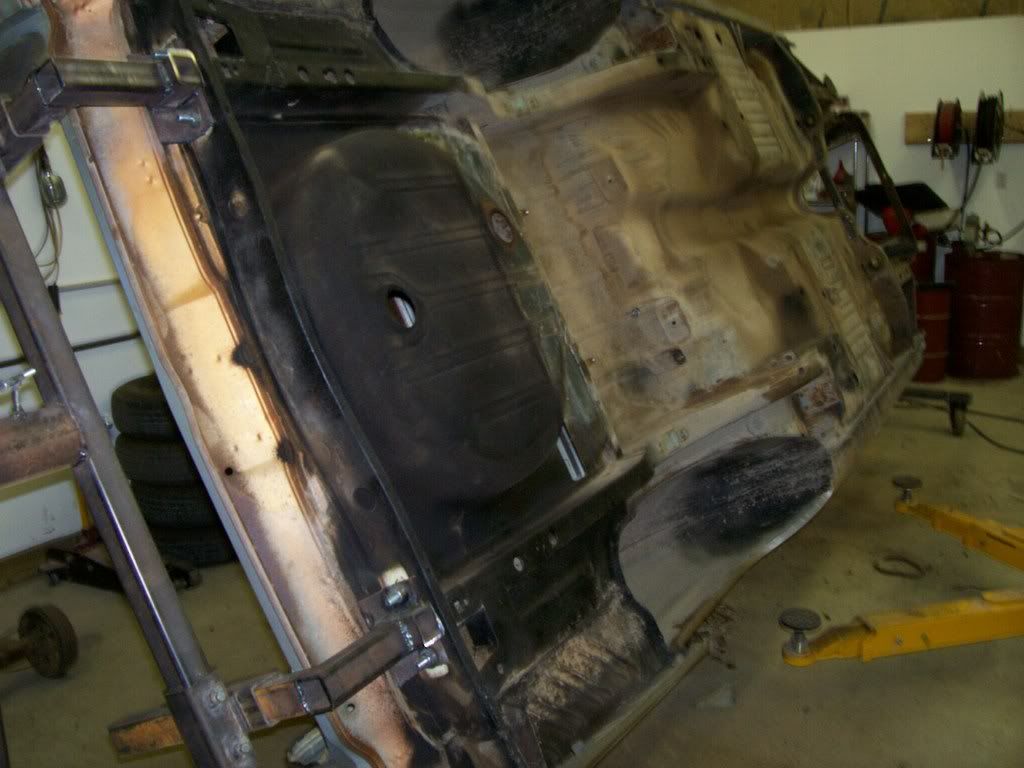
here are some pics of the underside

011-1.jpg


012-1.jpg


013-1.jpg


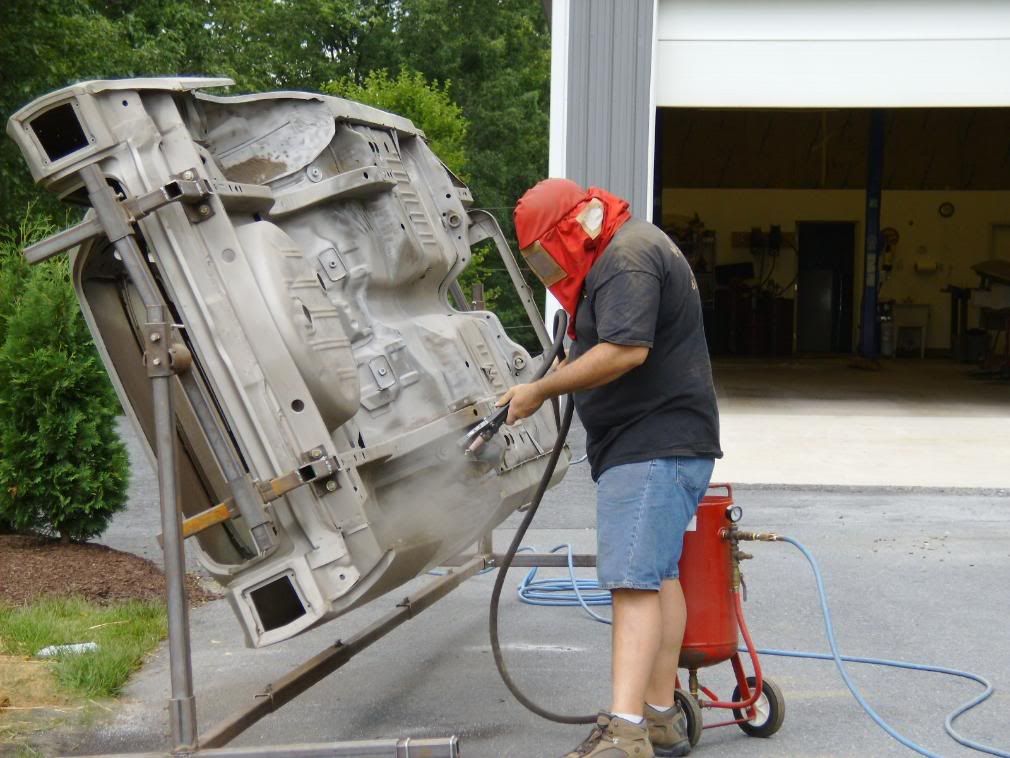
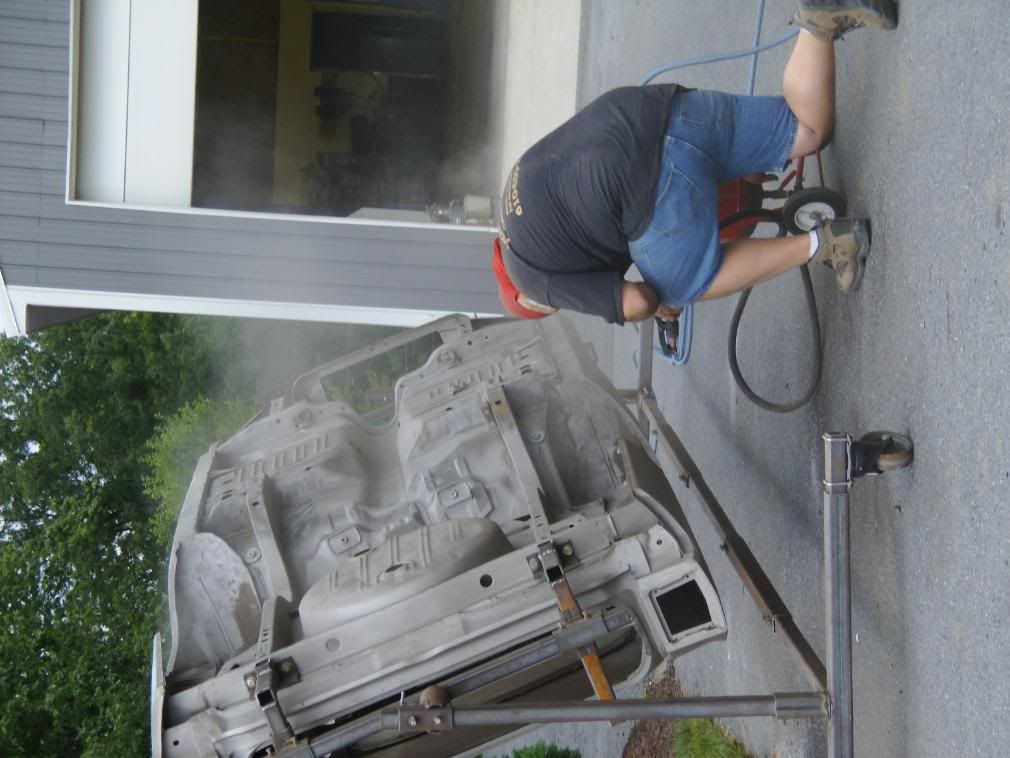
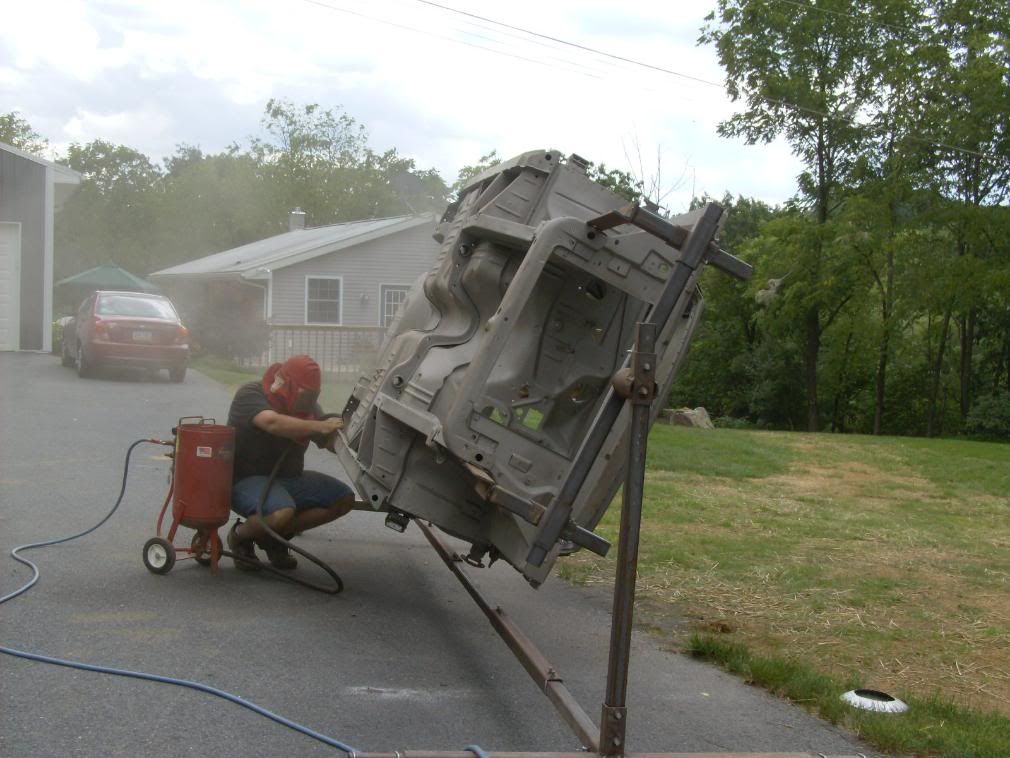
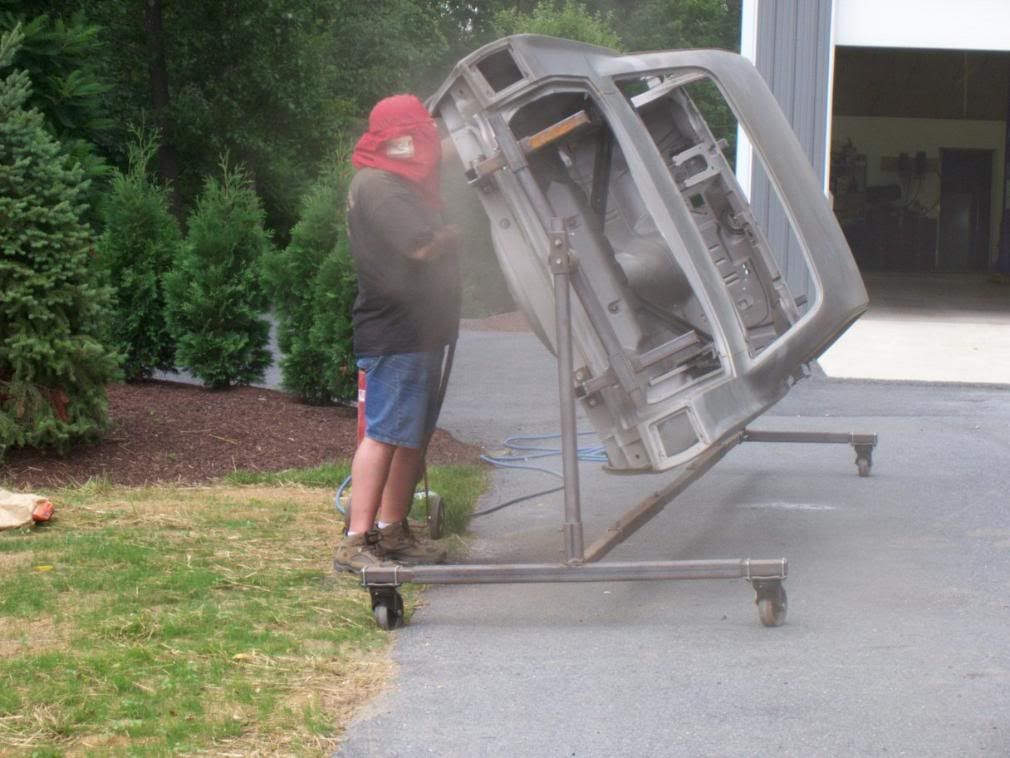
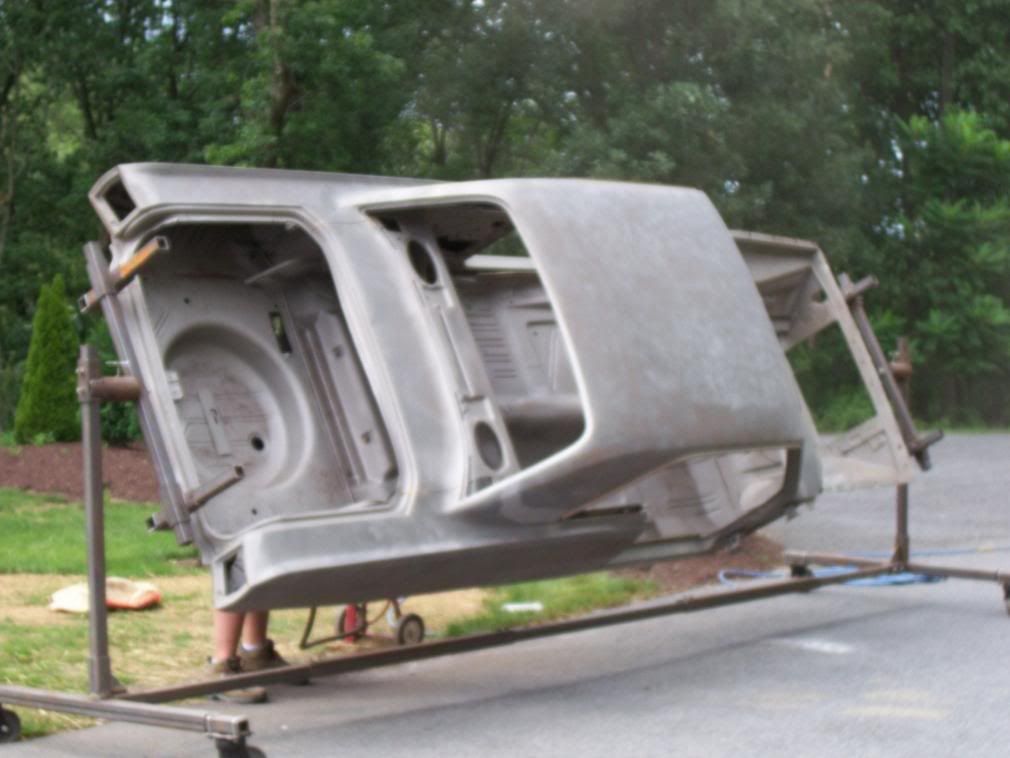
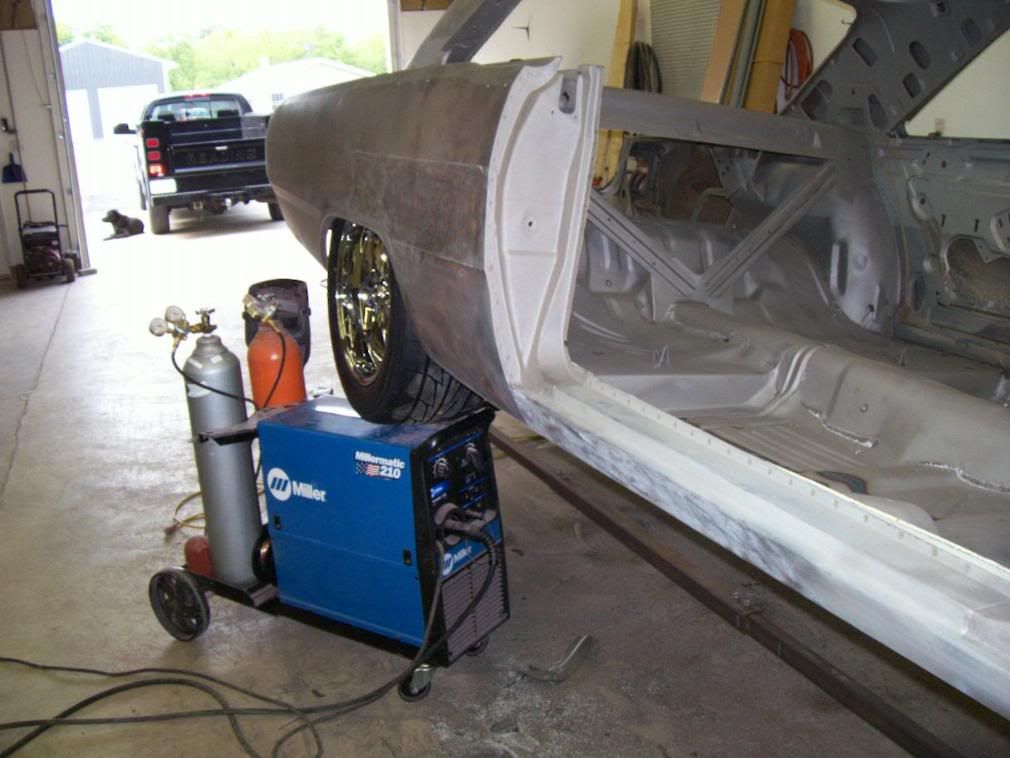
and here it is disassemebled and on the car turner
016-1.jpg


017-1.jpg


019.jpg


020.jpg


021.jpg


023.jpg


019.jpg


014-2.jpg


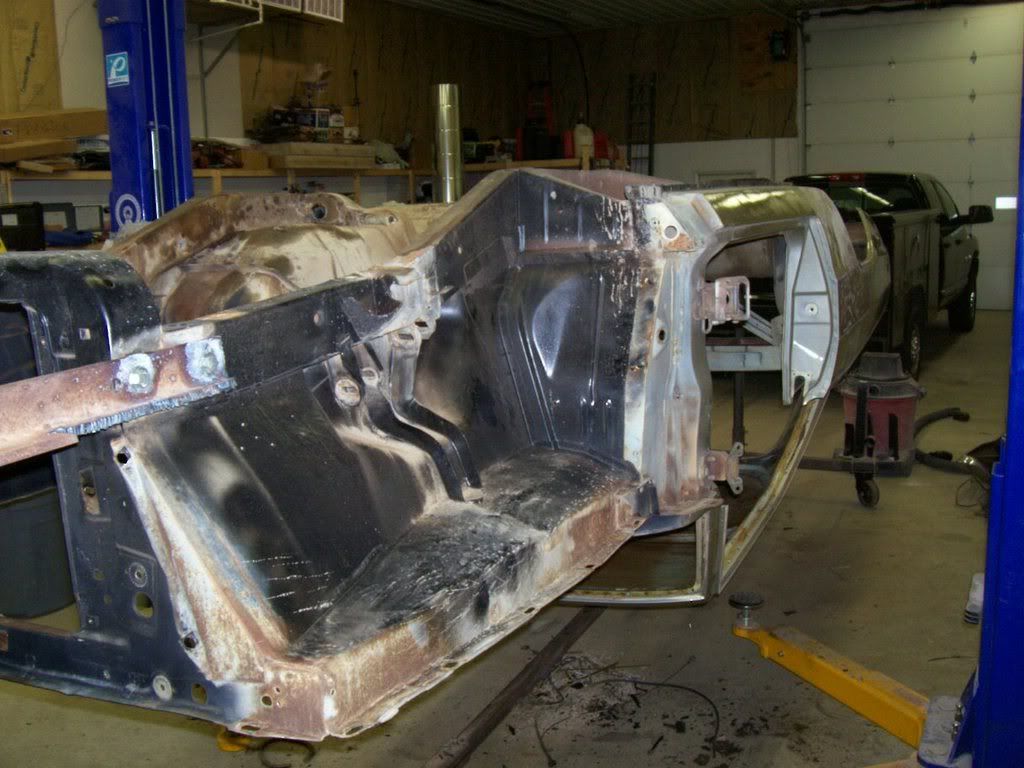
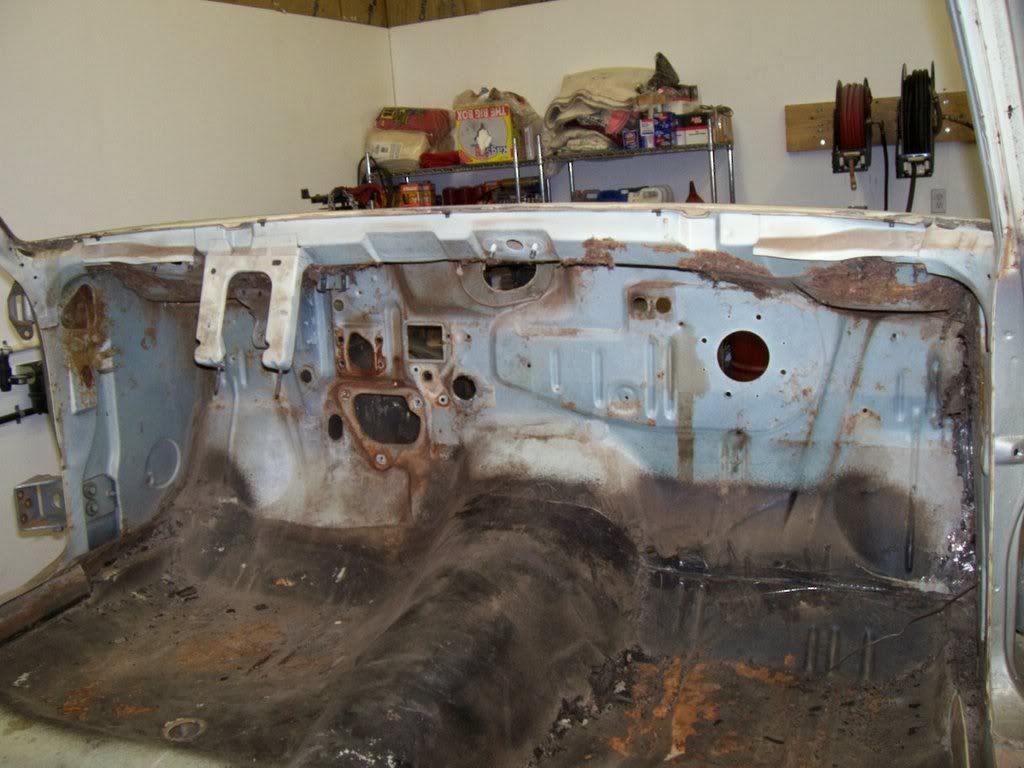
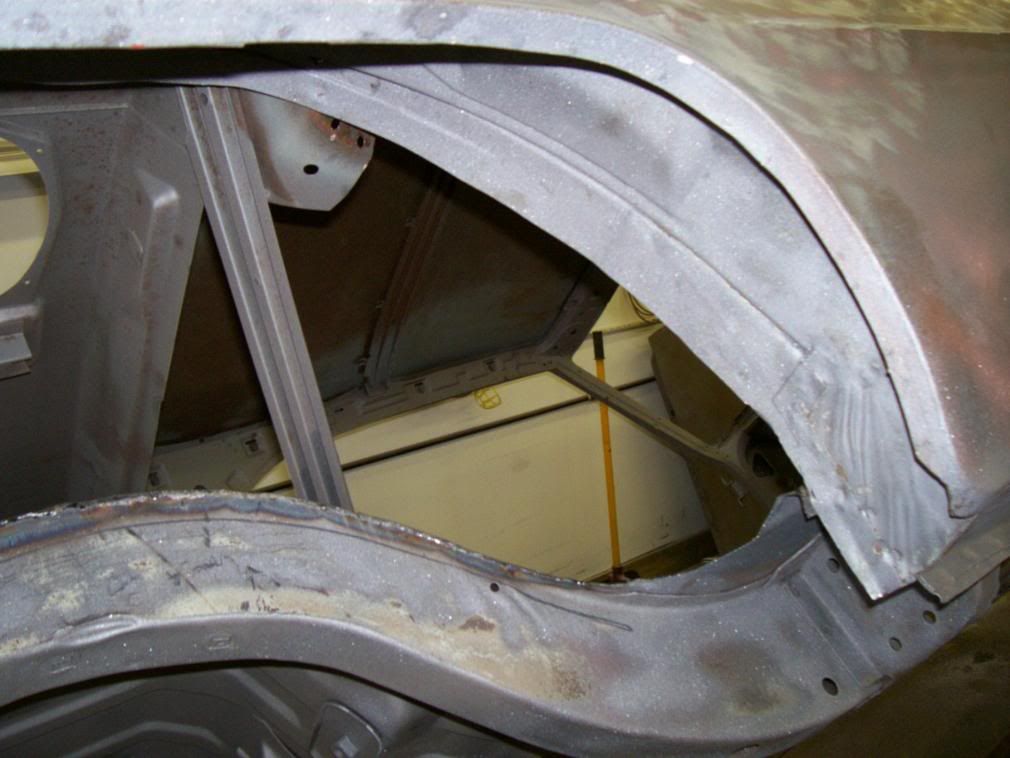
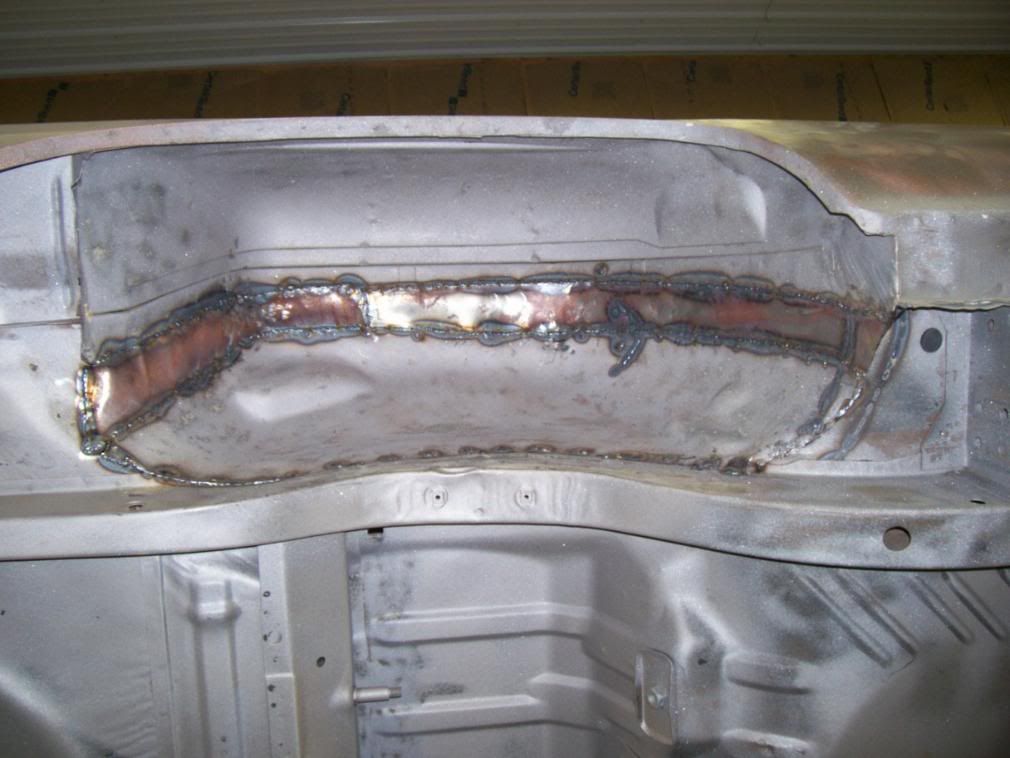
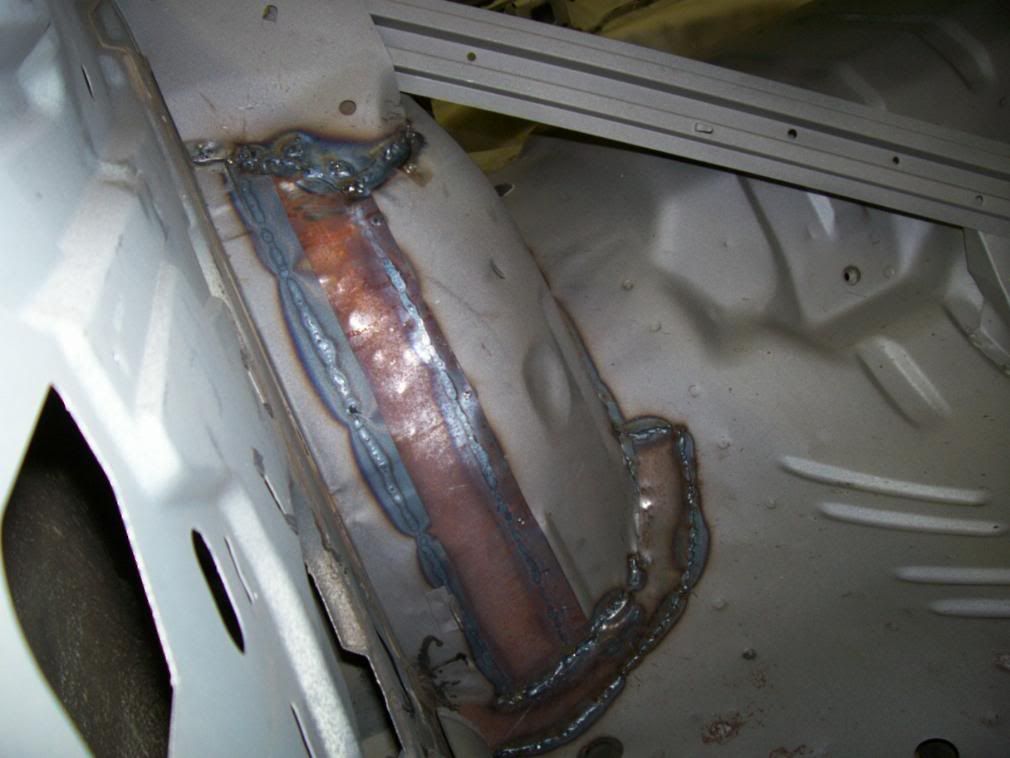
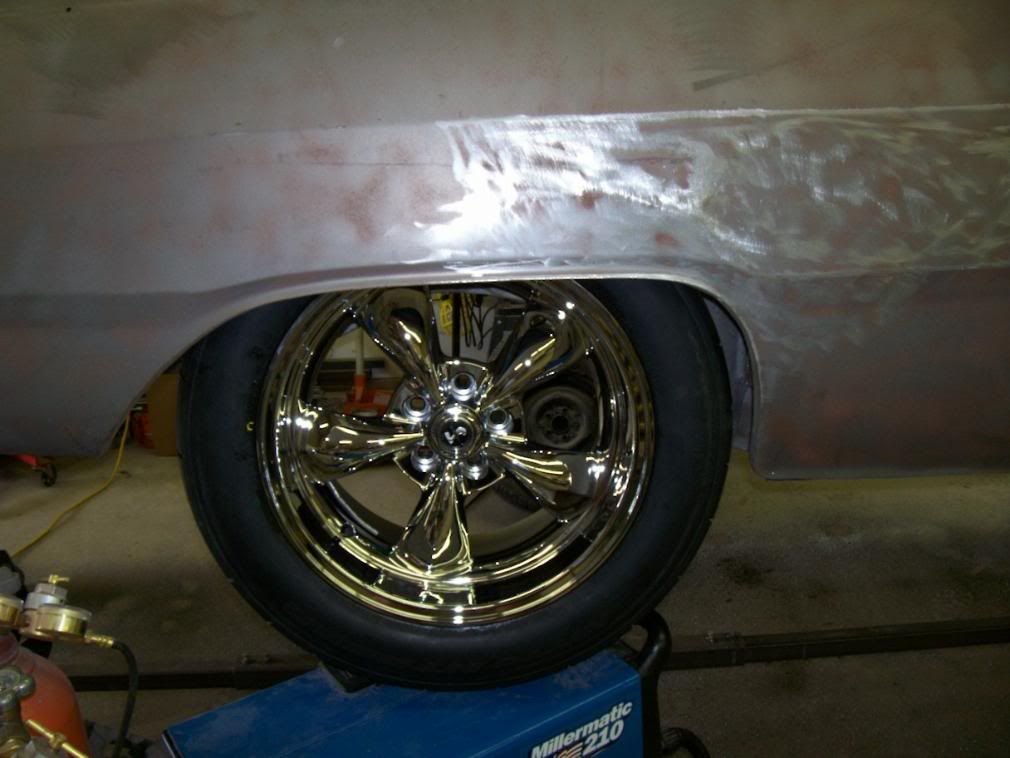
I rolled it over several time today and got about 5 gallons of sand out of it ... will be rolling it outside tomorrow and pressure washing the whole thing. then it will be off to the media balster. Then mini tubing and frame conenctors.
 
Good Lord! Someones been busy this week! Looks like a great starting point. I love that color, are you going to keep it?
 
That will be a super sweet car when done. I would love for my car to be as sweet as that one before you even started. Looks like it was stored for about 30 years
 
When you put it back together, do yourself a favor and go with '68 windshield rubber and trim. The '67 setup did nothing but leak. That is the cause of all the rust in the under dash area. Great start though, and the original color does look good on the car.
 
Thanks for all the compliments guys ... the original color is actually tan ... then some one painted it a bright gold and then some one else painted it the light gold you see here ... I will be painting it black.

I am going to get a set of 68 trim for the windshield, not for the reason stated above, but because I like it better, although the reason above is not a bad one either.

The only rust you see is surface rust, there is no rust through anywhere on the body. will make for an easir resto ...
 
Well after the car sat for about 4 weeks at the media blater with little being done, I decidedto go and pick it up. Theshop had the top and inside blasted. The bottom was not done. So Iswung by the local blasting supply place and found out that they no longer sell sand for blasting, so I bought 400 lbs of "black beauty" it isa coal slag product. It works way better than sand. I finishedthe bottom side today in the nice 75 degree weather. It is frame connectors and mini tubing tomorrow. Here are some more pics.

020-1.jpg

021-1.jpg

022.jpg

023-1.jpg

012-2.jpg

014-3.jpg

003.jpg

004-1.jpg

005-1.jpg

006-1.jpg

001.jpg

002.jpg

011-2.jpg

010-1.jpg
 
damn that is bad ***. great work. that body looks amazing
 
I got one of the wheel tubs done today ... the cutting out part was cake .. the lineing up and making the filler strip took some time though ... plenty of room for the 305/45/R18 drag radials ... the rims are chorme but the always look gold in the photos ..

001-2.jpg

002-2.jpg

008-2.jpg

009-2.jpg

005-2.jpg

006-2.jpg

007-2.jpg
 
Lookin' sweet. Watch out for finger prints on bare metal. I would get some rust sealer on the body soon. Keep up the nice work.
 
Know this man is getting things dun:blob:, And what a nice 67 dart to start with.:cheers:
Congratulations 68 Val Sedan.:thumleft:
The wheels look great, I would say keep up the good work ! But you may need a break.:D

Nice thread for sure.:happy1:
 
this will be a sweet car but I could have drove it forever like it was.they,re only virgin once.
 
i like the bare metal and chrome look. too bad you couldnt keep it that way. you must have a good compressor. i was sandblasting yesterday. kept having to let my little compressor fill up again. oh well it got the job done. just took a little longer.
 
Thanks for all of the compliments guys !!!

The car will be Black when done. And yea I have a good compressor but even with a 7.5 hp 80 gallon 2 stage compressor I could only maintain 80 psi while blasting, but like you I got the job done ... can't wait to finish the mini tub and 4 link so I can spray the epoxy primer ...
 
I forgot to post the updates here for my car so here goes. Progress was a little slow, but there have been lots of other goodies showing up .... new roll bar,,new dana 60,and my honey bought me a 440 source stroker kit for my birthday, so I took the money I had slated for it and bought a new block ( the one from world castings. with 4.31 bore ) the new block even has a provision for an external oil pickup built right into the block ( that'll save $350 on a new milodon external oil kit, I already have an external pickup I bought on Ebag for $25 with the a -12 an line )

008-3.jpg


007-3.jpg


009-3.jpg


004-3.jpg


011-3.jpg


005-3.jpg


006-3.jpg
 
More progress ... the springs have been moved in . I also welded in the cross member for the RMS street lynx rear suspension. I filled all the extra holes in the fire wall and welded the brackets in for the console here are some more pics !!!

008-4.jpg


009-4.jpg


010-3.jpg


006-4.jpg


003-3.jpg


004-4.jpg


005-4.jpg
 
I will be using a universal fuse block and making my own harness up when the time comes. I'll be writing some stuff up and taking lots of pictures for that part of the resto
 
Great car! Solid!

Did you at least help the little old lady in the house before you took off with her car? :toothy10:
 
How long did it take you to sandblast the whole car?
How many bags did you go thru?

Are you going to to put torque box supports?


I only had to finish the blasting and I used about 200 lbs of abrasive I would say to do a whole car you'll need about 800 lbs.

No torque boxes ... the front mounts are inline with the frame connectors now and I do not need them, I have given thought to adding plating from the new spring boxes to the frame connectors though ..
 
-
Back
Top