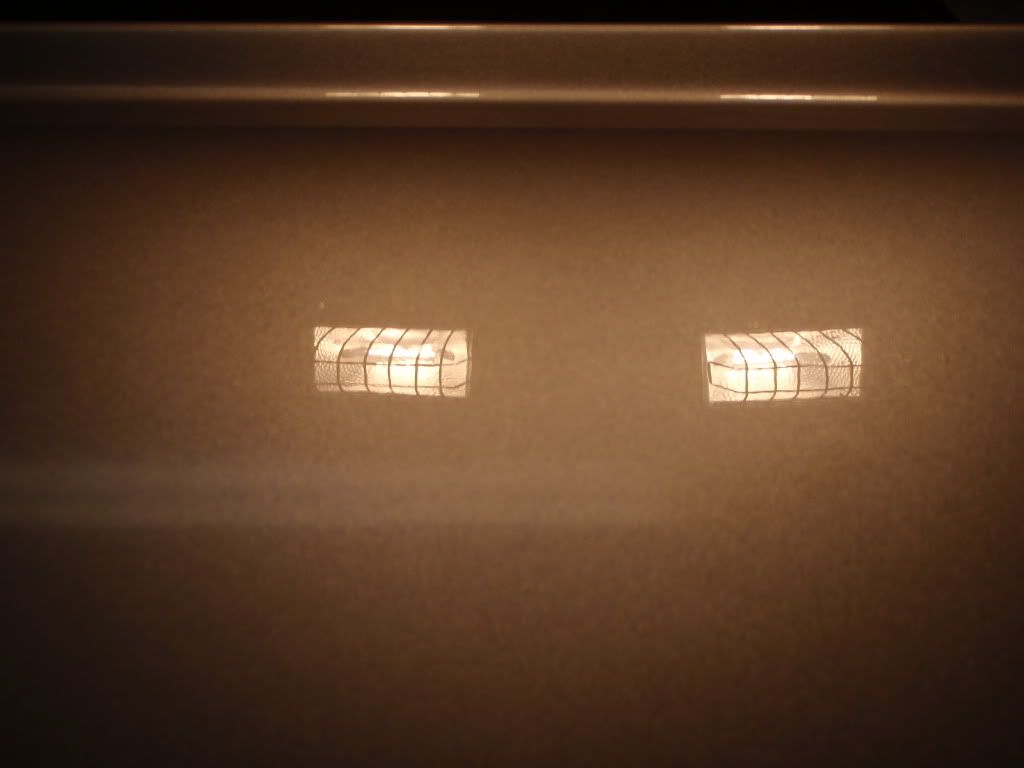
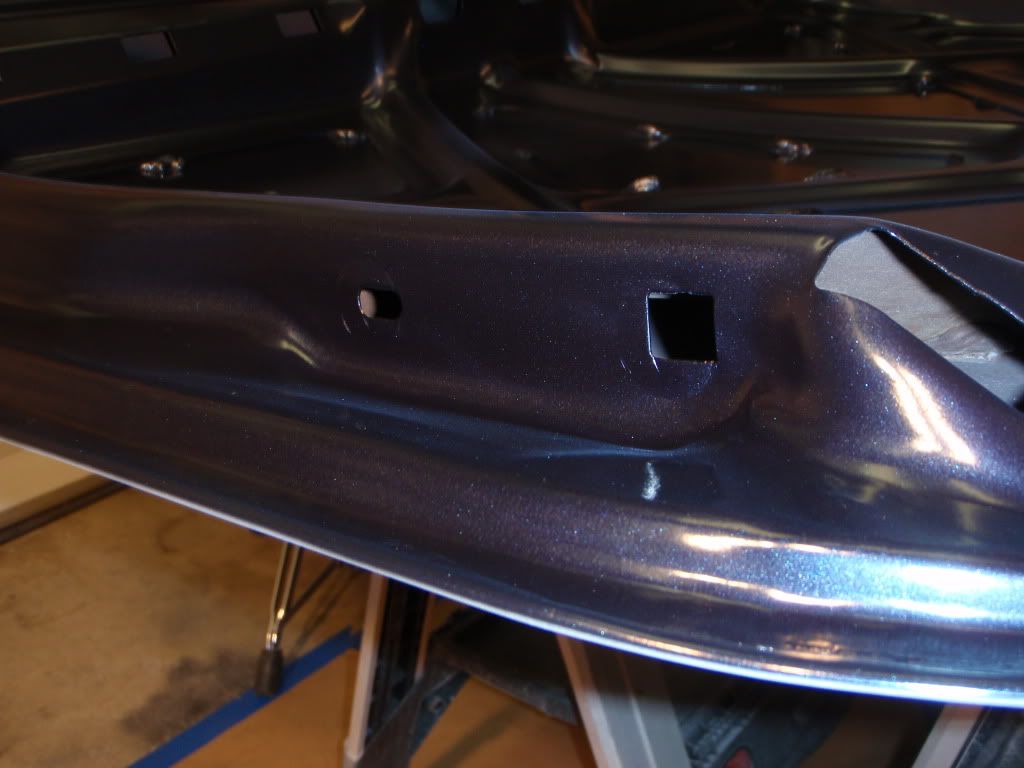
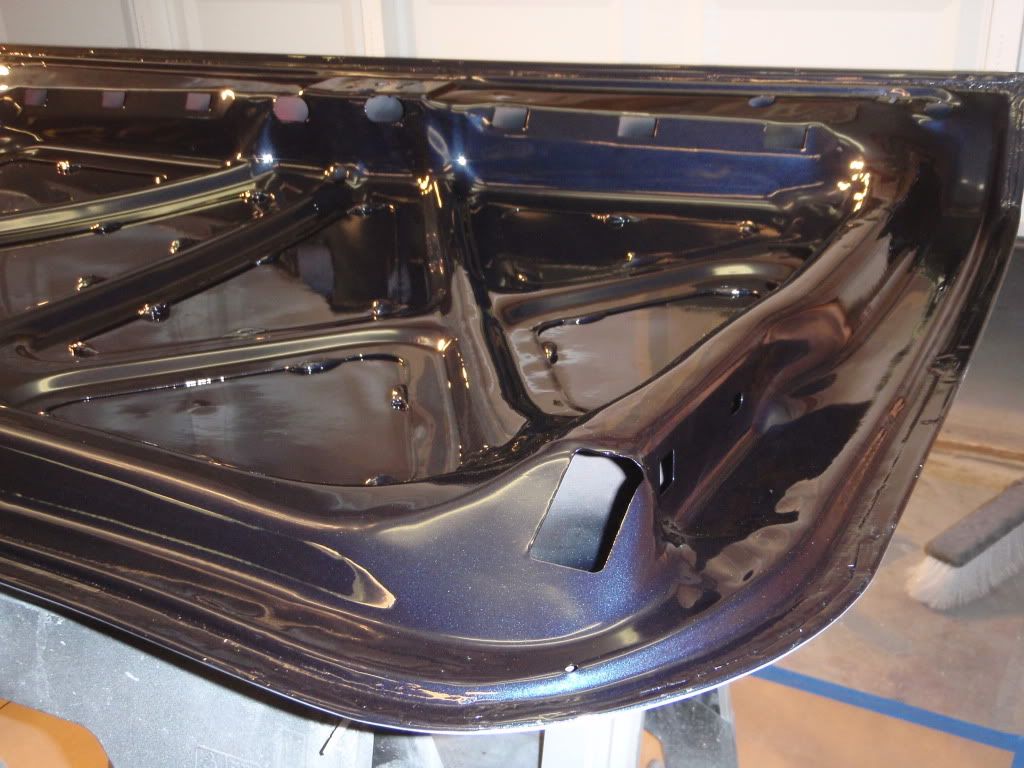
ORANGES!!!
Is that whats called orange peal?
")
J/K, your work looks just great.
ORANGES!!!
Is that whats called orange peal?
J/K, your work looks just great.
My day job pays better though.
Watching people sleep......:sleepy2:
That's funny !!!!!!
LOL was hoping someone would catch that.
Thanks for the compliments. I'm really getting excited. :-D
If I could make better money at it I would be doing restos full time. My day job pays better though.
I may think about opening a little shop one day but the California EPA is a ***** and rents are outrageous.


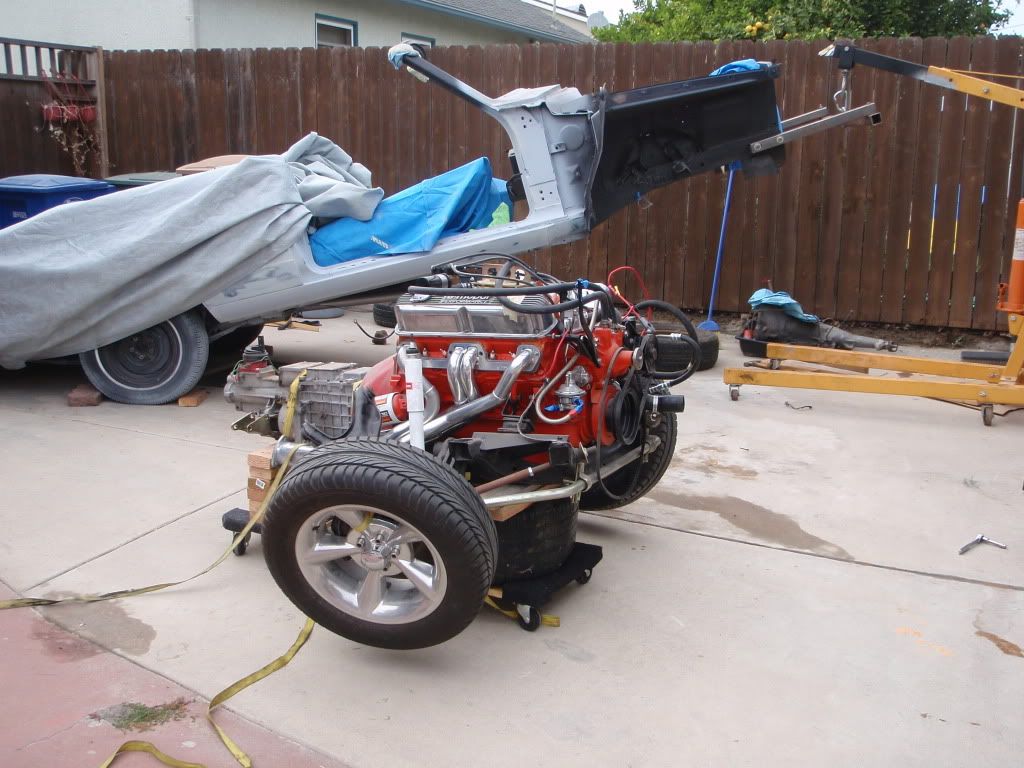
Man,you might as well pull the rear and do a rotiserre now LOL!Your 3/4 of the way already with no interior,motor and K-frame out!Your doing great!
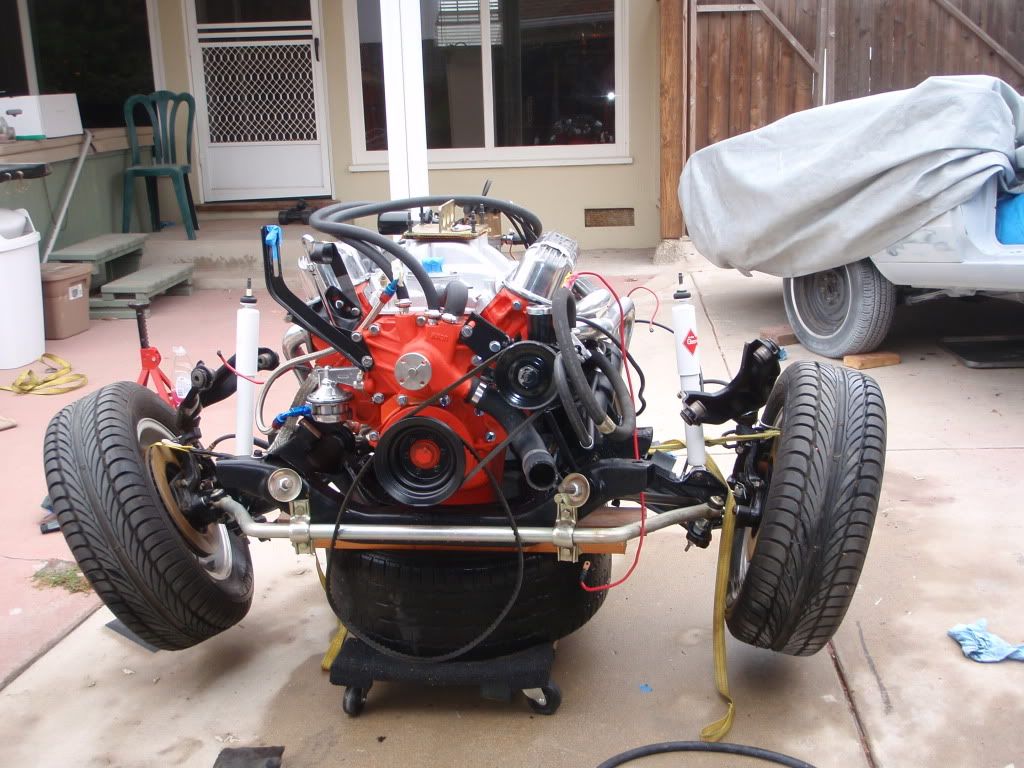
Really nice work Dave. Will the motor fit with the headers installed? What sway bar is that & how do the lower bolts attach?
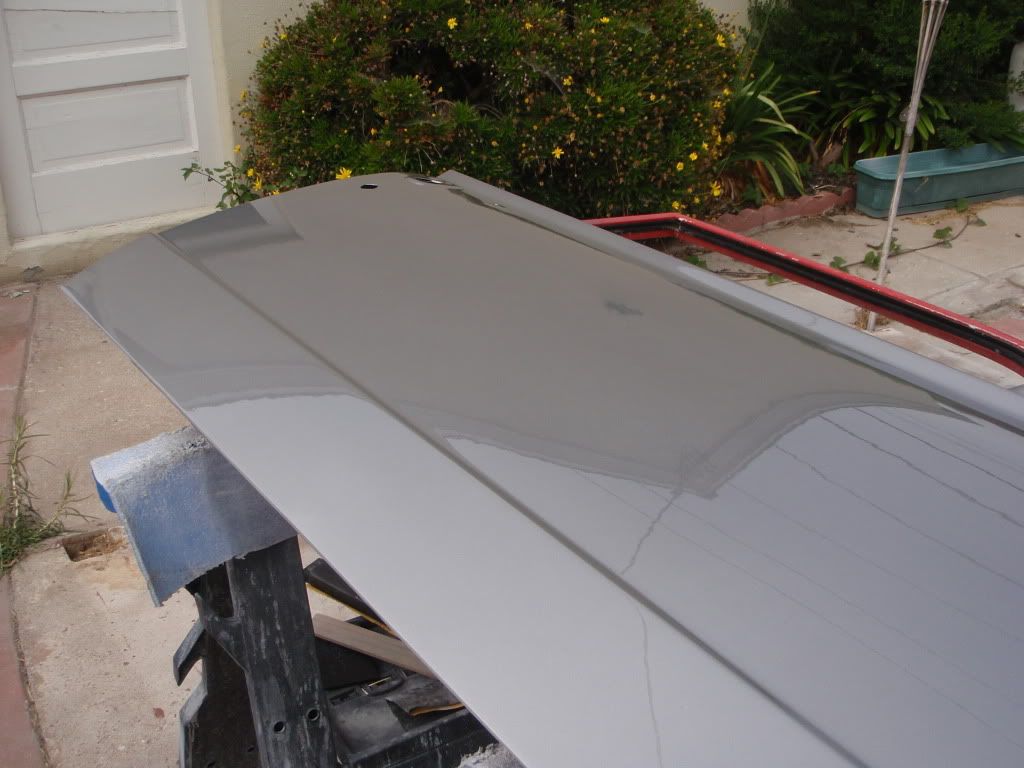
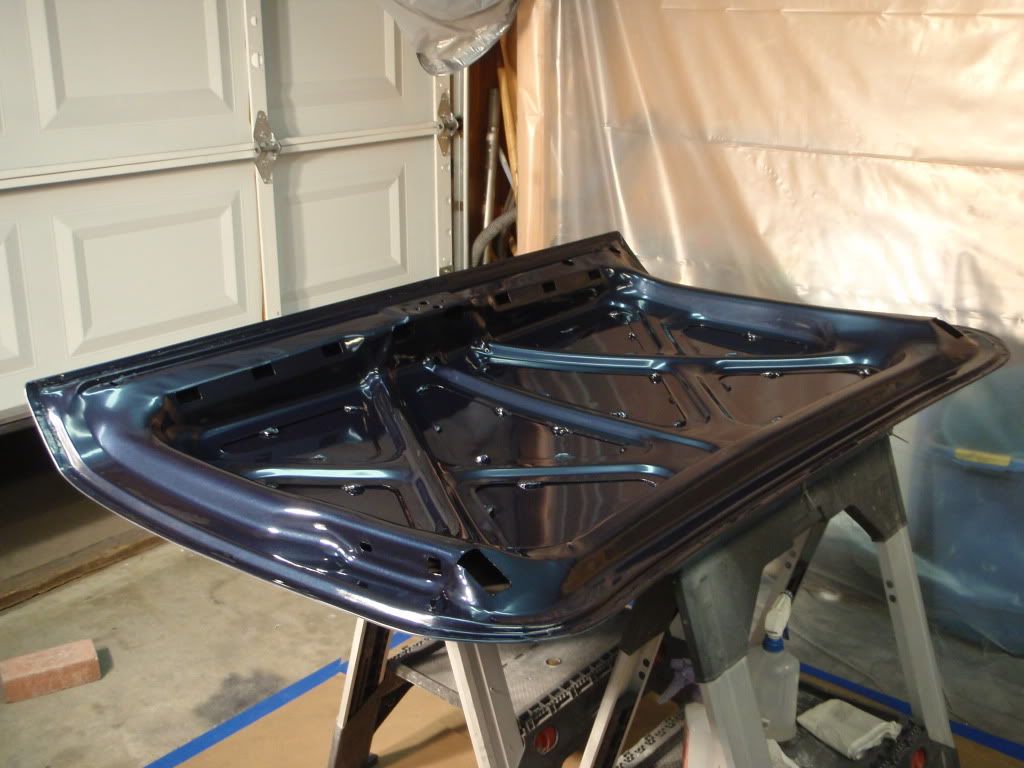
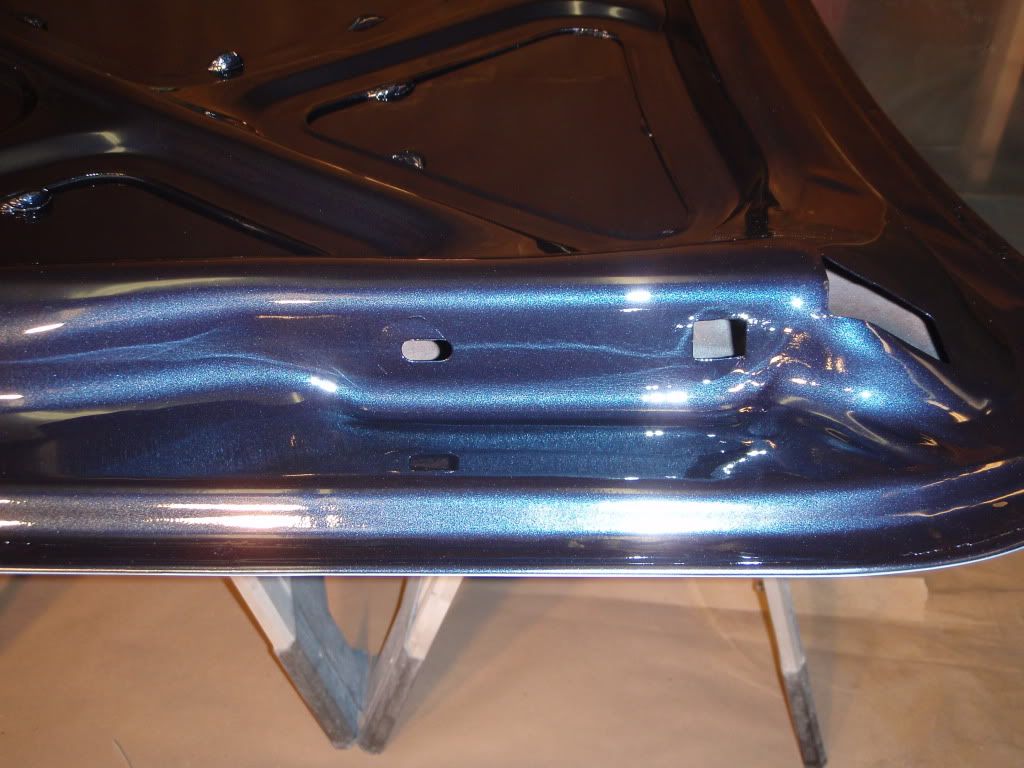
Will be awesome to finally start shooting some color.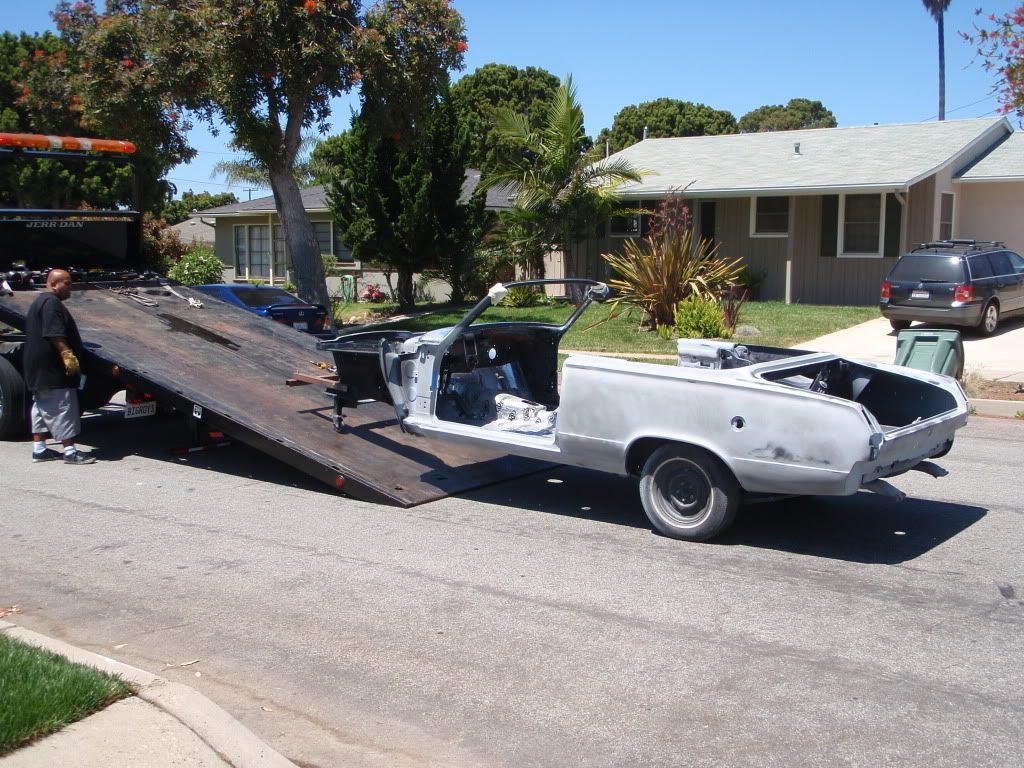
Whoa..Whoa....Whoa.....There was no rust on that jig when it was here in the desert !!!!!!!!

Nice job Dave!!! By the next Spring Fling, I hope to see that car parked next to mine!!
It's been a long time coming Steve.


