CUDAGUY
aka Prince Valiant
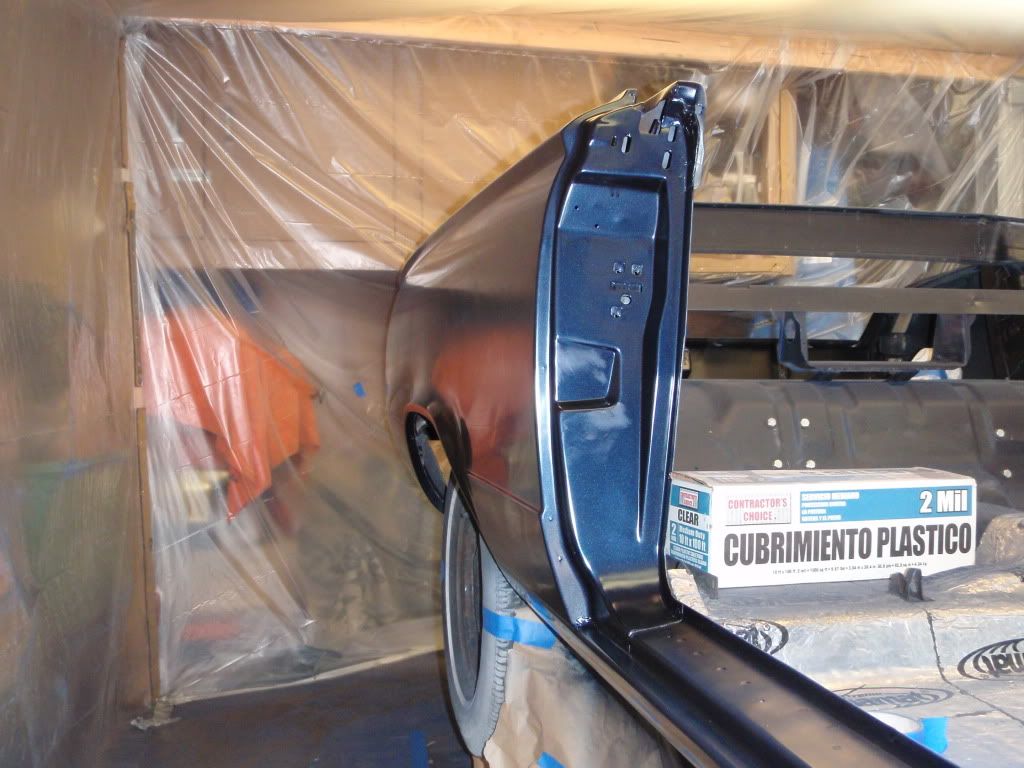
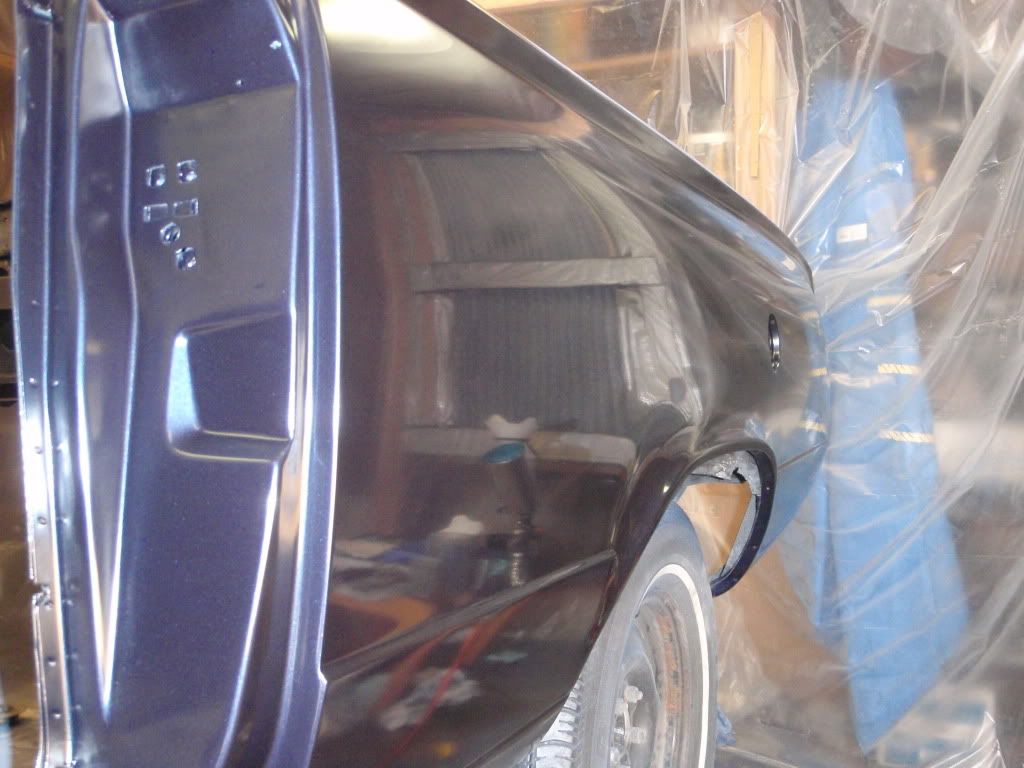
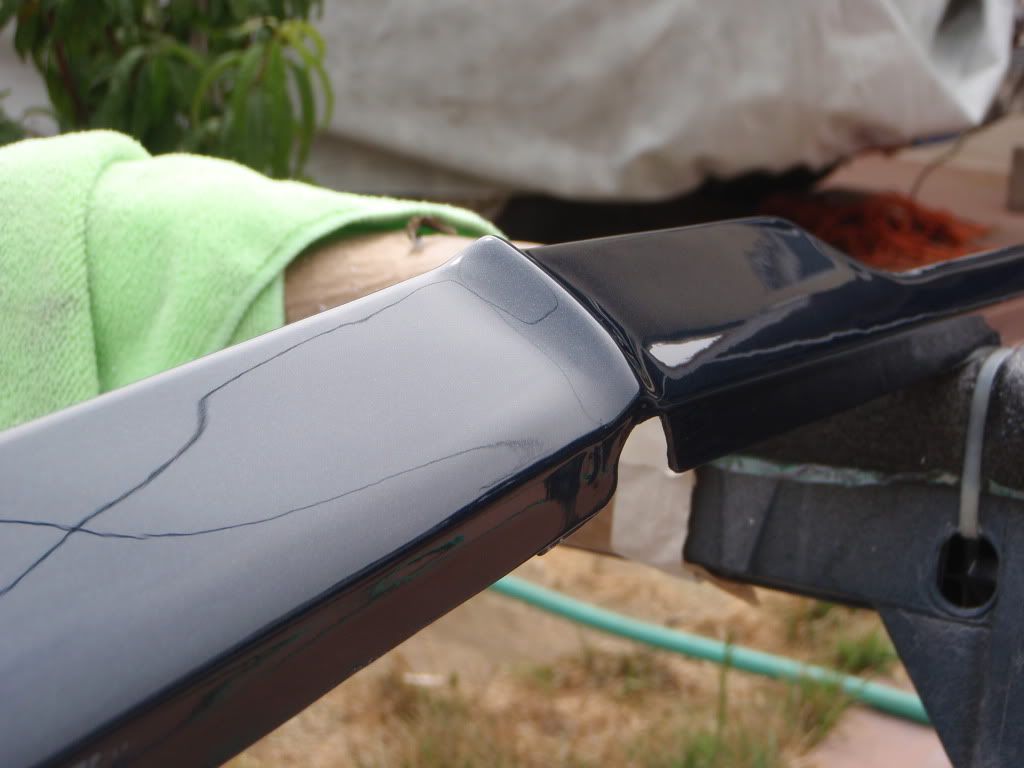
wow! thats gonna look sexy=P~
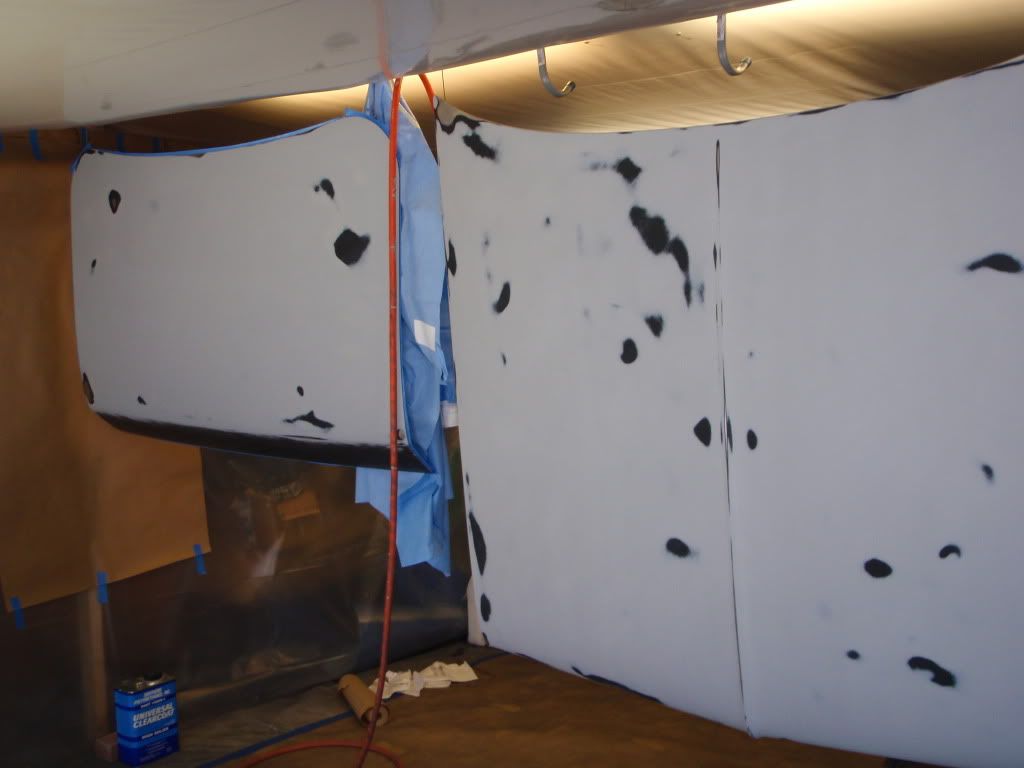
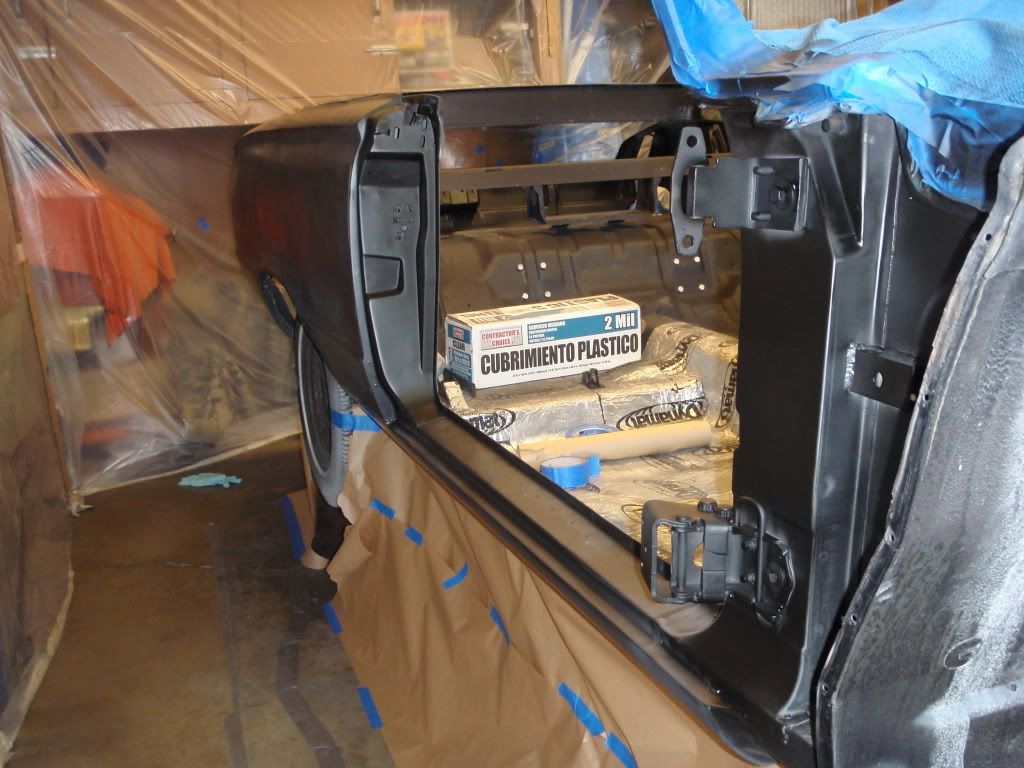
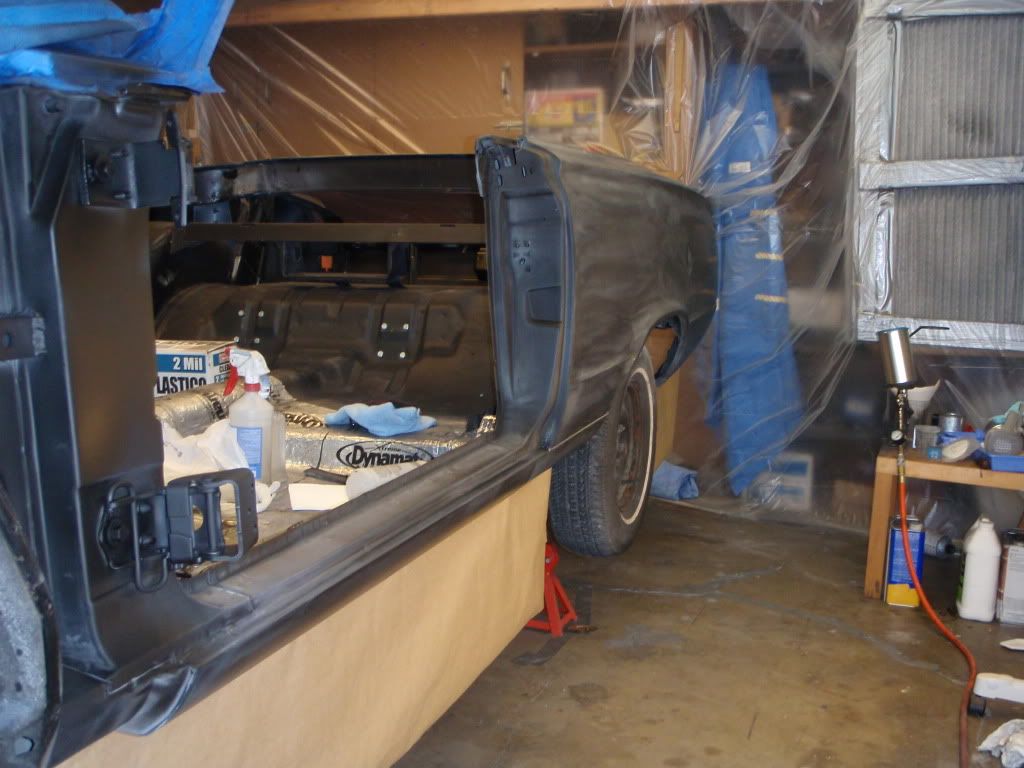
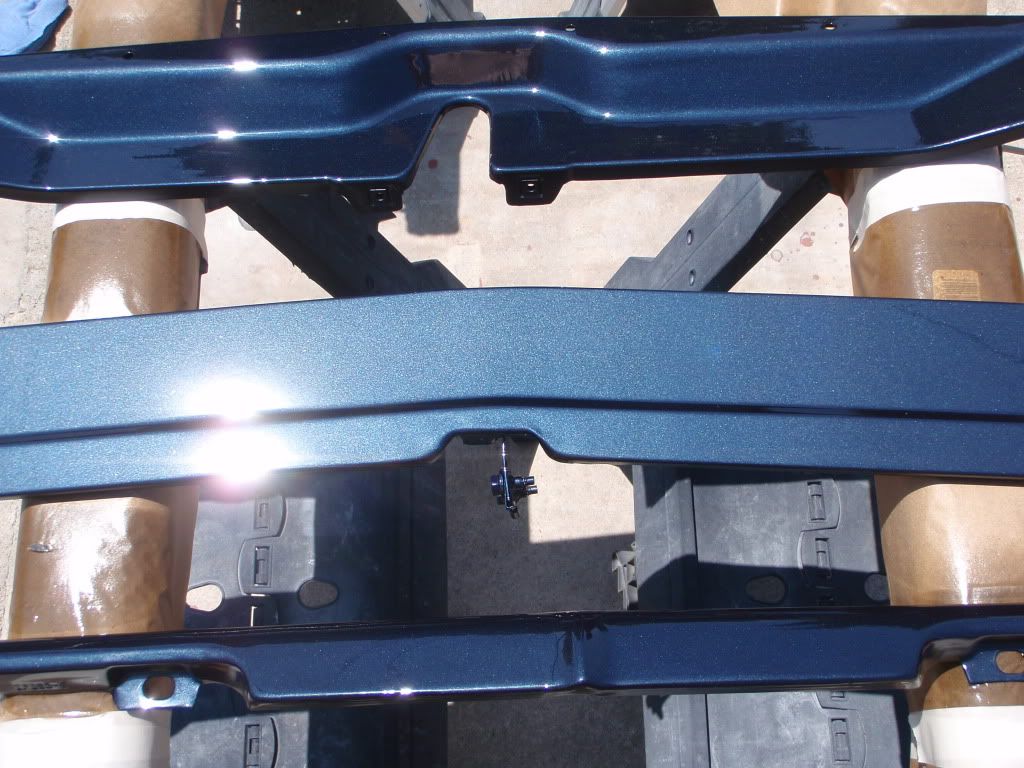
It,s looking great Dave.Shouldn,t you be laying bigger panels flat for painting?I remember someone mentioning that the metalic won,t seat right if panel is hung while painting?Just a question?It all looks good,looking forward to the finished product.I,ll probably be retired by then!J/K LOL!Keep up the good work!
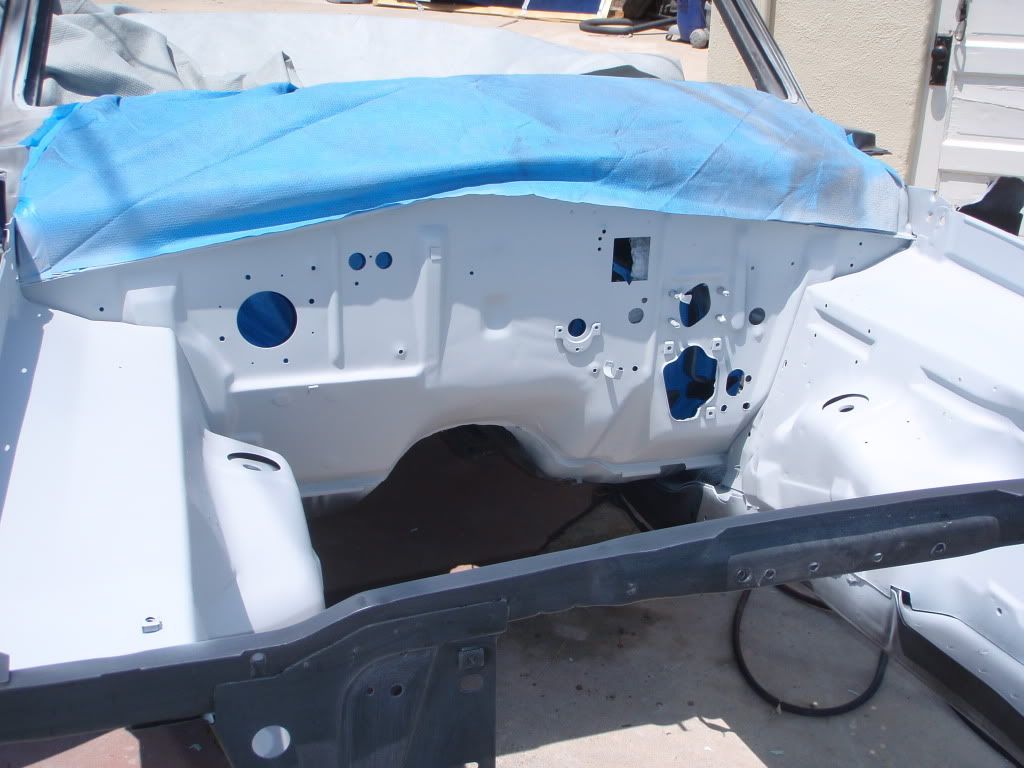
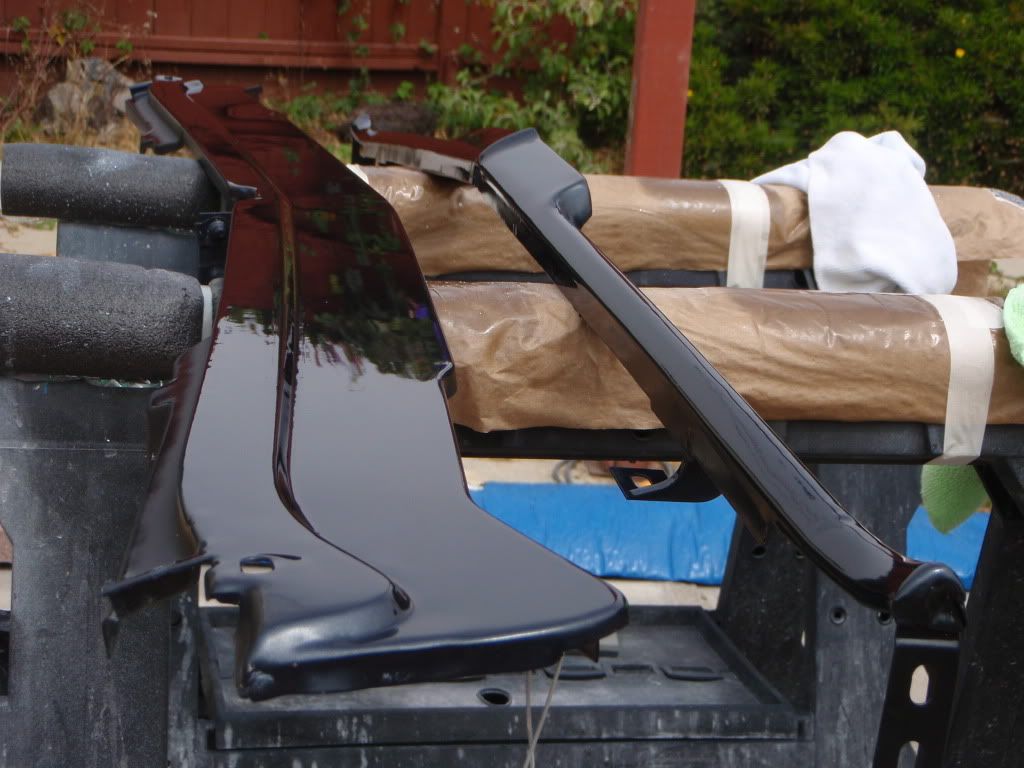
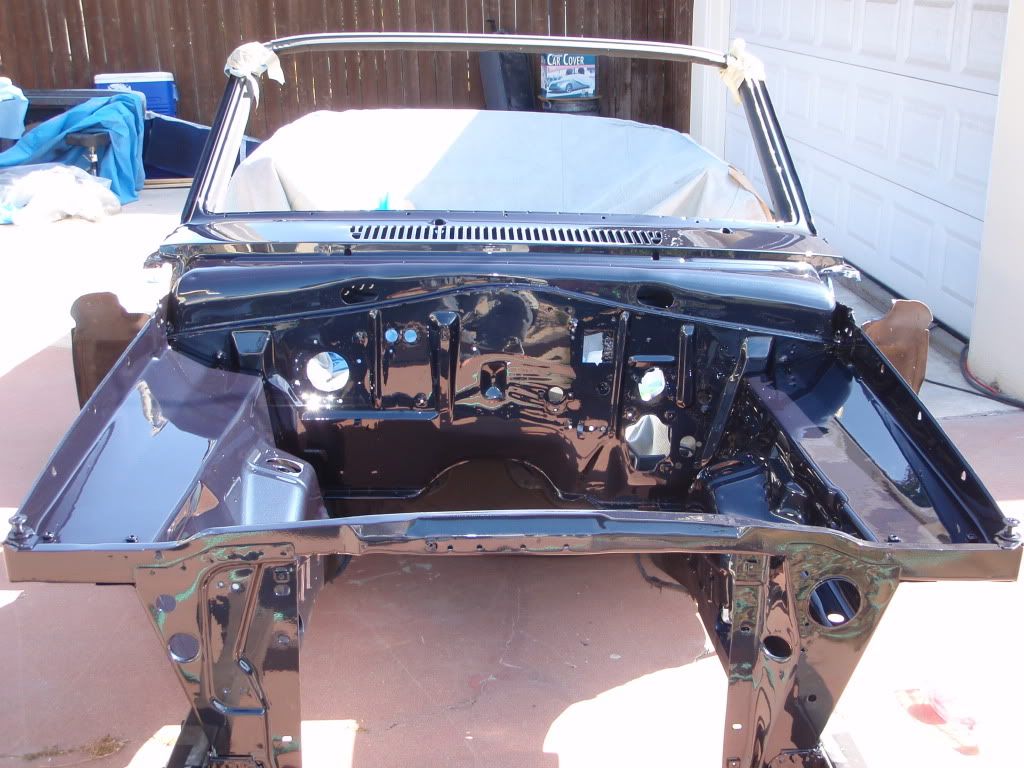

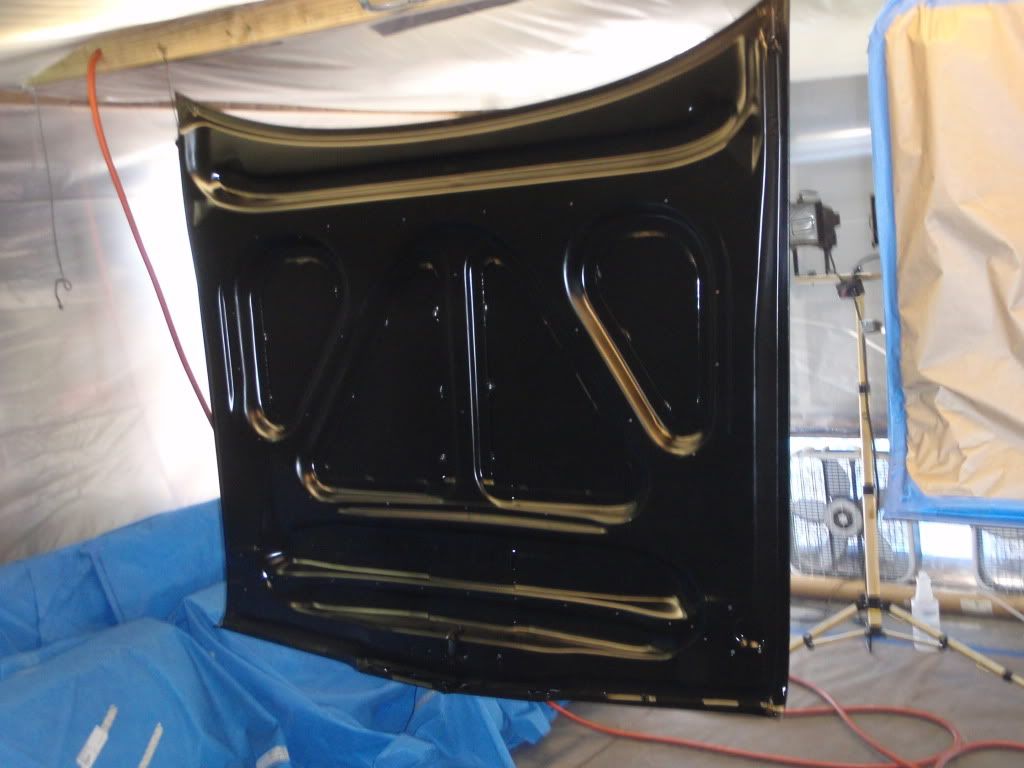
DAVE man its looking GREAT,,,,is that an HVLP system ?? or a gun and a compreessor ?? the real iceing on the cake is going to be when you are all finished and drive it over to the first moron painter,,and show him how it looks,,,
wow,,,that seems like a bargain,,,to get everything,,,,I just scored a brand new washer bottle and pump kit from those guys,,,atlas parts,,,,everything i buy new is just sitting off to the side,,,waiting till i restore it,,,I figured the hardest thing to find would be the chrome strip for the windshield,,,mine is bad,,,,I even have a perfect grill sitting on the shelf,,,firewall gasket set,,complete nut and bolt resto kit,,,and I had a 65 signet that was a bucket seat,,floor console auto,,,,so I parted the car on e-bay,,,kept the 65 motor,,trans,,,buckets and steering column to put in the 66,,,and I have an edelbrock 2x4 intake for the 65,,,,gonna make a nice sleeper,,,,thanks for the info,,,Aloha,,Joe