71 Dodge Dart Swinger in England

-
Congrats to your Dart! Good Mopar to start with!:thumblef:

My Dart has 14" rallyes. I like them . I will probably end up going to 15" versions but most importantly you need the proper centers. For 70/71 you should have the "sombreros" If you want to get picky the 71 version is dark argent silver.

I would also prefer the rallyes! The design of the rallye wheels is just awesome. But I have the same problem, it's damn hard to find the 70/71 14" rallyes in europe. I bought my Dart with the wrong one (72+), so I swapped them for some old patinated Cragars. Personally, I don't like big 17"... But it's up to you, and what look you want.;-)
 
Congrats to your Dart! Good Mopar to start with!:thumblef:


I would also prefer the rallyes! The design of the rallye wheels is just awesome. But I have the same problem, it's damn hard to find the 70/71 14" rallyes in europe. I bought my Dart with the wrong one (72+), so I swapped them for some old patinated Cragars. Personally, I don't like big 17"... But it's up to you, and what look you want.;-)

yep agrees hard to get hold of over here for sensible money, new wheels are $200 each.

Also its getting hard to get 14 and 15 tyres with a decent 70 profile. I can get a set of 4 x 17" tyres for the same as one new 15" tyre!
 
yep agrees hard to get hold of over here for sensible money, new wheels are $200 each.

Also its getting hard to get 14 and 15 tyres with a decent 70 profile. I can get a set of 4 x 17" tyres for the same as one new 15" tyre!

Yeah, that's the problem with those dimensions - especailly when you're looking for white letters. I wanted some white letters (you know, young poser in his Mopar :D) and that was pretty tricky, 'cause I didn't want to put some Coopers or Bf-Goodrich on my Dart... You can't get Avon Stinger 14" in Austria anymore.:???: But Lady Luck was on my side, many people are changing their tyres, because they switch to bigger (disc) brakes, so I went to our Mopargarage and I bought 8 nearly perfect new white letters for 300bucks.:glasses7: They are already mounted:
 

Attachments

  • Dartbackup.jpg
    47.3 KB · Views: 346
Yeah, that's the problem with those dimensions - especailly when you're looking for white letters. I wanted some white letters (you know, young poser in his Mopar :D) and that was pretty tricky, 'cause I didn't want to put some Coopers or Bf-Goodrich on my Dart... You can't get Avon Stinger 14" in Austria anymore.:???: But Lady Luck was on my side, many people are changing their tyres, because they switch to bigger (disc) brakes, so I went to our Mopargarage and I bought 8 nearly perfect new white letters for 300bucks.:glasses7: They are already mounted:

great bargain then. I'm keeping the Rallye wheels so will keep me eyes open for tyres, but will run with the 17" for now.
 
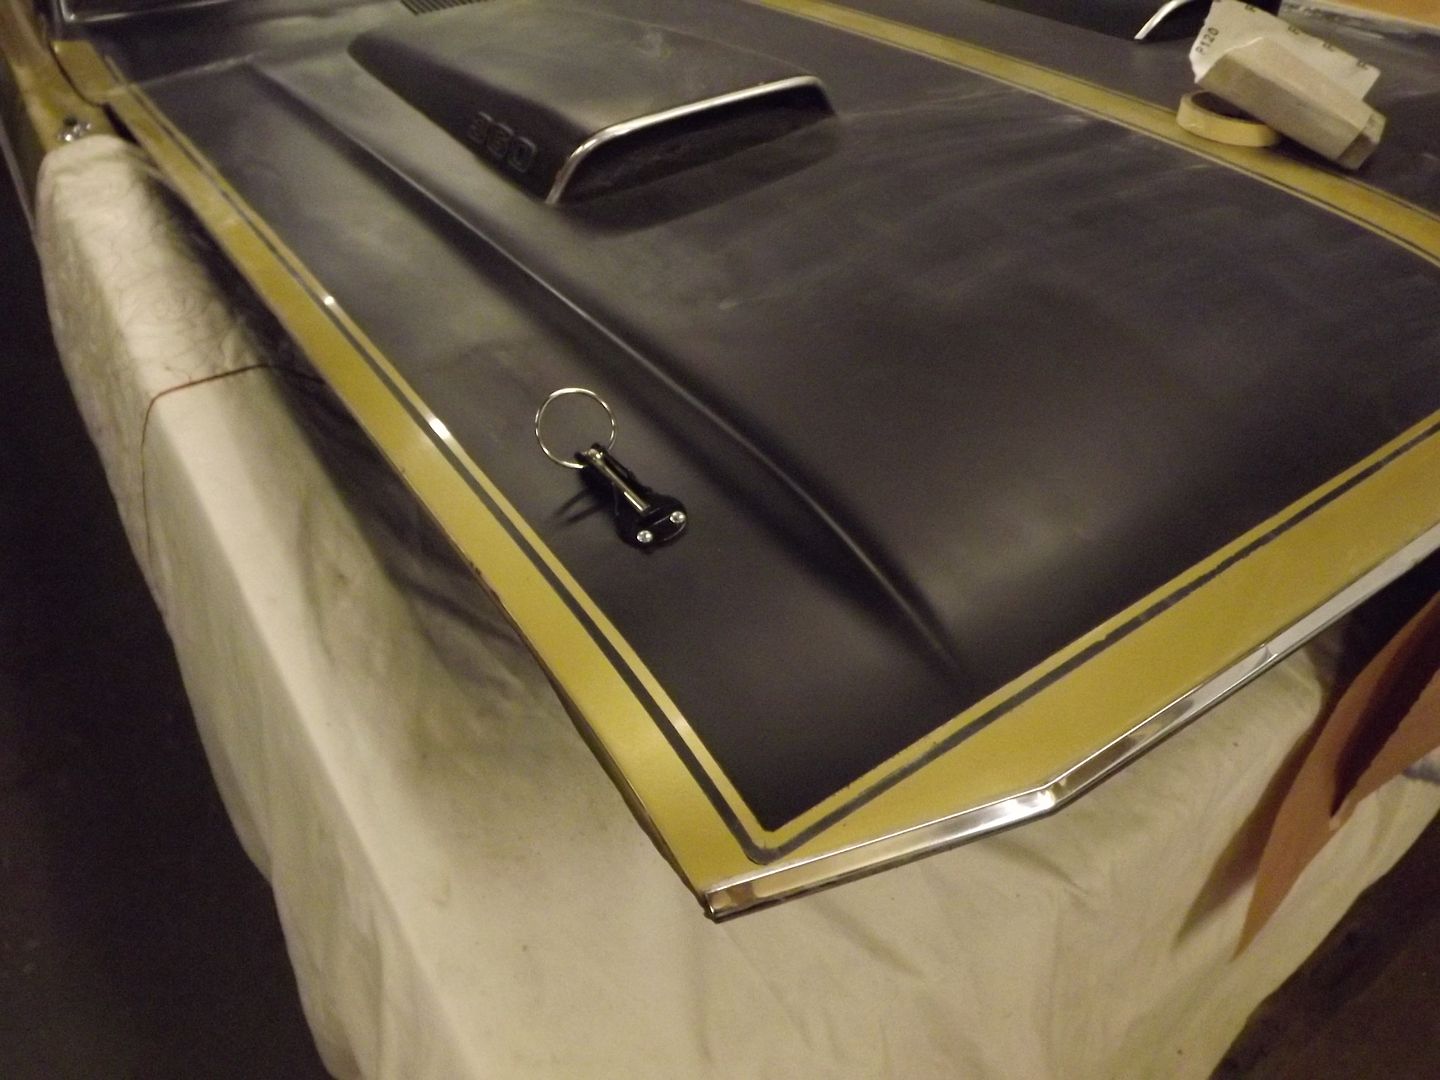
small update, old rust and bent bonnet pins off and new more subtle ones fitted
DSCF0849_zpsijf3o9fl.jpg

DSCF0850_zps5urz9vja.jpg
 
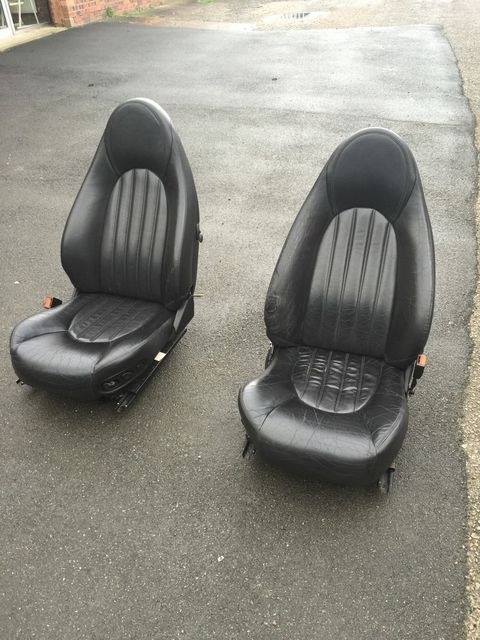
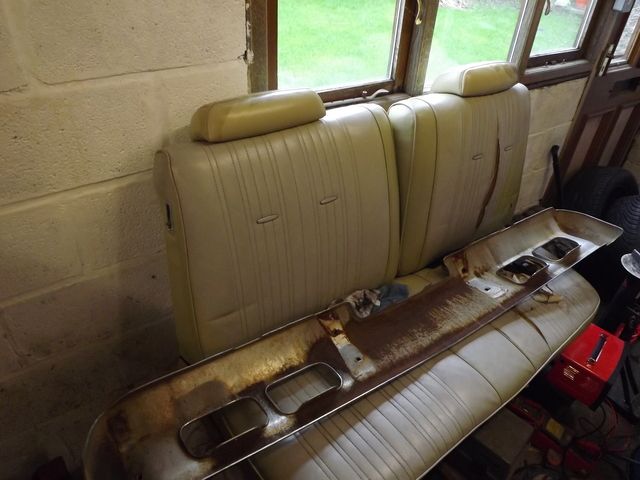
Going to swap out the bench seat for these bucket seats. I'll get the rear seat recovered to match, but in vinyl or use the vinyl paint, same on the door trims. They are out of a 2000 Jag XK8 and are fully electric and heated, as a like a bit of comfort nowadays. best of all £90 the pair. Drivers side bolster needs a repair, but of course that now becomes the passenger seat:tup:
_57_zps4exq8ads.jpg
 
Thanks, I spent a while searching modern car seats and think theses look very much like a 70's mopar bucket seat and wont look out of place when fitted
 
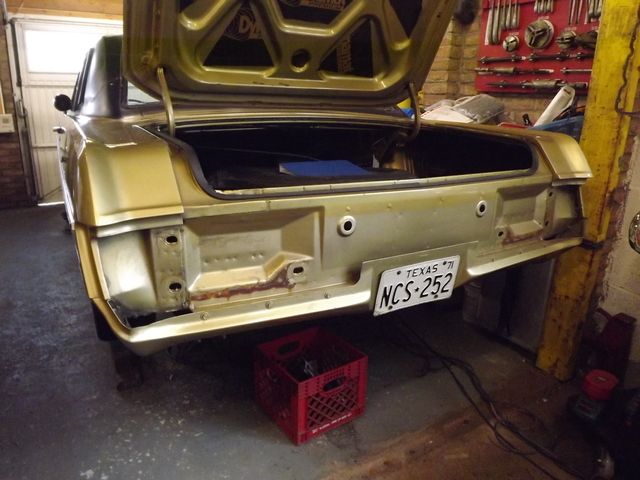
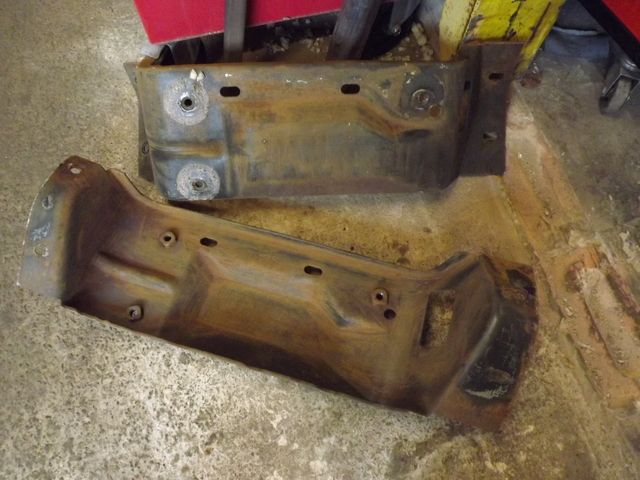
Got the Dart turned around in the garage and on axle stands and the benchseat out so I've got good access all over and under. What started as I'll just rewire the backup lights as indicators ( needed for UK MOT) turned out to be take the complete bumper off. But on the plus side the rear valance is completely rust free the 2 rust marks are just that off the bumper supports.
DSCF0905_zpsmjrlfhuo.jpg


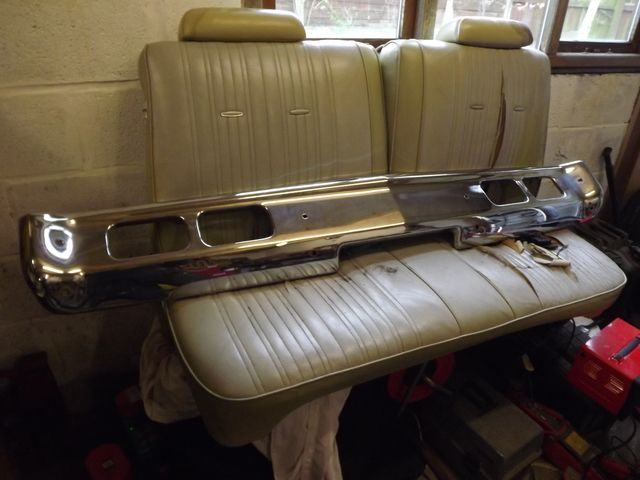
The rear bumper is good too, with only slight surface rust inside.
So whilst it's off I'll treat it (of course I mean rust treat and not take it out for dinner!) Then I'll give it a coat of paint and do the same on the bumper supports.
DSCF0906_zpsekjpyp4w.jpg

DSCF0907_zpsnvntpxm1.jpg

DSCF0908_zps4pkpb84w.jpg


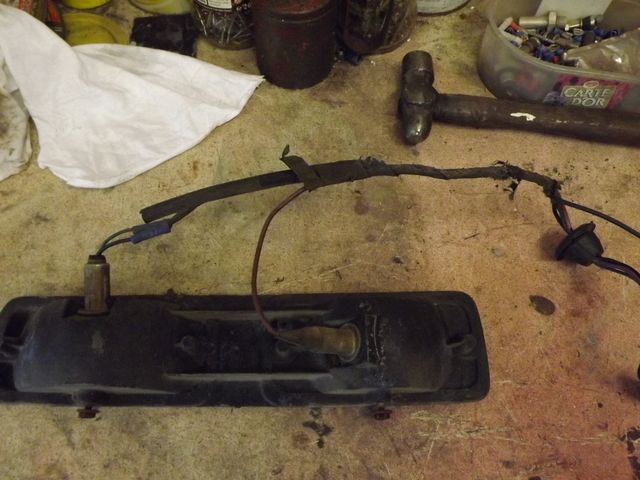
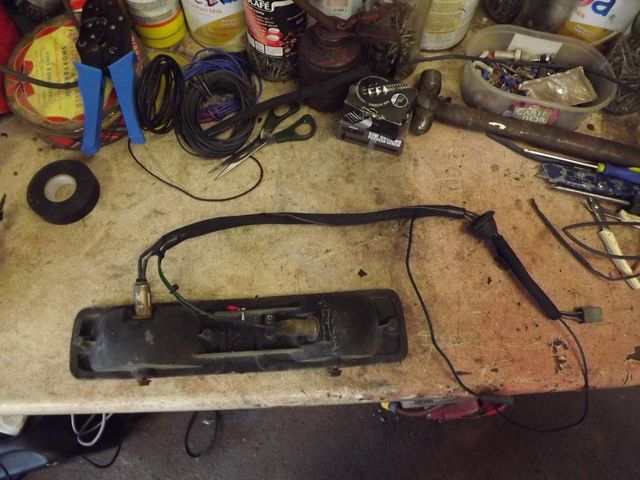
The wring to the rear lights had the dodgy inline crimp connectors which I hate, so redid the wiring and converted the backup lights to indicators and re covered in loom wrap
DSCF0909_zps1cfg4nul.jpg

DSCF0910_zpss2morjmw.jpg

DSCF0913_zps2bufvqte.jpg

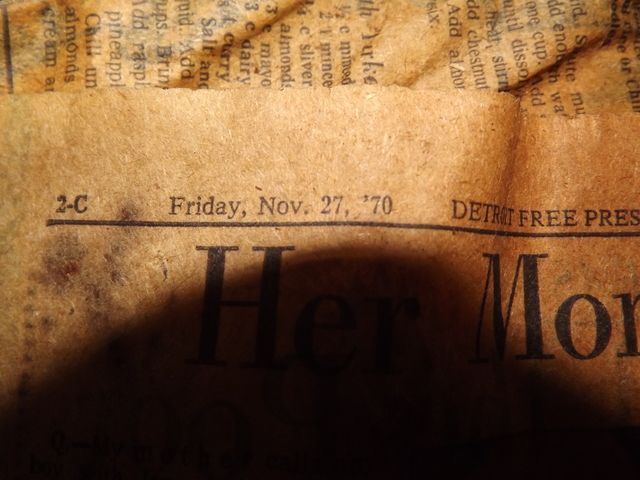
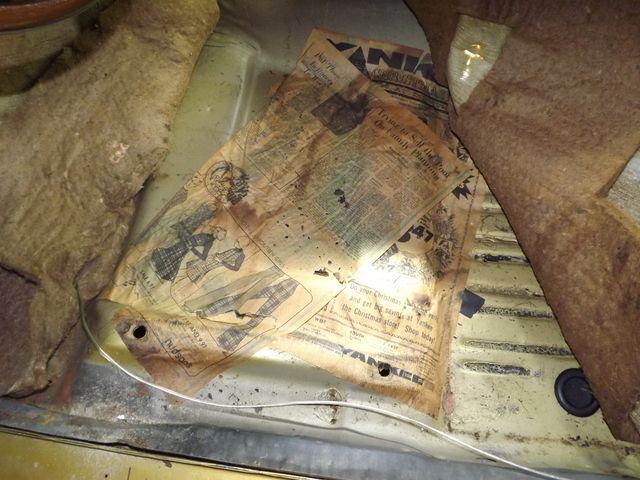
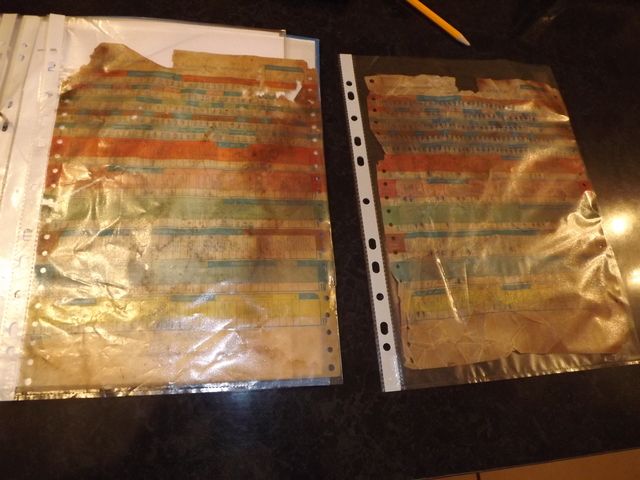
Found the original build sheets under the carpet and a copy of a 1970 Detroit newspaper, did someone at the factory put this in??
DSCF0912_zps7uklgxcj.jpg

DSCF0913_zps2bufvqte.jpg

DSCF0904_zpso7zjknzo.jpg


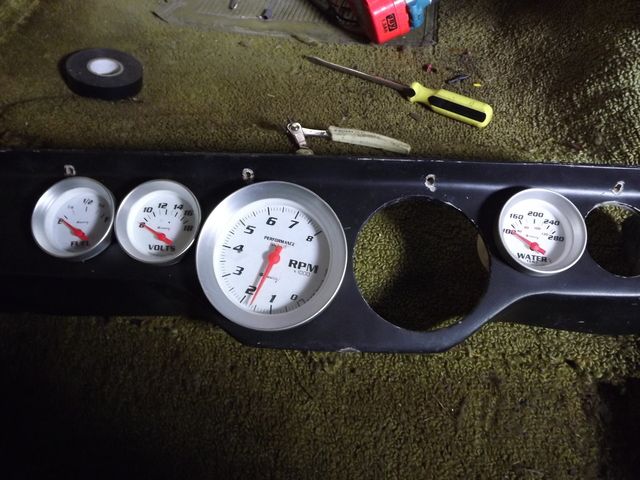
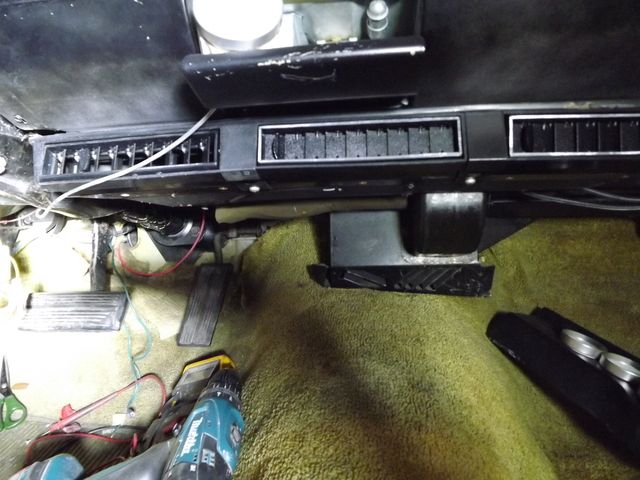
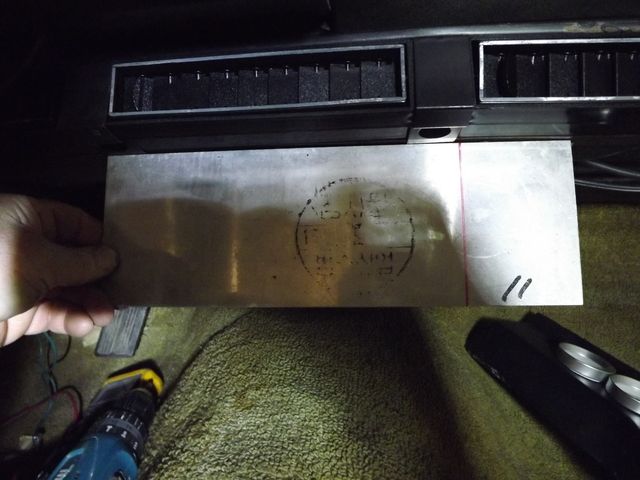
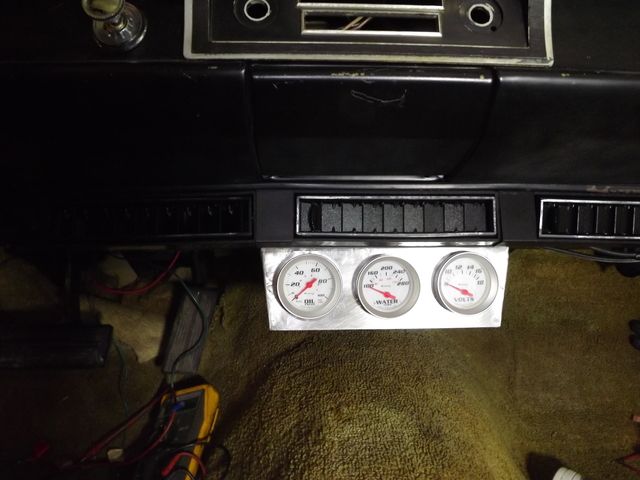
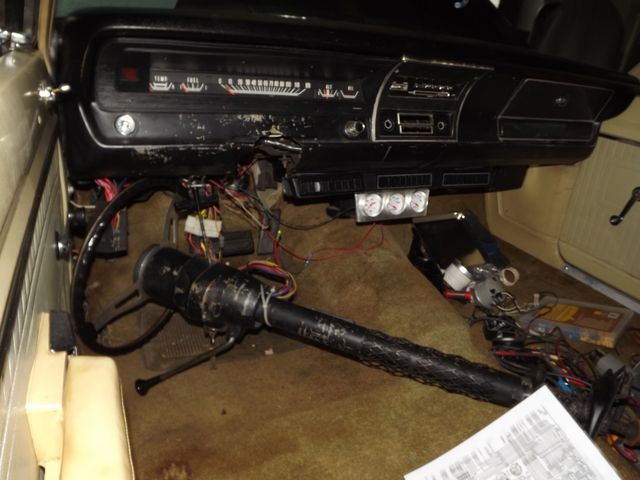
Also with refitting the original type strip speedo I needed a new location for 3 gauges, so made a bracket under the air con vents, I will paint this satin black later
DSCF0919_zpsvkswfqli.jpg

DSCF0917_zpsybofjjyf.jpg

DSCF0918_zpshsddsjv0.jpg

DSCF0922_zpsacoubiin.jpg
 
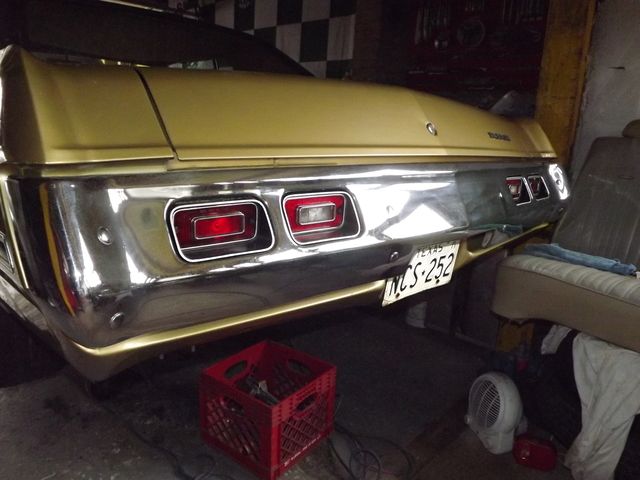
Rear bumper refitted and reverse lights rewired as indicators
DSCF0938_zpsotfqsbb2.jpg

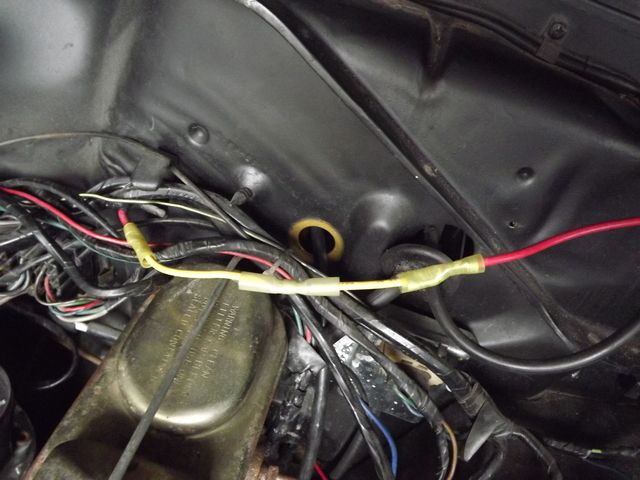
No idea what the previous owner was think when they used 3 in-line connectors on the same wire?? when it goes through the bulkhead to ignition switch there are another 2 connectors, so 5 on 1 wire!!! I'll be replace this with 1 wire.
DSCF0930_zpsgtt8tpob.jpg

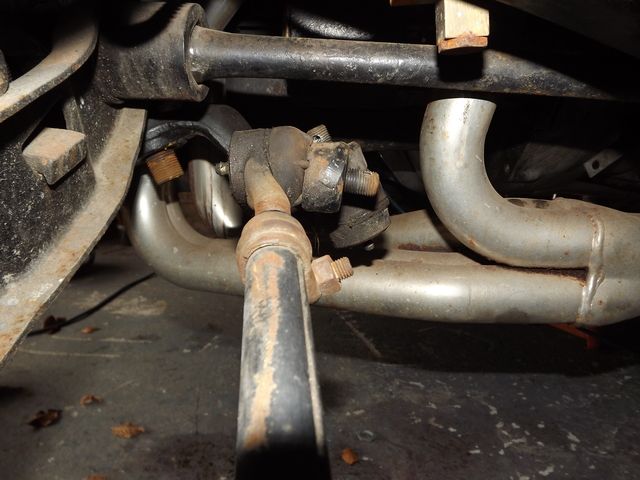
What started out as a simply task to remove the plugs to check compression ended up a major strip down. Headers in the way of the back 2 spark plugs, solution remove header, but first the column must come out. But still the header wont come out, so disconnect the steering arms that go through the headers, then remove the steering pump. TBH it all need to come out as I want to heat warp the exhausts and make a little more clearance where the header was rubbing on the column and they where blowing at the manifold.
DSCF0934_zpskx1kkeyc.jpg

DSCF0935_zpsgyagx8af.jpg
 
Hi Ubercool,

If this was a Texas car most of its life then you will find very minimal rust. The only Texas cars i find with rust since i live out in West Texas are cars that are from the rustbelt states up north since they salt the roads for melting ice in the winter, or a Texas car that speant most of its life on the gulf coast.

You should save the Texas licence tags for car shows, or as long as they are a matching set, the state of Texas can reissue them. Enthusiasts here a lot of times have vintage plates registered with their rides. I have a set of restored 67 Texas tags for my 67 barracuda.
 
Rear bumper refitted and reverse lights rewired as indicators
DSCF0938_zpsotfqsbb2.jpg

No idea what the previous owner was think when they used 3 in-line connectors on the same wire?? when it goes through the bulkhead to ignition switch there are another 2 connectors, so 5 on 1 wire!!! I'll be replace this with 1 wire.
DSCF0930_zpsgtt8tpob.jpg

What started out as a simply task to remove the plugs to check compression ended up a major strip down. Headers in the way of the back 2 spark plugs, solution remove header, but first the column must come out. But still the header wont come out, so disconnect the steering arms that go through the headers, then remove the steering pump. TBH it all need to come out as I want to heat warp the exhausts and make a little more clearance where the header was rubbing on the column and they where blowing at the manifold.
DSCF0934_zpskx1kkeyc.jpg

DSCF0935_zpsgyagx8af.jpg

If i could make a recommendation. Skip the one wire alt. These are really designed for industrial applications, and a lot of times only start to charge at higher RPMs and come offline at idle. I purchased a 50A mini denso alternator with internal regulator. This is a 3 wire alt with T shaped plug.

I rrmoved my external regulator and just attached both wires together. Ran the green sense wire to the terminal in the alt marked I or Ign, and ran the output wire right to the battery with a correctly sized fusible link however a correctly sized mega or maxi fuse could also be used. The L terminal on the alternator can be used for an alt fault light in the dash but is not needed for operation.

Heres pix of the bracket setup i made for my mini denso. I'd also recommend the denso as its easy to get parts for it on any continent.

Also for headers try to make them fit, however id recommend TTI headers if you really have to have headers as these fit with no problems, or look for a set of 68 340 cast iron exhaust manifolds.

A dodge starter off the last generation of magnum V8s is a great upgrade as its half the size of your original starter and only weighs about 8 Lbs but has double the horsepower. These compact starters are made by denso and parts are fairly easy to find. These fit very good with headers and have enough space between them and a header to prevent heat soak causing starter failure.
 

Attachments

  • 20150801_220316.jpg
    36 KB · Views: 262
  • 20150801_220324.jpg
    34.5 KB · Views: 233
  • 20150801_220335.jpg
    32.2 KB · Views: 245
I would also rewire the way the alternator runs its output power back to the + side of the battery. The way mopar ran this wiring in this instance was marginal in its day, but add in higher amp output alternator, stereo, other electrical devices, old bulkhead connectors with corrosion on them and you have a recipe for a wire fire.

Here are schematics for an ammeter bypass id recommend. I also modified a sun voltage gage and used its guts to convert the ammeter in my 67 barracuda to volts. The only thing i kept from the barracudas ammeter gage was the ammeter gage face, and pointer.
 
Schematics and ammeter gage mod. I added a 12v LED for a fault light. Used a #50 drill and some JB weld epoxy to glue it in. This makes it look somewhat hidden when not lit. Being that the LED is polarity sensitive, the red hot wire for thr LED i soldered to the input side of the volt gage guts, the black output wire will go to the L terminal on the alternator. In a fault situation the voltage regulator in the denso shunts to ground turning the light on, or on startup the fault light will light up until alternator comes online. Usually a second or 2.

Diagram B is what you should wire it to be. Diagram A is stock wiring. Notice how all the alt output in diagram A goes through the bulkhead and inside the car to feed the ammeter then it goes to the battery. This was marginal back when these cars used a 20amp alternator.

If you mod the ammeter gage to volts it only needs an ign hot sense wire, and chassis ground. This is way safer than the old ammeter gage.

I hope this helps
Matt
 

Attachments

  • 20151126_131358.jpg
    26.6 KB · Views: 265
  • 20151126_133510.jpg
    28.2 KB · Views: 215
  • amp-ga27.jpg
    39.7 KB · Views: 246
  • amp-ga18.jpg
    36.5 KB · Views: 272
Notice that the volt gage mod does not affect the look of the dash panel at all except for position of the pointer when power is off. If you decide to do this theres other threads for the part number of the sun volt gage you need to do this. Its inexpensive at about $16, however its no longer being made. Id suggest snapping one up soon if you want to do this.
 

Attachments

  • 20151114_125103.jpg
    37.8 KB · Views: 214
  • 20151126_133510.jpg
    28.2 KB · Views: 207
  • 20151126_131358.jpg
    26.6 KB · Views: 211
  • 20151126_131343.jpg
    29.6 KB · Views: 220
  • amp-ga27.jpg
    39.7 KB · Views: 215
  • amp-ga18.jpg
    36.5 KB · Views: 221
great advise guys. I'll read and digest! I think its already previous had wiring issues hence the extra wires bypassing plugs etc! But I'll take all this on board and build these improvements into the rebuild.
 
Also didnt like the awful factory backlighting for the stock gages left too many dim spots. I purchased peel and stick 12v #5630 led light strip and lined the inside of my gage bucket.

Evilbay and super cheap $7.00 shipped for 5 meters of it. Plenty of colours available too. I went with green. Only used about 1 meter of it. I soldered the leads to one of the bulb holders. Its dimmable down to 7 volts.

Every 3 segments there is a cut line and solder tabs so this stuff can be used almost anywhere.

Heres pix
Matt
 

Attachments

  • 20151114_125121.jpg
    41 KB · Views: 229
  • 20151110_190709.jpg
    36.3 KB · Views: 191
  • 20151110_194057.jpg
    29.5 KB · Views: 199
  • 20151110_193921.jpg
    19.2 KB · Views: 224
  • 20151110_190758.jpg
    20.7 KB · Views: 202
Heres a schematic and pic of how to wire up a solid state voltage limiter IVR (instrument voltage regulator) for your factory electric gages. These run off 5v and use a vibrating points type limiter to drop 12v to 5v. When the stock limiter fails closed, the gages peg, when it fails open, they drop to the low end. Your factory water temp, fuel level, Oil pressure gages are the ones that use this limiter.

Mine uses ring terminals because my original limiter was located inside the gas gage. Your darts cluster its a little metal rectangle box on the back of the circuit board. You can probably use male spade connectors and plug it in. The nice thing is that for about $2 in materials you can solder up your own IVR

Hope this helps
Matt
 

Attachments

  • 20150309_203523.jpg
    22.3 KB · Views: 178
  • 20150309_203749.jpg
    31.9 KB · Views: 195
  • 20150309_203452.jpg
    24.1 KB · Views: 221
  • IVR schematic.pdf
    10.5 KB · Views: 142
Finally wrestled the headers off and no wonder they were leaking at the head, the grind down weld is not parallel to the flange.

DSCF1015_zpswqupqsju.jpg


DSCF1016_zpstulxzl89.jpg


DSCF1018_zpsh2oydd9i.jpg


I now need to grind these flush and tweak the pipes where they have been touching on the power steering pump, steering arms, steering column and block, then will cover in heat wrap. I might also add a 5mm shim to the engine mounts to give a bit more clearance to the power steering as previouslt it was so closethe pump has worn a groove in the manifold.
 
-
Back
Top