Dusterdude72
IN MOPAR MUSCLE MAGAZINE
Thanks!Amazing build and kudos to doing it all yourself. Sorry I missed it for so long. Keep the updates coming!
it has not been easy and I still have a bunch left to go but the list is getting smaller!.
Thanks!Amazing build and kudos to doing it all yourself. Sorry I missed it for so long. Keep the updates coming!
awesome work today dude. way to go :thumbup:
pure quality

holy cow, just noticed my thread has almost 31,000 views on it!
Wow! you are giving me the courage to do my panels myself. I will be following your thread and looking forward to the finished product.
That's because you're doing amazing work at home. You've got talent but seem too modest to admit it. And we just can't wait to see what you're doing next. With the work that you've been doing, I'll bet you could be making some .... make that alot of extra $$$ working on other FABO members cars or even at a restoration shop. Think about it. This could be your calling.
Wylde1.
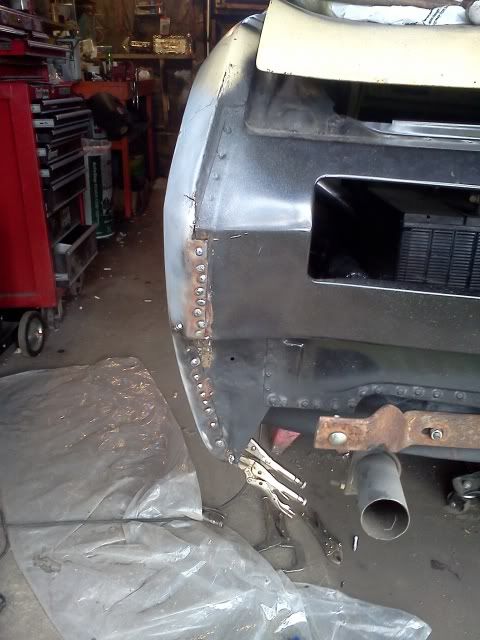
This!, I have the same repair work to do on my 72. Dusterdude72 is making me reconsider farming the work out.
:thumrigh:
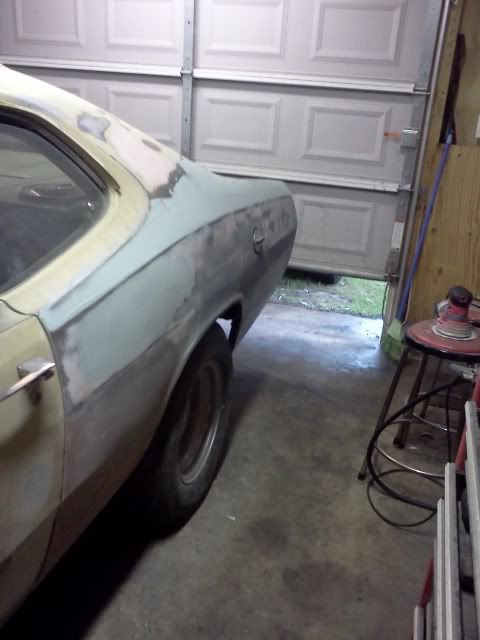
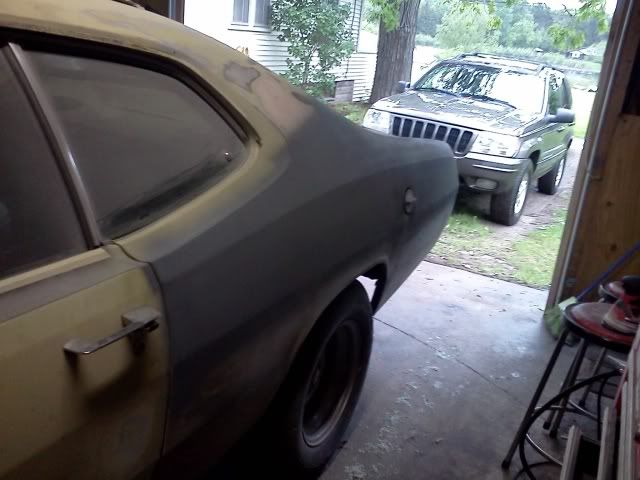
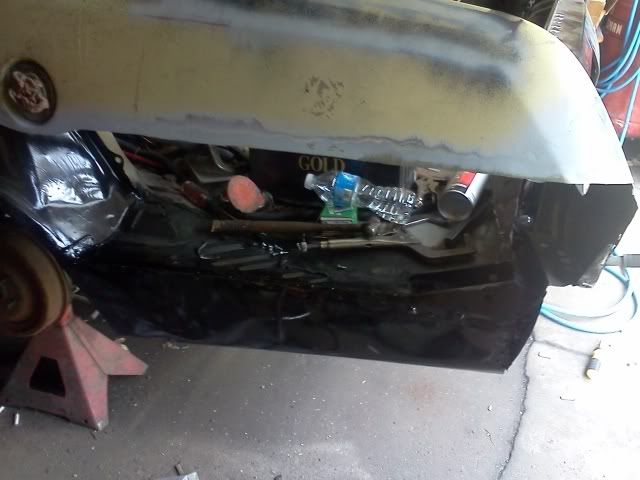
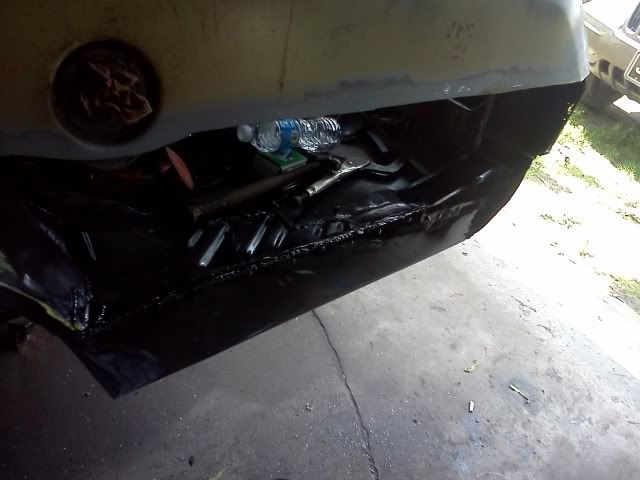
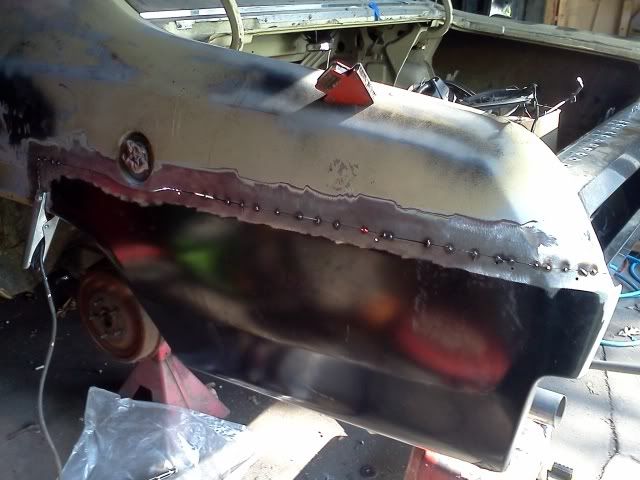
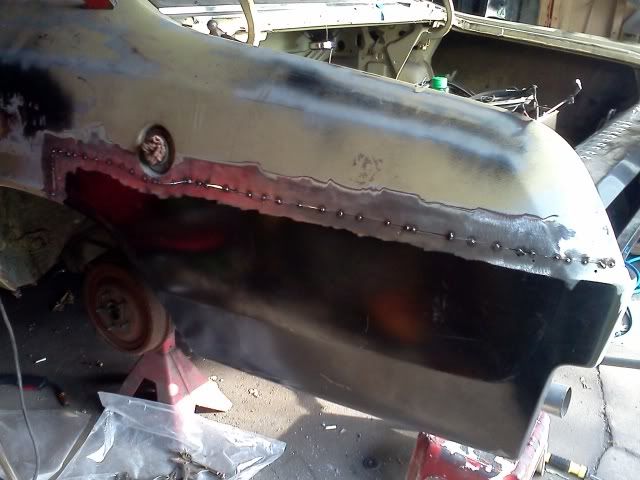
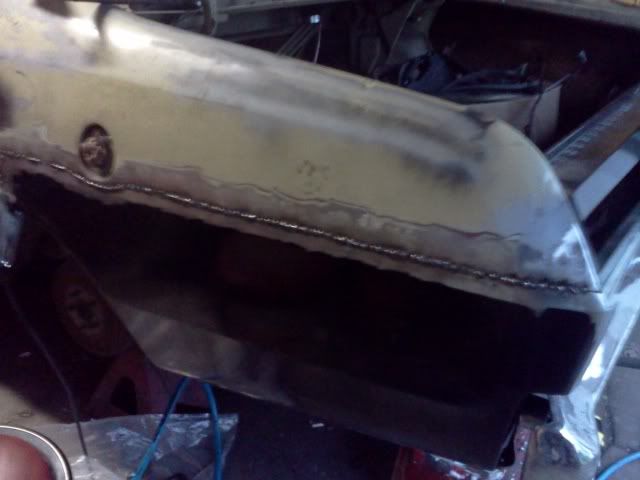
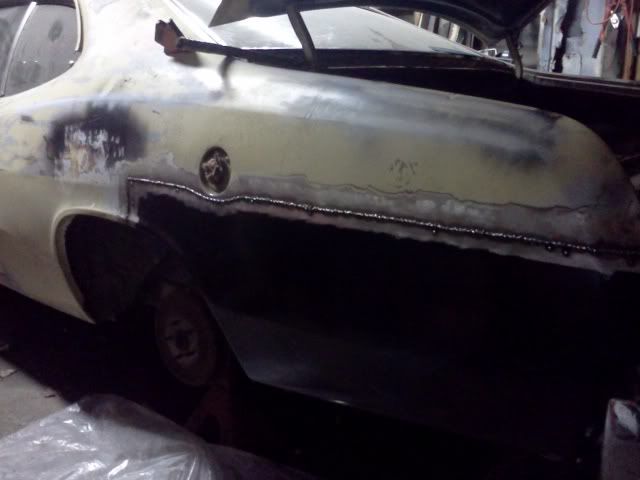
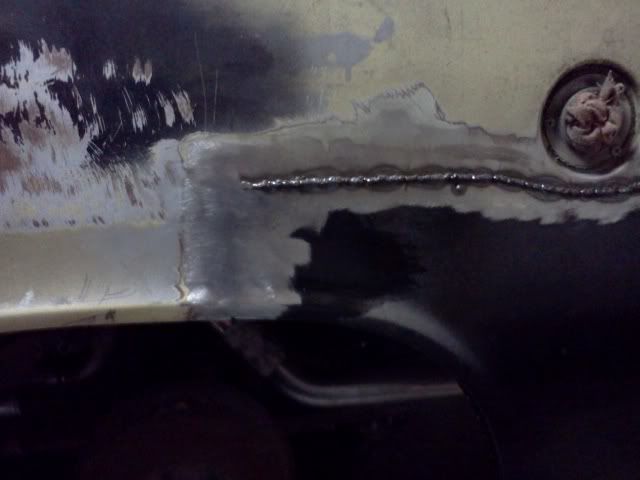
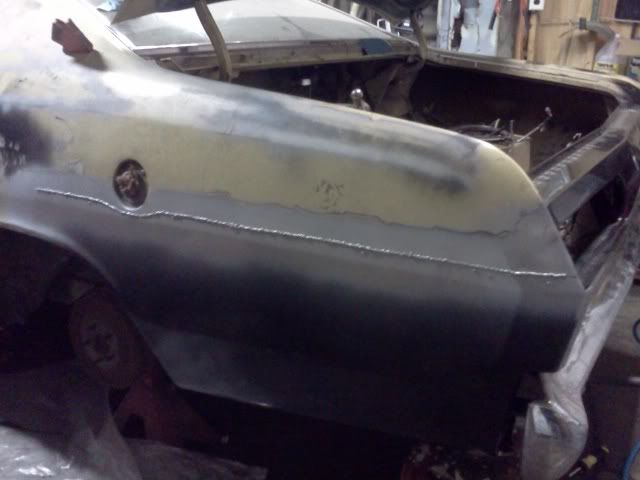
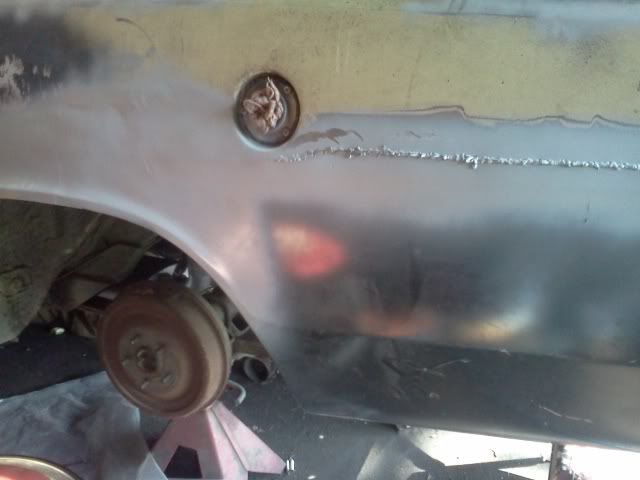
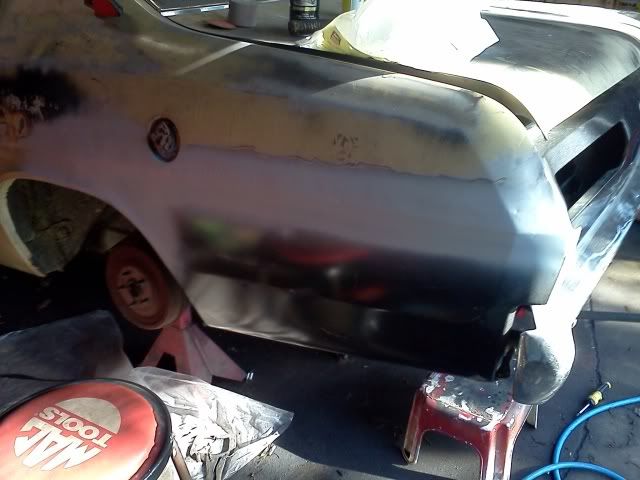
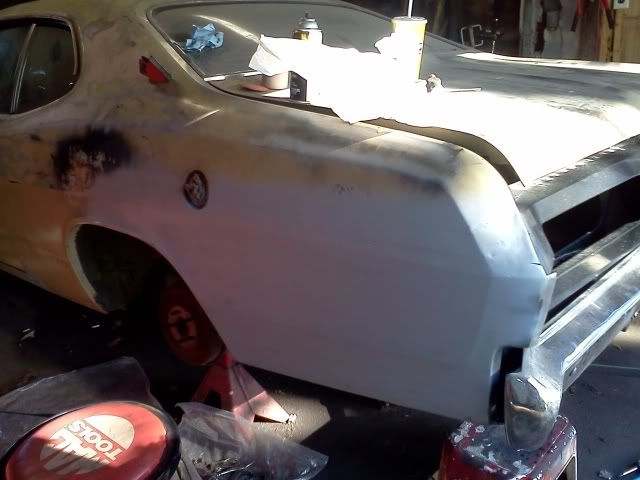
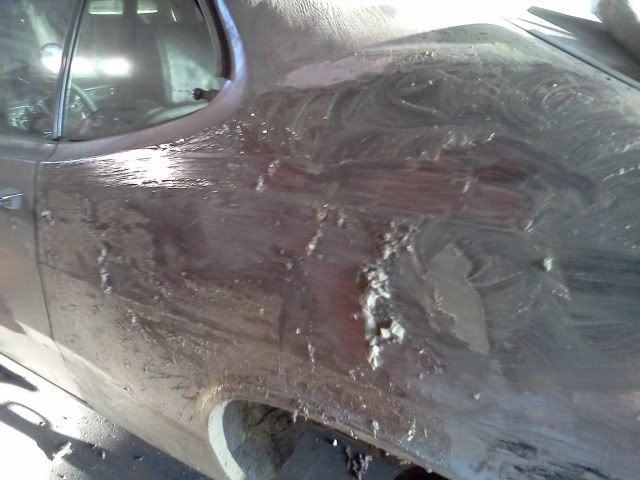
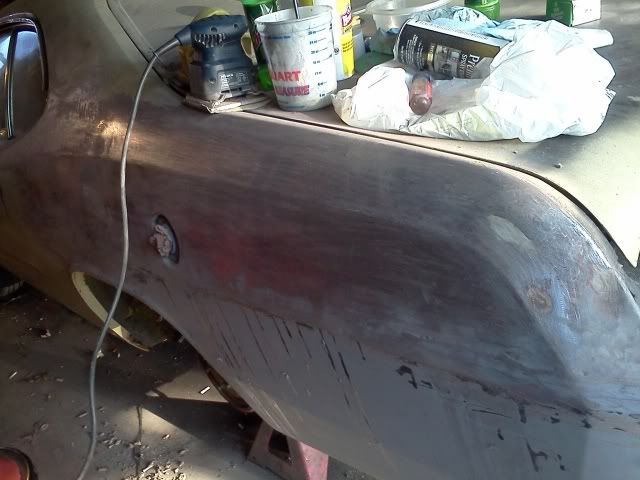
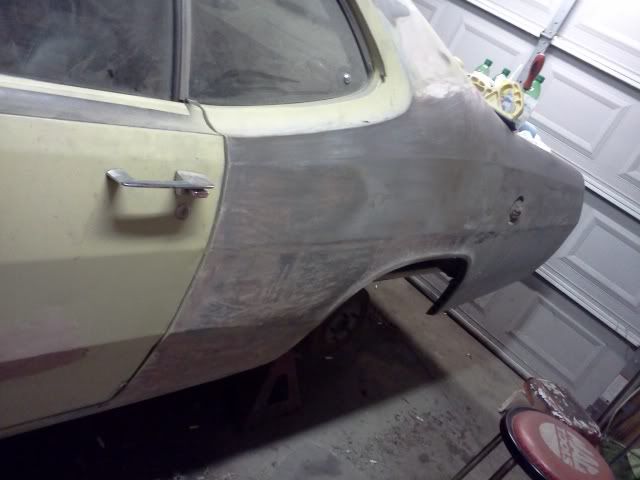
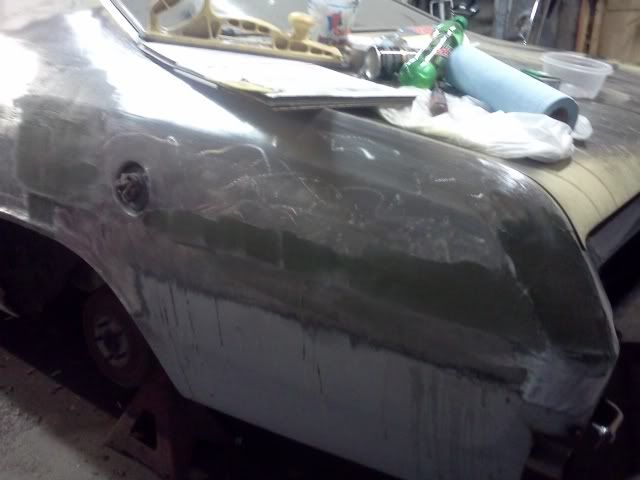
Nice job on the quarter panel patch. I always enjoy seeing what you up to on your build.
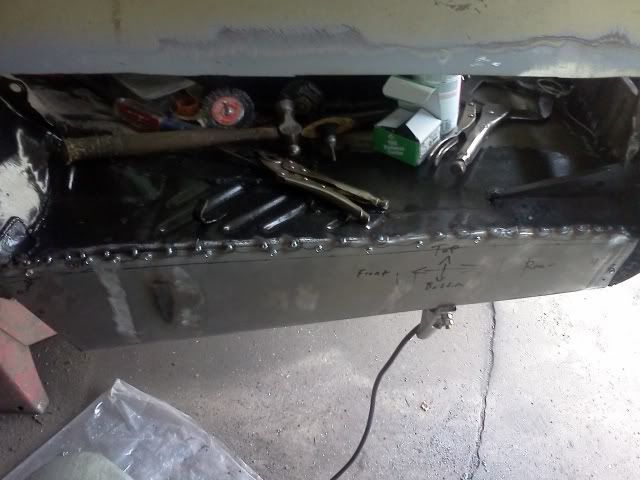
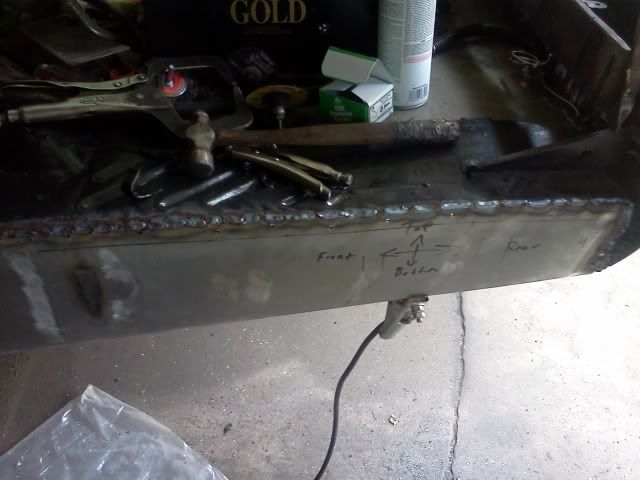
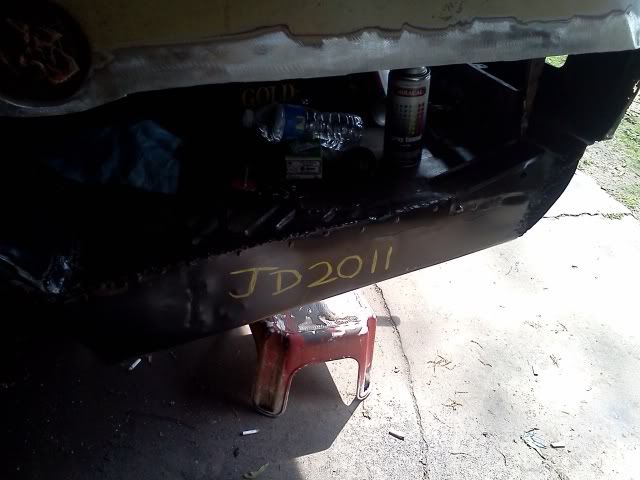
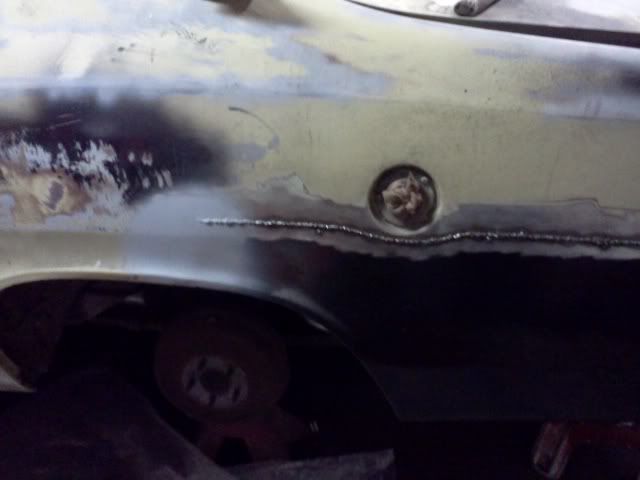
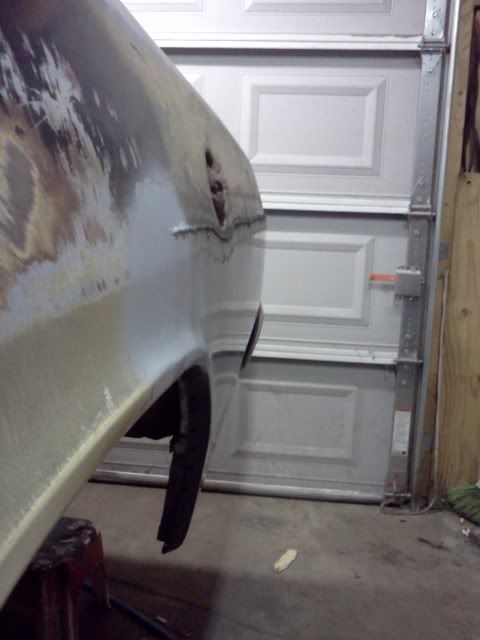
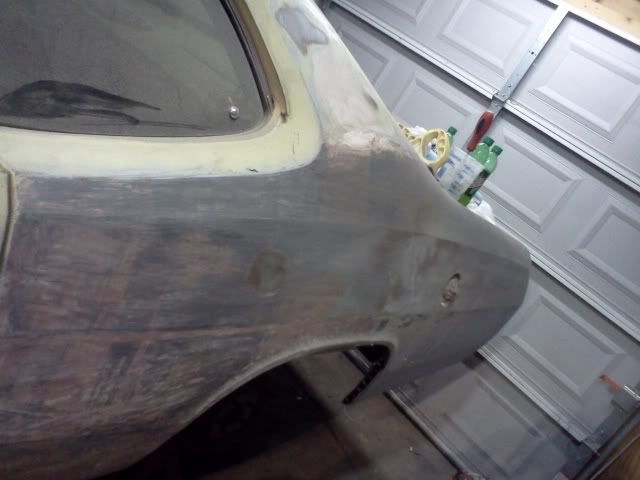
Awesome job on the quarter dude!! I have really enjoyed following this thread.. and Im glad to see im not the only one that 'marked' something for 'recognition' just in case someone gets in there later lmao...
That is some nice welding. Your duster is coming along nicely.
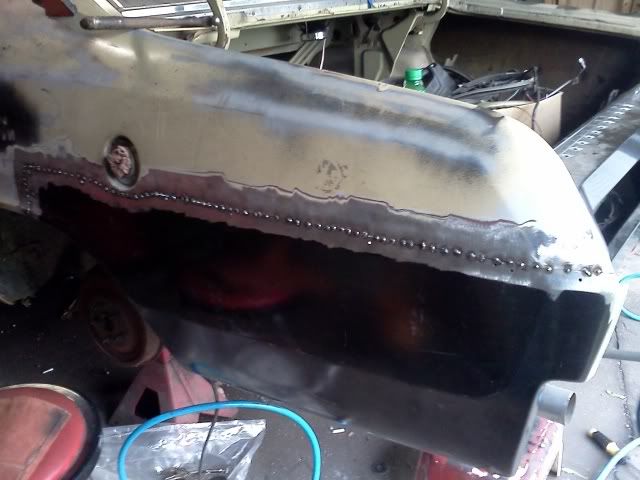
like I told you in our PM's, I was glad I could be part of the reason you marked the trunk floor extension.. its also a fun touch that only you will know about.. lol.. You got more done today than I did.. We didnt get too much done on the buggy tonight.. although we did find and fix a pretty major electrical problem.. It was basically a fire just waiting for a place to happen.. so I am glad its worked out.. Awesome work on your quarter! ..
I didnt get as much done today as I would have liked to of......hell, Id liek the car to be done lol.
glad to hear you figured out your little electrical quirk!
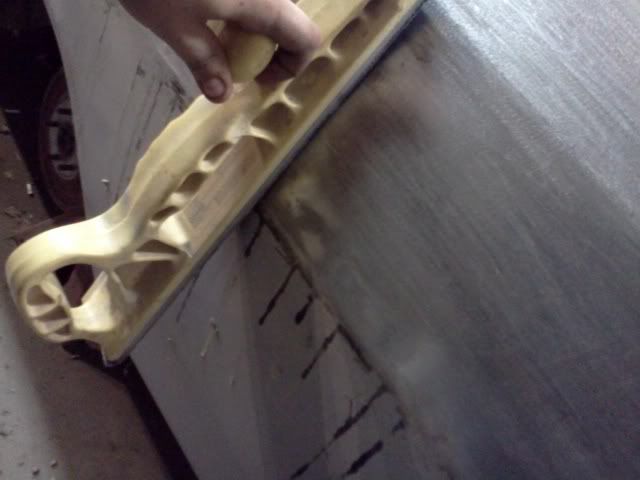
I just want to hurry up and get my metal work done so I can look back and say "I sure am glad thats done and over with lol"
Man oh man you are very talented, the car is coming out quite well. Love the little signiture you left behind nice touch, can't wait to see more progress. Great Work!
THANKS
Brad
It still seems like you got alot done to me.. LOL .. and yeah I am pretty happy we found and fixed my electrical issue.. it would've sucked big time to have done all this work, only to have the car catch fire.. and I can totally relate about just wanting the car to be done.. at this point I feel like the progress on the buggy is in slow motion.. sometimes it gets hard to see the light at the end of the tunnel.. but I know we're gonna get there eventually...
Most of my friends that do have any sort of vehicle knowledge are into mud trucks and off road rigs.....so my car is not in their interests lol.
most of my friends are only willing to help if there is something in it for them......no friends that I can con into work with just a 6 pack lol.
oh well, what can ya do