A 1974 Duster - My 2nd one, 41 years later!

-
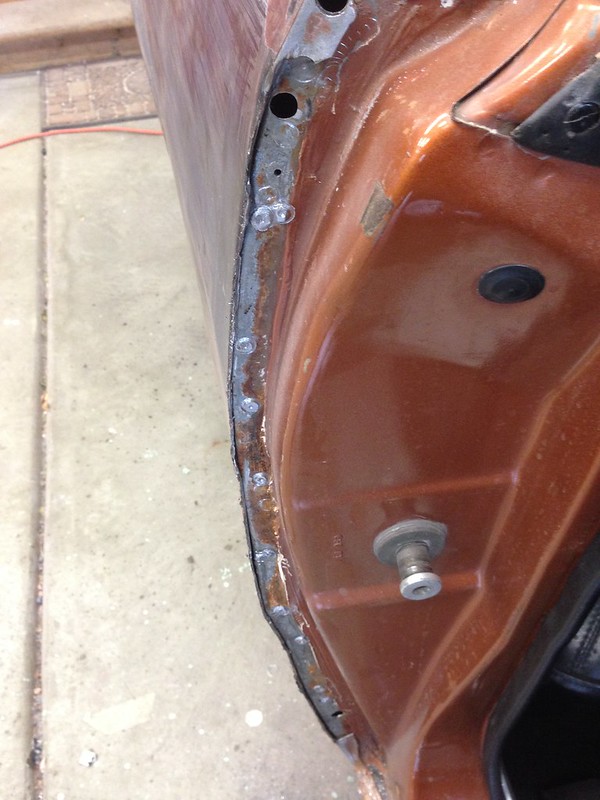
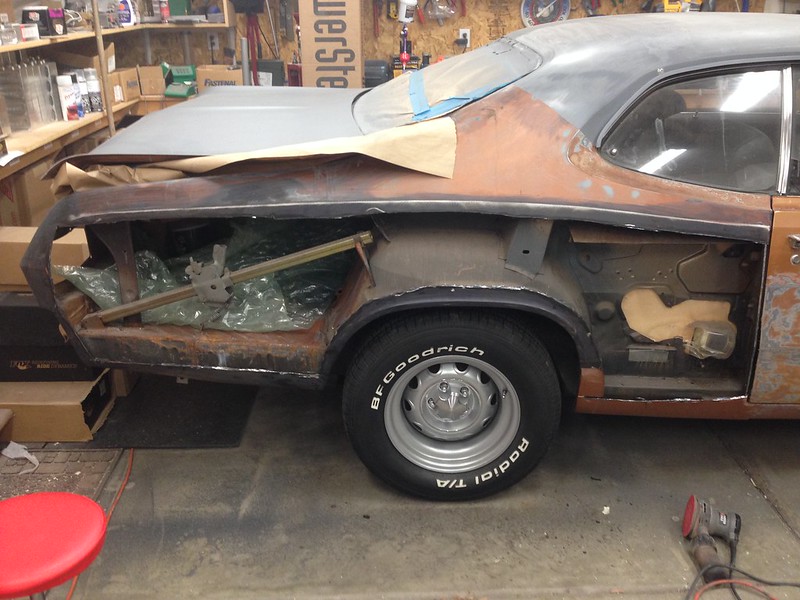
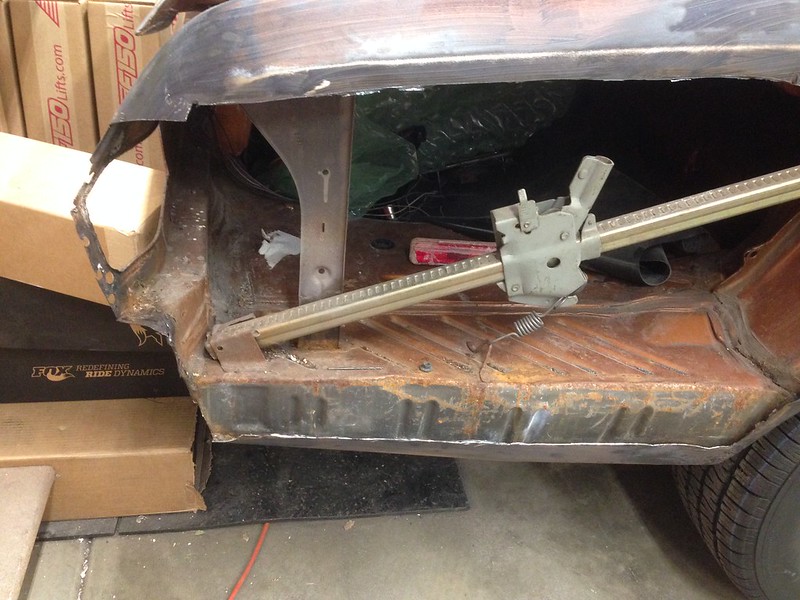
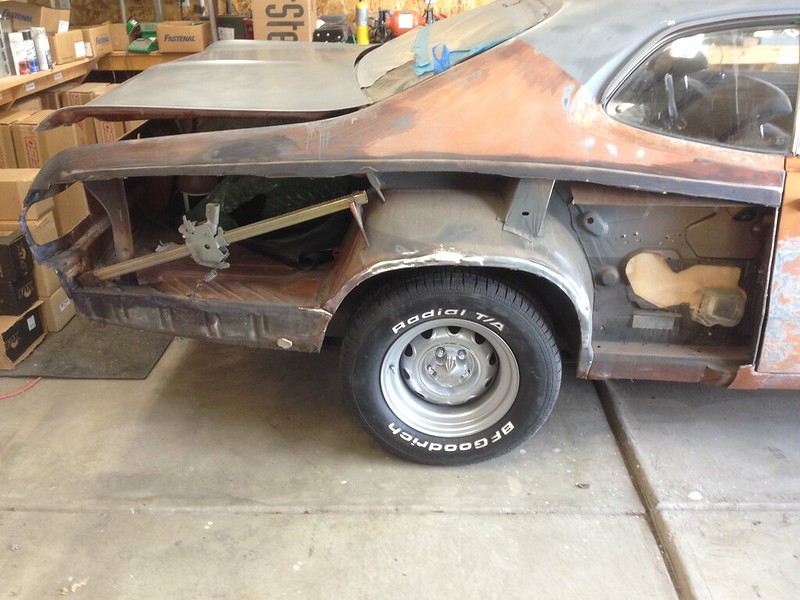
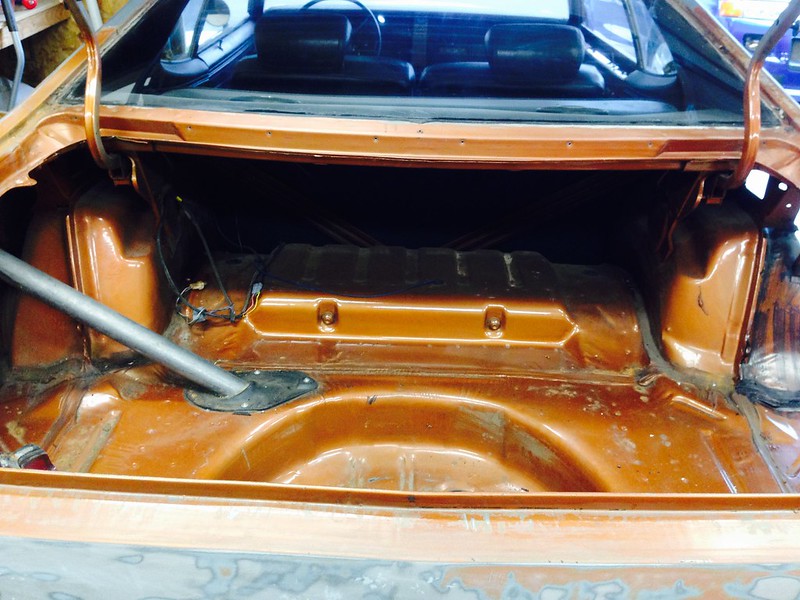
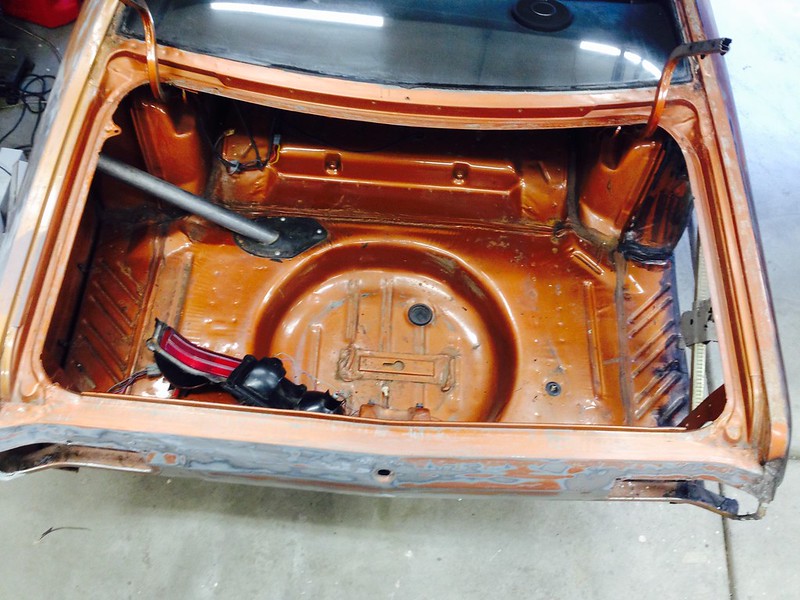
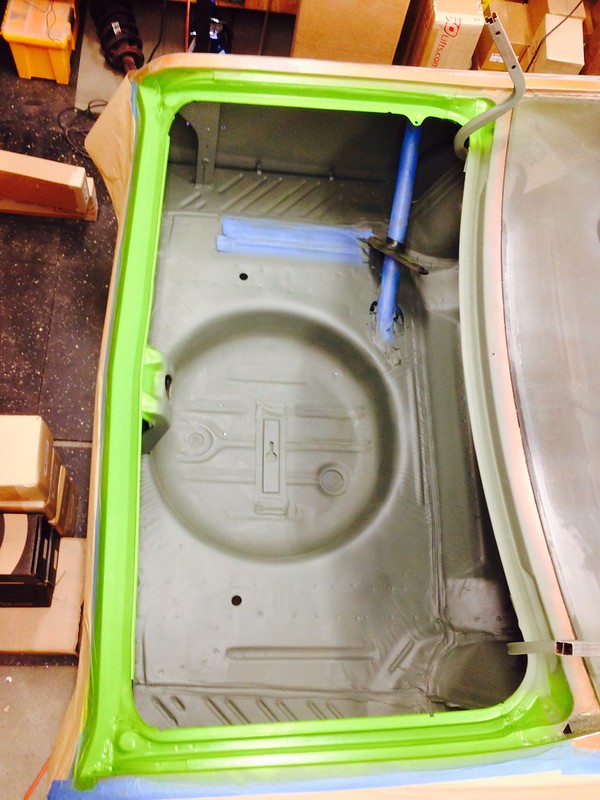
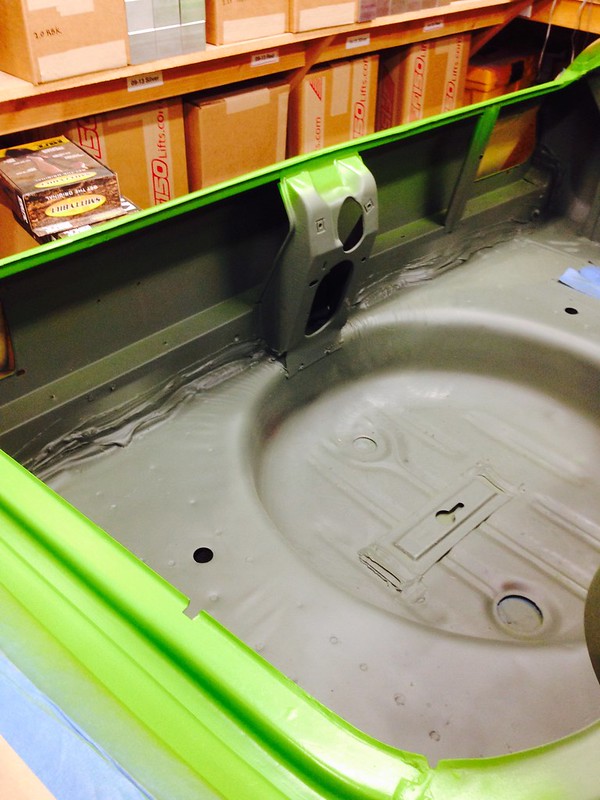
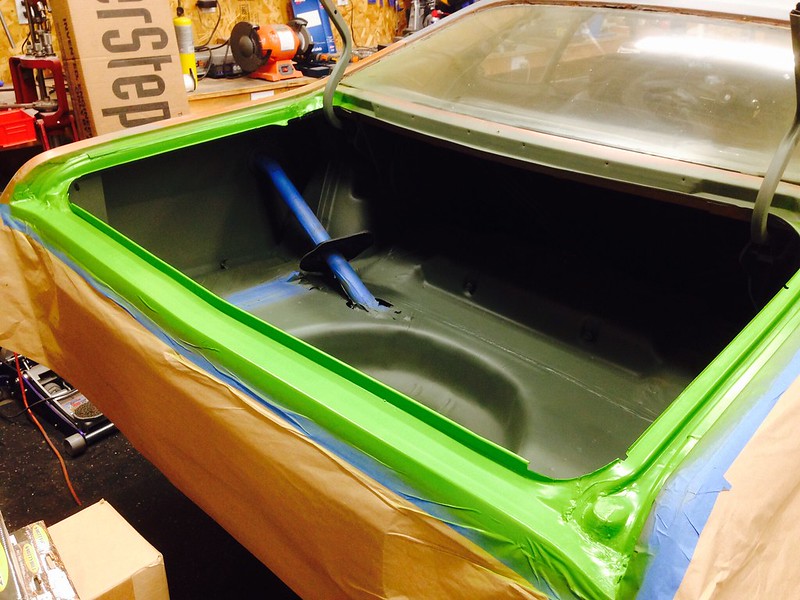
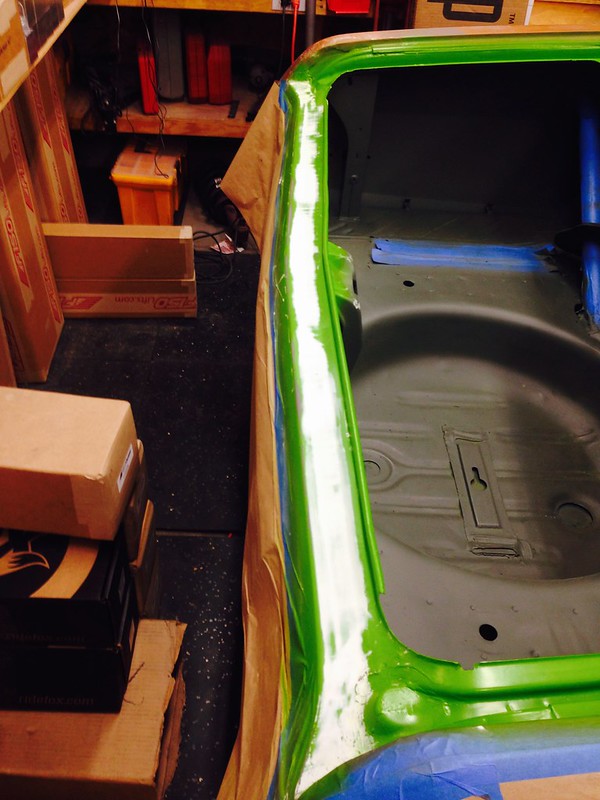
The drip edge had all the hard factory seam sealer like material in that channel. I removed it all just so I could inspect for rust, clean everything up, and get some epoxy in there....but yes it does need a new bead of seam sealer for sure.
 
I owned a 74 360 Duster, red with white interior I was 18 and just like you I had no funds to really make it go. I like your car keep the pics coming. I have two photos on my photo gallery.
 
Thank you tqfastfish.

I started the spot weld cutting of the quarter panel. I messed up in 3 spots and went all the way through. I will weld back those holes. But the removal of the 1/4 panel is in progress! I cut the lip off after the spot welds were cut.

IMG_2172 by Alexl5280, on Flickr
 
Wow!
I had a bunch of guys tell me not to take out that door seam or remove the above the bodyline...We did both skins lap welded. We cut the old skin to about 3/4" from the high bodyline and the door seam. The pic I show of our cut is the rough cut.

For a purist, I think the way your going about it is the best, but I'm happy how ours came out too....
 

Attachments

  • cut.jpg
    33.9 KB · Views: 903
  • lap.jpg
    40 KB · Views: 880
  • p11.jpg
    28.7 KB · Views: 891
  • p12.jpg
    25.9 KB · Views: 870
  • fc.jpg
    130.2 KB · Views: 877
Yup...this car is pretty darn clean!!! Almost zero rust. Got the end cap off today. Tomorrow I will remove the remaining 2 lower pieces and around the wheel well. Then to plan for the final cut.

IMG_2481 by Alexl5280, on Flickr

After reading and reading...this is my plan for fitment and install. Hope wjaholic doesn't mine me borrowing his picture.
Here is the thread where I found wjaholic's explanation and pictures: http://www.forabodiesonly.com/mopar/showthread.php?t=149838

DSC_4447 by Alexl5280, on Flickr
 
Maybe you should use a 1972 rear bumber because it has the notches so you can still use the jack if you have to..
 
Attacking the doors. Since I will be doing a color change all parts of the door that had original paint must be addressed. Glass out, felt out, door handle and door lock removed, now I can strip the rest of the gold crap paint and ready for primer. I will be removing the door so I can paint the inside jam area, but won't take the door off until the quarter panel skin is in place and aligned properly. Weather stripping will be all removed and replaced also.

FullSizeRender by Alexl5280, on Flickr

FullSizeRender by Alexl5280, on Flickr

FullSizeRender by Alexl5280, on Flickr
 
Working on trunk area. Color conversion in process. Blue tape on driver's side of trunk floor is a rust through spot. I will be cutting out and welding in a 2x15" piece of sheet metal. Last test on the underside of the trunk lid to make sure this is the color we are going with. I think it's a Go for FJ6 Sassy. Decision made, PPG Deltron FJ6 on order. Inside trunk I am scuffing with 80 grit and hitting with an etching primer. Epoxy primer will cover the etching primer, then FJ6 when it arrives. SPI Universal Clear over the Deltron.

FullSizeRender_2 by Alexl5280, on Flickr

FullSizeRender_3 by Alexl5280, on Flickr

FullSizeRender by Alexl5280, on Flickr
 
-
Back
Top