A 1974 Duster - My 2nd one, 41 years later!

-
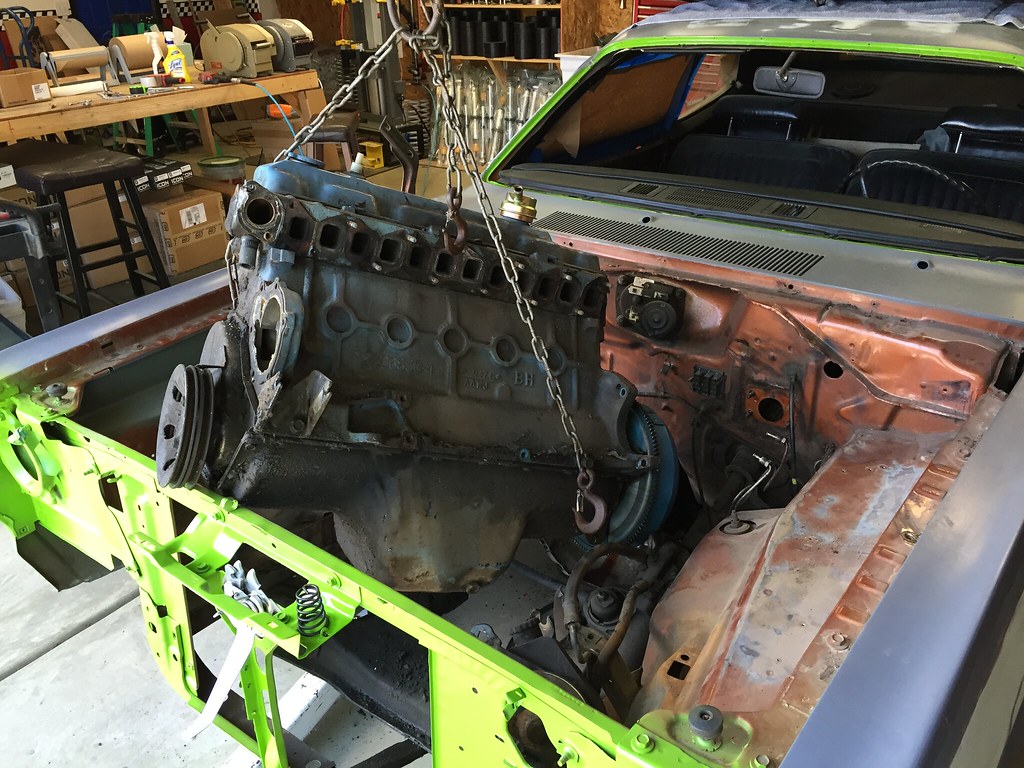
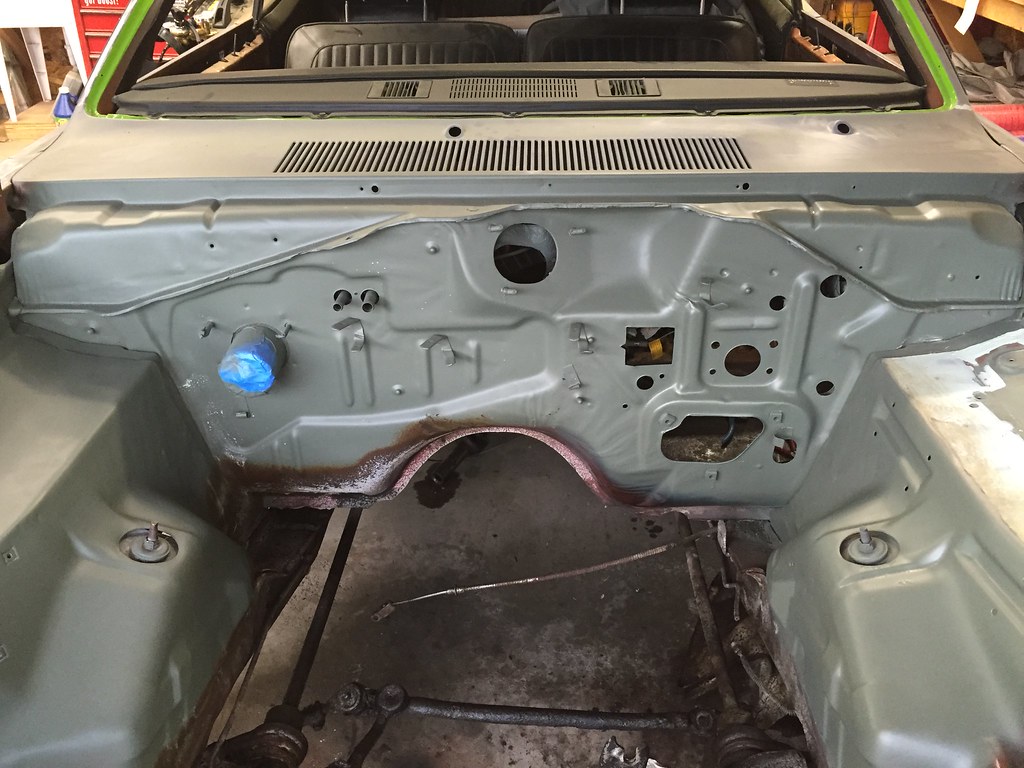
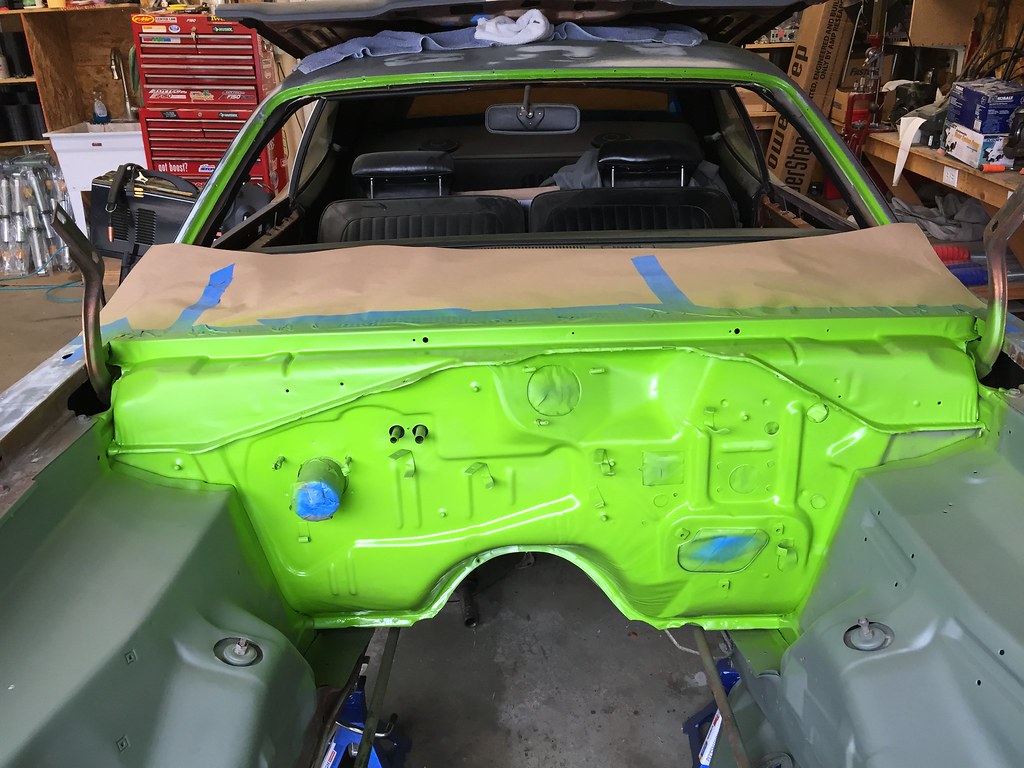
coming right along there alex, looking good! you find a motor yet? i might have a couple of options for you. give me a call.

when is the band playing? i want to come over and sit in........
higgs
 
Thanks Higgs. I've been searching for a 360 or 340...not sured up a deal... yet though.
I will let you know next time we are playing, you are welcome to come sit in. One of the band members is going through some home issues which has put things on hold for a while.
 
Change of directions! Higgs and I had a Mopar/Budweiser meeting last night. This original slant 6 is really standing in my way of progress. I was going to leave the 6 and do all the paint first. But....That leaves the engine compartment that I cannot clean up and paint. So, after a "quick" ride in Higgs Valiant (his car is beautiful and quick) it was decided the 6 has to go.

So Long 6:

IMG_2269 by Alexl5280, on Flickr

IMG_2271 by Alexl5280, on Flickr
 
Ah, you have one foot out on the slippery slope now.....
It was inevitable....
Go For it!
 
Awesome afternoon with Mopar guys at Brian's (Higgs)! Brian lent me an engine puller, along with beers and pizza! Slant 6 will come out tomorrow! Thanks Brian!


Oh....I scored a pristine set of 4 speed pedals today!!!
 
Ok, Steering wheel out and auto/brake pedal assembly out. Cleaned up the petrified dirt and scrapped and scrapped the surface rust. Treated with rust converter. I will get the DA out and hit the floor board with 36 grit and retreat with the rust converter.

4 speed/floor shift hump arrived, looks as if it knows where it goes! Cutting for the hump coming soon.

IMG_2288 by Alexl5280, on Flickr

IMG_2289 by Alexl5280, on Flickr
 
Sanding, more sanding, scraping...bleeding....cussing....then repeat! Anyway lots of prep work before getting to shoot a little primer. Still have more to go before the firewall is all in primer. Used a little glazing putty to smooth the inner fender tops. Also worked on prepping pedals for paint.

IMG_2295 by Alexl5280, on Flickr

image1 by Alexl5280, on Flickr
 
Soaked the K down with a couple cans of heavy duty oven cleaner, let it set over night. This morning I borrowed the nieghbors power washer and man what a difference! Doing one more oven cleaner/power wash treatment to this area and I'll call it good. Then finish priming then painting engine bay next. Even though the K member is cleaner, I really think I will be removing it as I rebuild the suspension and get it dipped and powder coated.

IMG_2297 by Alexl5280, on Flickr
 
Looks like I ran myself out of paint...So, while I'm waiting for more paint to arrive I had this 41 year old suspension staring at me. No time better than now to get everything replaced!

image1 by Alexl5280, on Flickr
 
UCA's: Borrowed the Mopar ball joint socket from Higgs, thanks Brian!, and removed the ball joints from the Upper Control Arms. Then used a ball joint press to press out the UCA bushings.

IMG_2309 by Alexl5280, on Flickr

IMG_2310 by Alexl5280, on Flickr

Collection growing of parts to go off to my powder coater. Still got work to do on the Lower control arms, before they can be painted or powder coated.

IMG_2311 by Alexl5280, on Flickr
 
I used our shop spring compressor to carefully press the pin out of the LCA

IMG_2312 by Alexl5280, on Flickr

Then to get the bushing out was a bit of a learning experience. Getting the rubber part out was a snap with a flat screwdriver. The tough one was the inner steel bushing. I cut a channel with a sawsall, being careful not to cut through the bushing. Then with a chisel and a 2 lb sledge I drove the chisel down in-between the bushing and the outer wall. The bushing tore in half at my sawsall cut and was out in less than 5 min.

IMG_2313 by Alexl5280, on Flickr
 
While I am waiting on parts and paint K member mod/removal needs to happen. Following the Schmock Instruction to modify the Slant 6 "K". I elongated the front hole because they just weren't square to each other. If need be, I will weld in a thick washer when the engine is in and square. Lil' more grinding to do, as per the mod instructions.

IMG_2315 by Alexl5280, on Flickr

IMG_2314 by Alexl5280, on Flickr

IMG_2316 by Alexl5280, on Flickr
 
-
Back
Top