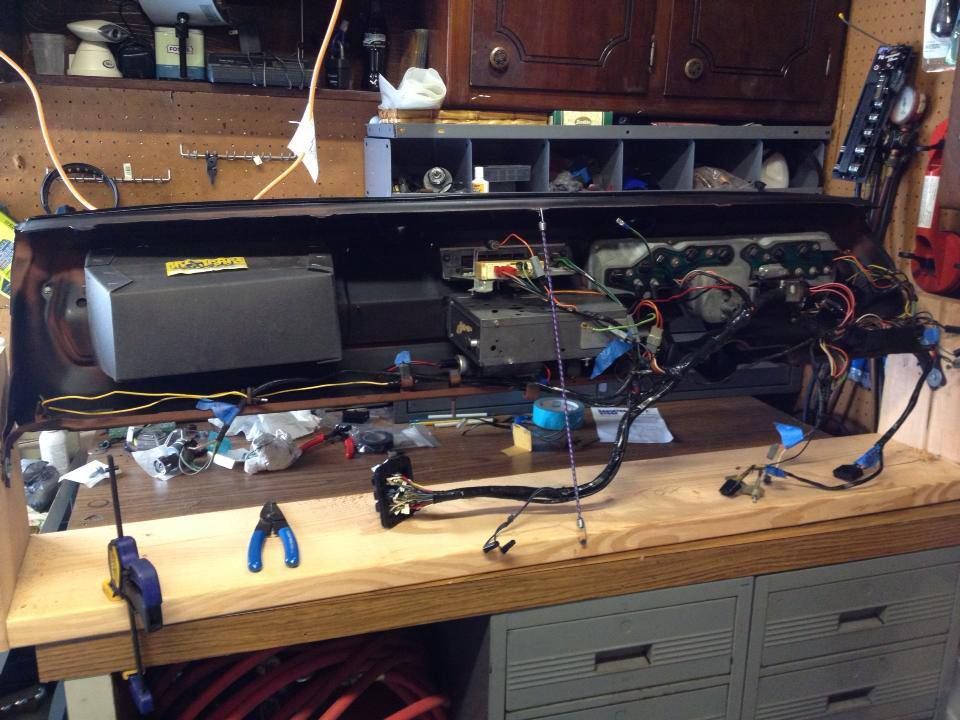
Correct me if i am wrong, but i think you may have the reassembly order off on this one. The heater, pedals, and wiper linkage go in first, , then the dash frame with gages goes in, and the steering column goes in last, up from the bottom.
Id hate to see that nice column get all scratched up trying to fit the dash sheetmetal over it.
Your dash frame sides have 1 slotted hole per side. You loosly thread the bolts in these holes in the body, get somebody to help you fit the dash slots to these side bolts letting it rest on the bolts, and rotate the dash frame upright. Have somebody hold it so you can reconnect your tubes vents and cables for the heater unit, then rotate it full upright and tighten the 5 bolts across the top of the dash, then tighten the 2 lowers.
Matt