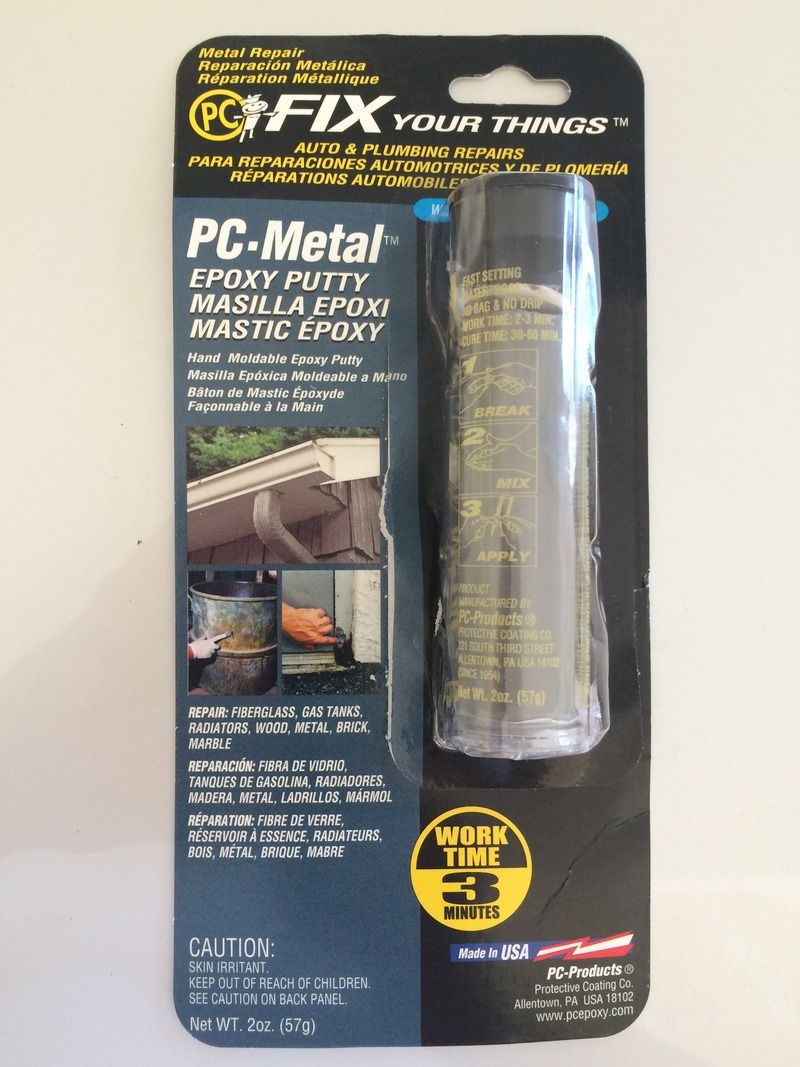
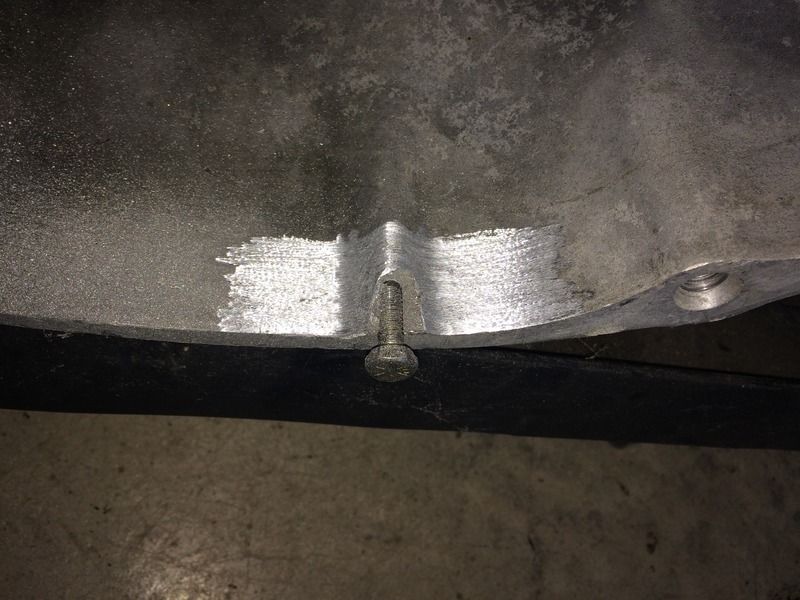
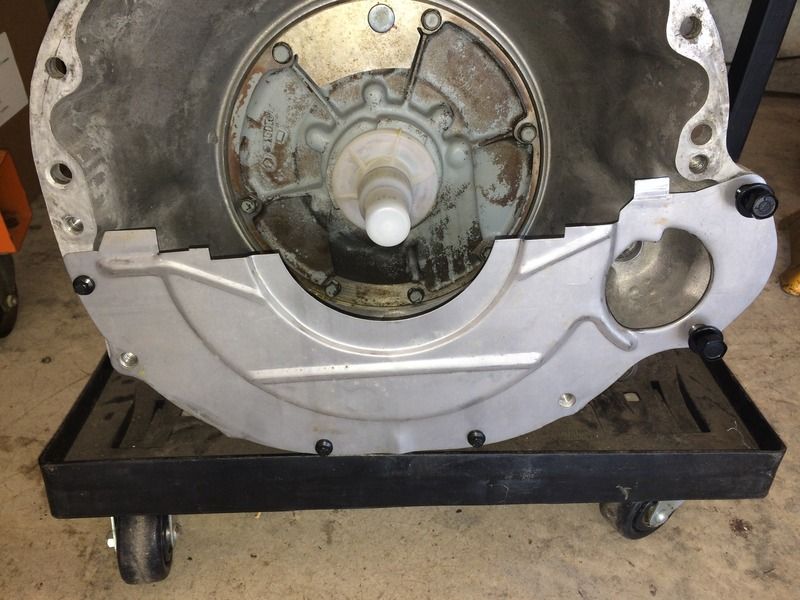
Someone in the past stuck too long of a bolt in my dust cover and busted a piece loose. I can still get a bolt started but am afraid to try and use it as is. What would be the best way to repair this? Epoxy, JB Weld, etc.
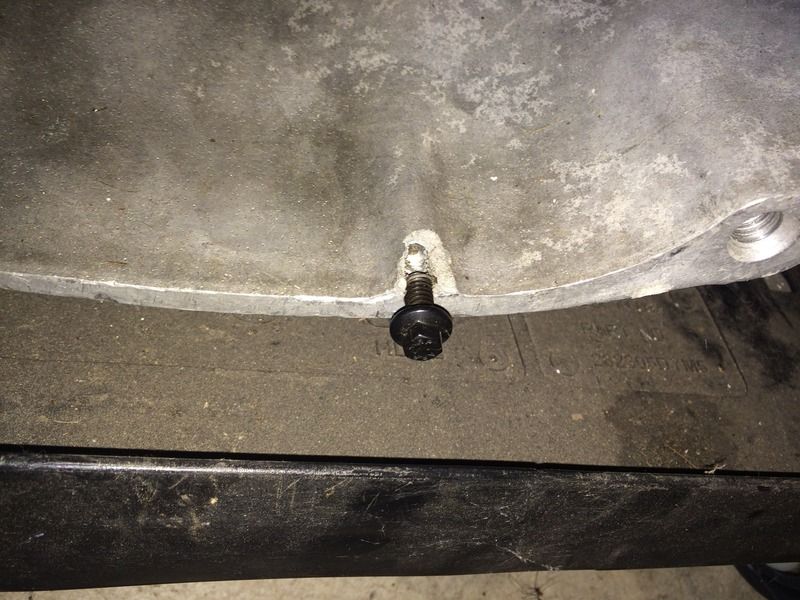
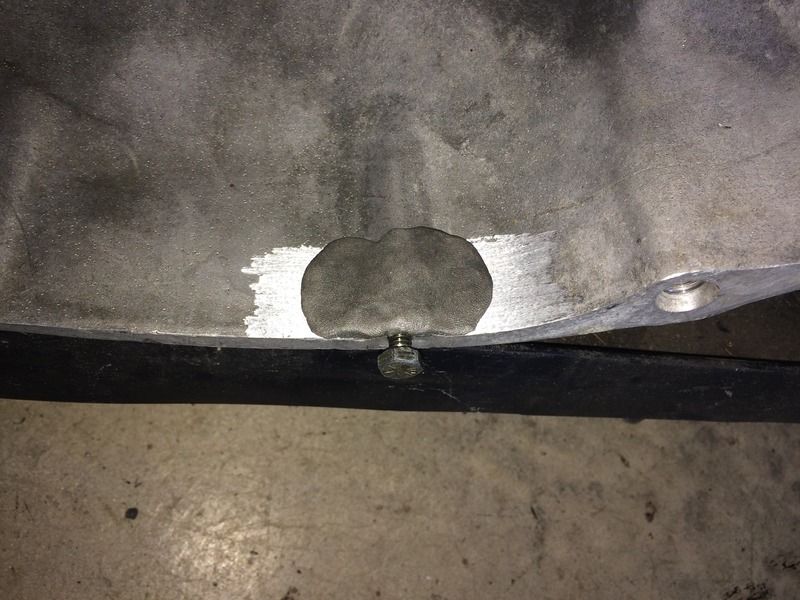
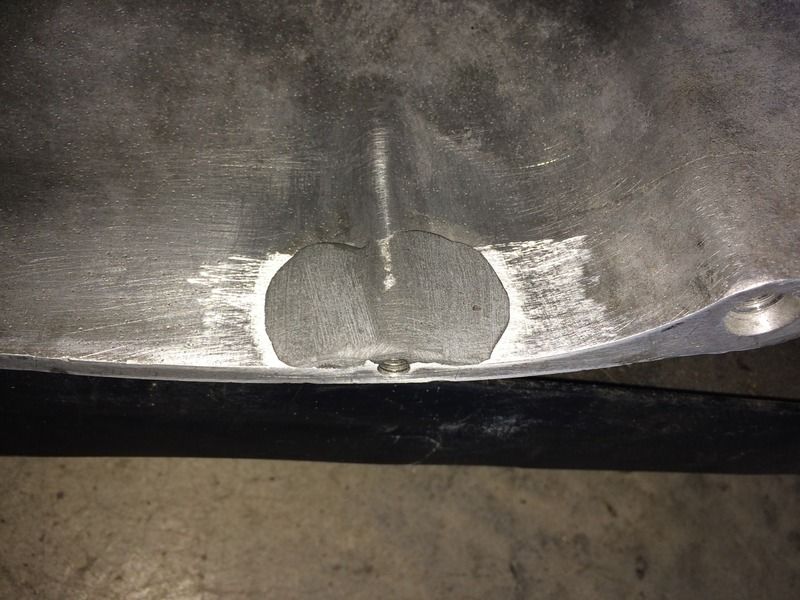
Yeah, it's a dust cover bolt so it's not under a lot of tension. I was thinking I could lightly lube a 1/4-20 bolt and screw it into the damaged area and apply the repair of the top. Then back the bolt out after it's hardened?
Should work, just make sure the cracked area is really clean. Stuff is great. m It is like a hard clay so once it starts to set pull the bolt out to be safe.
Yeah, it's a dust cover bolt so it's not under a lot of tension. I was thinking I could lightly lube a 1/4-20 bolt and screw it into the damaged area and apply the repair of the top. Then back the bolt out after it's hardened?
Read Karl! LOL got ya......finally

You know your lube!
lol!!! :glasses7:
Can i add a "that's what he said..." :glasses7: