silvadful
Well-Known Member
:worthles:
I tried to post pics yesterday, but kept failing to upload. They may be too big, I will retry.:worthles:
I just made a tool to install the harmonic balancer with the engine in the car. I made it out of 3/4 X 16 threaded rod 6 inches long, 3 nuts and 2 washers large enough to cover the hole in the balancer. I welded the end nut to rod, then had to weld 3/4 in washer to a 1 inch washer to make it large enough, 2 ea.
Just put the dampener on crank, and thread the rod into crank by hand until it stops, it doesnt need to be tight. Just hold the welded jut with 1 wrench and turn the other nut. It goes on with no effort at all.
The third nut I use to keep it together while in the tool box. The this can also be use to hold a degree wheel using both adjustable nuts.
I was able to get the dampener on with the radiator still in the car.
Then I got tired of crawling under it so I built my rotisserie.
Very nice work. Just wondering if the uprights might be weak in the longitudinal plane. Maybe a short third brace?
How about a description of them. Some I recognize but some I don't. Thanks
how do you raise and lower it. just made one very similar but havnt put car on yet? still have to make centre brace from post to post . hopefully this weekndThanks for your concern.
We discussed that when we were building it and decided to go this way. One thing I did do after these pictures were taken was to put a caster on the main beam that runs front to back. That made a world of difference.
I can say this. My Demon has been hanging on this now for almost 2 years and there's no sign of fatigue. It goes up & down smoothly and 1 person can spin the car by themselves.
Ted


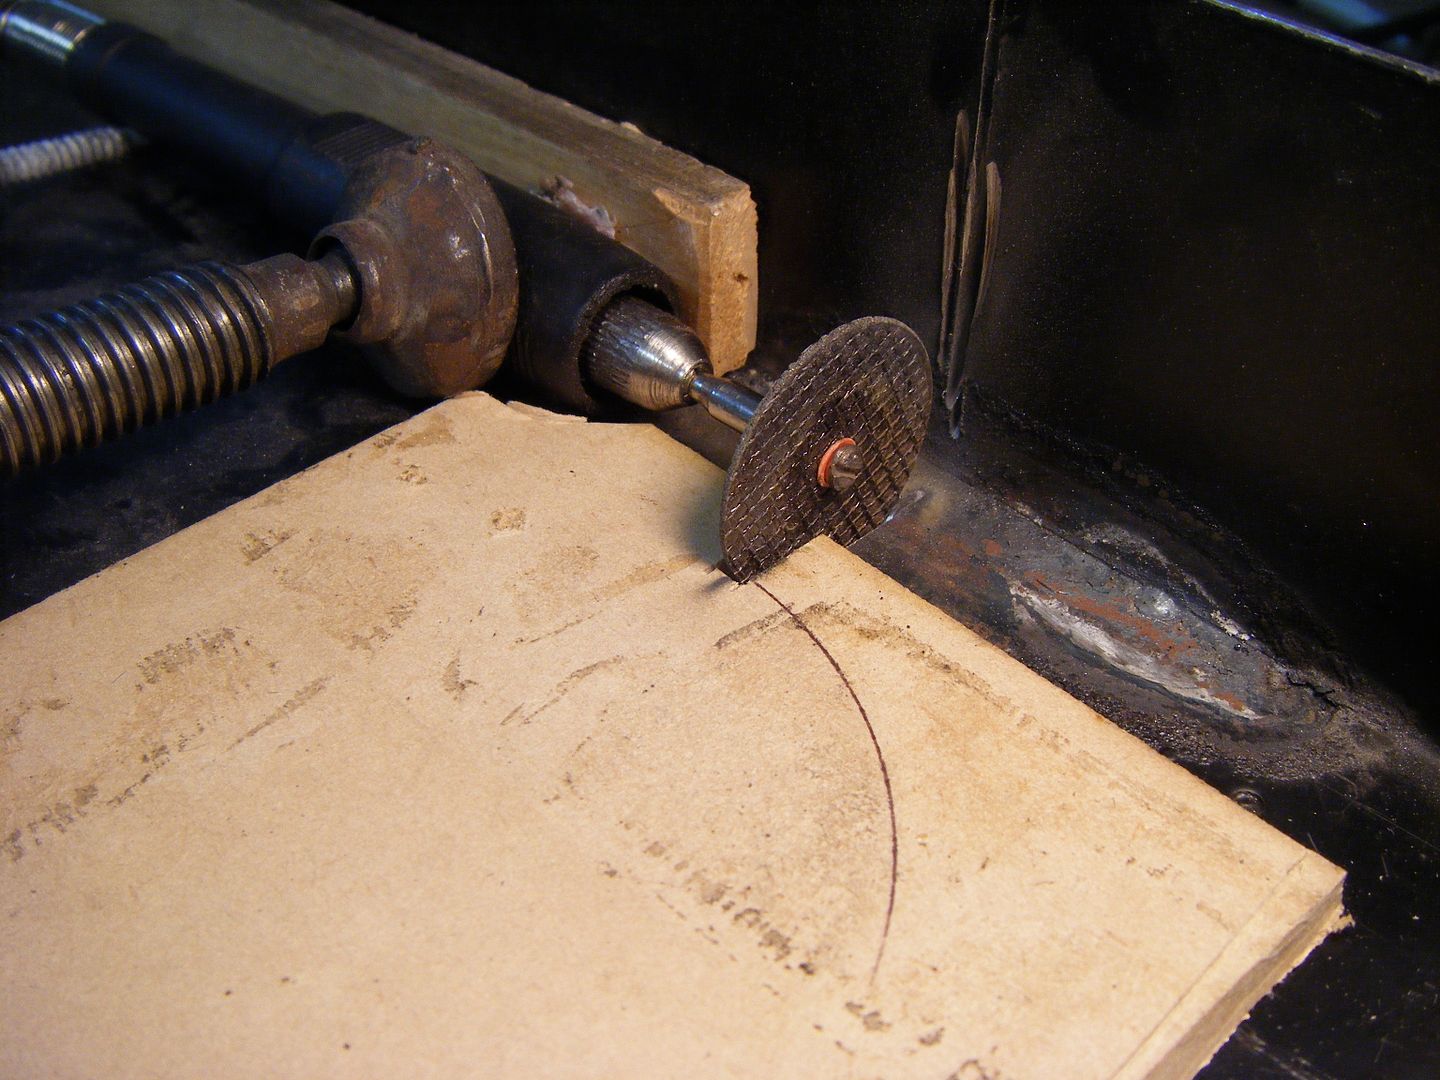
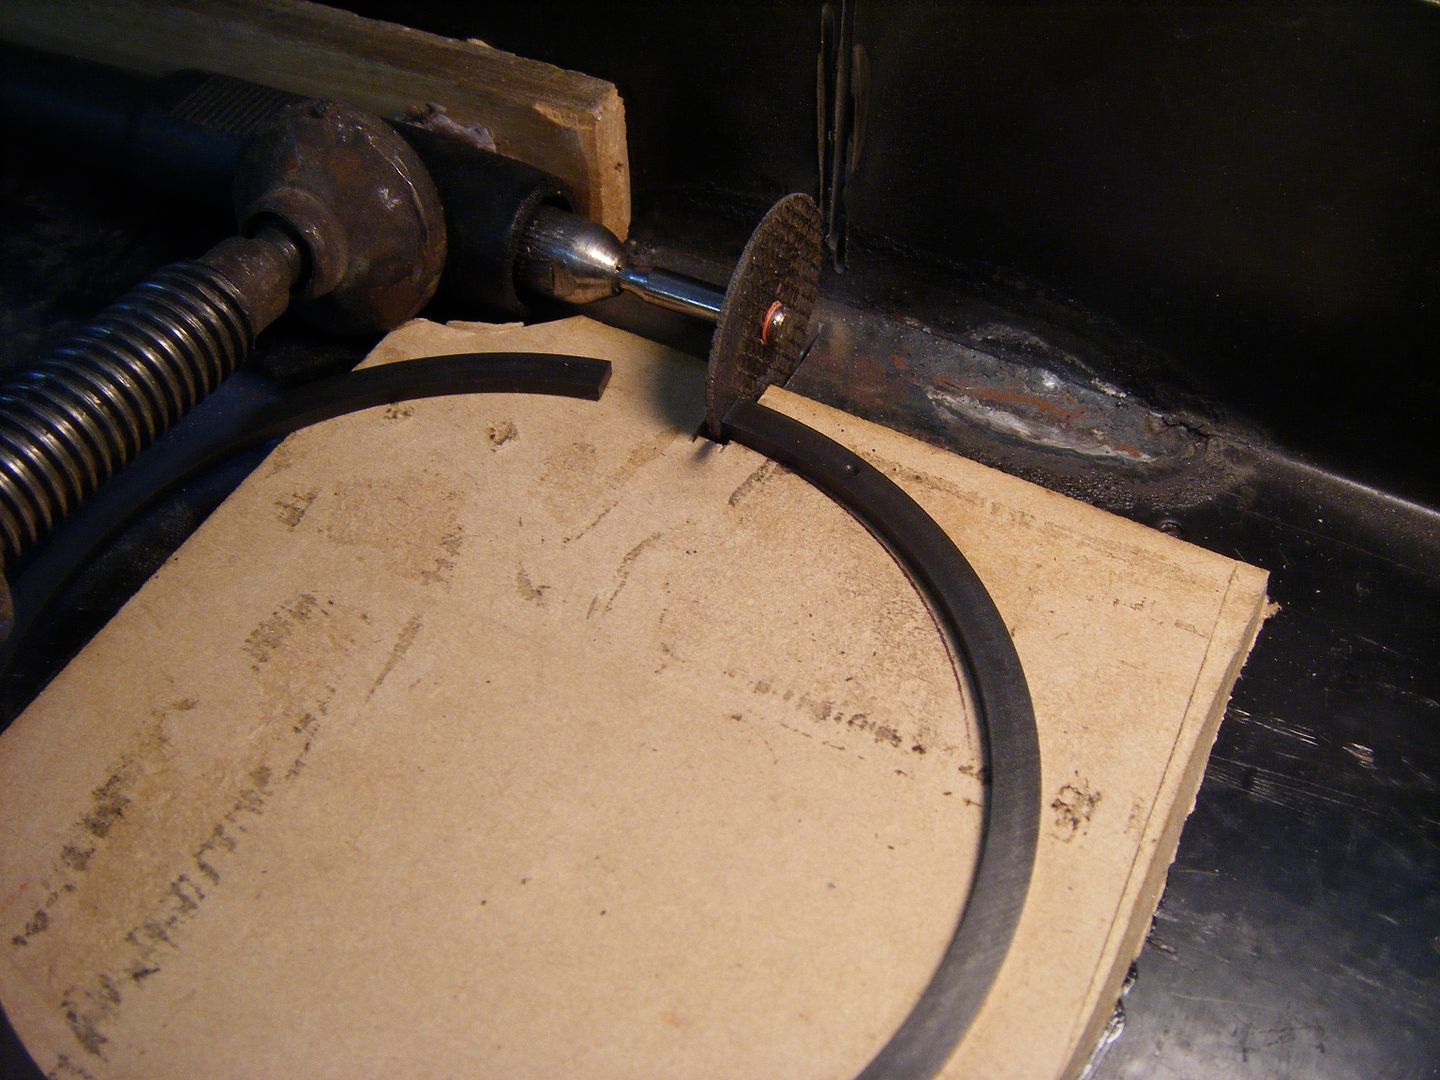
ryobi dremel with remote hand peice
:finga:
That's cool! Those Dremel cut off wheels suck though, at least in my experience. They seem to come apart if you look at 'em funny.
I finally finished making my Car Rotisserie for my 62 Valiant sedans. I didn't have any plans, just made it on the go.
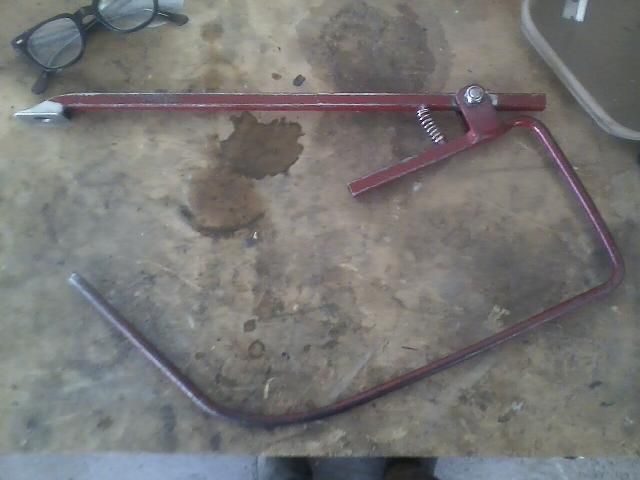
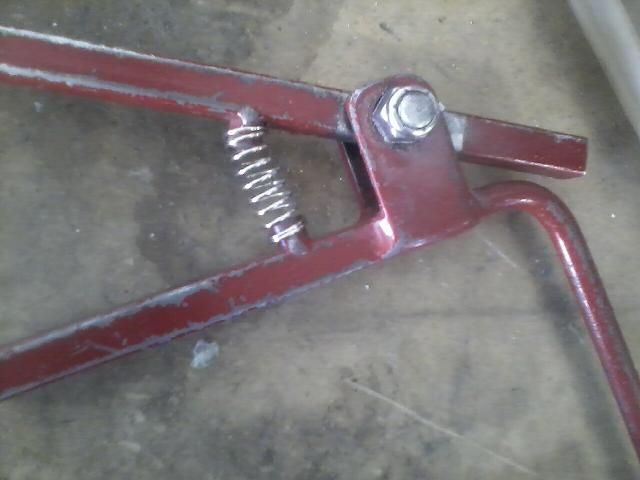
Nice fab work. Never seen one like that.
What's the source of that gear box?


