PM me an e-mail. I have a mini tub powerpoint presentation that someone else did. Pretty good deal. I have some picture of my latest job on a my Duster. Shoot me a phone number too! I'll be happy to answer any question you may have.
Construction paper/Poster board. Get some to make templates. Makes the job tons easier. Office depot, office max, hobby story
One thing I would do is make a good template of the tub curvature prior to cutting anything out. This way you can trim the stock floor/trunk pan tight to the tub and not have big patch panels.
Draw 3 lines (12, 10 and 2 o'clock postions) on the vertical sections of the tub and onto the floor pans to keep them aligned once they are out. Makes it much easier to re-align them once removed.
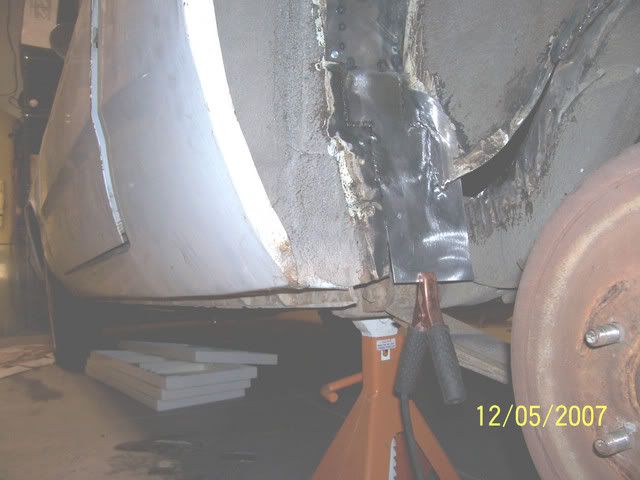
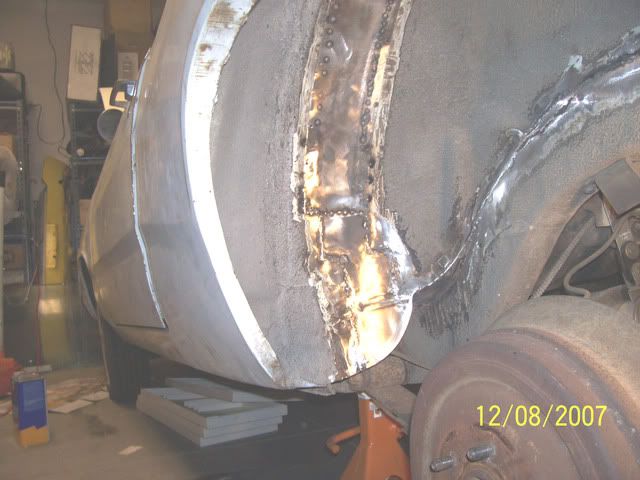
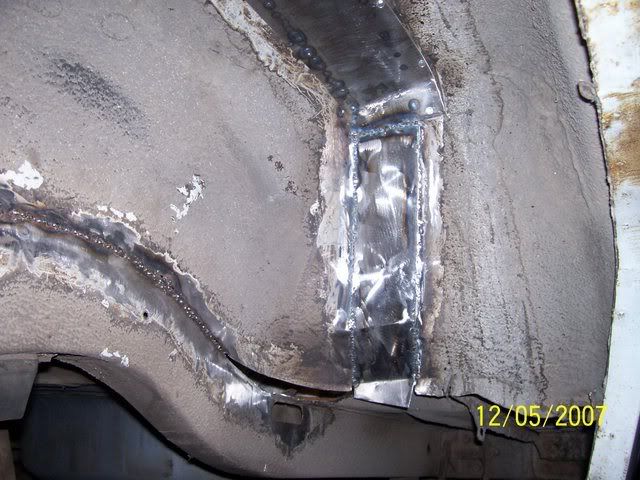
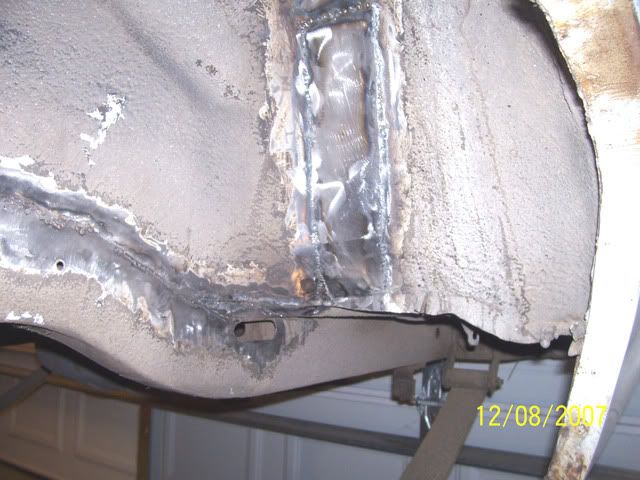
When cutting the frame rail flange off, cut the floor pan/flange in sections, one at a time between the spot welds. This keeps the entire floor pan edge from springing up and out of control. Cut the frame lip off between the welds, tap the floor down, clamp it, tack it back in place. It will take less time than cutting the entire rail lip off because you won't be fighting the pan/frame rail joint the entire length.
I just did one side of my Duster. Stock a-body 8 3/4 rear, had 7" to the inner well before, 10" afterwards. For me to put a 15x10 wheel on would require about 8" of backspace. Would look like a stock wheel from the side. I'm going to cut down a B body housing. If you are going to cut down a housing... GET THE WHEELS/TIRES YOU WANT TO RUN FIRST! Get them centered in the well after tubbing and measure for your housing width. I like to have the wheel centered over the width, 10" wheel gets roughly 5-5.5" of backspace.
It pretty easy if you take your time and think through what you are doing.