The I'm-Learning-As-I-Go 1965 Valiant Post

-
Joined
Dec 3, 2011
Messages
149
Reaction score
1
Location
Honolulu
I was a bit intimidated about posting in this section, as I'm definitely no expert on my own car. You won't see any gorgeous garages or work spaces here. I have a carport, and I work for the most part in the sun, the rain, etc. But I was really inspired by needsaresto's thread, so I'm posting this as a record of getting my car back on the road after sitting in the elements for almost 3 years.

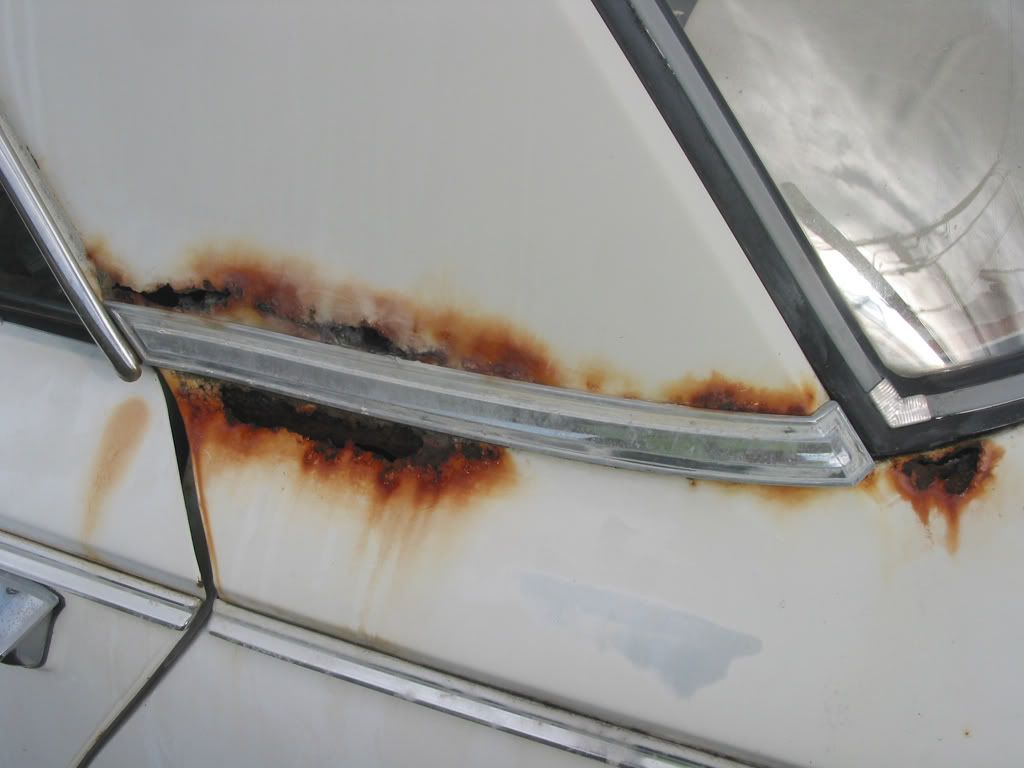
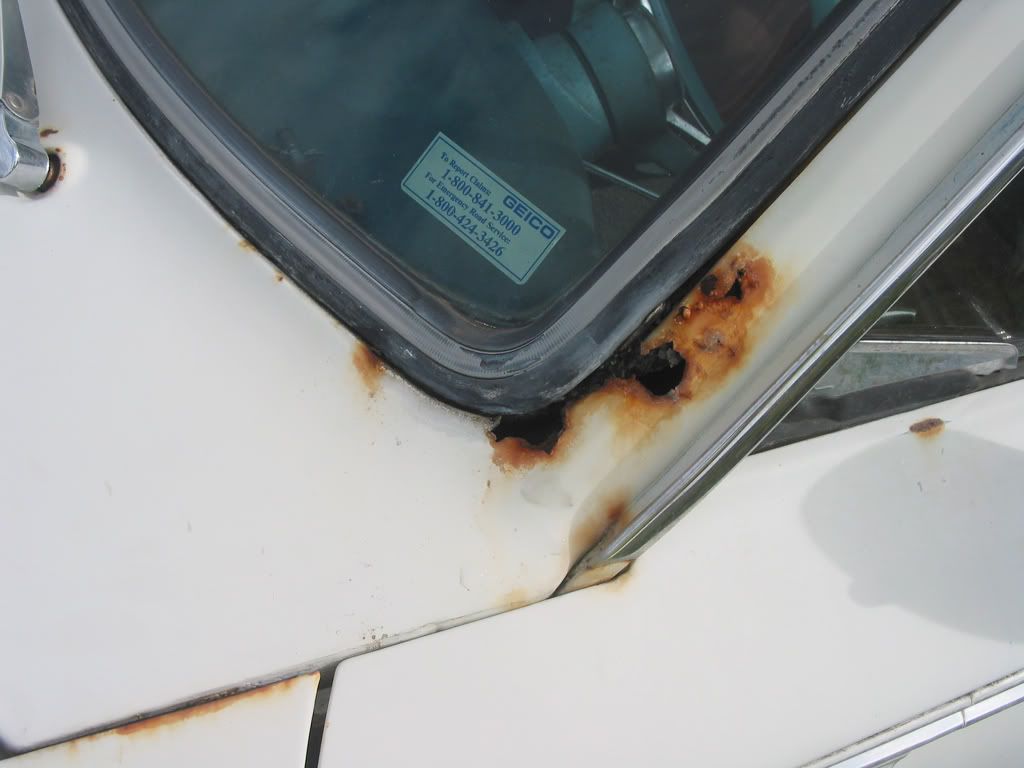
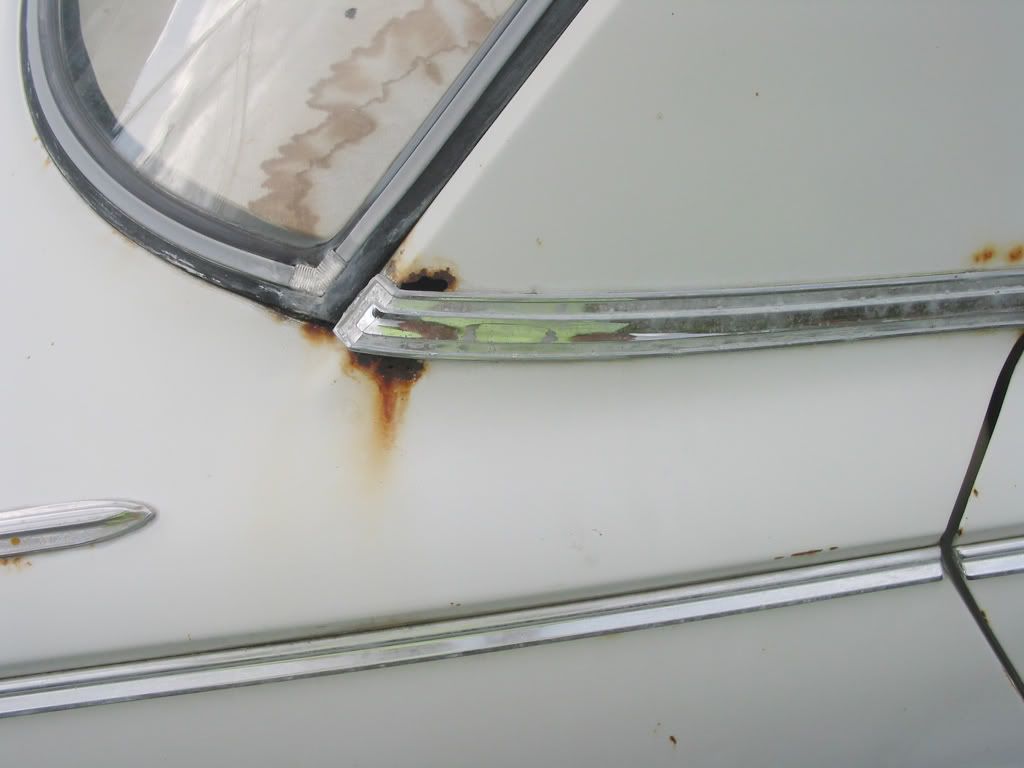
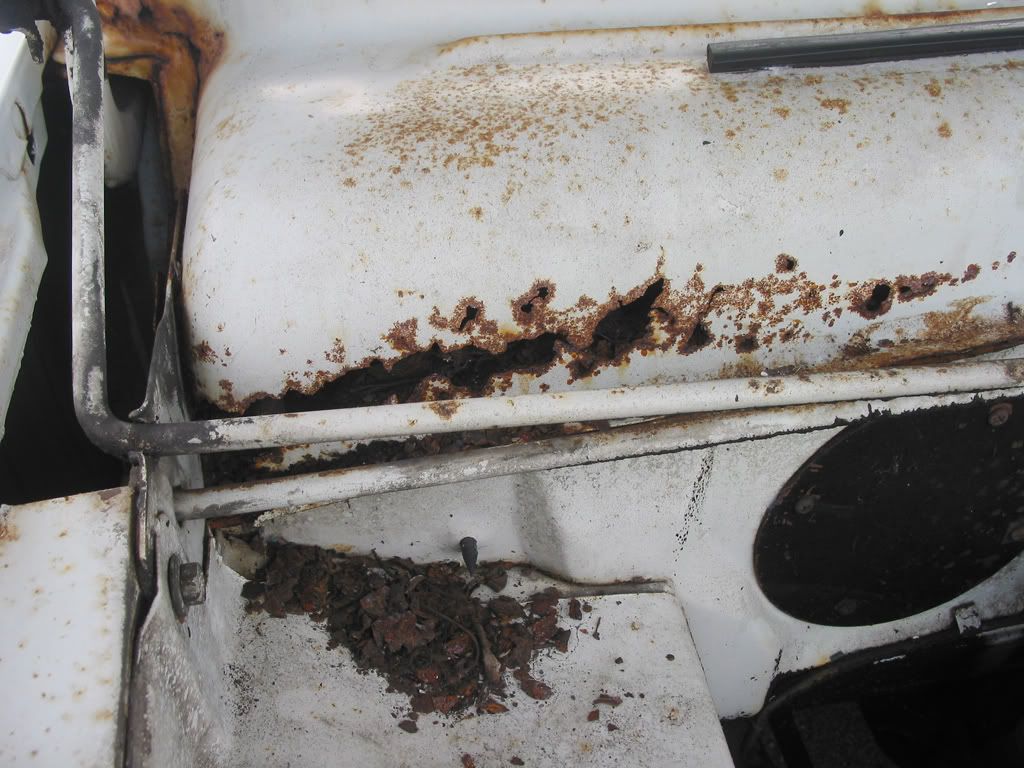
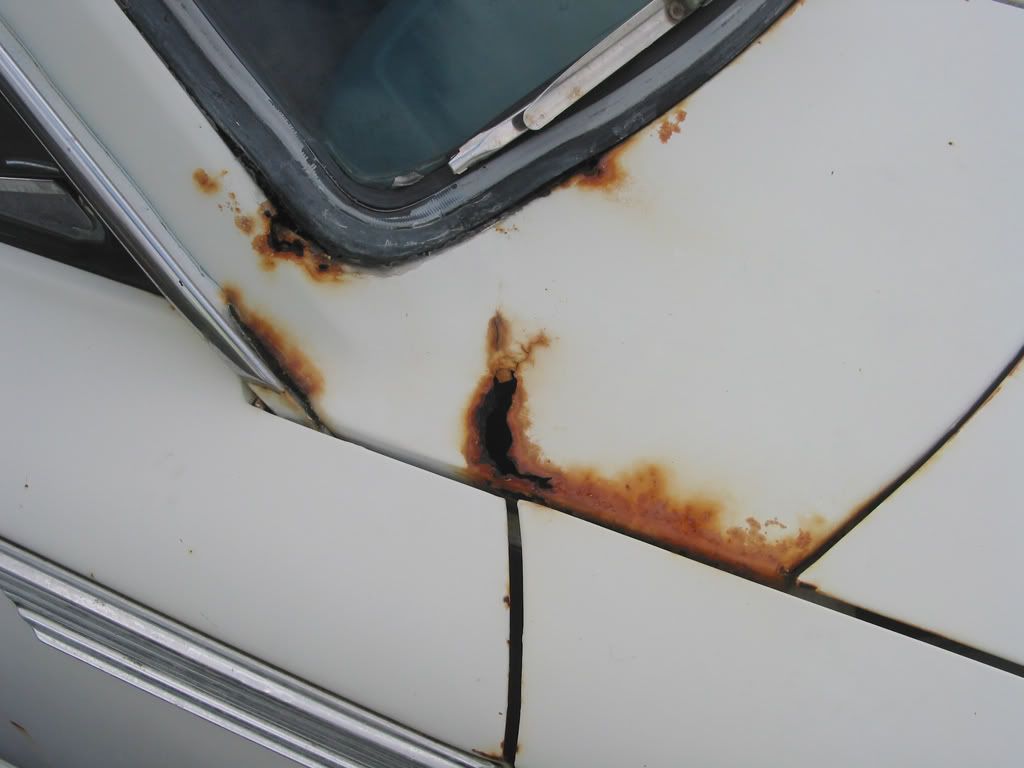
So, some background on my car: I inherited it from my grandparents when they passed away, for the simple fact that no one wanted to drive it. My sister drove it briefly during college, and singlehandedly put every single dent in the car - not a big deal. For the most part, the body was straight and somewhat rust-free as it had been garaged for most of the 30-something years preceding me.

I still have the original documents from the car's purchase in West Lafayette, Indiana.

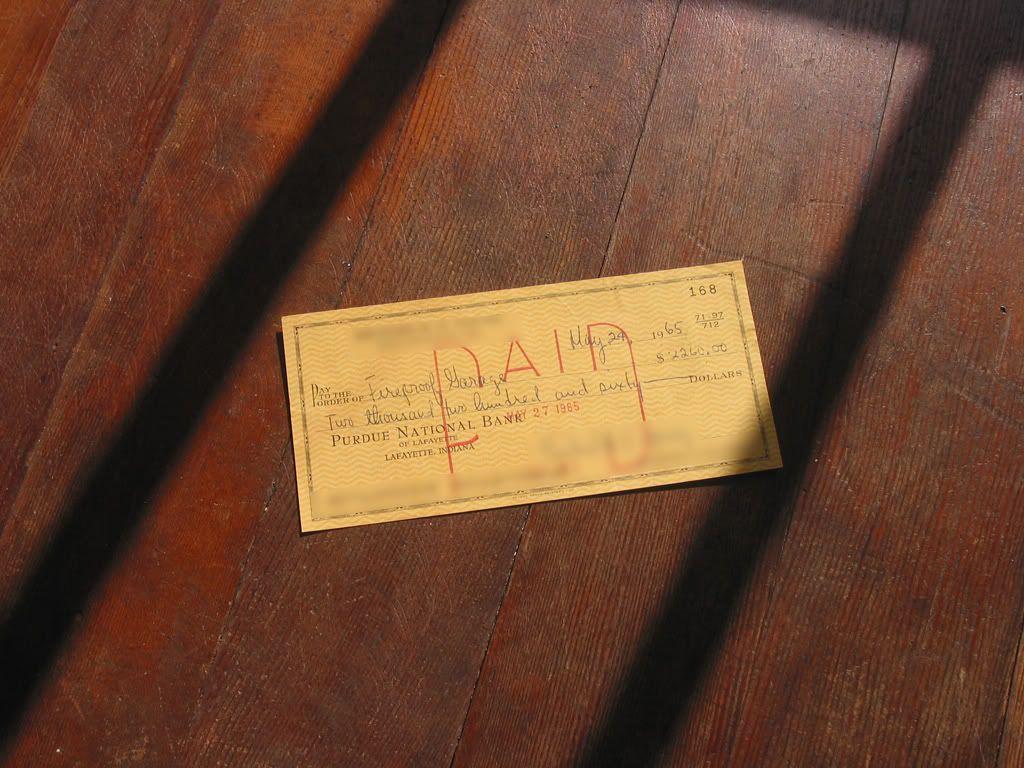
The check that paid for the car.

documents1a.jpg


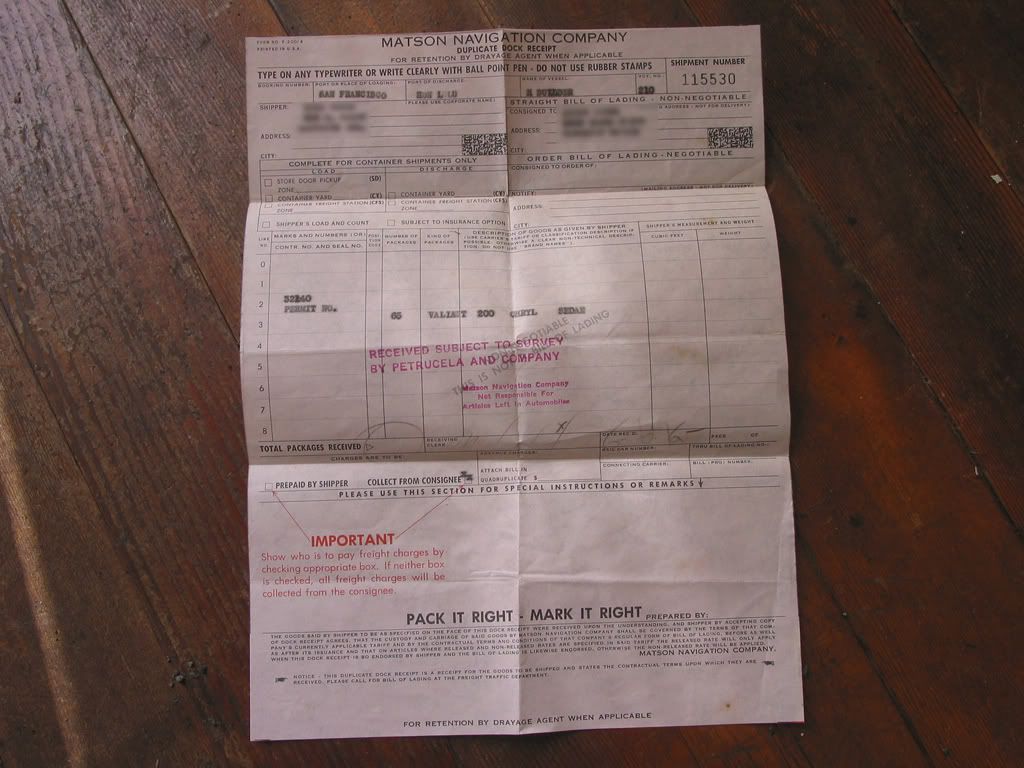
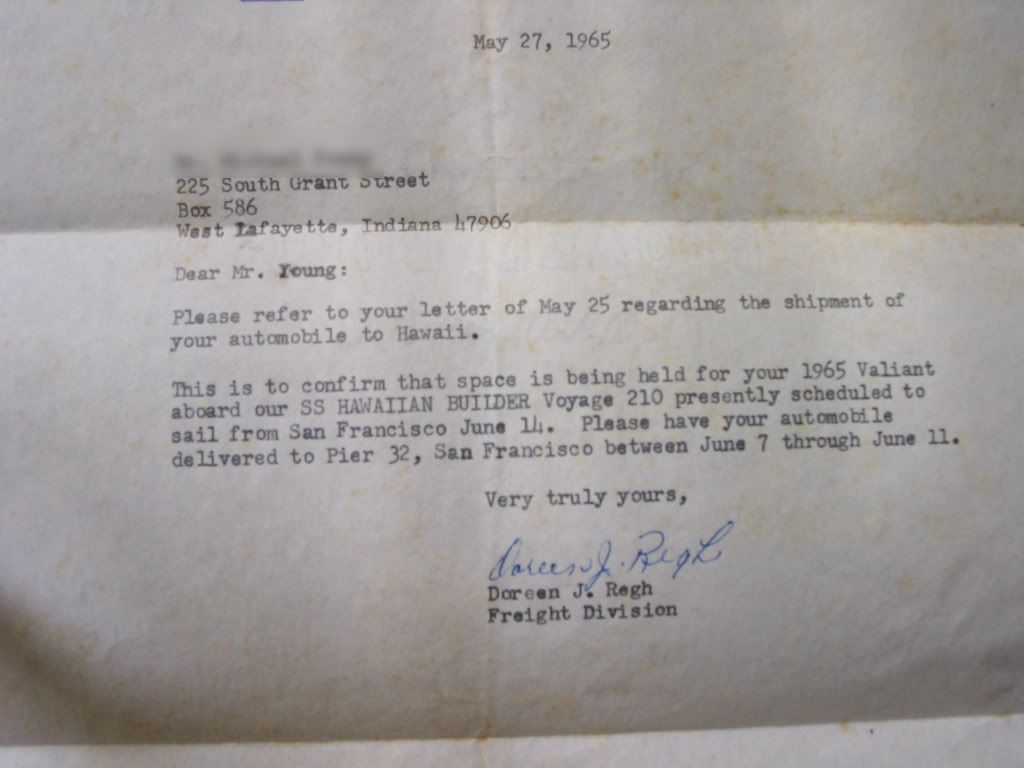
The original bill of lading and signed document from Matson to ship it to Hawaii. It cost a whopping $150 in 1965.

documents2.jpg


documents3.jpg


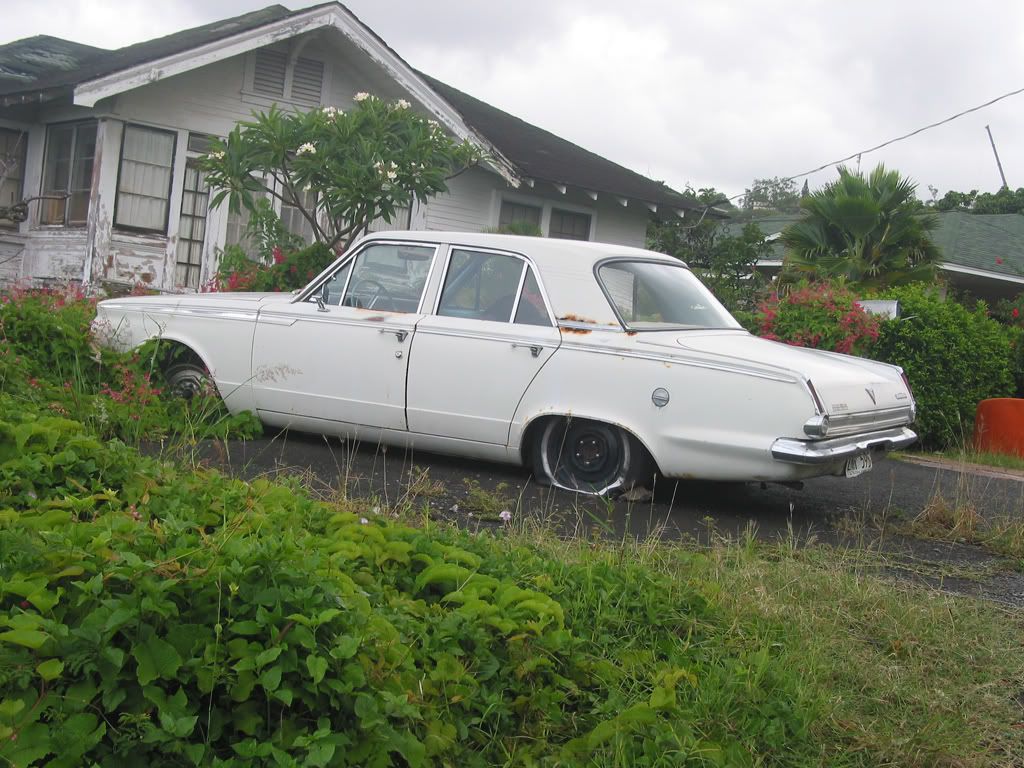
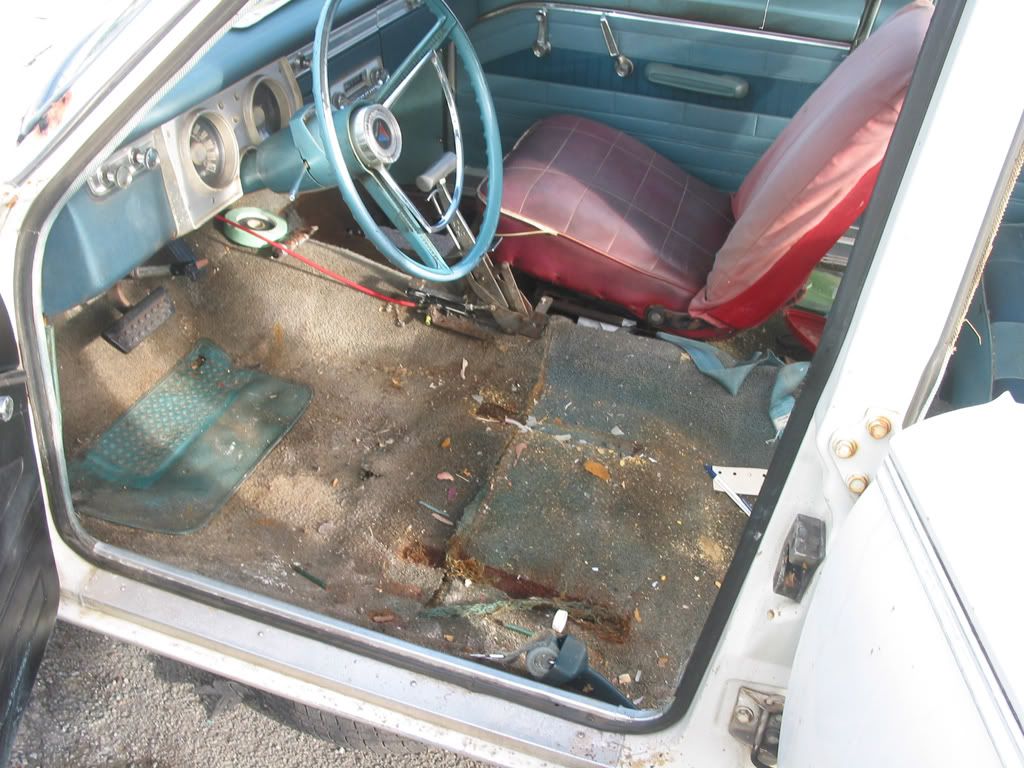
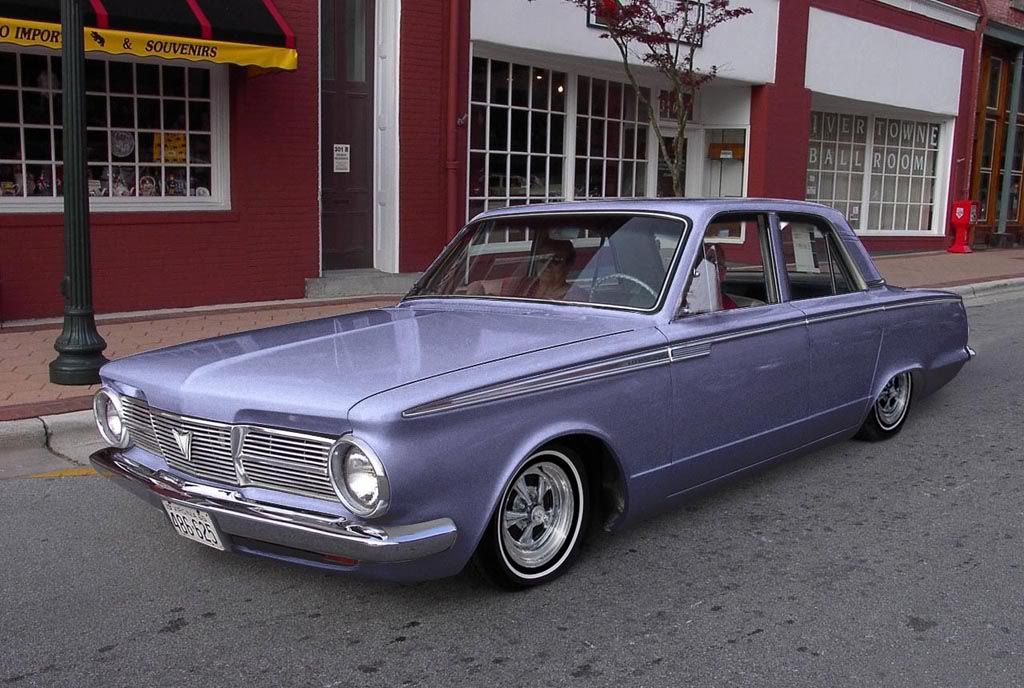
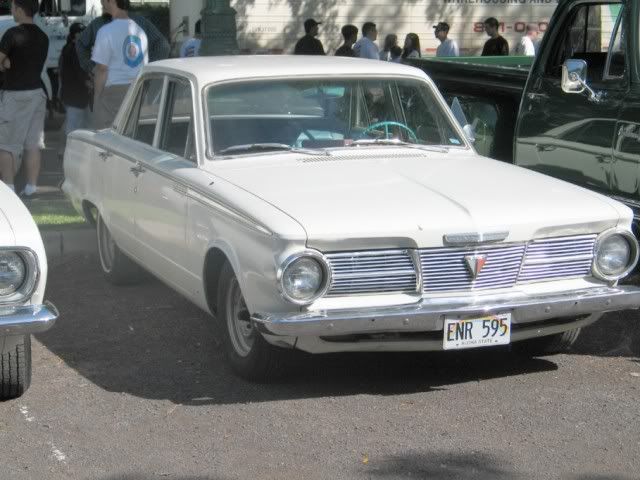
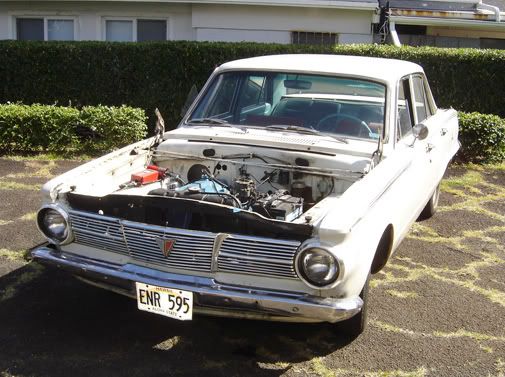
This is what she looked like in 2004.

mattsvaliant00000.jpg


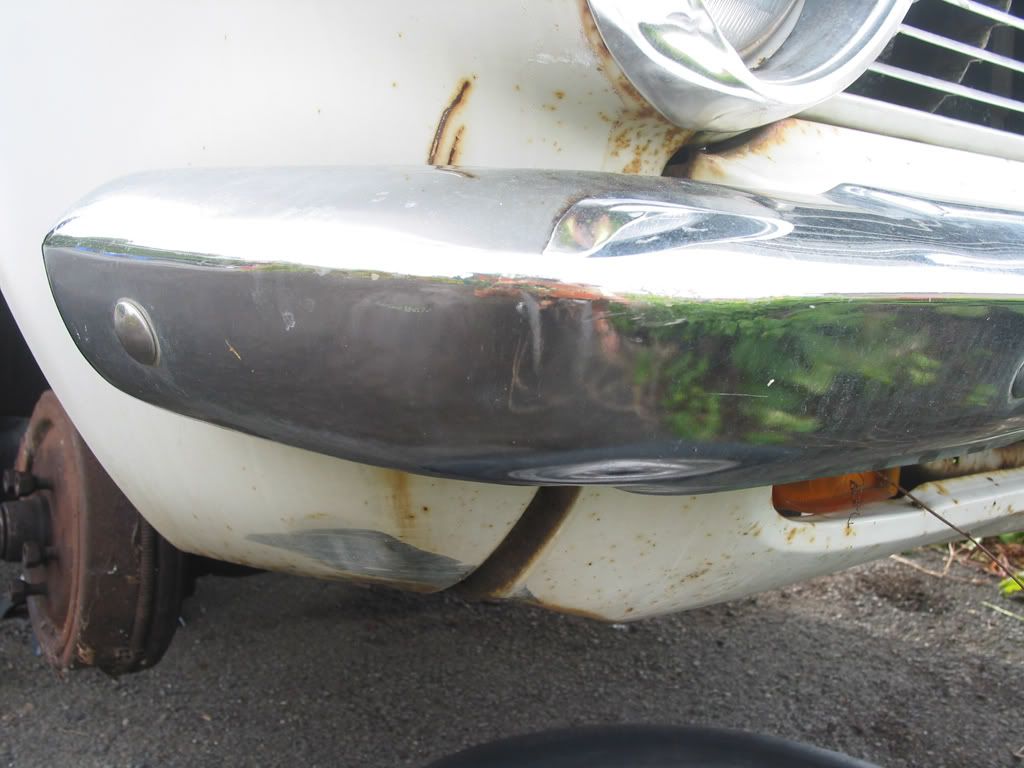
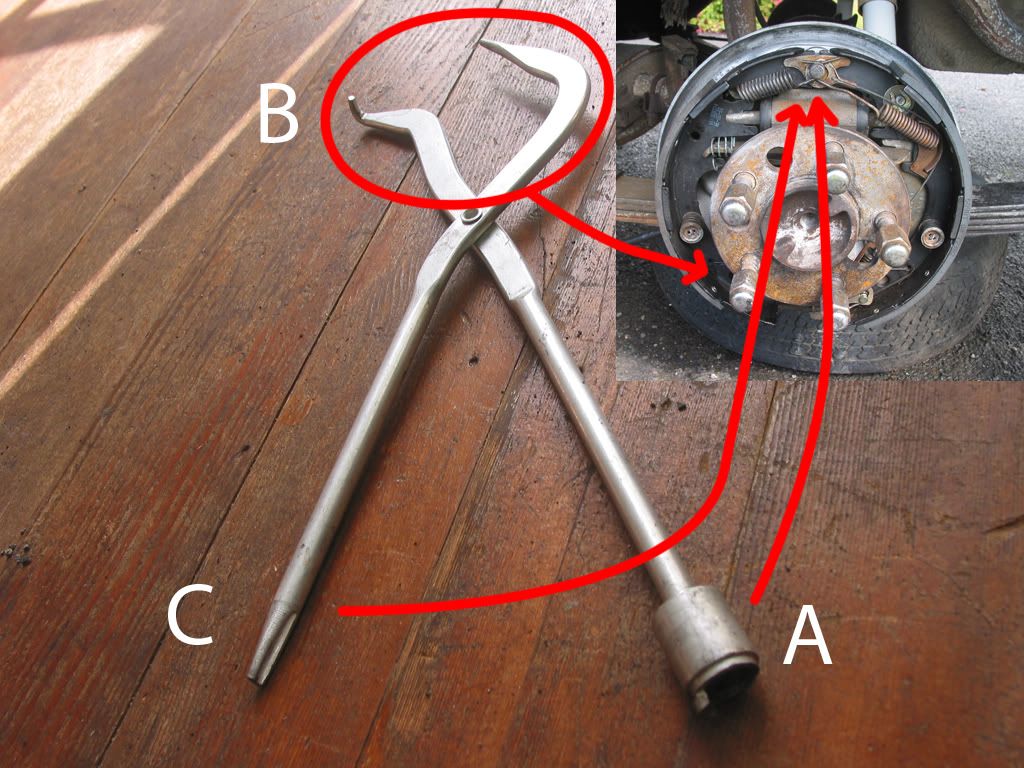
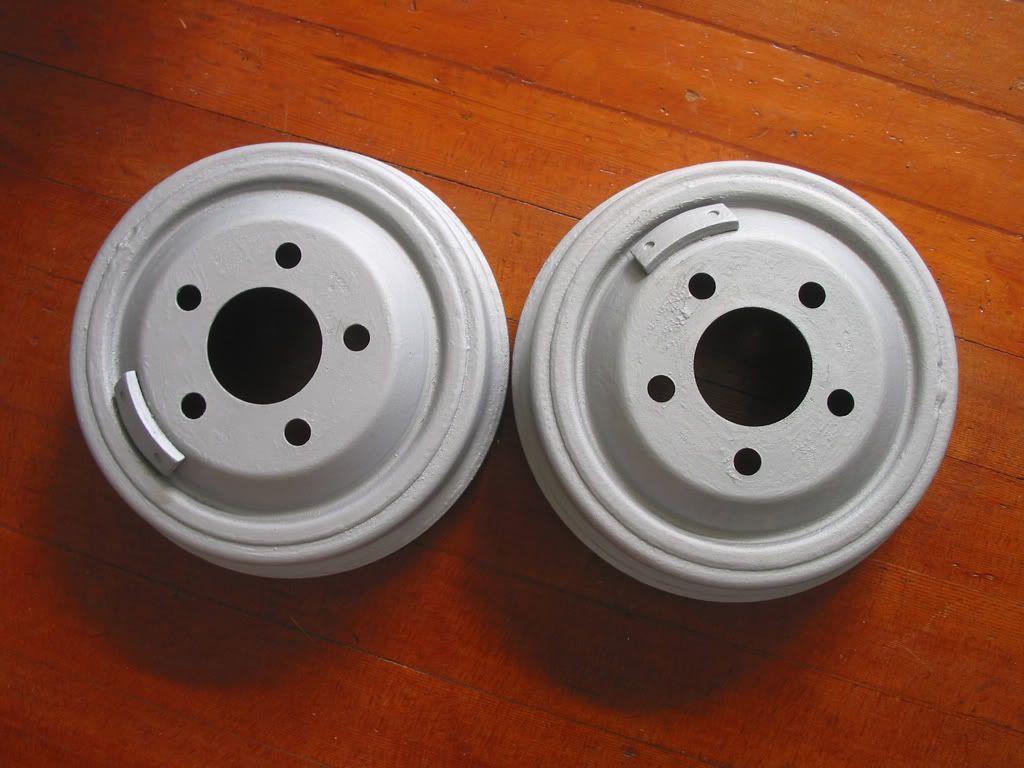
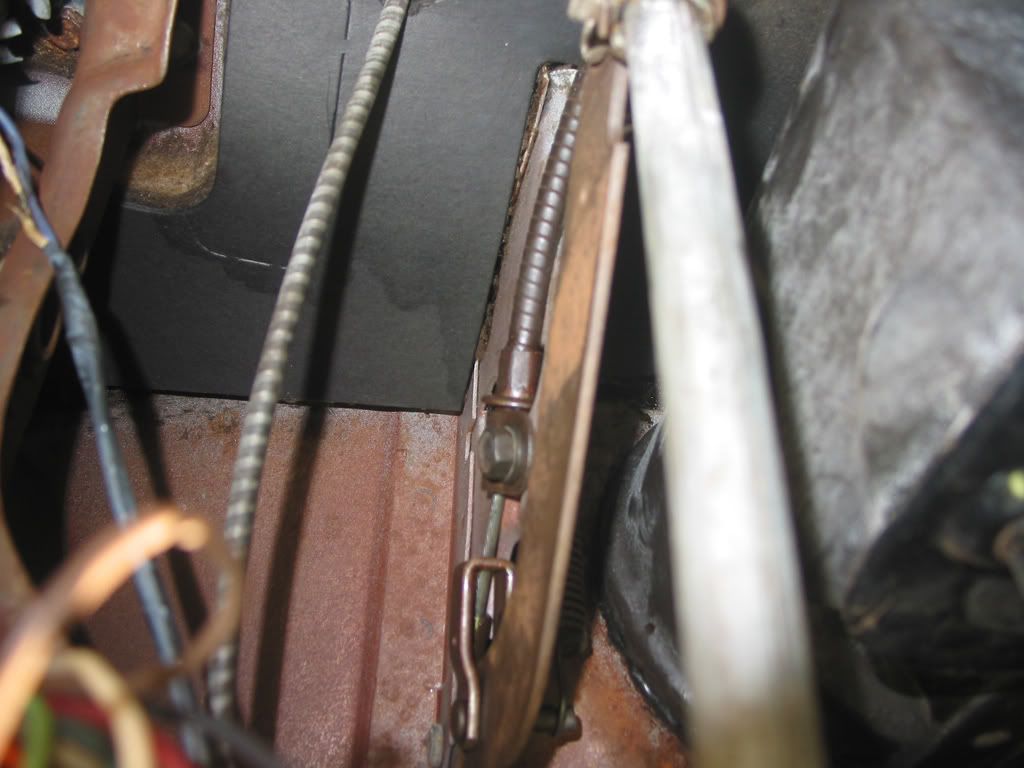
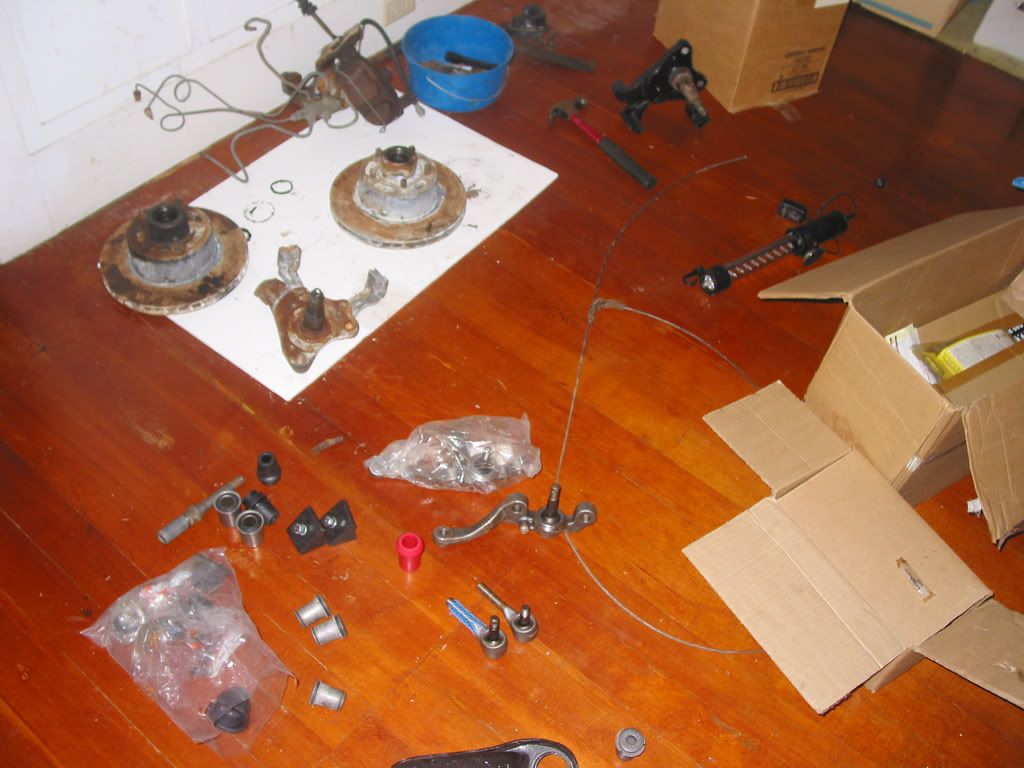
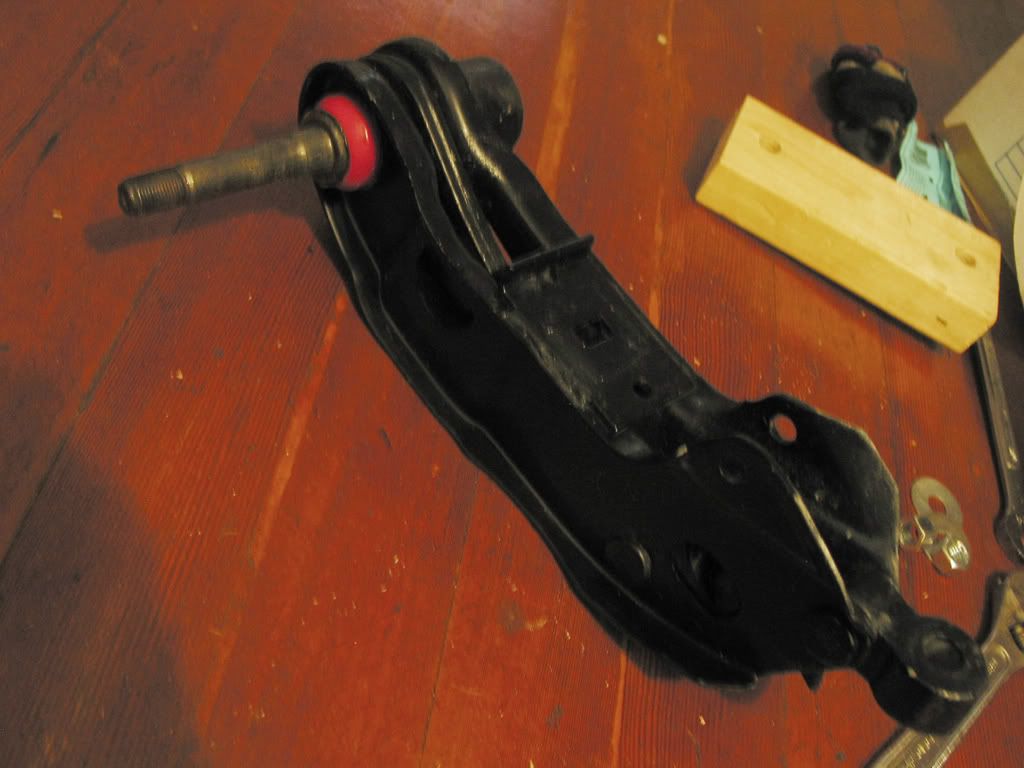
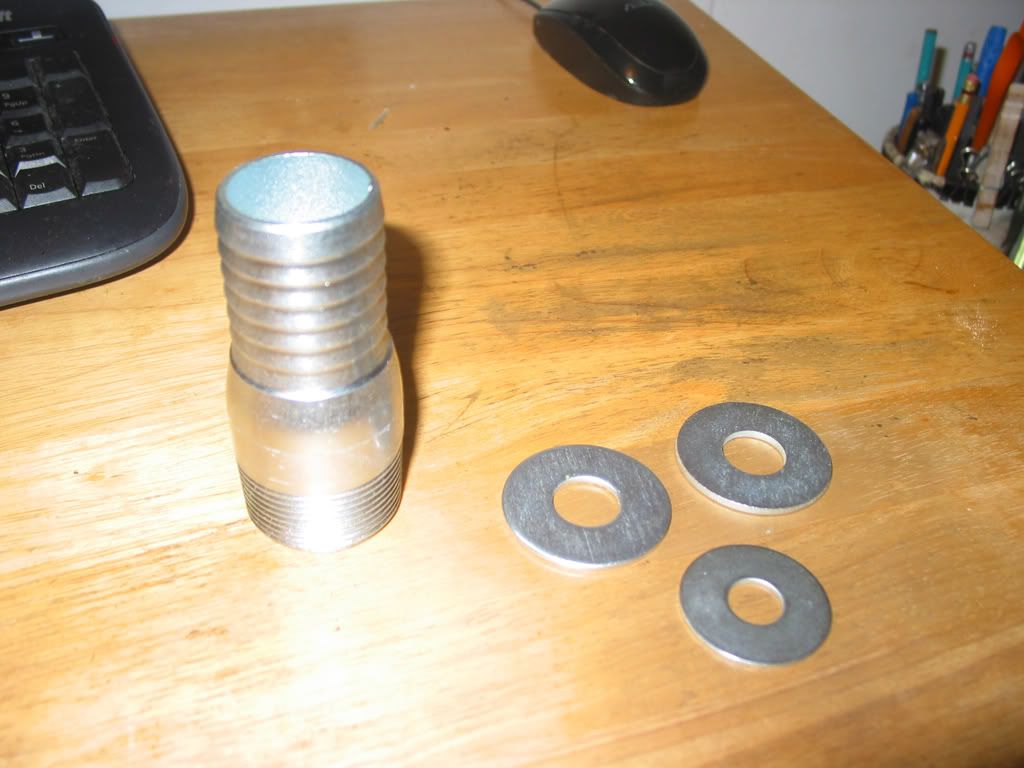
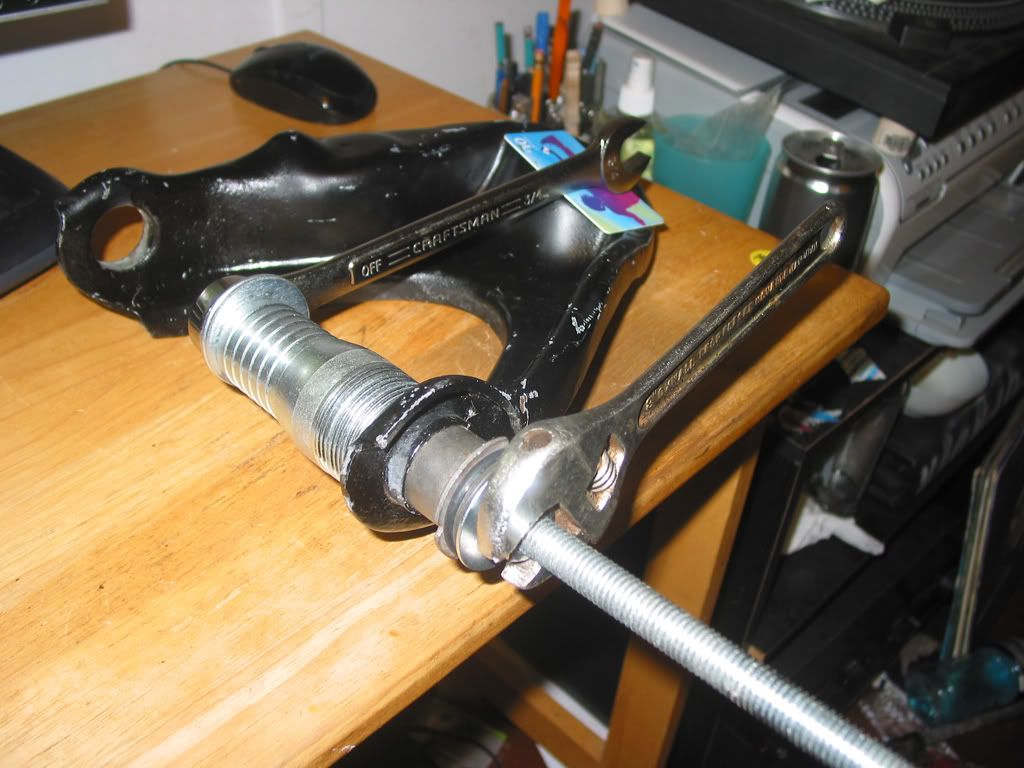
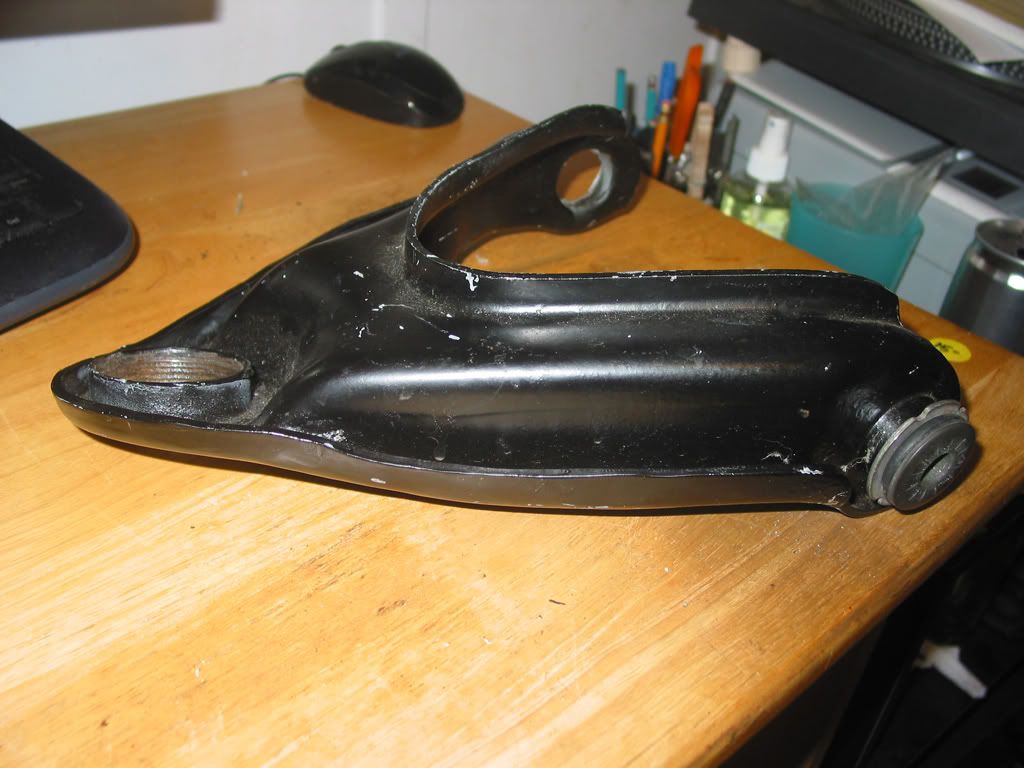
In 2003, with DusterIdiot's help (slantsix.org) he pulled some parts for me - disc brake setup and LBP 7.25 rear end from a 76 Duster - from a wrecking yard in Salem, OR, crated it up and had it shipped to me in Hawaii. Hawaii doesn't have a TON of mopars or a ton of wrecking yards. In fact, the last real yard where you could pull parts on your own closed mid 2006 - a shame really, but before they closed I scored a set of LBP 14" wheels. With the help of my friend Bob, we put in the rear end, but the disc setup we never got to as work, money, and other more immediate issues with the car got in the way.

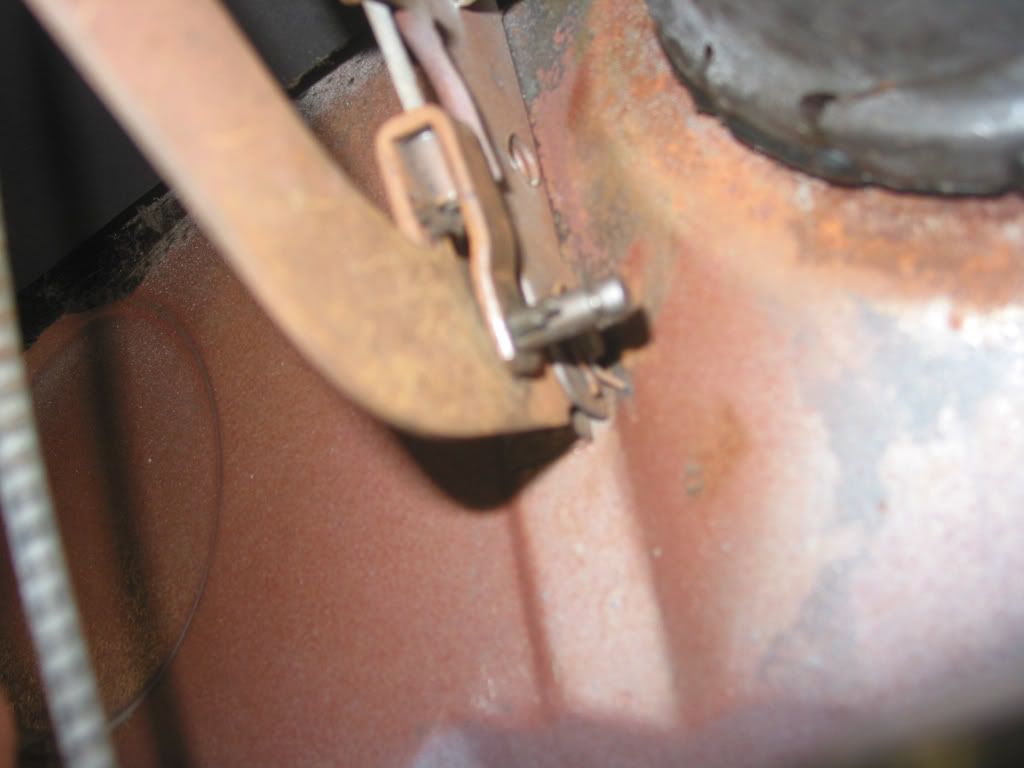
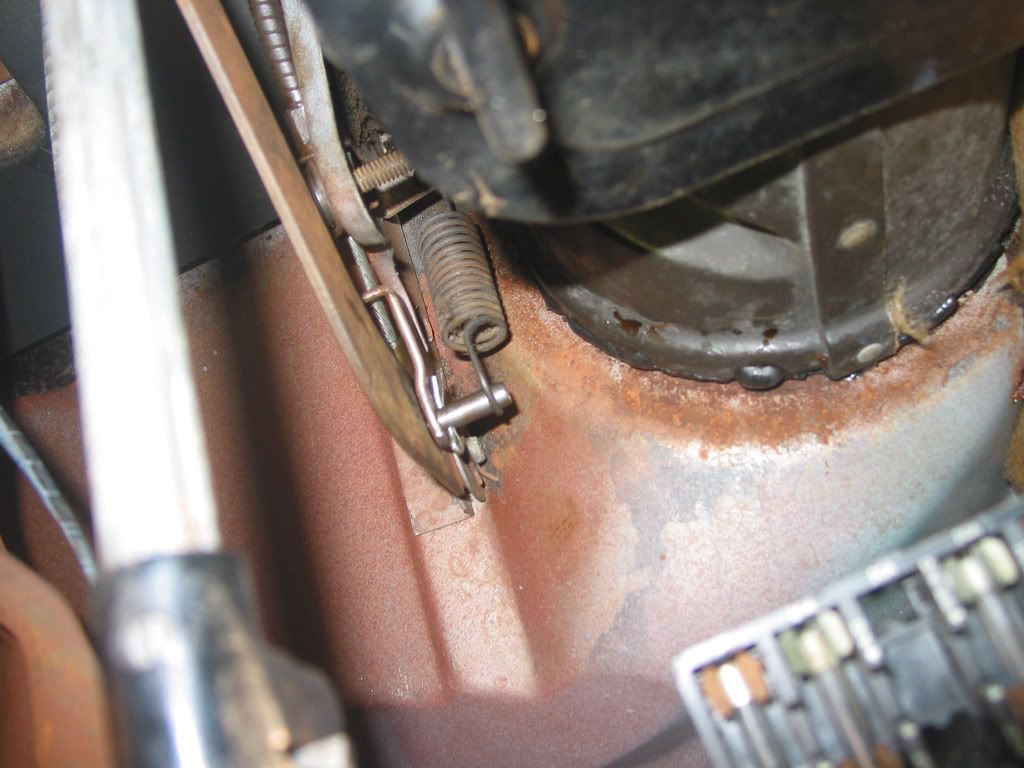
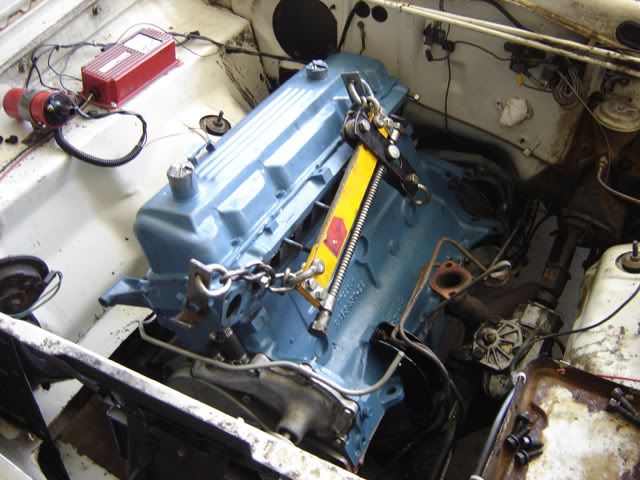
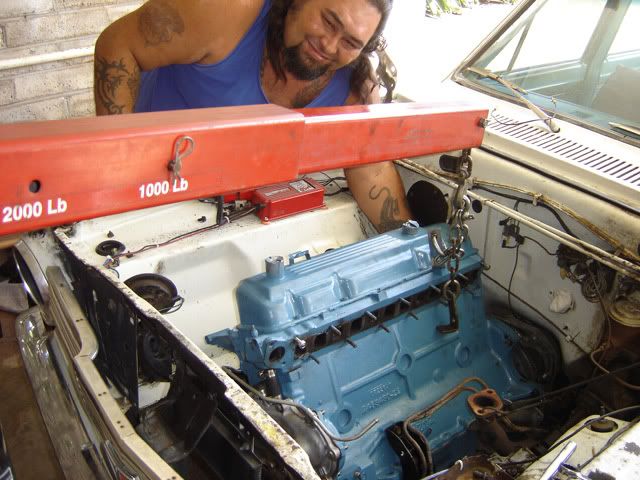
Around 2006, my friend Bob helped me fix a persistent oil leak. After pulling the oil pan and changing the gasket multiple times - we finally figured out it was leaking at the rear crankshaft bearing. The bottom gasket was pretty much shot, so we yanked the motor, changed out the gasket with a new rubber one.

01-liningup.jpg


And got everything painted.

02-accessorize.jpg


Meet Bob.

03-bobthemaster.jpg


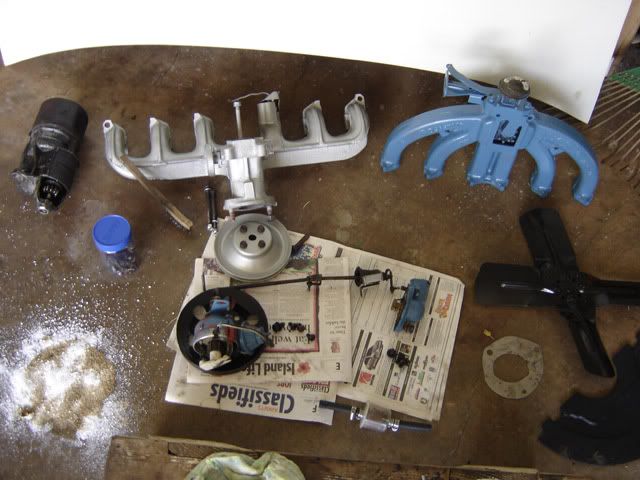
Since we had the engine out, we decided to hook up the Super Six manifold and the throttle linkage and kickdown setup that came off a local 63 Valiant.

07-voila.jpg


09-kickdown.jpg


10-kickdowndetail.jpg


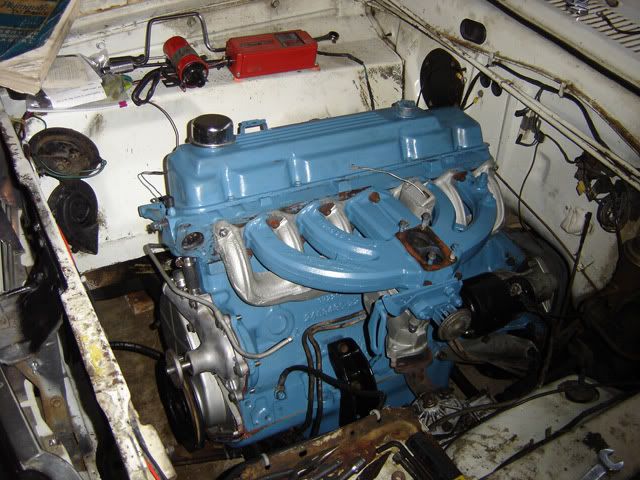
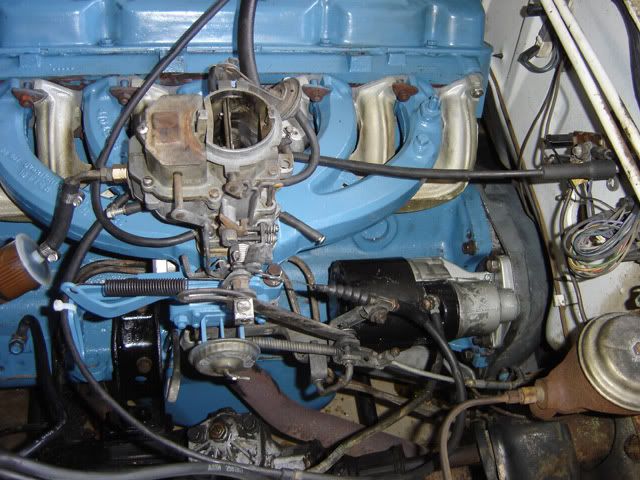
We also converted the distributor to electronic ignition and dropped a nice MSD box and coil in there.

testdrive.jpg


Test drive time!
 
In 2008, had some issues with the pushbutton 904 trans. Unfortunately, don't have any pics, but Bob had newer style 904 from the Slant he yanked from his 71 Dart. He brought it over, and it would not line up with the earlier block. We ended up pulling the engine completely and dropping in the 71 Slant block and trans. It required some modifications to get it to fit, as the later trans had a slightly different shape than the pushbutton. We chucked up the transmission mount into a vise and took a sawzall to various parts of the plate metal.

During the test drive, when the pedal was given heavy gas, the engine would starve and stall out until your foot hit the bottom of the stroke, at which point it would roar.

I was also having some issues with the parking brake - no matter how tight I would make it, it would not cinch up. I figured that the cable was binding in the housing somewhere. Some of the slantsix.org guys suggested yanking the cables and spraying lubricant into the housing.

I was planning to address all these issues... and in late 2008, the economy bombed. I lost my job, my home (had to move back in with the parents), and any semblance of financial stability for the next 3 years. The car sat.

And sat.

This was the Valiant about 6 months ago.

mattsvaliant00001.jpg


Every time I'd leave the house, it would depress me to see this slowly happening, and not be able to do anything about it. Recently got a new job that pays me a bit better, so had a little more disposable cash to throw at this project.

But rust is everywhere.

mattsvaliant00002.jpg


mattsvaliant00003.jpg


mattsvaliant00004.jpg


mattsvaliant00007.jpg


mattsvaliant00005.jpg


mattsvaliant00006.jpg


I don't know what it is about Mopars, but they all rust in the same places. The worst rust on the car is near the rear window on the drivers side, and at the top of the firewall where the air and rain enter the vents.

The first thing I started working on was fixing the e-brake issue. I yanked all the cables, except the release cable, ordered some new ones from Rock Auto. When I took off the drums, I noticed the shoes were worn pretty badly. So I bought some fresh new shoes.

mattsvaliant00010.jpg


Cleaned and wire brushed the parts and backing plates. And installed some new wheel cylinders in there since I had everything apart.

Had some trouble putting back the spring-loaded rentention pins on the shoes. Used vise grips to hold and push the cap on the springs per oklacarcollector's advice, and some other great advice came from StrokerScamp:

"I have a drawer full of brake tools. If you're gonna own a old car, get the right tools to work on it with."

Noted. Once I bought a brake tool, putting it back together was a snap.

mattsvaliant00011.jpg


mattsvaliant00012.jpg


This is the tool I used.

bestfriend3.jpg


A - Removes the springs at the top of the brakes;
B - Is helpful when reinstalling the bottom spring that holds the two shoes together; and
C - Helps you leverage the top springs back onto the center pin.

BTW, these are my two best friends that are helping me during this build:

bestfriend1.jpg


PB Blaster is the best thing for getting anything lubed or unstuck.

bestfriend2.jpg


And OSPHO for the rusty stuff.

While I was waiting for it to stop raining, I used my rotary tool and ground off all the rust and bumpy castings off the drums.

mattsvaliant00013.jpg


mattsvaliant00014.jpg


Hit both with a coat of OSPHO, washed them off, threw on some VHT paint:

mattsvaliant00014b.jpg


Gonna leave the drums off the car for now. They need to be recut.
 
Looks like very nice work and I applaud the fact that your keeping a classic 4 door on the road. I myself have decided that the next car I purchase will be a 4 door or an old wagon, they need love too. Keep up the great work and enjoy your car.
 
Next step: Parking Brake

Originally I was looking for a new parking brake release cable. But then came Christmas, and I'm finding myself a little broker than usual. So instead I figured I'd yank the release cable and at least see if it was salvageable.

First I pried out the little rubber/metal cap over the housing from inside the driver side front fender.

Tried to get under the dash to take out the pin that holds the cable onto the parking brake lever.

mattsvaliant00015.jpg


Disconnected the spring, and try to yank out the cotter pin. No luck. Someone had bent both parts of the pin at a weird angle, and because the retention pin spins a little, getting out that stupid cotter pin was a b****. Add to the fact that I barely fit with the seat in the way.

So out came the front seat. We put in buckets at one point because the transmission swap required a new floor shifter. This was getting in the way too. But less easy to remove. I plan to put the bench back in anyway.

mattsvaliant00016.jpg


Ah! Sweet, sweet clearance!

After trying with no success to remove the part of the release cable that passes through the subframe by the torsion bar mounts, I had a massive epiphany: if I could get the cable to loosen up, I won't need to yank the whole thing! Thank god.

mattsvaliant00017.jpg


So I sprayed some PB Blaster into the housing, and waited for it to drip out the other side. Using my pliers I took some of the minor kinks out of the cable, and shook it loose. Now it slides through the housing smooth as butter. Wooohoo!

Put the cable back under the dash, reattached the cable stop, reinstalled the retention pin and the cotter pin.

mattsvaliant00018.jpg


mattsvaliant00019.jpg


Progress is awesome.
 
mattsvaliantidea.jpg


This is the picture that's keeping me inspired.

I downloaded a standard, white 4 door valiant off Google Images and photoshopped it into what you see here. My goal is late 60's style lowrider. 14" Cragar S/S and 185/75/14s. Nice and clean.
 
keep the faith,great work! very nice write up.Lawrence
 
Hi Matt! I see you posted up,and Im glad you did. Lots of engouragement here for you. As for the rust,het either you buy a mig welder and teach your self how to do it or pay someone.

Maybe get a job in a body shop? to help you learn some of the skills for cutting and replacing the rusty area's. Or perhaps Bob knows a thing or 2 about body work. Honestly it's not hard,just labour intensive. Dont let the rust scare you. Thrown a cover or something over your car. Get a good water proof one,or a water proof tarp. This will at least limit the damage.

Do some searches here and you will likely find many restoration threads full of advice on metal working,body work,painting etc. There are MANY DIY A body guys!
 
Maybe get a job in a body shop? to help you learn some of the skills for cutting and replacing the rusty area's. Or perhaps Bob knows a thing or 2 about body work.

Bob's not bad at body work. He does decent, considering he's not a auto body dude. The only prob is, Bob has a slew of health issues of recent, and he's not working on cars too much. Most of this project will be on my own, with an occasional hand from a friend. It's just as well - it's the best way to learn, when you can't rely on someone else to just do it for you. I've done a bunch of my own mechanical work in the past, but it's been awhile.

The tarp is a good idea. The wind around where I live gets a wee bit nuts sometimes, and anything holding said tarp down snaps eventually.
 
I usually just secure tarps with a bunjee cord,but sounds like you'll need something a bit better!
 
Glad to see you are making progress keep up the great work.

Here is mine.
 
Wow rebel, she's a beaut! Kinda funny... we have dents in the same place on the sheetmetal near the headlight rings... lol
 
Got all my front suspension crap laid out. My short term goal is to get the car rolling on the same kind of wheel / bolt pattern, and have some decent brakes to stop the car. Eventually I want Moog offset bushings for the uppers so I can still have good alignment with the car sitting a bit lower than normal. But for now I got the regular rubber ones, so I'm going to just stick with those.

mattsvaliant00020.jpg


Popped the wheel bearings out, with the help of some kind FABO peeps. The irony was that I tried for an hour on Sunday to punch it out, to no avail. And tonight I just so happened to slip the screwdriver between the wheel and the race, and with a dull pop, the whole thing came loose.

mattsvaliant00021.jpg


Soaking em in Purple Power. My other friend.

mattsvaliant00022.jpg


I'm planning to replace the bearings, but I don't want em to make a mess when I take it down to O'Reillys to match it up.

mattsvaliant00023.jpg


Gotta make a homemade press for this. More later.
 
Making some good progress! I see we share a lack of a good press! I used to take my pressable items to a friend,but he no longer has a press either.So now I gotta make one..
 
Wow rebel, she's a beaut! Kinda funny... we have dents in the same place on the sheetmetal near the headlight rings... lol

Thanks, mine will be getting a make over when I can pull her off the road. I am enjoying your thread here. I am really interested in seeing how you build your own press.
 
Homemade LCA Bushing Press

Here's the parts.

mattsvaliant00024lcabushingpress.jpg


What you'll need:
- 2 x 4 cut to 8" long, 2 pieces
- 12" x 1/2" diam threaded rod, 2 pieces
- Forstner, brad point or twist bits in 5/8" and 3/4" (If you have a bit that's a tad bit bigger than 3/4" like 7/8" or 13/16" that might work a bit better, I'll explain in a sec.)
- 4 washers, 4 nuts
- 2 wrenches, one adjustable crescent and one ratcheting closed end wrench that'll fit the nuts

NEXT,

Drill out holes A, 2 ea on each piece of 2x4, using the 5/8 bit.

Drill out one hole B, on one of the 2x4, using the 3/4 or slightly larger bit. There was a significantly bigger price difference between the 12" and the 18" threaded rod - the 12" went for $1.50 apiece and the 18" went for $8 apiece. Since I'm a cheapskate, I opted for the 12". However, the 12" isn't long enough to accomodate the spindle as it sits just on the edge of the bushing, so hole B is designed to accept the part of the spindle that goes into the subframe, and it pushes against the lip. You probably can't go a whole lot bigger than 3/4, but when everything was all said and done I had to take a hammer to whack the 2x4 off the spindle. LOL.

Put everything together like in the next pic.

mattsvaliant00025lcabushingpress.jpg


The ratcheting closed end wrench in the "on" position goes on the "fixed" 2x4 side; and the adjustable wrench goes on the other side. The idea is to counter turn the wrenches so the threaded rod doesn't spin with the nut. Having the ratcheting wrench just makes it a lot easier. There's probably better ways to keep the rod from spinning but I just didn't think of it at the time. Oh well. ;)

Just go back and forth between both nuts on one 2x4 and you'll see the spindle slowly press into the bushing. It's a urethane bushing, btw, lubed up with silicone. Rubber probably will ride more plush but it's a pain in the *** to have to pry out those damned metal shells that are still in the LCA.

mattsvaliant00026lcabushingpress.jpg


And here she is! All pressed in!

This same concept will probably work for the uppers and anywhere else you gotta put a bushing in.
 
Nice! I like that simple home made press. Looks like I may have everything except the ready rod. I am all set for building an actual press similar to what you might buy at any store,even have an 8 ton bottle jack. Might not even need something that powerfull now I've seen your easy to make press!

Great job!
 
Homemade UCA Bushing Press

Sorry for the shitty pics, but I'm doing most of the work at night, after work, in very dim lighting. My camera sucks. Anyway, moving on.

Last night when I pressed in the LCA bushings, I attempted to press in one side of the UCA bushings. I ran the threaded rod through one bushing but through both sides, and capped each end with a washer and a nut. And as I tightened the nut, I noticed that I was warping the washer (which wasn't very thick to begin with), and it occurred to me that further pressure might even bend the UCA itself. Not a good idea.

After work I took a field trip to Home Depot.

mattsvaliant00027ucabushingpress.jpg


In the plumbing section I found this cool threaded male fitting, made of galvanized steel. The I.D. of the larger end measured a hair under 1 3/8", and the O.D. of the UCA bushing measured roughly about 1 1/8".

Also pulled a few more washers - 2 thicker washers with a 5/8" hole, and 1 more of the thinner 1/2" hole washers.

And when I got home I put it together like this:

mattsvaliant00028ucabushingpress.jpg


The second nut to the left of the right most washer is merely there to prevent the washer from dancing around as the press is tightened up.

mattsvaliant00029ucabushingpress.jpg


I put the closed end ratcheting wrench in the "on" position on the inside nut, and used the adjustable wrench to tighten the outside nut. As the threaded rod spins, it also spins the ratcheting wrench towards the empty ball joint socket, and I've slipped in an iTunes gift card (finally, it's good for something) between the wrench and the UCA, to protect the surface. ;) This way I don't have to counter turn the wrenches, I can just focus on tightening the outside nut.

Thankfully so, as that nut was a b**** to turn.

mattsvaliant00030ucabushingpress.jpg


And with a lot of elbow grease and a cheater bar, one side is in! Repeat 3x.

Question: The notches on the lip of the UCA bushing - what are they for? Do they need to be oriented a certain way? I looked in my service manual, but couldn't find anything.
 
Dude I am in love..... I really like your home made presses that really work. You just saved this old man a few dollars. Keep up the great work. Have you thought of doing a thread o your homemade tools? If not I will be happy to start one,so would you contribute to it?
 
Dude I am in love..... I really like your home made presses that really work. You just saved this old man a few dollars. Keep up the great work. Have you thought of doing a thread o your homemade tools? If not I will be happy to start one,so would you contribute to it?

I'm by no means a real car mechanic. Some guys have built a ton of mopars and taken these cars completely apart and put em back together. The only real mechanical experience I've had is working in a nonprofit bicycle shop for kids in a low income neighborhood. Lots of our tools were homemade and we'd often put together bikes with all the wrong parts and find some way to make the tools we had (what wasn't stolen) work for us.

I'll contribute what I can - but honestly, I'm just making it up as I go along.

Some tools, I think, can't really be made unless you've access to machining equipment (and have the know-how to use it). And some tools have to be bought, just simply because they perform precision work. IMO, pressing stuff in isn't really a big deal.

That said, are you guys lubing up your UCA bushing shells (the metal part) before pressing them in? It was kinda rough going in, and having lube on the metal might be a good anti-seizing thing to do in case they ever need to come out.
 
I like the doc's that goes with the car. I like the tool. Just told a friend of mine.
 
-
Back
Top