The I'm-Learning-As-I-Go 1965 Valiant Post

-
Short update.

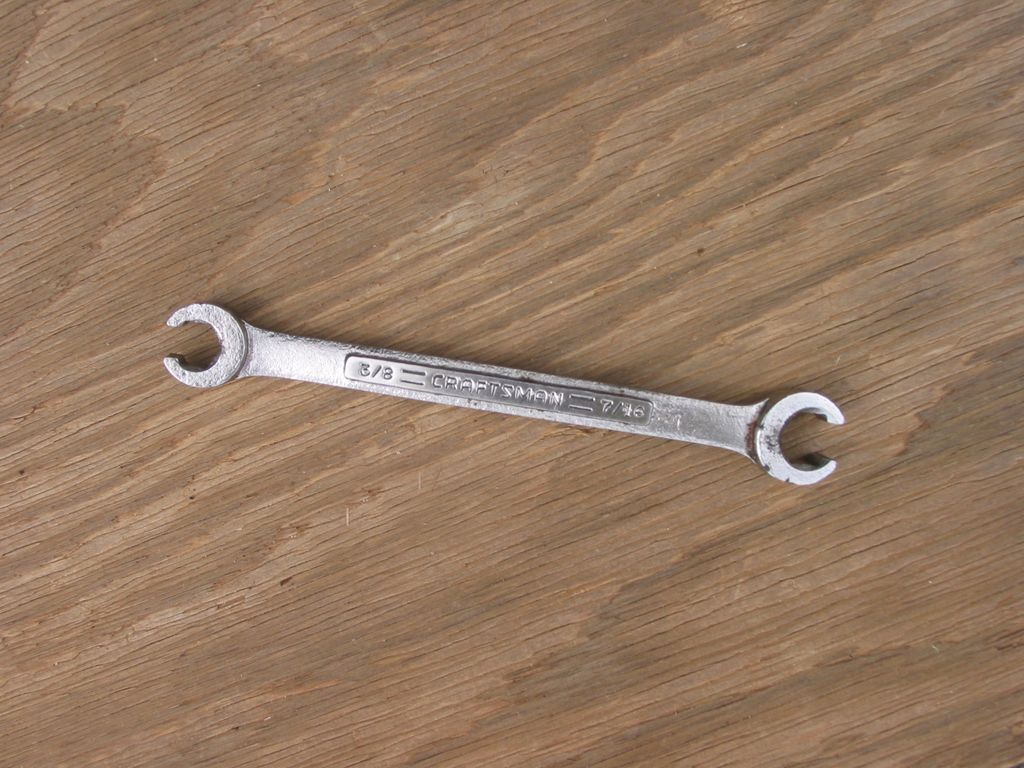
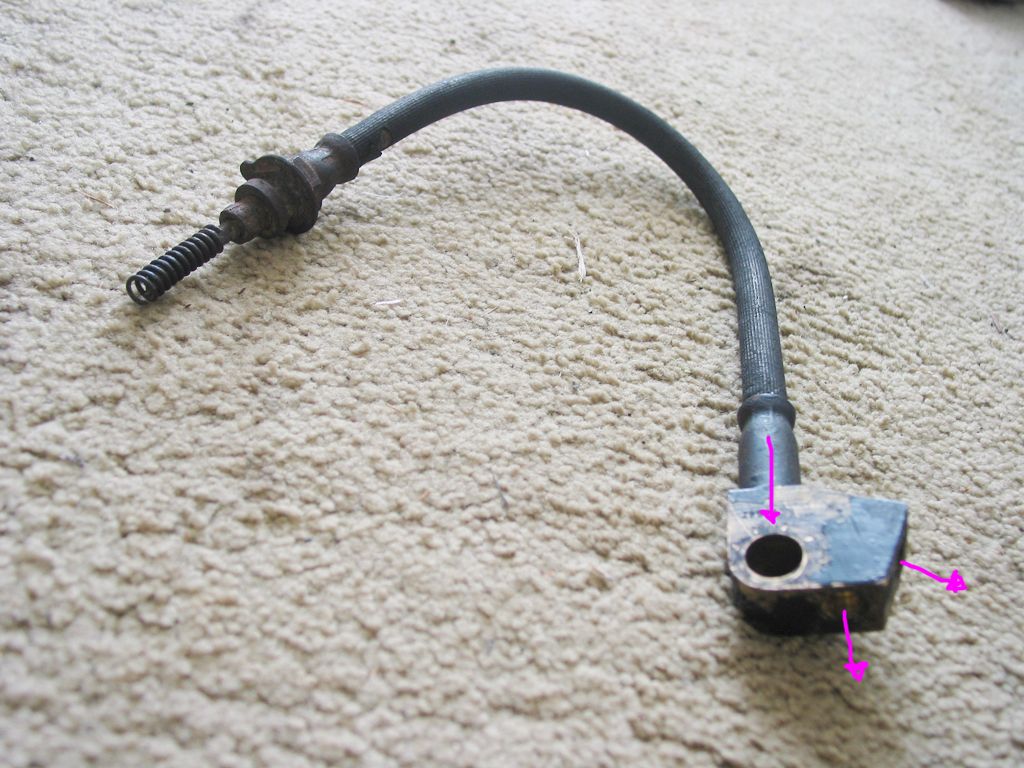
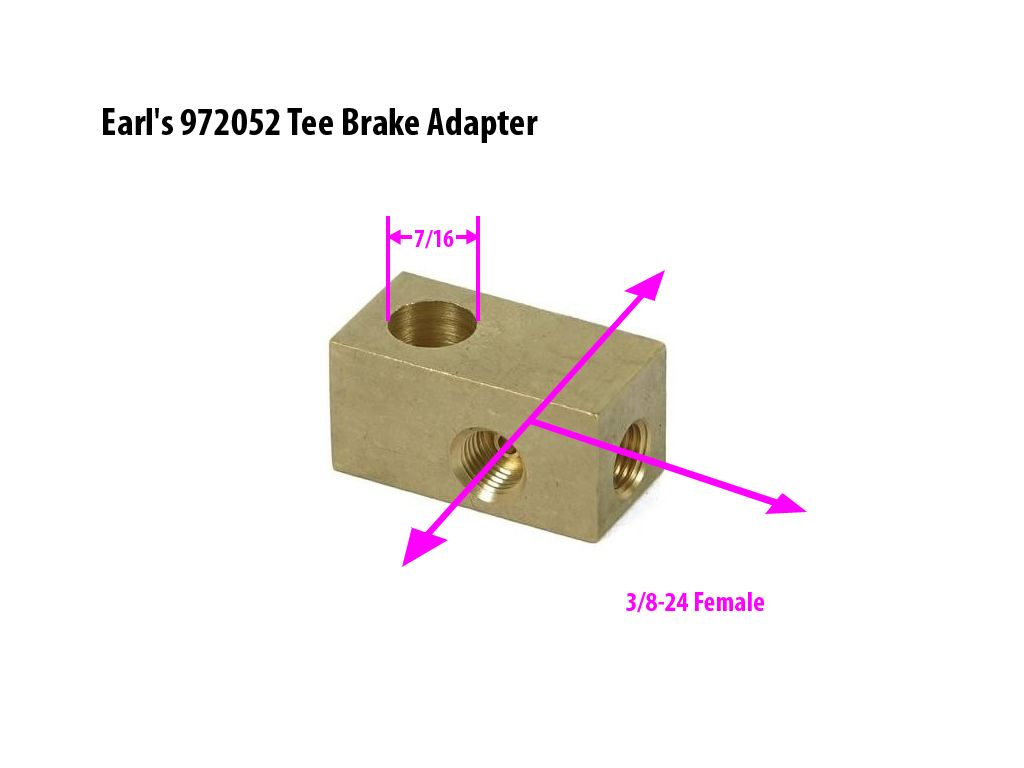
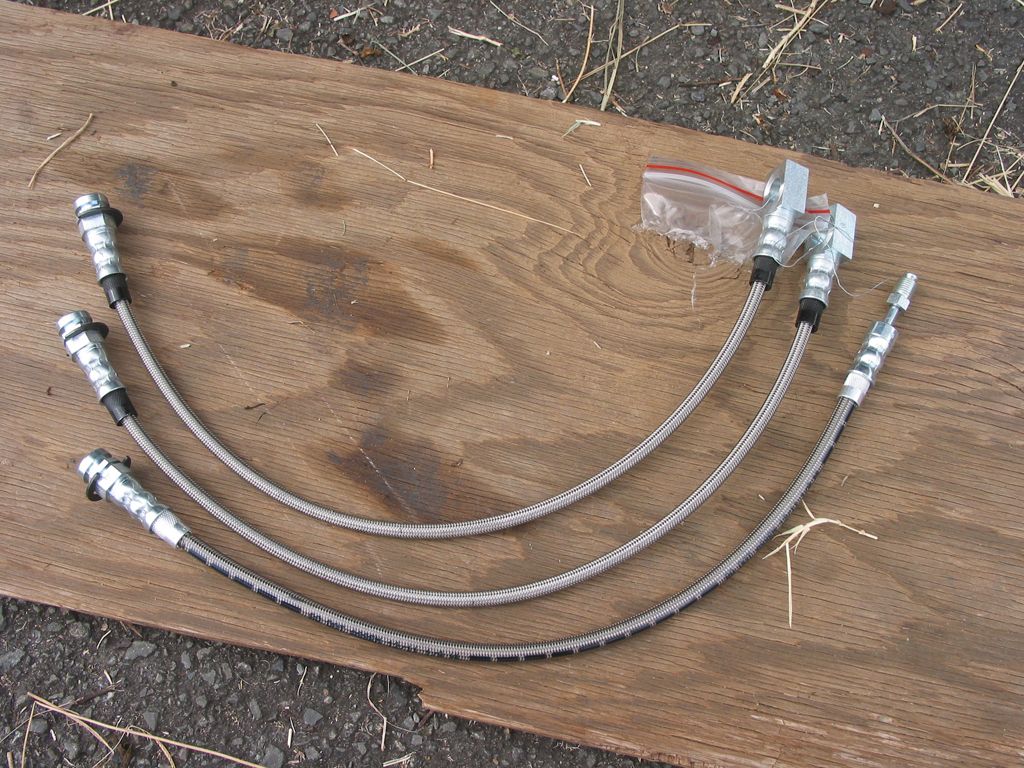
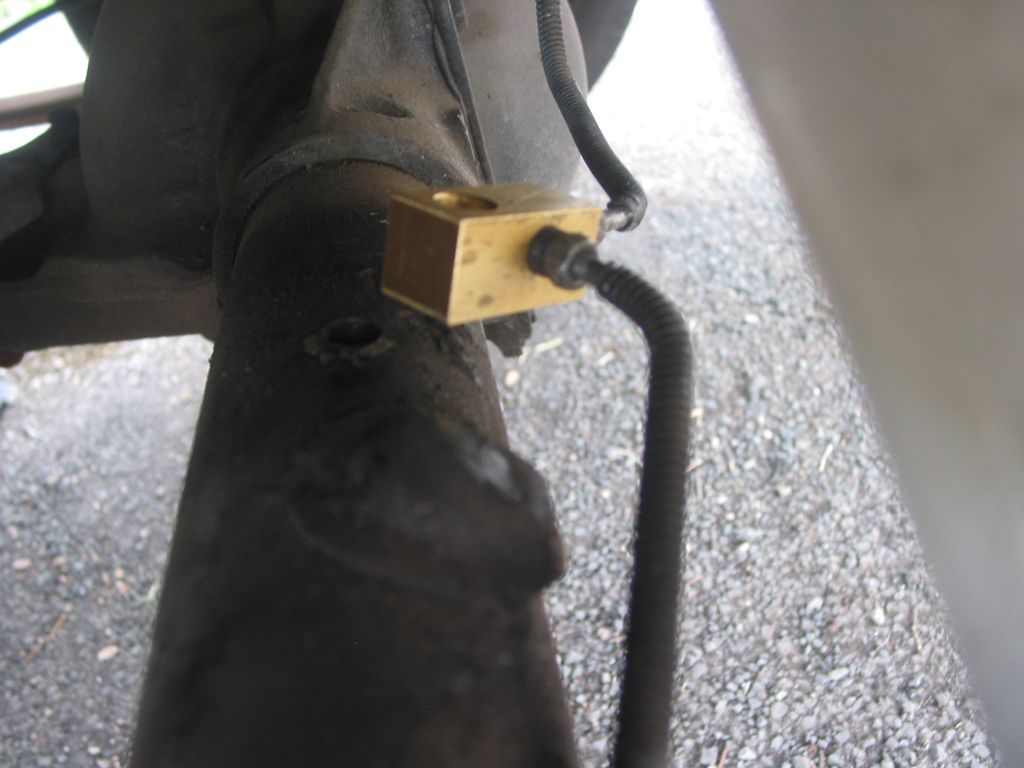
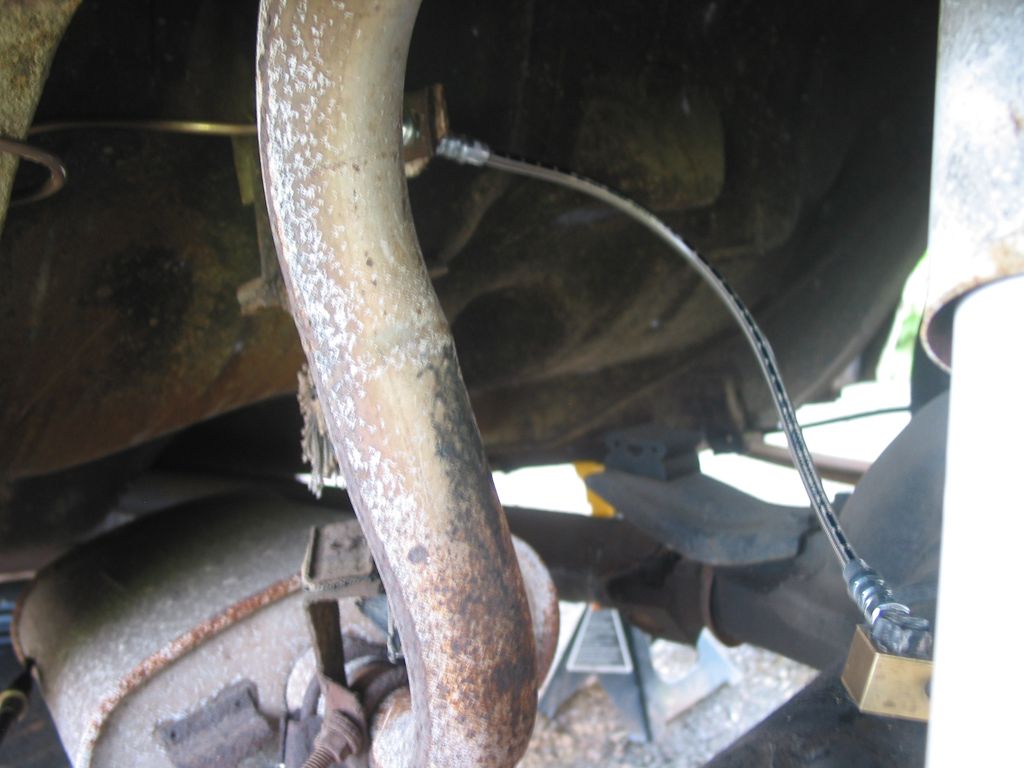
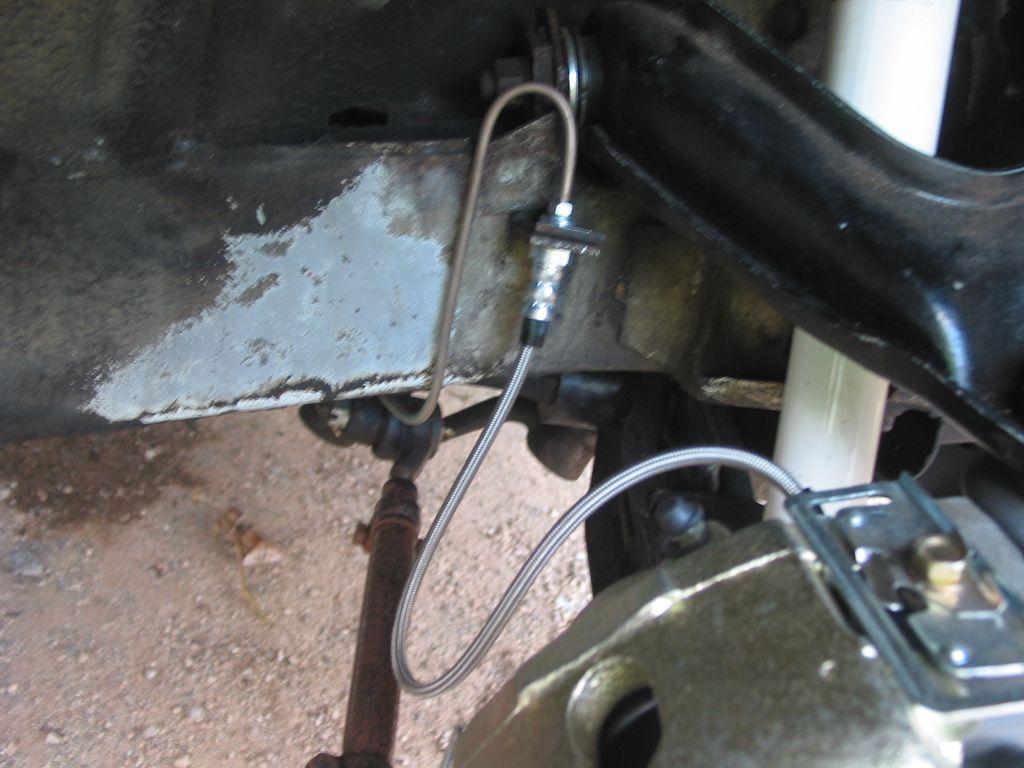
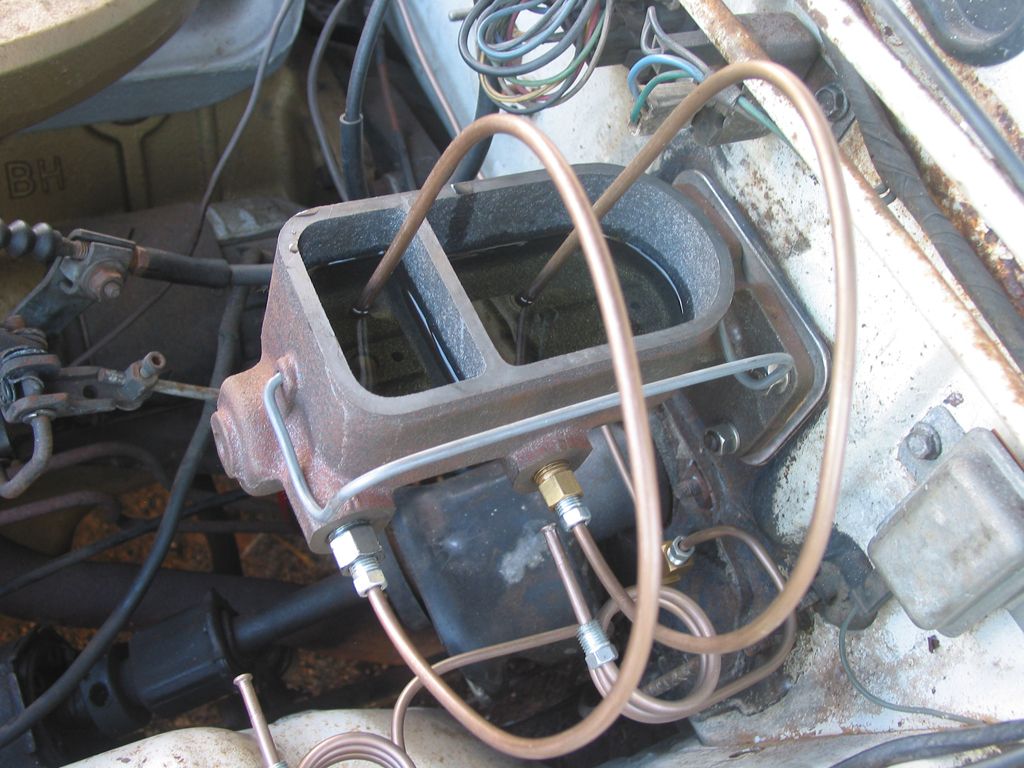
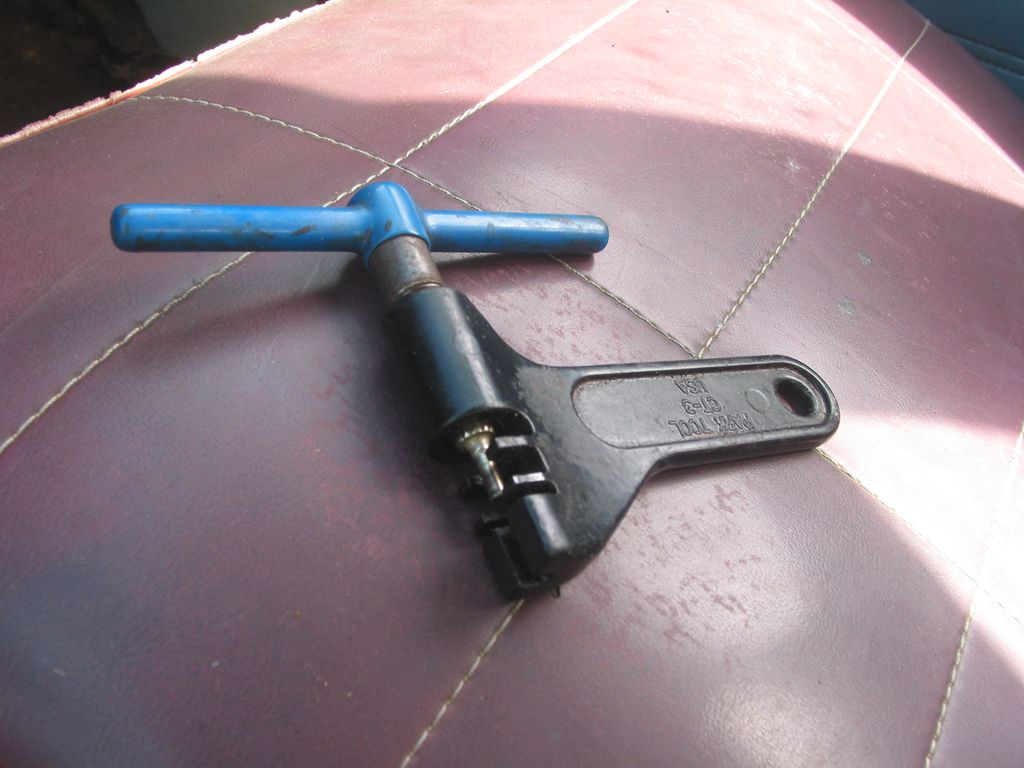
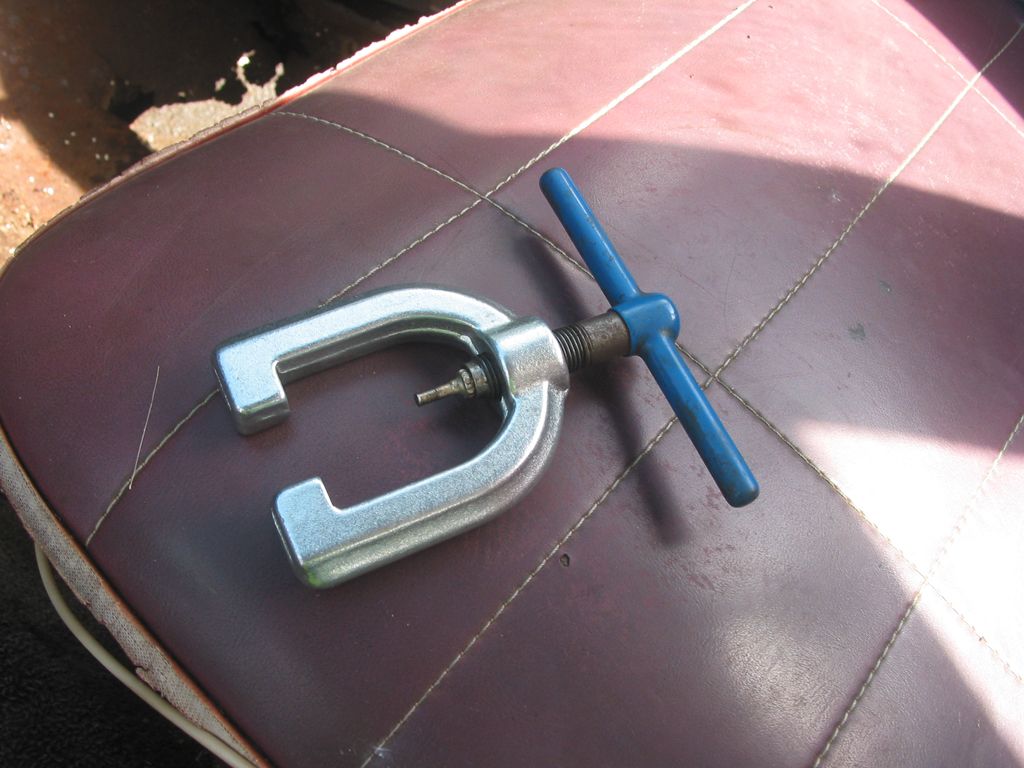
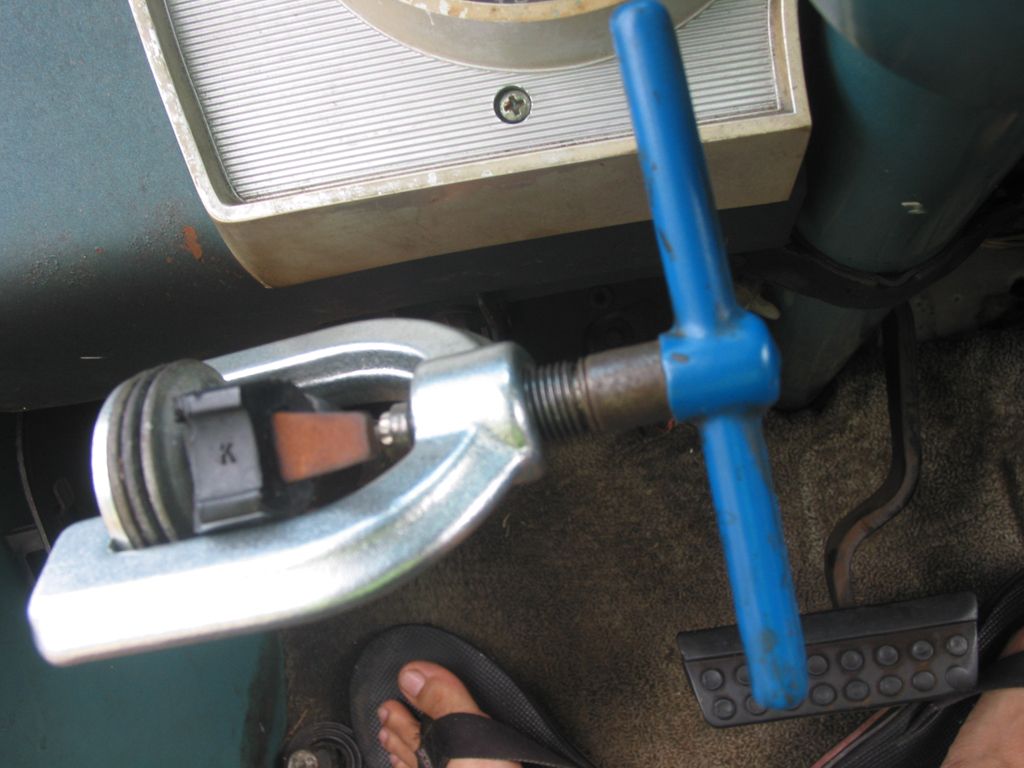
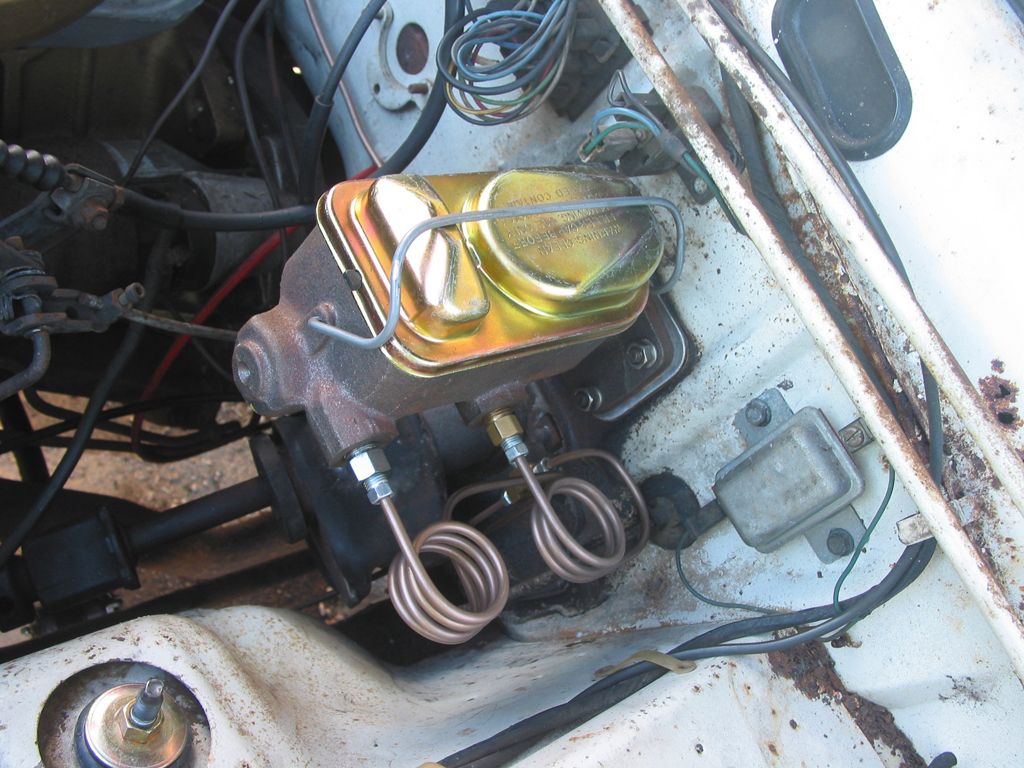
Finished fabbing up the front hard lines, and the front part of the rear line up to the proportioning valve.
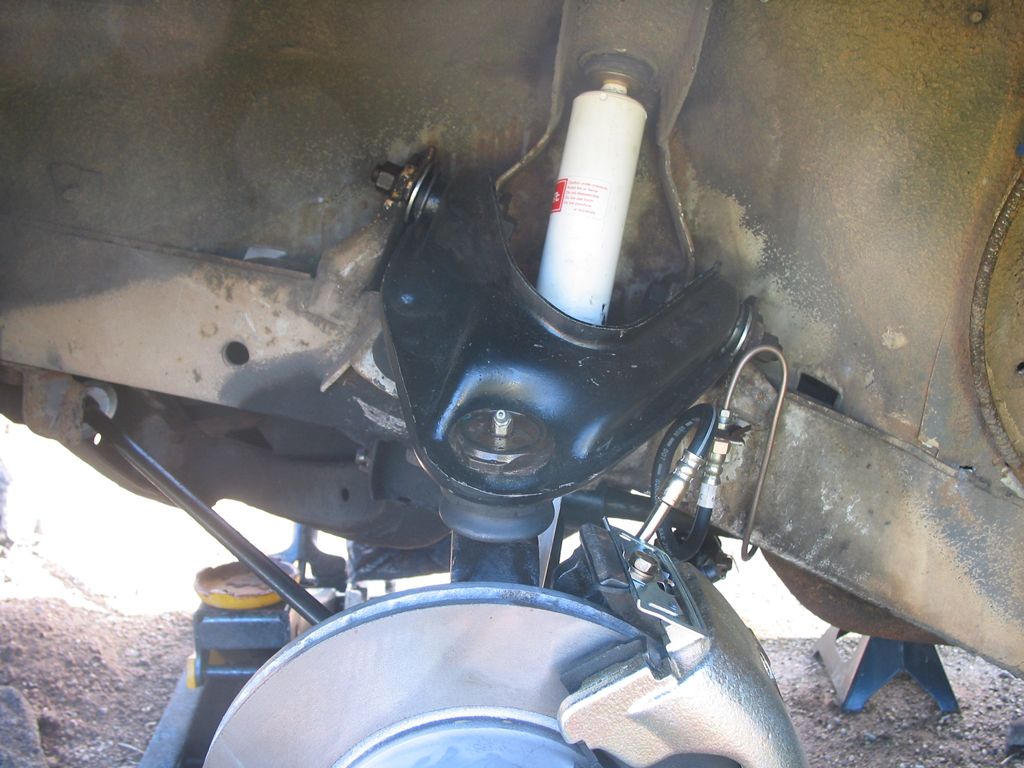
mattsvaliant00072bfrontlines.jpg


Put the KYB's in...

mattsvaliant00073shocks.jpg


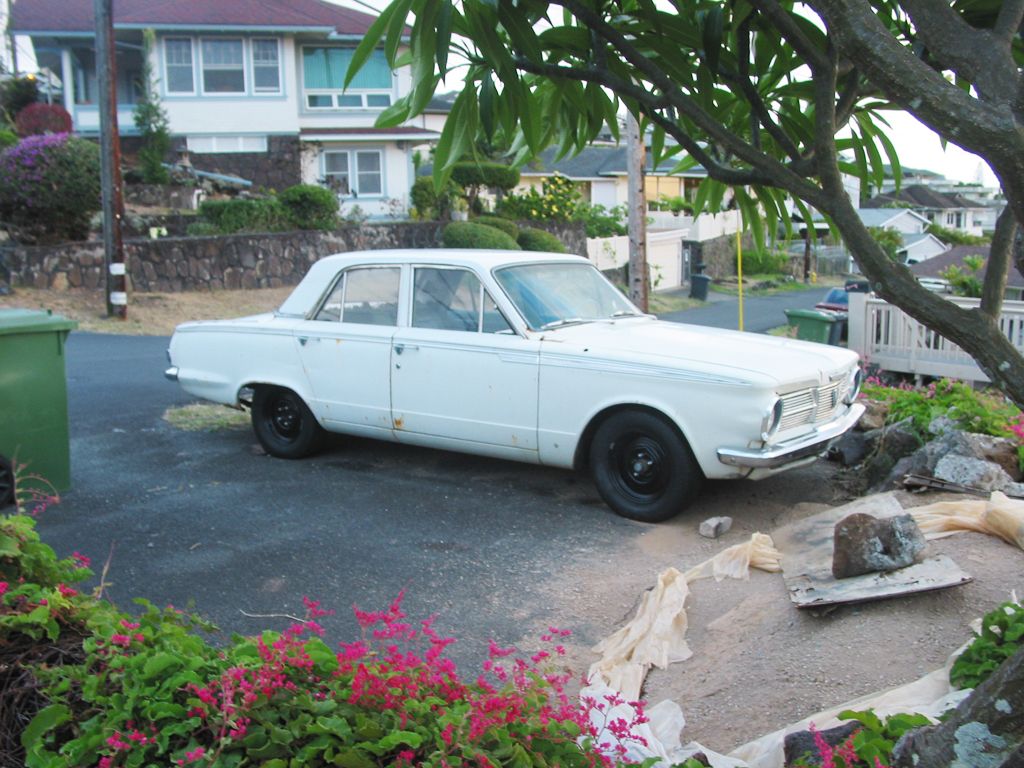
Let down the car off the jack stands. First time it's been off the jack stands in over 6 months. In hindsight I should've cranked the torsion bar bolts all the way up, because now she sits lower than I can get the jack back under, lol. Woops. I'll figure something out. But for now this is a great motivator to finish up the final parts of this brake rebuild.

mattsvaliant00074tireson.jpg
 
Lol,too funny! I'd break out a bumper jack and use that until it's high enough to get the floor jack underneath.

Things are looking good btw!
 
Thank you sir! Encouragement like this keeps me going. It's hard finding the motivation sometimes to work in the sun and the rain. :)
 
Yes,encouragement is great! I never seem to get any though. I'll send you a p.m,as I have a plan.
 
Please tell me you didnt use copper for brake lines as it looks.

it's not pure copper lines - that would be too soft. this stuff is cunifer aka copper nickel lines, that can handle higher pressures of hydraulic systems. it's the stuff most european cars use - porsche, volvo, audi, etc, some racers know about it, and it's DOT approved. big advantage is that it's easier to bend than conventional steel line.

and according to the fedhill site, theoretical burst pressure for 3/16 brake line is around 17,000 psi.

[ame]http://www.fedhillusa.com/webnuts/burst.pdf[/ame]

i got my copper nickel lines from the local hydraulic shop that sells the best stuff on the island.
 
mattsvaliant00075flarenutwrench.jpg


I kinda learned this the hard way. Normal 3/8 box end wrenches will round out a 3/8-24 flare nut. If you don't already have one, buy a 3/8 flare nut wrench. It grabs 5 out of 6 of the flat surfaces, vs the standard 2 surfaces. More grabby.

mattsvaliant00076rearflexhose.jpg


When I finished the hard lines to the rear, I inspected the rear rubber flex line, only to find a massive crack in it. I had already purchased and installed a pair of OEM hoses, but both are (1) rubber, which expands when the the hydraulic system is loaded, and (2) made in China (doh!), and figured that any rear line I purchased would also be made in China.

So I opted to get some braided stainless hoses made, courtesy of my local hydraulic shop, Hydra Air Pacific.

The fronts were fairly easy to replicate, and I had them add 2 inches in length to the OEMs, to prevent binding through the full range of suspension motion... but the single rear line had an issue. One end of the hose was a pretty standard 3/8-24 female connection, but the other end was a crimped-on fitting with a 7/16 mounting hole (to the rear axle housing) that split into two 3/8-24 female to mount a hard line going to each drum brake.

Problem was, they didn't have this fitting. Or rather, one that would work.

So I found one on Jegs, Earl's 972052 Tee Brake Adapter.

mattsvaliant00077rearlinefitting.jpg


And then looked for the part on Amazon. $20, with free shipping to Hawaii. And then had Hydra Air fab the rear hose, with 3 additional inches in length.

mattsvaliant00079sexyhoses.jpg


Installed the Earl's fitting...

mattsvaliant00078rearlinefitting.jpg


Hooked up the rear and the front hoses...

mattsvaliant00080rearlinein.jpg


mattsvaliant00081rearlinein.jpg


mattsvaliant00082frontlinein.jpg


And dropped the car off the stands. Huzzah! Progress!

mattsvaliant00083yayprogress.jpg


Next: bleeding time!
 
Cool very clean and nice looking, good info too. Keep up the great work.
 
So last week I bled the brakes. Don't have much pictures because, with exception of bleeding the master, was a messy job. Sorry but my camera's not going to go anywhere near dripping brake fluid. ^_^

Took some of the cunifer line I had left over, made two brake bleeding lines:

mattsvaliant00084brakebleeding.jpg


Once I bled the master, bled in order: Rear Right, Rear Left, Front Right, Front Left, starting with the ones farthest from the master. And repeated it once more to make sure all the air was out of the lines.

The next task was replacing the broken parking brake handle. Getting out the roll pin was a bit of a nightmare - like most things on the car probably had not come out since it was manufactured... and it was stubborn as a biznatch.

We tried various ideas - my friend Dave suggested using the double flare nut tool to press out the pin by sandwiching a machine screw between the press and the roll pin. But it was too many loose items to balance, and none of it really worked out.

So based on my previous presses, I made this mini press out of 1/2 ply:

mattsvaliant00085parkingbrakelever.jpg


And mounted it on the broken lever handle:

mattsvaliant00086parkingbrakelever.jpg


And as I tightened it, it nearly snapped in half. And the roll pin was nowhere near to being pushed out.

Then it occurred to me that another tool I had for bicycles might work with the flaring tool. So I disassembled the flaring tool:

mattsvaliant00087parkingbrakelever.jpg


Brought out my Park chain breaker, disassembled the pin press:

mattsvaliant00088parkingbrakelever.jpg


And what do you know, the diameter and thread were a perfect match:

mattsvaliant00089parkingbrakelever.jpg


Attempt no. 1209481:

mattsvaliant00090parkingbrakelever.jpg


And it's out! woohoo!!

mattsvaliant00091parkingbrakelever.jpg


Little bit of wire brushing the old roll pin, and put the new handle from a 63 Valiant donor car:

mattsvaliant00092parkingbrakelever.jpg
 
Lol,that reminds me of a typical repair day around here. Never seem to have the right tool for the job.End up getting half of the tools I own out,and thats a pain as they all need to by hauled down some stairs to the vehicle.

Anyways,looks like ingenuity won again! Congrats,you are one resoursefull dude!

ha it was actually a stroke of luck. i walked by my chain breaker a million times for a week and it never occurred to me to use it till today... but i probably did have to make that little ply press and have it break before i could think of it.. lol
 
As part of the effort to get the Valiant back on the road, one of the projects was to stabilize the shifter. It was originally on the column, but a transmission swap to a later Torqueflite A904 (1971) required us (Bob Higgins [rest in peace, homie] and me) to install an aftermarket B&M Starshifter. When we did the swap back in 2008 the only thing holding the shifter down were 2 self-tapping sheetmetal screws, and it was a flat bottomed shifter sitting on a round transmission tunnel.

My goal for this project was to create a flat platform for it to sit on, and to be able to use all 4 mounting points to stabilize it. I came up with the idea of fabbing up a mount out of 18 ga aluminium sheet metal (so rust would never be an issue) and riveting the mount to the transmission tunnel.

The first step was to create the template. It was test fit to the tunnel to make sure it was a good fit. I tapered the base to follow the tapering of the tunnel.


Transferred the design to the aluminium and drilled out the holes for the rivets (3/16") and the holes for the shifter mounts (1/4"). Used a 4x4 and a solid work table and bent the legs.


Test fit of the mount with the shifter on top.


Bolted and riveted down.


Future project might include coming up with a custom shift indicator. heh
 
-
Back
Top