The Great Pumpkin - '71 Duster

-
I just 2 904's done by him. 1 for the wife's Cuda, simple upgrade & shift kit, mine with a MVB. Told him it was running hard and fast, looking for 9's. He chuckled and said "OK!"

Huh. He told me that they don't get much call for 904s. 727s, yes but not 904s.
My converter did not fit on his dyno adapter, he had to get an OE one from someone else to make it work.

Said they were a dying breed. It's probably true from his point of view, most guys with Chrysler products probably don't consider using a 904.

Glad I did it though. Now I can just bolt the thing in and know it will be OK save for any adjustments that need to be made. I always like to have that peace of mind.
 
Today was a huge day for me. I have realized a long time dream of building an engine and taking it to the dyno. Hoisting the motor into the back of the D100 for the ride down to the machine shop was a great feeling. Everything just came together and I knew it was all gonna be great.

Of course, there was the usual amount of drama. I primed the oil system but initially was not getting oil to the driver's side valve train. I had good pressure and oil to the passenger side but the driver's side was bone dry. WTF? My heart sank. What now?

My head was spinning with all sorts of worst-case scenarios - bearing holes not lined up, galley plugged, rocker shaft installed wrong... thankfully, it was none of that. Basically I just needed to keep going with the drill and rotating the engine over until things lined up so the oil could reach the rockers. After sitting there spinning the pump for a while and rotating the engine over a bunch of times oil finally came up out of the holes in the rockers. Whew!

After that I got the timing lined up, set the gap on the distributor reluctor and gapped the plugs to .045".

I fumbled around with the engine dolly for a bit after I lifted the engine off the stand. Took me a while to figure out how it was supposed to go but eventually I figured it out. My driveway must look like a shop with the engine crane and stand. My neighbors must think I'm nuts.

Hopefully I will have good things to report tomorrow, stay tuned.
 

Attachments

  • IMG_2873.jpg
    48.1 KB · Views: 229
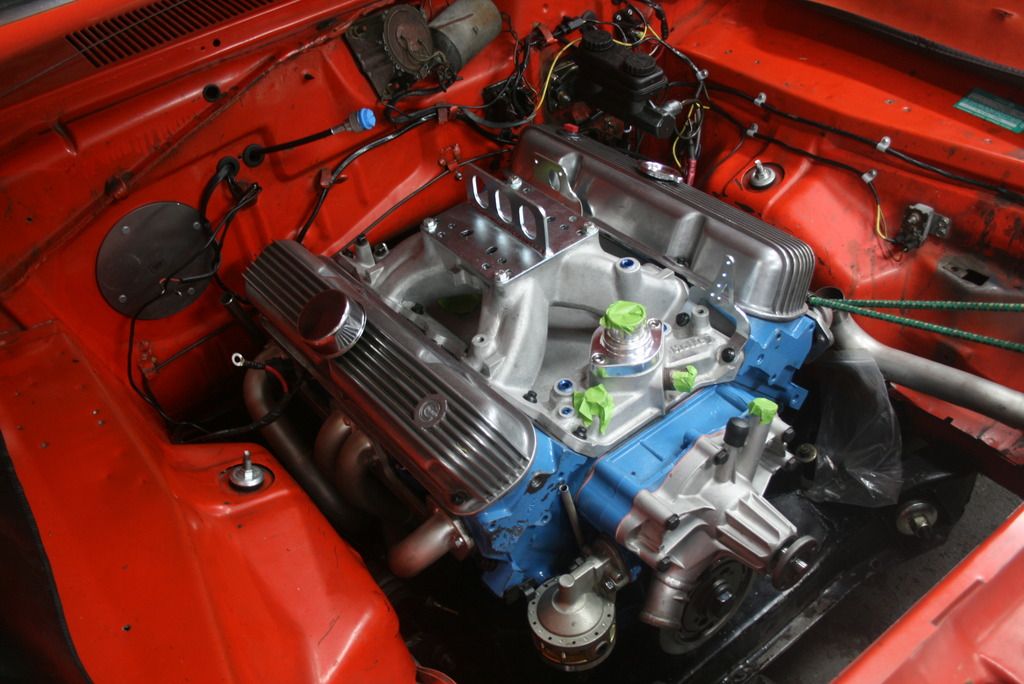
So, the 416 makes 500 horsepower! Dyno day went great, break in went smoothly. The engine makes good power and big torque - basically 500 lbs/ft from 4,000-5,000 rpm. The thing sounds nasty too, just a pissed off small block!

I posted a thread about it on Moparts here.

Unfortunately, I don't have any pics or videos from the dyno, my camera decided not to work when I wanted it to. I have one fuzzy 30 second clip of the break in but it's terrible quality and not worth posting.

In any event, it feels like I've graduated to a different level seeing the engine through to this point. Obviously it has to go back in the car and the 'real' test will be getting it down the track but I'm pretty stoked at how it's turned out thus far. Not bad for a guy in his garage and just enough knowledge to be dangerous...

If you've been reading through all this from the start, (if you actually are, I commend you) you'll know how many missteps I've had with this motor. It fought me on everything, from mismatched parts to incorrect procedures and everything in between. It's a great feeling to know that it wasn't all for naught and it actually turned out really well!

On the dyno, the only real issue that came up were some small oil leaks. They looked to be coming from the corners of the oil pan which is what I had been afraid of. Thankfully though, it was neither the rear main or front seal. It was run without PCV on the dyno so I was wondering if that may have had something to do with the leaks but the dyno guy said it didn't. We changed the filter on the dyno after the break in and lost a little oil. The Kevko pan calls for 5 quarts and I believe there may have been a little too much oil added after the filter change. I am going to try and pinpoint the leaks with some air pressure and soapy water, hoping that it won't be a big deal.

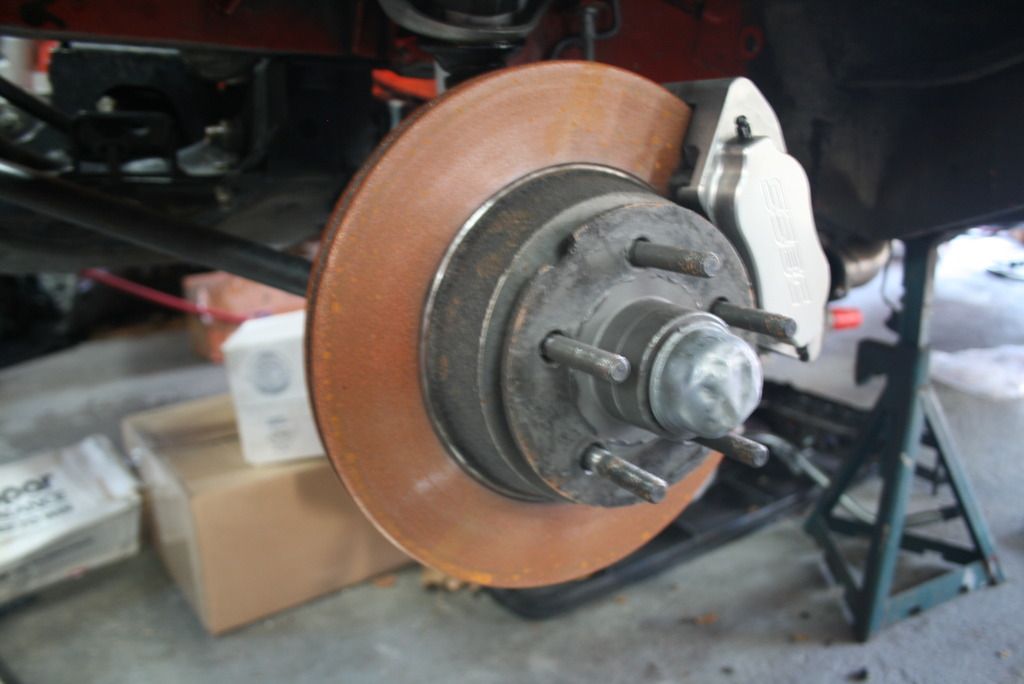
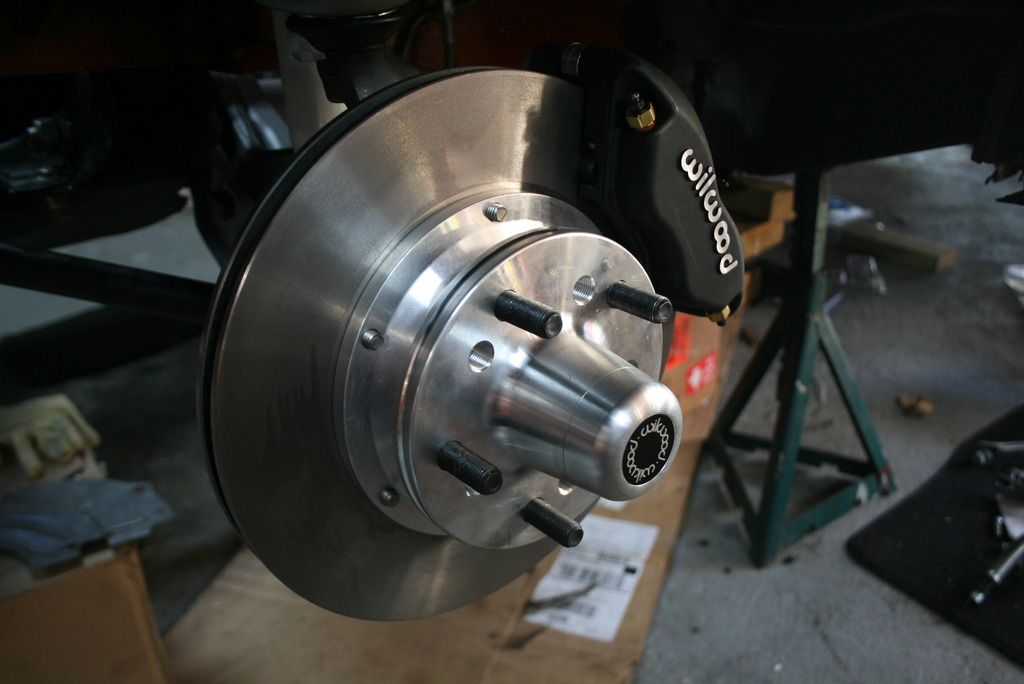
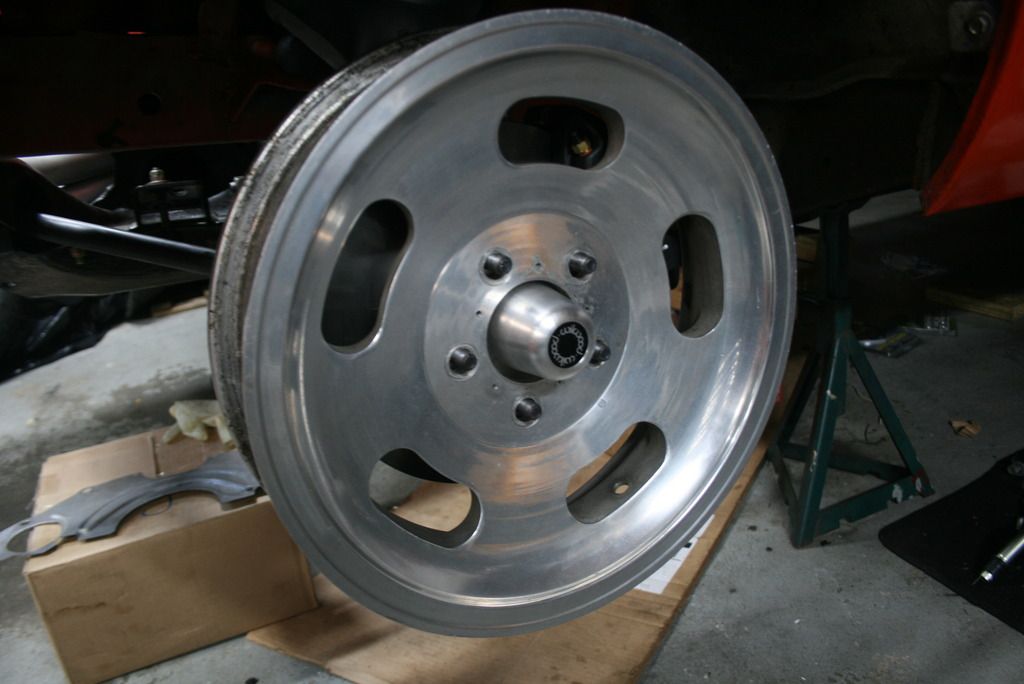
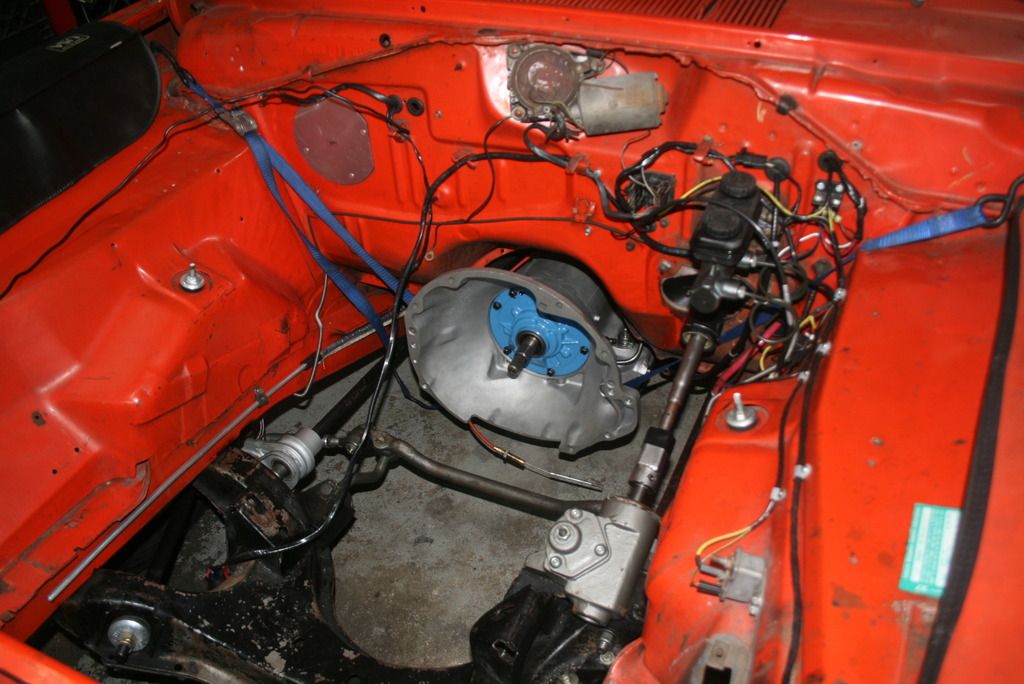
So again, the next steps are getting the engine and trans back into the car. Still debating whether I want to do the brakes before hand but know that I know what I have with the engine and trans, I am probably going to do it.

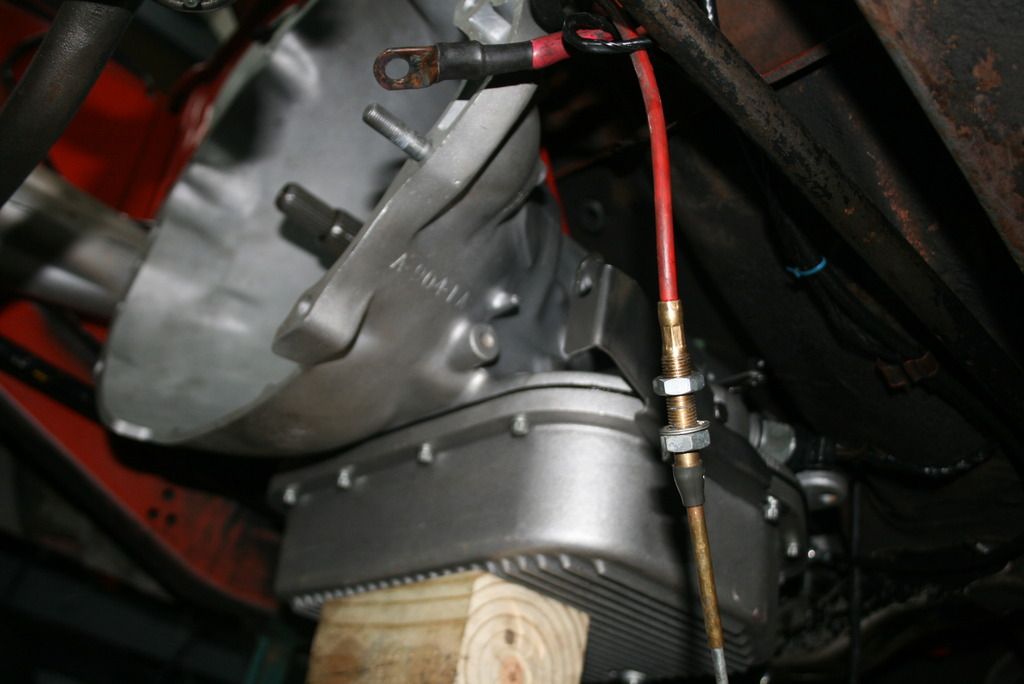
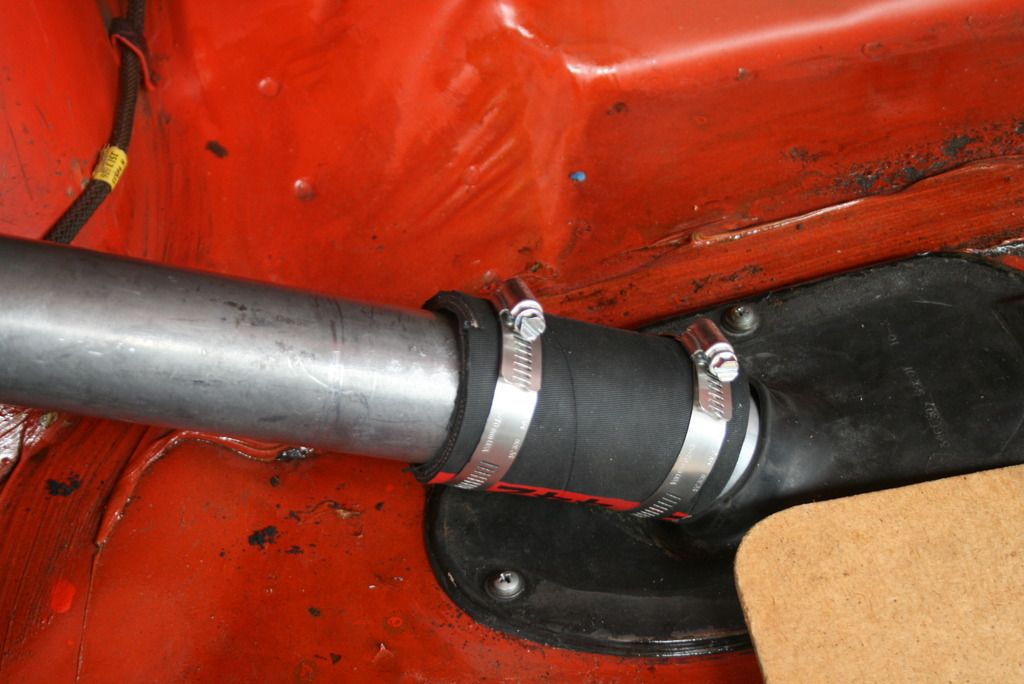
Need to finish up the trans. install with some new cooler lines and reinstalling the shifter. Driveshaft has to go back in as well, hoping that the drievline angles will be OK. I installed a new trans. mount and have new motor mounts. Guess we will see when it gets back on the ground.

I'm super stoked, can't wait to get this car back on the road! :burnout:

More to come.
 
Sorry, where did you dyno the engine? Did Glen in oceanside dyno it? I just met Glenn a couple of weeks ago.
The build list.

Here's the combo;

factory 340 block, bored to 4.070, align honed
BPE 4" crank
Scat 6.125 rods w. Chevy journals
King bearings,
Diamond 21 cc dish pistons, 1.457" C.H., .927" pin
CNC ported RHS/X heads by IMM w. 2.02 intake valves
approximately 10.3:1 CR w. Fel Pro 1008 gaskets
Not sure what brand spring but whatever Brian puts on these heads, maybe PAC? Spring pressure is 155lbs. at 1.800 I.H. and 350lbs. at 1.200 spring height
IMM spec'd Comp solid FT 251/259 @ .050". with Hughes 1.6 rockers .585"/.593" net lift installed at 106.
Pro-gear timing chain
Smith Bros pushrods
gasket-matched Holley Strip Dominator intake
Proform 850 74/82, 4.5 PV
vintage '80s MP tach drive distributor
Taylor 8mm wires
MSD 6 AL + Blaster E coil
NGK #5 plugs, .045"
TTi 1 5/8-1 3/4 W2 step headers
Mech. flow Kooler water pump
Clay Smith mech. fuel pump (not used on the dyno)

That's it, a simple iron headed small block. Aiming for 11.0.
 
So a month since the last update. Getting closer!

The transmission is back in the car. Getting a trans into a car while laying on your back on the floor sucks. Currently working on the cooler lines but I am hesitant to make any final cuts before the exhaust is back in. Don't want to go through the trouble of making the lines and find that they are right on top of the header collector or something. New polyurethane biscuit mount is in, the old rubber one was shot which I think was causing a vibration prior to disassembly last year. The cross member is bolted in but the front of the unit is being held up by a milk crate and blocks of wood until the motor is in.

Trans back in place.
IMG_2885_zpsp4ltyoxy.jpg


So after years of debating whether I wanted one, I finally caved in and ordered a fancy aluminum fuel tank from Hot Rod City Garage out in CA. The tank is on it's way and will be here this week. I ordered it with a sump so the pickup is no longer needed. Being made of 5052 aluminum it's an almost 10lb weight savings over the OE galvanized steel. It fits in the stock location with the OE tank straps so no cutting of sheet metal. I considered a fuel cell but decided on the tank. On a street car, a cell seems like a real P.I.T.A.

With the new tank, I have to reconfigure the fuel lines somewhat so the old parts store coated steel line was pulled out. I was never quite happy with the way the lines came out the first time I did 'em a few years ago, looking forward to redoing them. A body fuel line routing is always a tricky deal, there is no easy way to route it away from moving parts and exhaust. I will use some bulkhead tubing fittings this time instead of trying to finagle the lines around obstacles, will make for a more sanitary install. Additionally, it will be easier to take apart if it's got threaded connections at various points.

The motor is still siting on he dolly. I am having a hard time making a decision on whether to put it back on the stand to re-do the oil pan gasket. As I mentioned in my previous post, there were some small oil leaks when the engine was on the dyno. I tested it by applying some air pressure to the oil pan through the dipstick and spraying water around the pan rails. I was not able to pinpoint where they came from so I am hesitant to do anything. I might try again from another point like the pressure tap to see if I can get the oil pressurized some more. I have a new gasket so it's just a question of whether I want to deal with it or not. I definitely don't want to have to take it back out if it is in fact leaking so that will probably sway my decision. Only other option is to seal it from the outside. Other than that small/l/big issue it's ready to go back in.

I started on the Wilwood brakes last week. The particular kit is for the 10" drum spindle and utilizes a bracket that bolts to the spindle to mount the caliper. Mounting the bracket involves drilling out the original threaded ball joint hole on the spindle to 1/2" to accept a 1/2"-20 x 3" bolt provided in the kit which goes through the bracket and ball joint. So that's where a fitment issue arose; the disc brake specific ball joint uses a 9/16" bolt to mount it to the spindle. To use that ball joint, I would have had to drill out both ball joint holes on the drum spindle and bracket to 9/16" and then find a 9/16" x 3" bolt with counter sunk head to fit the bracket. Screw that. So I had to break down and buy a set of 'drum brake' specific lower ball joints because stupid Chrysler had to spec different bolts for mounting drum and disc brake to the spindle for the '65-'72 cars. The drum brake ball joints are ridiculously expensive, like double what the disc brake joints are. Confusing and annoying. Note to self - don't go from factory KH disc brakes to Wilwood brakes based on the factory 10" drum spindle.

Here's the drum spindle being drilled out on my drill press. I bolted a block of wood to the the drill base and bolted the spindle to the block of wood. I had to steady the spindle from spinning with my hand but it worked out fine.
IMG_2881_zpspngdyxho.jpg


Going to keep pushing along to finish this chapter.

More to come.
 
OK, so I got the aluminum fuel tank in. It's bitchin'. Saves 8 lbs over the stocker. Fully TIG welded, sumped, new sending unit and even a drain plug yet. Install was mostly straightforward, it's a fuel tank.

Here's the tank, just out of the box.
IMG_2896_zpsip8xxb1o.jpg


And next to the OE tank.
IMG_2894_zpstwgjwnxb.jpg


So, no one makes a 'repro' gas tank pad with the original material. As in the pic above, I've used roofing tar paper. When I ordered the tank, Jeff from Hot Rod City suggested I use neoprene tool box liner. You can get it at Home Depot in rolls for $9.98. Worked great. I cut it out all nicey-nice. 3M spray adhesive was used to keep it in place during the install.
IMG_2898_zpsia0vwvaj.jpg


I was able to re use my existing fuel lines and fittings which was great. The tank came with bosses welded on the bottom to mount line clamps, a really cool feature. The tank is designed to use the OE straps and J bolts. I glued some neoprene strips inside the straps to keep things from getting gouged over time.
IMG_2901_zps64jsmip0.jpg


The one 'tricky' part was the filler tube. In the OE application, the filler tube goes through a hole in the tank and is held in place with tight-fitting rubber grommet. The aluminum tank has a spout that comes out through the floor which makes the tube too long so the tube must be cut to fit. Hot Rod City provides a large hose and clamps to secure it once it's cut.

I cut about 7 inches off the end of the tube.
IMG_2903_zpsku3hg9kl.jpg


The filler tube has a baffle-type thing running the length of the tube and sticks out the end like a tongue. When I cut the tube, I kept some of the baffle sticking out like the original. I figured the baffle/tongue thing was there to keep fuel from spitting back or maybe to help gas flow evenly into the tank. Took some grinding and shaping but it came out OK. Probably too much work for something that will never see the light of day.
IMG_2907_zpslj5dqafm.jpg


IMG_2905_zpskwlhlzsx.jpg


After the cut, the angle of the tube and spout don't quite match up but that's where the length of hose comes into play.
IMG_2904_zpshizgo7c1.jpg


With the hose. The tube went down a little farther once it was in place for reals.
IMG_2908_zpsckkp3bfm.jpg


So yeah, turned out pretty well, I'm stoked. Just finishing up the fuel lines and it will be done.

More to come.
 
Well, if it isn't one thing, it's another. Two things I ignored knowing they could become a problem have come back to bite me in the ***.

When I did the brakes two years ago, I replaced every line and fitting in the car except for the right rear line that goes from the junction block to the the R/R wheel. I don't remember why I didn't bother with that one but I re-used the existing piece of crap. Of course, it wound up leaking. The brake fluid ruined my nicely restored brake backing plate and also left a bare spot on the rear under the junction block. Grrrrr...

So I made a new line which came out OK. I put the wheels back on to keep from constantly tripping over them. No fluid in the system yet but hopefully it won't wind up outside of it this time.

Number two was the driver's side lower control arm. So after I buttoned up the rear half, I moved to the front to start switching out the SSBC small bolt brakes for the Wilwood 10" drum spindle kit. When I started unbolting the spindle, I noticed that the UCA bumper was destroyed, like disintegrated. I was surprised, I never had a front end end issue at all. So that was red flag #1.

Red flag #2 came as I was putting the drum spindle into place and I could not budge the whole thing without lifting the car off the jack stands. I thought maybe since it was sitting for over a year that it just needed a little persuasion but then it hit me - when I rebuilt the front end two years ago, I bent the torsion bar tab on the control arm when I pressed the pivot shaft on. FuuuuuuuuuhhhhhhK.

I remember now it was a ***** to get the torsion bar in and it was also a ***** to align it. I put it back in the press to bend it back some but it was junk. Wish I had bit the bullet and replaced the thing back then but in the interest of moving forward, I rolled the dice and let it go. Guess it was twisted enough that it was forcing everything kind of forward and down in an unnatural arc especially when you applied the brakes. Scary. Really bummed at myself for this.

The icing on the cake was the left front shock. The inner part of the lower tube wedged itself against the inner fender where the bumper is and is now badly dented and gouged. I needed a pry bar to get it out of the control arm. It still works but I'm going to get another one. Grrrrr again.

Not happy about rebuilding another LCA. Thankfully I have another set of control arms, bushings and pivot shafts. I will also have to check the torsion bar and strut rod to make sure they are not bent to ****. Not likely but they have to come out anyway to replace the LCA. Not what I was expecting to do at this point but I'm happy to fix it. Guess it has to go back to the alignment now shop too. All I want to do is drive this thing, this stuff kills me.

At least the tires are off the floor.

More to come.
 
1 step forward, 2 step re-do.
Way of the world......
 
1 step forward, 2 step re-do.
Way of the world......

Definitely the way of my world...

Managed to get it all out this AM. Control arm T-bar adjuster tab is definitely bent, looks worse now than when it was installed. The part of the tab that pivots inside the LCA was wedged up against the rear of the arm which was making the t-bar socket point towards the outside of the car instead of straight ahead. Lesson learned!

The torsion bar looked bent when it was still in but seems OK, guess it was just being loaded by the crooked socket. Need a new boot now, old one was torn.

Strut rod is beefy, not much chance of that being bent.

The 'new' arm is sitting in Evaporust, lot of wire-wheeling ahead. Pivot shaft as cleaned up, chased the threads and cut the old bushing shell off. Hope to get all this done quickly and get back on track.
 
Tackled the bent control arm situation this week. The new LCA is all restored and rebuilt. The old control arm I had on the shelf was rustier than I had thought so it needed to be sandblasted. Went back to the dealership where I used to work to use the crappy sandblaster they have to clean it up. Somehow I'm still the only one that knows how to make it work. Anyway, finished it up with the wire wheel, primed and painted it to match the existing one.

Initially I had thought I had an extra LCA bushing on hand but I actually have three extra upper control arm bushings instead and no LCA. So, down to my local old-school parts store that is good at getting me this type of stuff, paid the man for a new bushing and I was on my way.

The install mostly went smoothly, it's all back in. Frankly, it sucks to deal with torsion bars lying on the floor on your back. Maybe one day I will have a lift.

What all this means though is that I am past the latest setback and have managed to make some good progress toward getting the car back on the ground. The brakes are finally installed, only thing left to do is bleed them. I had to finish the brakes since I would not have been able to get the motor in the car until without the brakes - the car needs to roll backwards out of the garage to have enough room to swing the hoist around.

In any event, The Wilwoods are really light. I believe I shaved about 8-9 lbs per side over my previous set up with the SSBC aluminum KH type calipers on otherwise stock components. Hopefully they stop better...

From this...
IMG_2828_zps8m0htgrt.jpg


To this.
IMG_2940_zps7jtwf0xu.jpg


Wheel preview
IMG_2942_zpslf0roolr.jpg


While the control arm was out, I decided to install the Flaming River manual steering box I've had on my shelf for what seems like 10 years. I bought it for one of my old project cars that I sold but managed to hold on to it. I remember painting it with cast blast on my stoop in Brooklyn when I lived there which was between '04-'08.

I can feel the difference in the wheel already, smoother action with the right amount of tension on it. Yeah, it's heavier than the OE manual box since it's cast iron but I guess the trade off is modern components and feel. Only issue with it was that the roll pin didn't want to go in, guess I have to futz with it a little.
IMG_2941_zpszyo6ljc3.jpg


Not much peripheral stuff left to do, whittling down my punch list.

More to come.
 
OK, more progress, inching ever so closer to getting this thing back on the road.

Finally put the car back on the ground. As stated in my last update, brakes are done, steering column is done and the FR steering box is in. Of course I ended up having to mess with **** to get it right but it's all good. I need to adjust the t-bar ride height when the motor is back in and get it re-aligned.

I am also planning on switching the Caltracs to the top mount hole. My launch at the track was soft and I learned that the top hole will hit the tires harder. Pretty simple deal, just unbolt the front arm and move it.

One of those small but pertinent peripheral things I needed to complete was how to mount my tach so I 'made' er modified a tach bracket. I had a cool bracket previously I got from SS/AFX but since I switched to a mechanical tach which uses a cable, the position of the existing bracket would have made for a sharp bend in the cable which is no good.

I had a brand-new Moroso tach bracket sitting around for years that I finally put to use. It sat too tall to put on top of the dash and would not have worked upside down either since every tach I have is rear exit for the cable.

This is what I came up with. Now I need to figure out where to put my oil pressure gauge...
IMG_3110_zps7pbbh7oe.jpg


Got a new parking brake lever at Carlisle, the old one was somehow bent. Putting the roll pin in here kind of sucks.
IMG_3113_zpslznvo2g7.jpg


Also got a carbon fiber style overlay for the instrument panel from DMT at Carlisle to hide the faux wood grain. Ahhhh, the '70s.

One thing I am really happy about completing was altering the position of the driver's seat. Previously, the seat was too far forward and made me sit up too high, drove me nuts. When I had a helmet on, it was pushing up on the headliner. I actually modified an existing seat bracket I had from something else but it made me think all I had to do was move my existing bracket a little. Seat position is much better now - lower and more relaxed.

Basically I just have to put the motor in now. Hopefully I don't hem and haw about it for too long. Wish me luck.
IMG_3114_zpsjxpeeofb.jpg


More to come.
 
416 is in.
IMG_3273_zpsisuobrds.jpg


Couple more things to do before I fire it up but obviously this was a pretty big step. I had been trying to finish up as many loose ends as feasible prior to setting the motor in place. Just about everything is done save for the trans cooler lines since I needed to see where the exhaust was going to end up before making them. After that is the cooling system and accessories, fluids and alignment.

More to come.
 
Not to temper all the good cheer of getting the motor in with crappy stuff but this wouldn't be a project of mine without the requisite hurdles, soooo...

I purchased new motor mounts from Schumacher last year along with new trans mount. After the motor went in with the new mounts, I put the radiator in place and of course, there is less room than there was before. Mocking up the clutch fan showed that it would be butted up against the radiator core - no good. Somehow, I lost a 1/2" of room between the radiator and the water pump pulley.

I spoke with Schumacher this AM and we concluded that the mounts were right for the application and installed correctly so the culprit had to be the radiator. The guy on the phone thought the old mounts were probably stretched backwards allowing the motor to sit further back. After I hung up, I went out and looked at the old biscuits, the bolts were in fact crooked so maybe that was right on some level but not 1/2". The trans mount was destroyed too so perhaps that combination of old, worn out mounts made everything sit farther back than normal. Who knows.

So, on the horn to Griffin - I explained my case and the conclusion was to cut the mounting brackets to gain the necessary clearance. Grrrr... the tech guy did admit that Mopars seemed to be difficult in this regard and gets calls all the time with crap like this. Great.

The solution is what it is but I'm not particularly happy with this situation. This radiator, while being marketed as an 'exact fit' 'based on a factory part' is definitely not what they claim, at least in my case. Their mounting brackets seem to put the radiator at least 1/2" away from the rad. support. The one I had prior to putting the Griffin in was a 26" that was made to work but it sat right up against the support. The lower radiator hose is now also going to be pretty short. So OK, they based their part on a factory one but maybe they were drunk when they made the cad drawings. I dunno.

It caused me problems when I first got it two years ago too, should have known then. It was a struggle to install a factory shroud and clutch fan. I basically destroyed what was a nice original shroud to make it work with their mounts and had to get a short fan clutch. The clutch seems to be a common problem but I didn't know that until I ran into the problem. OTOH, it is a very nice radiator though. The core is larger, it's really light and does a good job cooling my junk.

So what to do? Cut up my $600 radiator and make it work or go find a generic one that fits. Leaning towards finding a generic one for now but I'm not sure, I hate to buy redundant parts. An electric fan won't help much either unless I can find one that's only an inch or two deep. Most are around 4" which won't help.

I'm wondering now what else is going to be a problem. Can't wait to find out.

More to come.
 
Are you looking for a shorter clutch for the fan?
 
OK, got most of the trans cooler lines in which was a big hurdle to clear. What a P.I.T.A. There is so much stuff in the way and very little room to route the lines while keeping them away from the exhaust and moving parts.

I considered running them over the K frame and along the oil pan like factory but decided to put them back against the driver side frame rail where they were before. Came out OK!

IMG_3292_zps2iwb5fle.jpg

IMG_3295_zpsp1yoibvu.jpg


IMG_3293_zpspbyedsc9.jpg

IMG_3304_zpsq9hfyajz.jpg

IMG_3303_zpss2qy27xk.jpg

IMG_3286_zpspjg8wwii.jpg

IMG_3291_zpsjuc8lrjg.jpg


The last bit related to the trans is the shifter cable and that should be it in that department.

Started mounting up the fuel/carb stuff and some of the accessories last night. Beginning to look like an engine!

Have been working on cutting the radiator brackets like I mentioned in my last post. The aluminum is very soft, cuts really easily. I will need to find/make some brackets now. They have them at my local speed shop, should find something that could work.

Other than that, there is a somewhat lengthy punch list of mostly small, random stuff that needs to be addressed then it's fire in the hole!

More to come, stay tuned!
 
Nice idea,on the bulkhead,for the cooler lines,look stock ..Props, to ya.....
 
Nice idea,on the bulkhead,for the cooler lines,look stock ..Props, to ya.....

Thanks man! The bulkheads were there already from the first time I installed the cooler a few years ago.

Seriously though, they look OK because I did it like three times. I fought with it for hours.

BTW, those little 'L' tabs are great, they make life easy.
 
-
Back
Top