Jimbo_74_Duster
Active Member
Hey All,
I am rebuilding the front suspension on my 1974 Plymouth Duster. I have it all torn down now and while I was at it, I thought I'd look into converting the front drum brakes to disc brakes.(I want to keep the manual brake system tho)
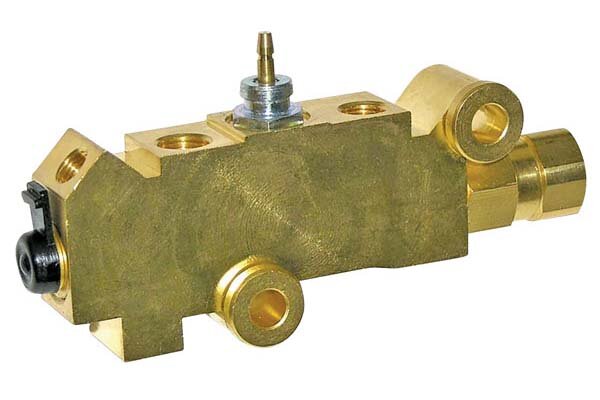
I found this kit, and wanted to see if anyone has used it and also have some questions posted below the link.
https://www.classicindustries.com/p...tHLeN0E_HkeBv-qZG6hoCOlQQAvD_BwE&gclsrc=aw.ds
Does anyone see problems with me using my stock lower control arms with this kit?
And is my only option for bolt matching to get new front tires? Or could I just buy 5x4 pattern front discs separately to swap into this kit.(Would that work or would they mismatch with the calipers?)
Thanks for the help and let me know if I'm going about this the right way.
I am rebuilding the front suspension on my 1974 Plymouth Duster. I have it all torn down now and while I was at it, I thought I'd look into converting the front drum brakes to disc brakes.(I want to keep the manual brake system tho)
I found this kit, and wanted to see if anyone has used it and also have some questions posted below the link.
https://www.classicindustries.com/p...tHLeN0E_HkeBv-qZG6hoCOlQQAvD_BwE&gclsrc=aw.ds
Does anyone see problems with me using my stock lower control arms with this kit?
And is my only option for bolt matching to get new front tires? Or could I just buy 5x4 pattern front discs separately to swap into this kit.(Would that work or would they mismatch with the calipers?)
Thanks for the help and let me know if I'm going about this the right way.