1969 Dart Street/Strip (Re)Build

-
It's a Jegs 20 gallon fuel cell with 0-90 ohm sending unit. I had it anodized inside and out since ethanol is the fuel I intend on running down the road. Otherwise I wouldn't have done it. I was gonna sit mine down a couple inches too, but then just decided that it was more work than I thought it would be worth just to drop it a little bit. Also figured no one would really care but me and it will still function the same.

Yup it will work fine just like you have it.

What wheels are those in the Rear?
 
Man that was some nasty rust and rot!!! Can't believe the so called "body shop" would overlook that, hope he didn't pay too much. You're doing great work with it keep it up!

He said he paid them a lot for floor pans, but "a lot" is a matter of perspective I guess. At least I know now it's all taken care of now. I think I counted up 15 patch panels in the floor alone, including just the small holes inside and out, that I had to patch up in the floor. Probably would have been easier just to replace the whole thing!

Yup it will work fine just like you have it.

What wheels are those in the Rear?

They are Billet Specialties Performer. I have a set for the front that I'll put on when I get the BBP disk conversion done.
 
Freshening up - that's like a woman going to powder her nose... LOL
This is more like a rip the guts out type surgery - very nice work.
 
Freshening up - that's like a woman going to powder her nose... LOL
This is more like a rip the guts out type surgery - very nice work.

Yes this is very true. At first, it really was just going to being a little "freshening up". New fuel system and maybe a mini tub. But things just went south and I said screw it. Let's do this car right! So some money and time later, here we are. When I got it all back together, it wasn't running right. I changed nothing on the motor except fuel which it's getting plenty of now. I checked the carb (HP 950) and it's all clean inside. Running 80's on the main jets (comes from factory with 78's I believe). The timing was off so I set it back to 36 degrees which made it idle a lot better and did make it run better. But I'm still getting some cutting out at higher RPM. I would think that if it was the carb running lean, it should still run good. So I'm crossing that out as being the culprit. It did not cut out before I started all this. So I'm thinking ignition now. Ordered some new Taylor Thundervolt 50 spark plug wires and I have a Pertronix Ignitor III and new coil that I was already going to throw on as well. Hopefully that will cure the problem. If not, :dontknow:. Here's a quick video test running it. It really doesn't show the cutting out because I didn't push it all the way and I doubt my friend's phone would have picked it up anyway.

[ame="http://www.youtube.com/watch?v=LlPCKG0cDjs"]416 test run - YouTube[/ame]
 
Thanks! I appreciate the comments. I don't think I've ever been dedicated to anything (except college) as much as I have been dedicated to this car. The wife calls the car "The ***** in the garage" now since I spend more time with it than her. LOL! And since this is my first car build, I am definitely learning a lot along the way. Here's an outside the car video my buddy took before we went out for a cruise.

[ame="http://www.youtube.com/watch?v=N4LWwP4tkfo"]Dart rolling out - YouTube[/ame]
 
Awesome job on that metal work!! Love the way those tires look! And that engine is sounding pretty manly too!!

I would get a fuel pressure gauge from Harbor Freight, tee it in right before the carb, tape gauge to windshield, and have a friend watch it while you step on it to make sure pressure does not drop off. Usually when power drops off on the top end its not getting enough fuel. Might be sucking a fuel line shut or something like that.
 
Awsome build and car! Sounds very good. Keep it up. Thanks for the ride
 
anything new

Yes there's some new stuff I'll be posting soon. I've just kind of taken a break from the car for a bit but I've started back into it recently. Unfortunately, I hurt the motor a little because it was detonating on a hard run I made (and it was the only time I ran it THAT hard), running it to the shift light in first and second. I did not know it was detonating until I pulled the plugs. It smoked a little on the right exhaust after that and it smoked out of the breather too. It did not do that before that run, and it only took one time. Had a decent amount of leakdown on my #8 cylinder so I ended up taking the safe route and pulled the motor to see what happened. Detonation is a B@#&H! At least now I will know everything about the motor once it's put back together. Cam, compression ratio, etc. I think I'll be detuning this beast a little to back off the "supposed" 15:1 compression. Now I will be redoing the front end because it walks the road like a wheat truck, getting the headers re-coated since they rusted from TTi. Some areas will need bent because the headers hit the driver's side frame, barely cleared the steering shaft, was rubbing the right torsion bar, and also was rubbing the bolt on the pitman arm (the bolt was actually ground down to clear and still hit). It almost rubbed clear through the header in that spot. The wiring needs some serious attention so I'm trying to figure out what route to take on that because I have never done wiring before and I think it ALL needs ripped out and replaced. I would love to re-do my dash cluster while I'm at it but it's all so overwhelming and I honestly don't think I can afford it right with all the other expenses I'm incurring with the motor and front end work. My wife is a very unhappy lady right now because she could have got wood floors and "the bi$#h in the garge" (as she calls it) is sucking all our funds. So I should know next month or so what's up with the motor when the guy gets it apart. Hopefully a torque plate hone and new rings will do the trick (best case scenario).

Awesome job on that metal work!! Love the way those tires look! And that engine is sounding pretty manly too!!

I would get a fuel pressure gauge from Harbor Freight, tee it in right before the carb, tape gauge to windshield, and have a friend watch it while you step on it to make sure pressure does not drop off. Usually when power drops off on the top end its not getting enough fuel. Might be sucking a fuel line shut or something like that.

Thanks for the compliment. I have the fuel situation straightened out now. I'm running an Aeromotive 140GPH pump with a bypass style regular and the needle doesn't move a bit on the guage when I get into it.

That looks nasty! Is that radiant red?

It's some Ford color that I am unsure of. The guy said it was a color used on a 2006 Mustang .
 
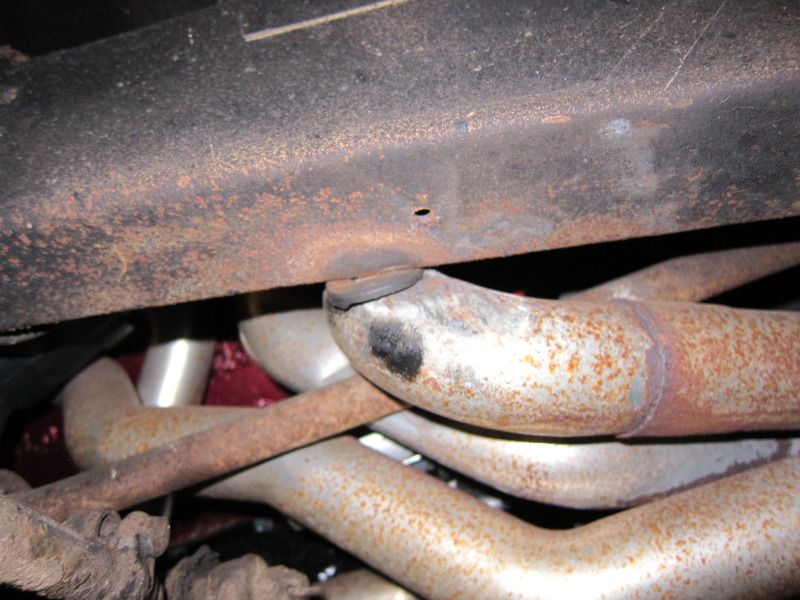
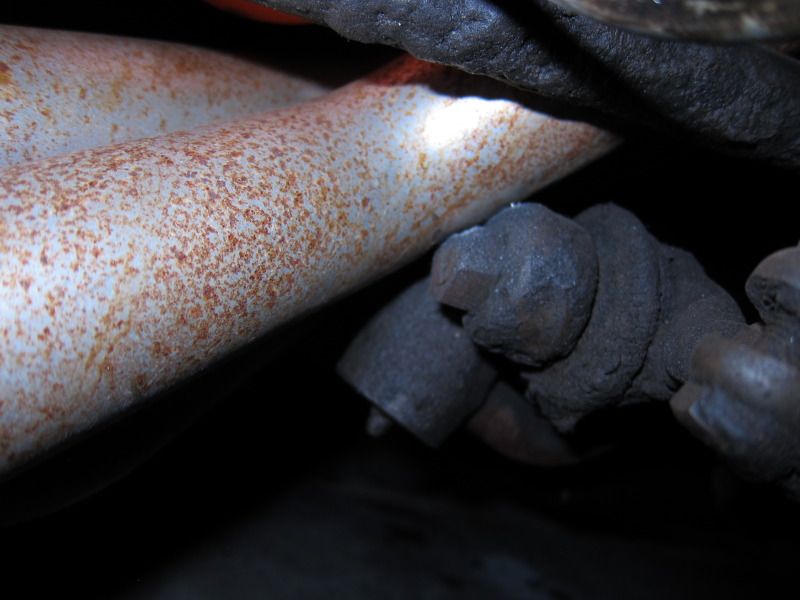
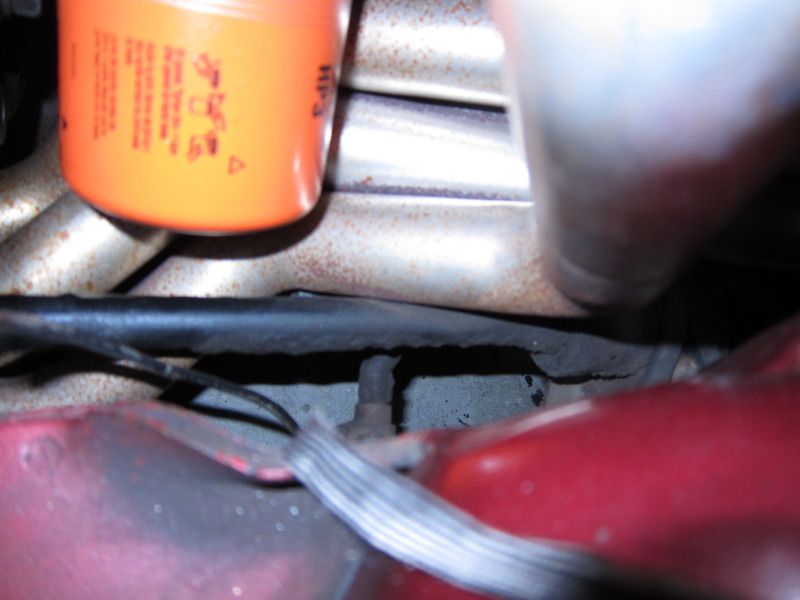
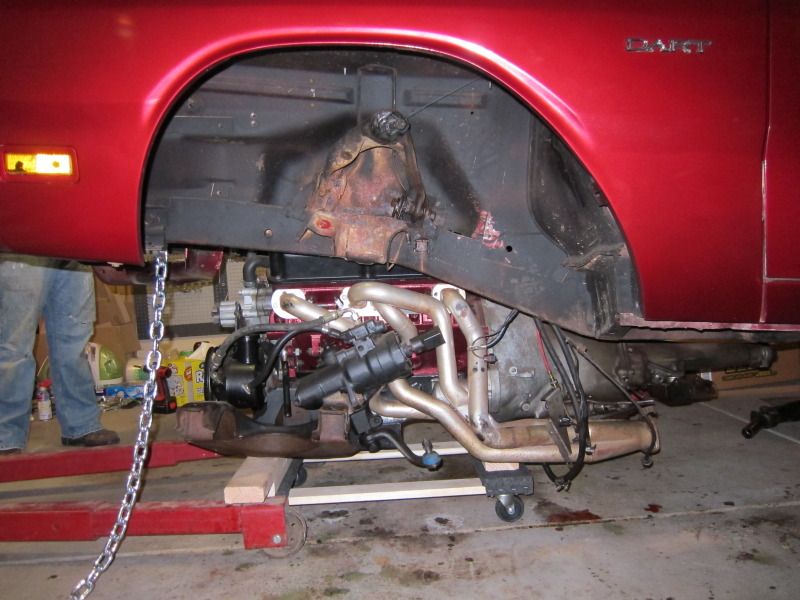
Here's an update of what's been going on recently. After getting the car up and getting a real good look at what I had to work on, things looked worse than I had hoped. The headers hit the frame on the driver's side, the steering arm bolt hits the passenger side and almost wore a hole through a header, and the passenger side torsion bar was also hitting. The plan is to slightly notch the frame on the drivers side. Since I will be installing a frame repair kit from rust techinicians there and will only make things worse. I may have to bend the header right there as well. Other areas I'll just dent the headers for clearance. That should get rid of some of the rattling I would hear at times.

041-1.jpg


047.jpg


057-2.jpg


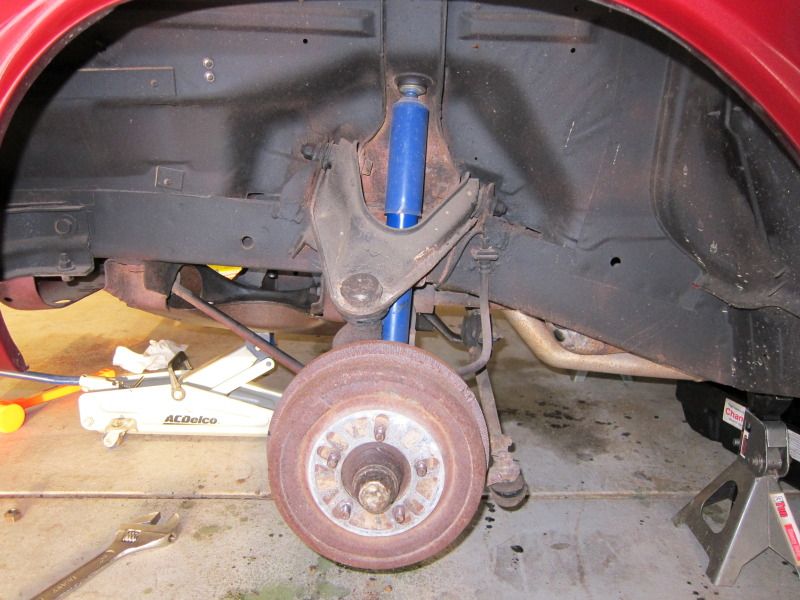
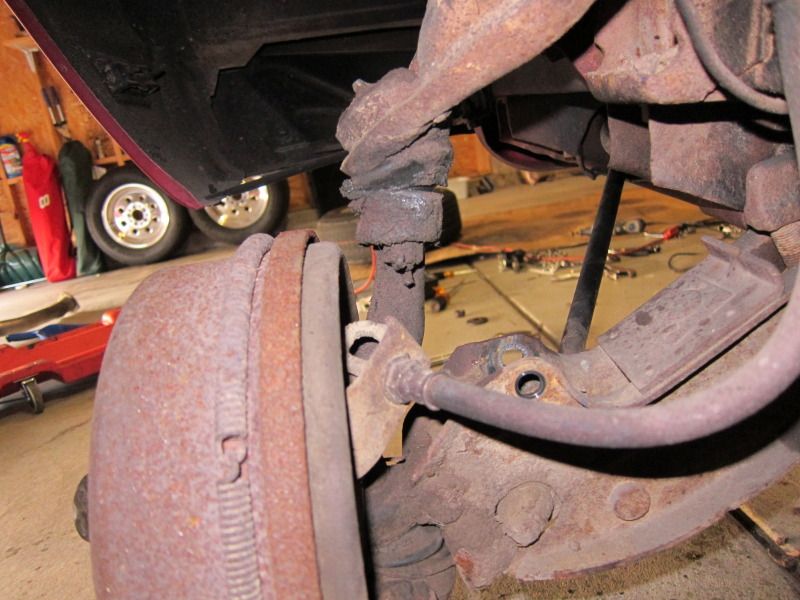
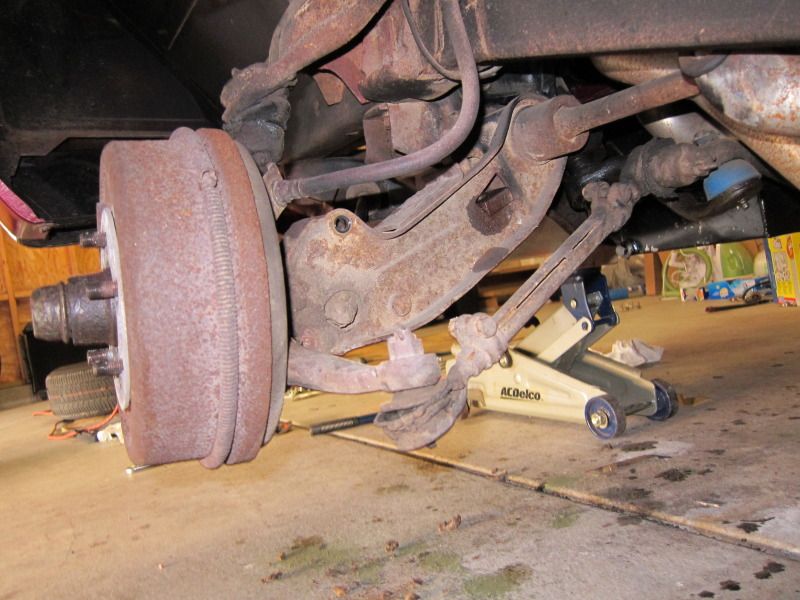
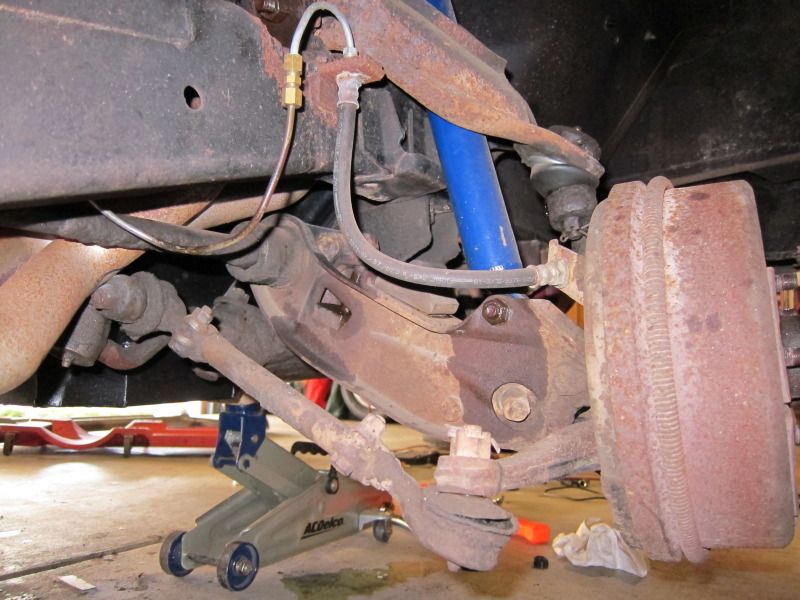
Here you can see the beautiful "patina" of the old drums, etc. It looks pretty bad, especially on the passenger side UCA aft mount. It is literally SHOT. I don't know how I am going to fix that just yet. It's just beyond bad and I'm lucky that I didn't lose the UCA at some point. It was completely unsafe to drive. One problem I ran in to taking the wheels off was the driver's side lug nuts. I got 4 of them off but the last one just wouldn't budge! Turns out there were 4 LH threads and 1 RH thread. I'm lucky I didn't twist the stud inside the hub. The UCA bolts for the most part were easy to get out EXCEPT the driver's side aft bolt. That sucker was seized really bad. I used PB blaster, acetone/trans fluid mix, soaked for over a week, tried prying a screw driver in between the bolt washer and mount, 3 lb hammer, an air hammer, a rivet gun that was more powerful than the air hammer, I even tried welding the bushing sleeve to the UCA and turning the bolt, but nothing worked. The bolt would turn 360 degrees, but the bushing sleeve was seized to the bolt. So I borrowed a sawzall and cut the bolt and cut the UCA as well to get an angle grinder in there. Due to all the bad welding, i couldn't quite get it out all the way out so the angle grinder was used to free up so room. Then it was on to the torsion bars. Apparently the driver's side was not installed with any grease or it dried out. That sucker was siezed up in the LCA too. I tried soaking it was PB and the acetone mix but it did nothing. I did not have a torsion bar removal tool so I grabbed the handlebar mount off my bicycle and it was a very good fit! I hammered on that sucker with a 3 lb dead blow and also hit it with the rivet gun over and over and over. You know if something don't move with a rivet gun, IT AIN'T MOVING! I said to hell with it and cut the thing in half. The fwd portion is still stuck in the LCA to this day. I've been soaking and soaking it and have yet to get the bar out. :banghead: I'm not sure it could have gone any worse.

079-2.jpg


083-3.jpg


086-1.jpg


088-1.jpg


097-2.jpg


104.jpg


105-1.jpg


187.jpg


194.jpg


195.jpg


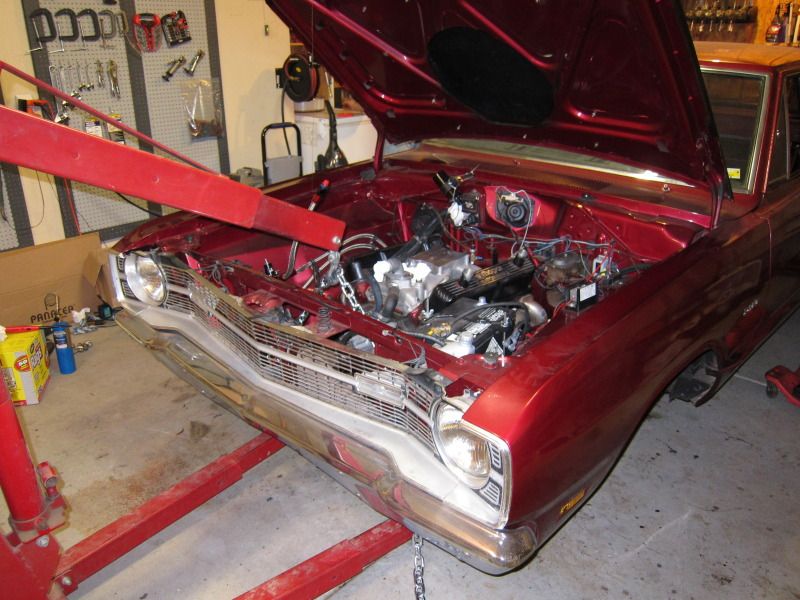
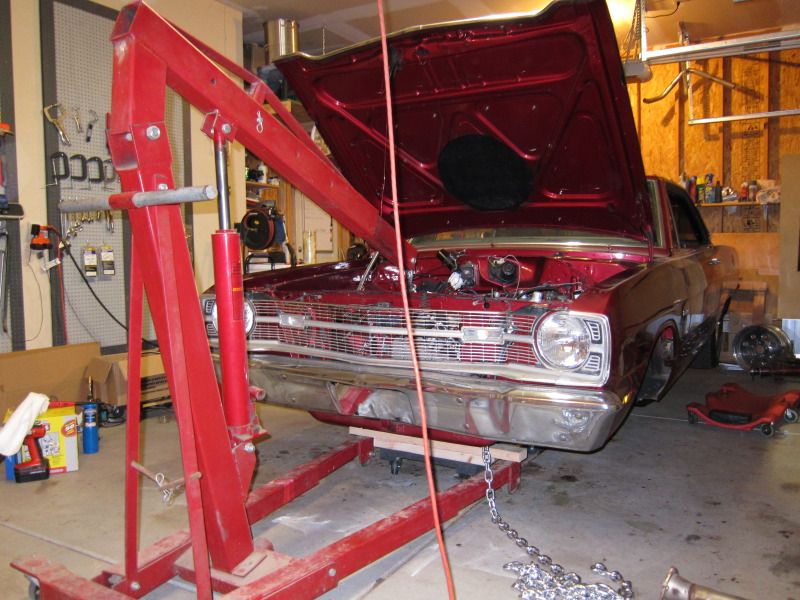
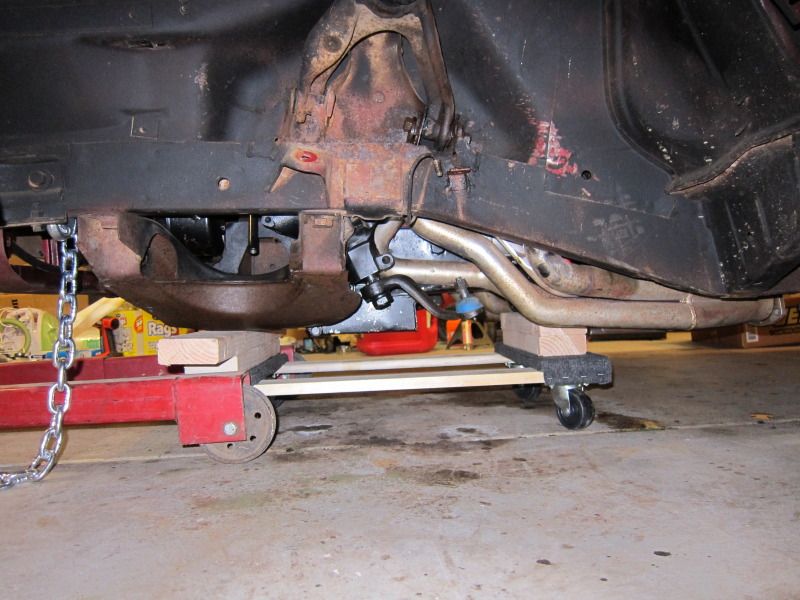
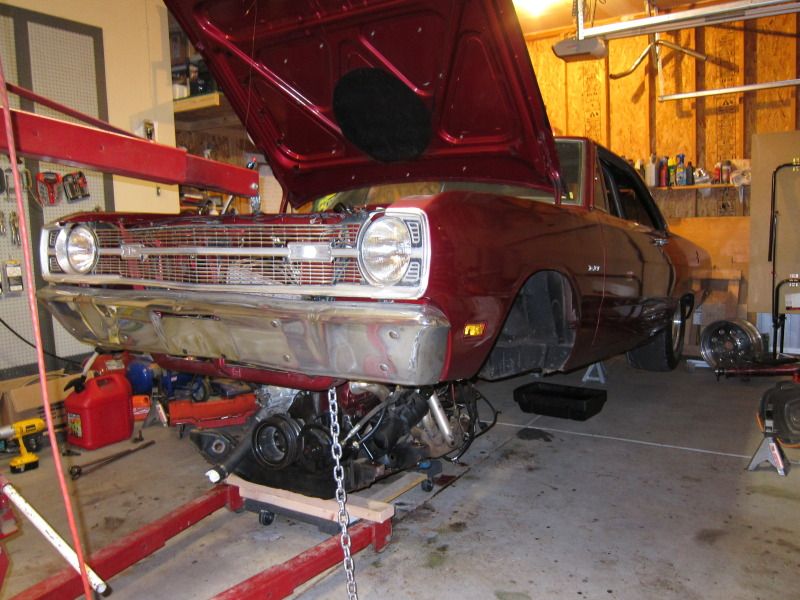
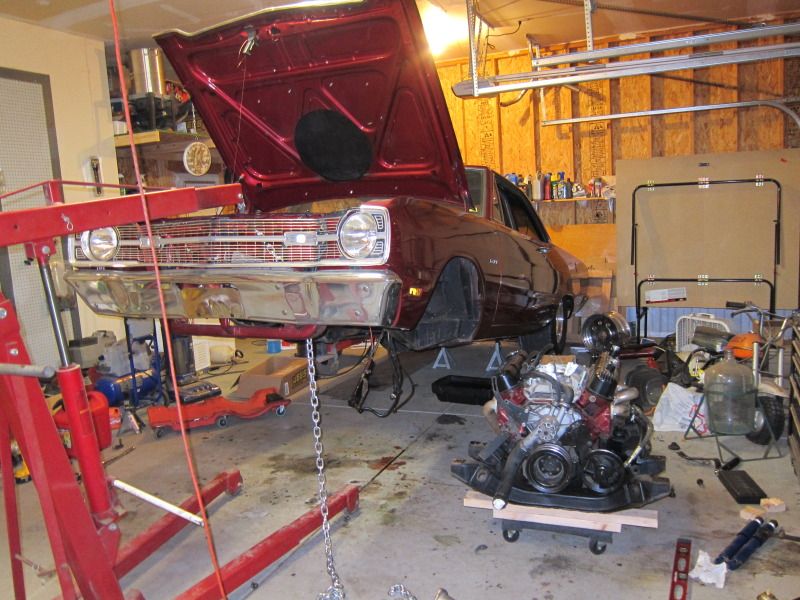
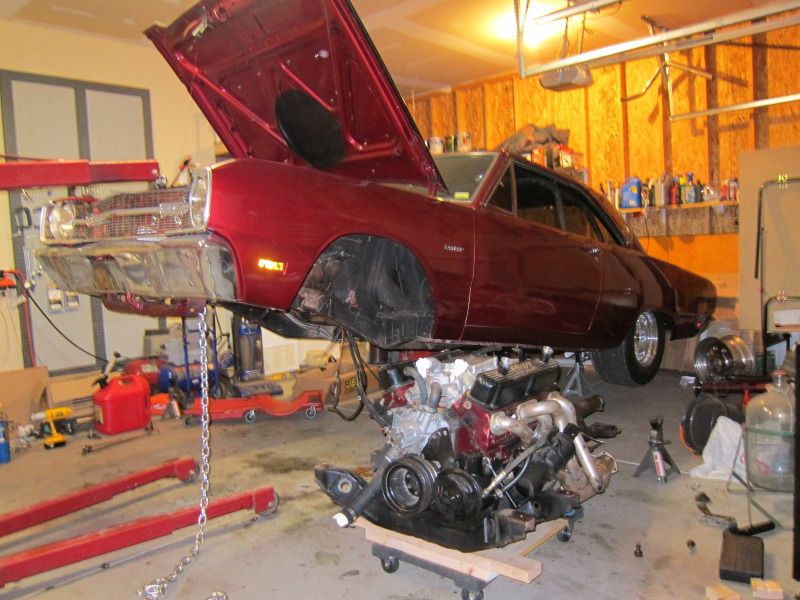
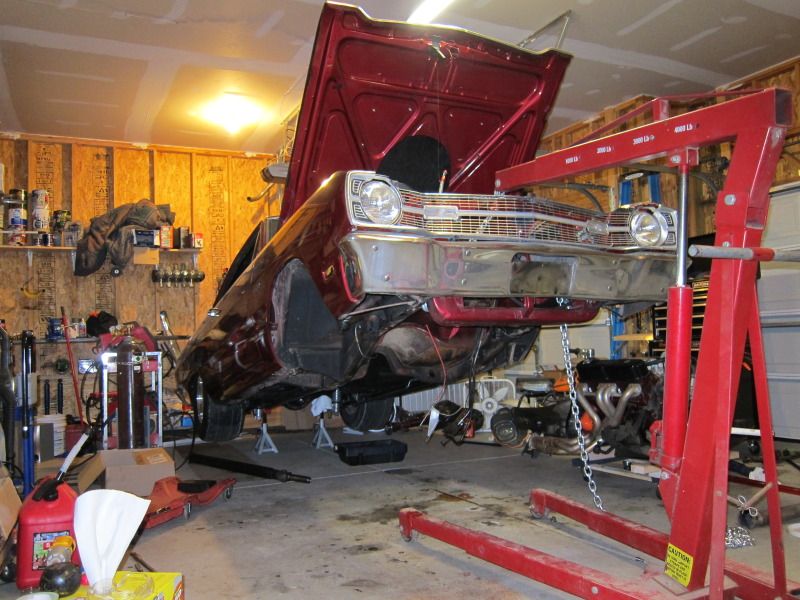
I lifted the car with the hoist and removed all the jacks and stands and slid the mover's dolly under the k member which worked perfectly. It sat right under the K member and the trans bell housing at each end. I got everything unhooked from the engine and trans, and then went to remove the K member bolts. Wow, those were tough to get out. My buddy and I traded off loosening them. We used a 25" breaker bar and they turned HARD until the very end, every one of them. That dang near exhausted both of us. You better believe we had a beer in hand after that! With the rear axle on a set of jack stands as high as they would go, we lifted the car until the engine would clear out the side of the car which was pretty darn high. The car pivoted on the rear jack stands as planned and the hoist rolled back and forth on it's own when the car was raised and lowered to account for the change in height. I was worried about pulling the car off the rear stands but it worked perfectly. This method was very easy to do. I read that it was from several members on here from several posts. I could have done this by myself with no problem. I don't know how it is going out the top, but I thought this was a good way to go considering there was very little chance of scratching up the paint in the engine bay and it could be done without help.

118.jpg


119.jpg


120.jpg


121.jpg


122.jpg


126.jpg


127.jpg


128.jpg


129.jpg


131.jpg


132.jpg


138.jpg


148.jpg


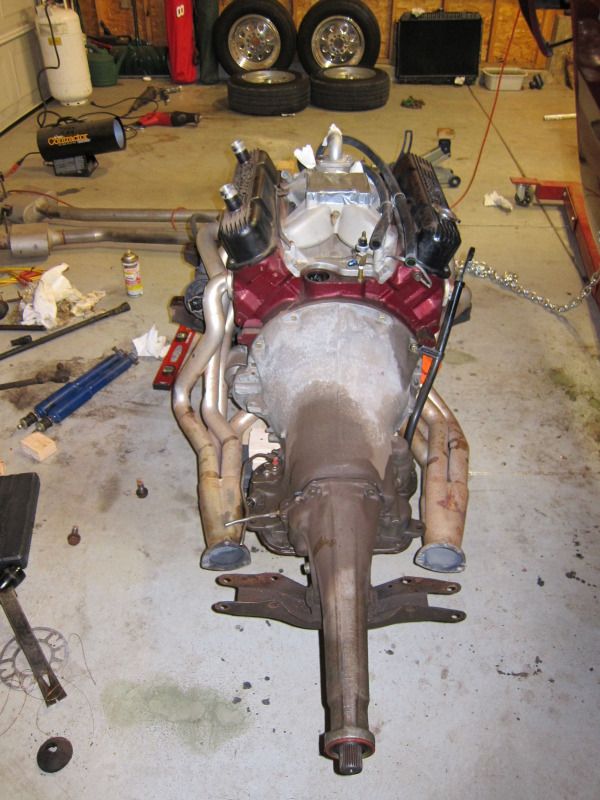
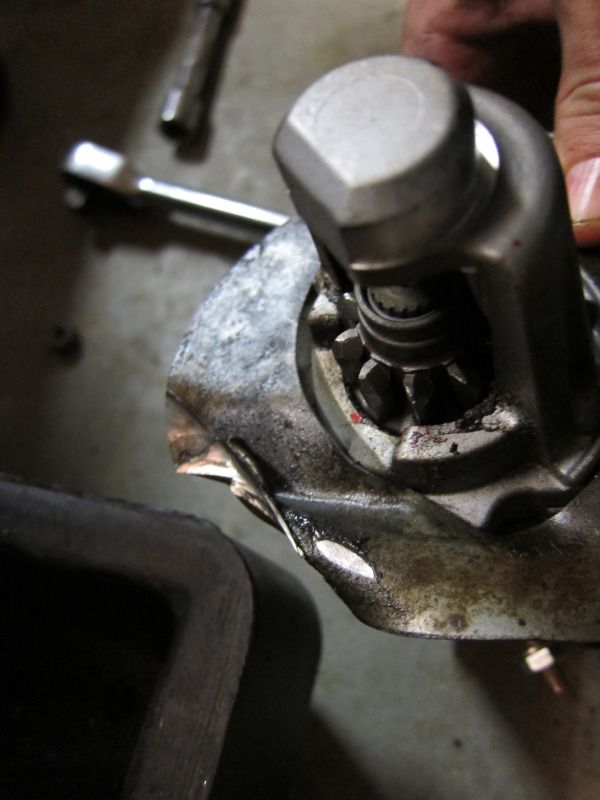
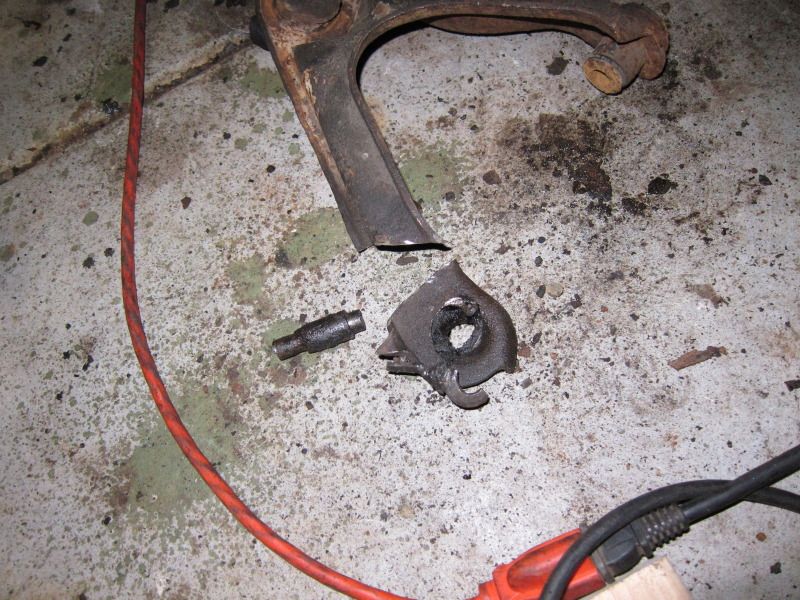
Here's where the flex plate bolt contacted the starter plate at some point.

157.jpg


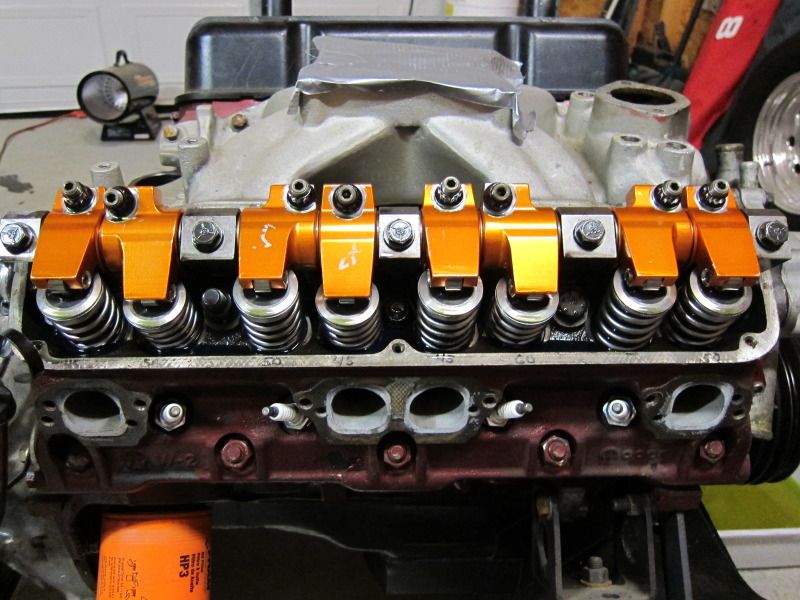
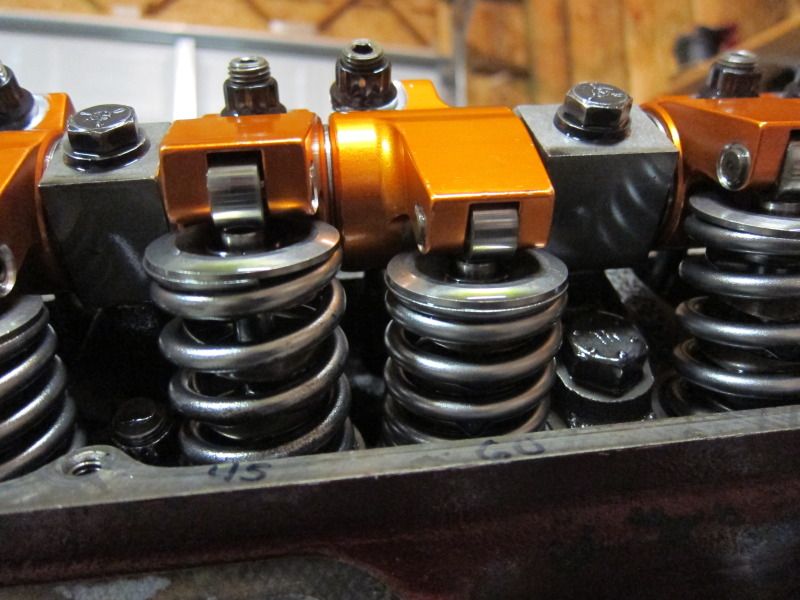
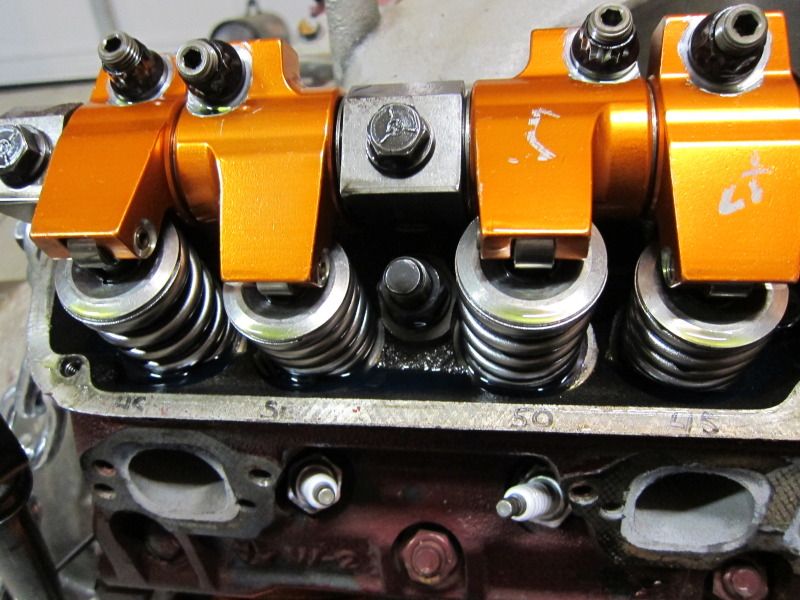
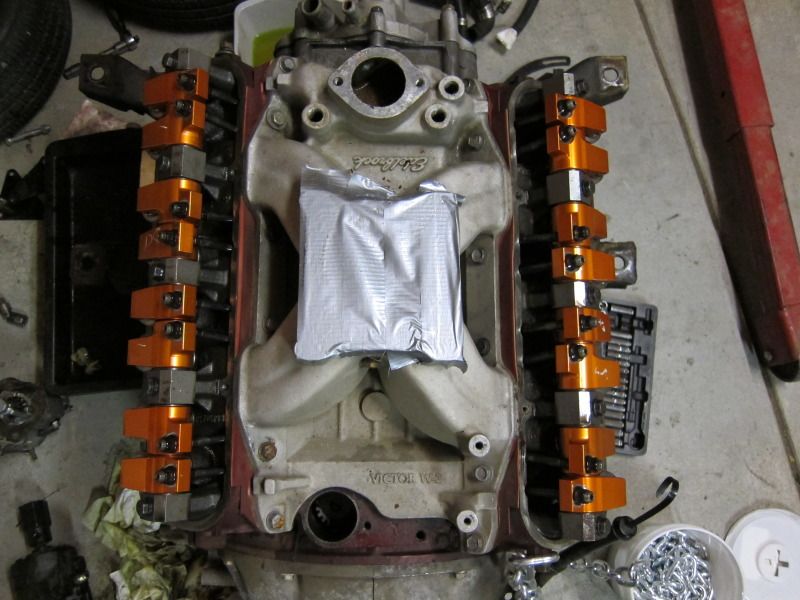
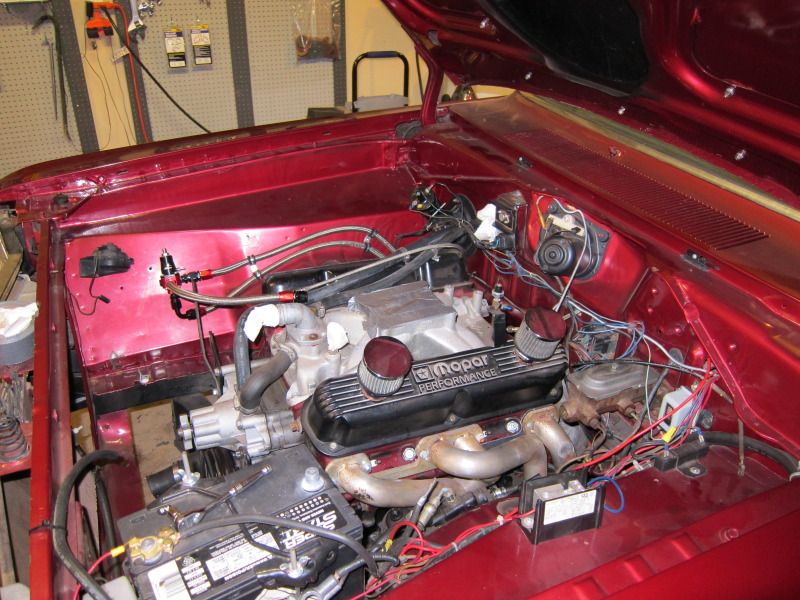
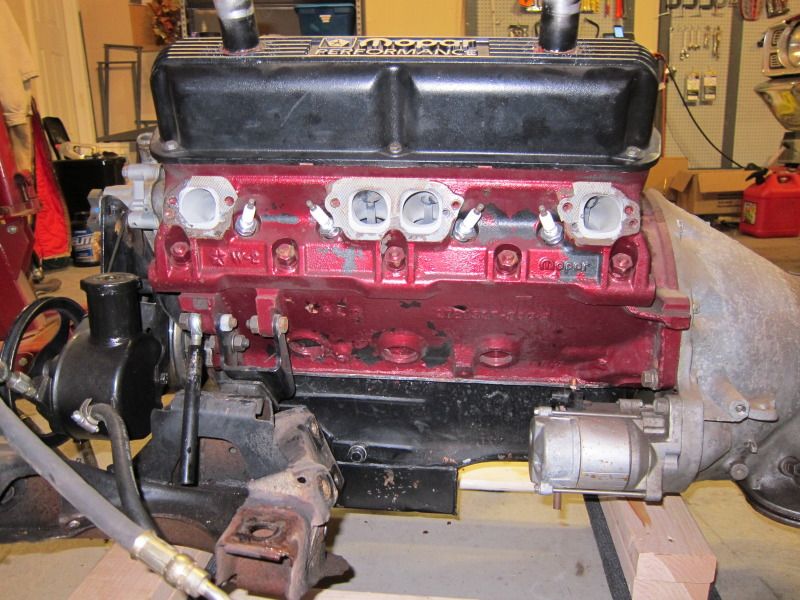
Popped off the valve covers for hoisting the engine and things looked pretty good at first. Nothing bad, but the valve lash was ridiculous. I didn't measure but the rockers were definitely loosey goosey. Then I noticed that some of the pushrods were actually striking the head at full lift! The head looked to have been clearanced but not enough. You could see the metal was slightly knurled up at the edges from the pushrods. Not really a good thing. Then found that one of the bolt holes in the block for a tranny bolt was completely stripped out. A heli-coil should take car of that. Hopefully I won't get any more big surprises.

166.jpg


167.jpg


169.jpg


170.jpg


174.jpg


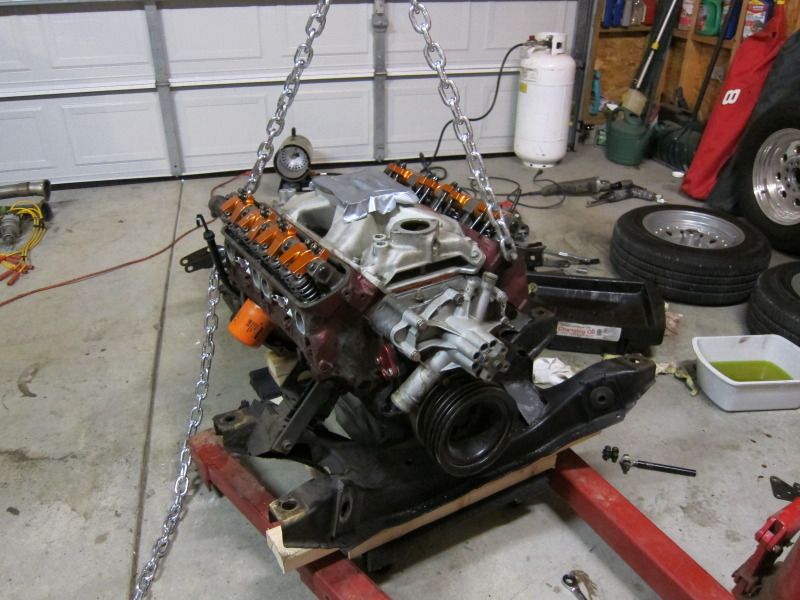
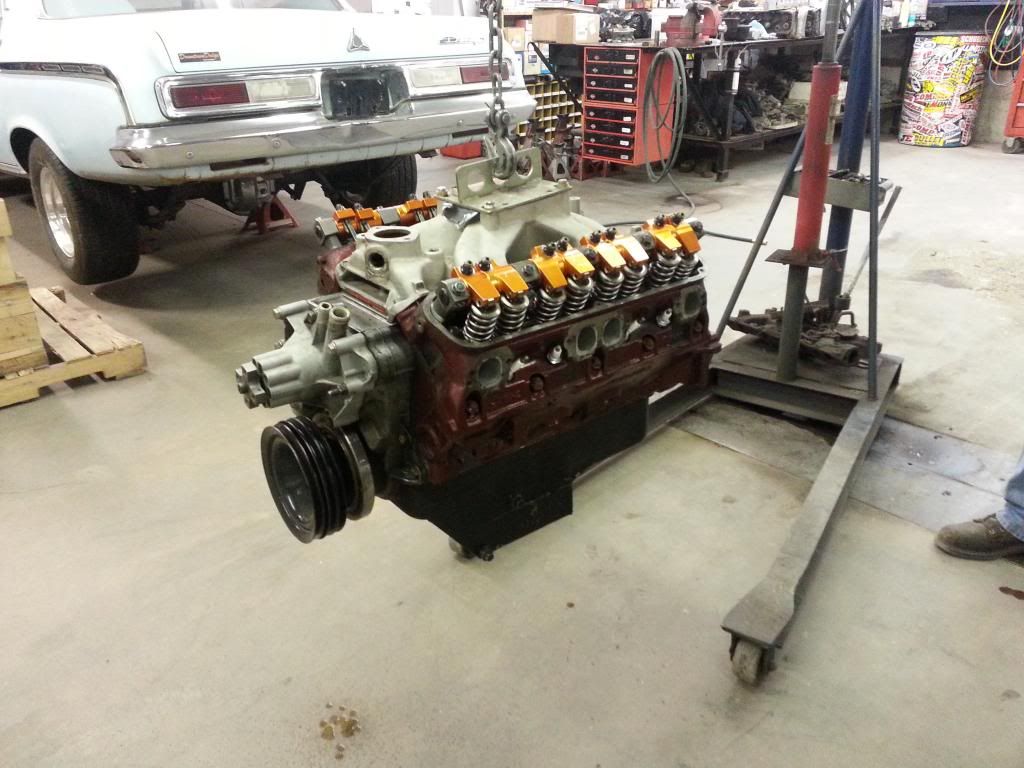
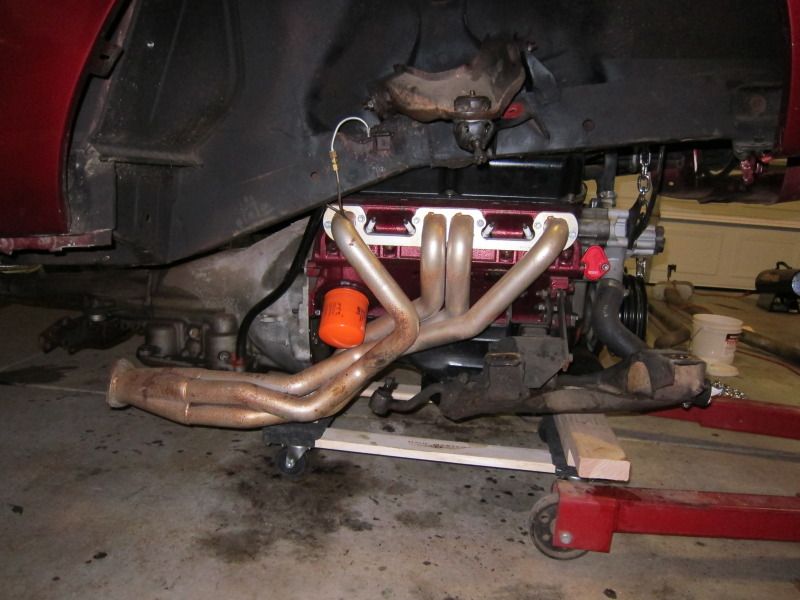
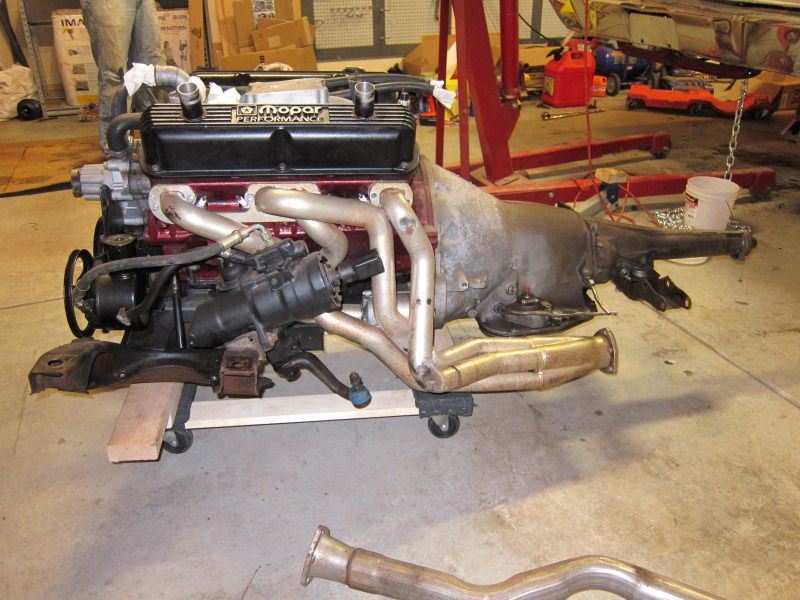
Then I made up a little make-shift engine cradle to haul the motor off to the engine shop. Wasn't pretty but it worked nicely. It will probably be mid January before I found out how bad the motor is hurt.

180.jpg


181.jpg


182.jpg


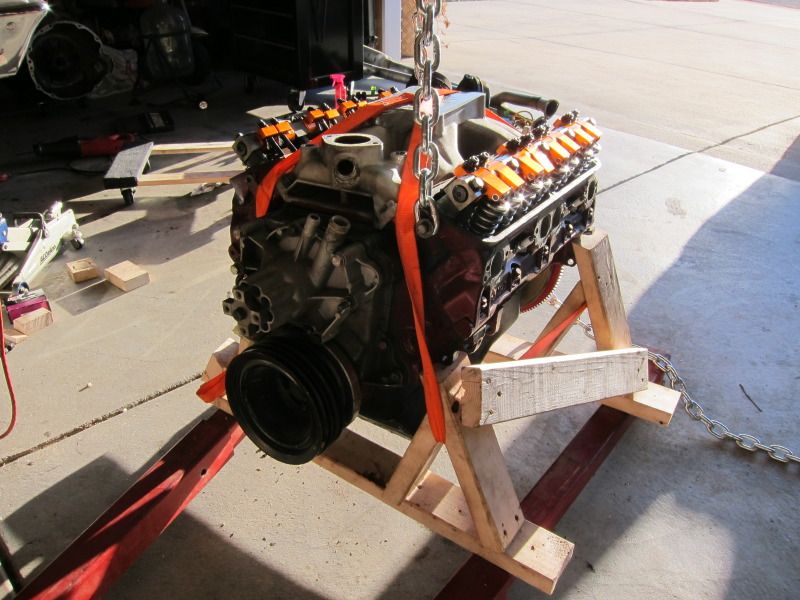
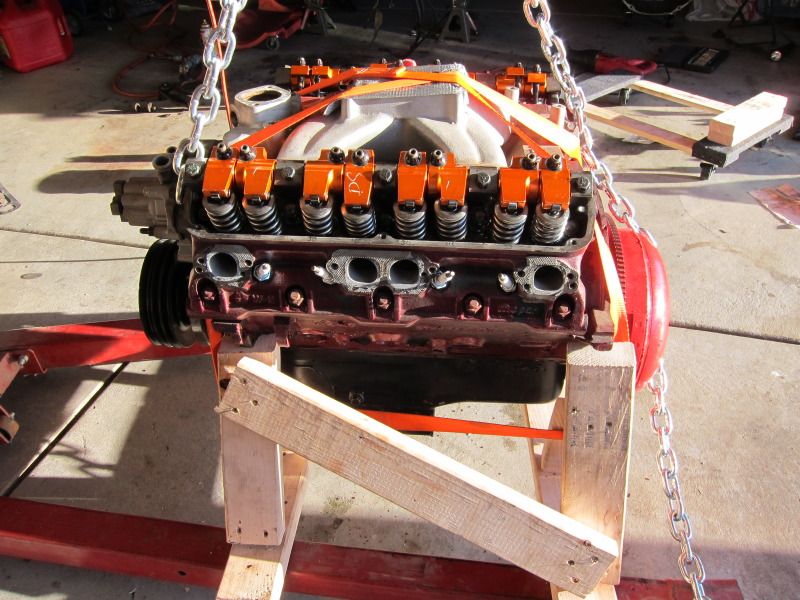
And here is the motor sitting in the shop waiting to be pulled apart.

20121213_182754_zpsf5e35afe.jpg


For now, I'll be trying to repair the frame, UCA mount, sand blasting/refinishing parts, probably re-wiring the car, converting the front to BBP, so I have quite a bit left on the plate to do yet.
 
Damn Clint you are Knee deep now!! Im gunna install my K Member, Engine and Trans the same way as 1 unit with everything hooked up, brakes and all when it comes time. I bought a couple dolly's like yours a few months ago for when it is ready!
 
No doubt I'm in deep now. Maybe even in over my head! But what do you do ya know? Just keep driving on and get it all right (hopefully).
 
Over the last couple months, I keep chipping away every now and then for a little more progress. So far I've had to repair one torsion bar mount with reinforcement plates, had to reinforce the frame where the UCA mounts are. The passenger side was defintely the worst. I had to cut the top of the frame completely out and rebuild it, added reinforcement plates, etc. I bought a Competition Engineering anti-roll bar kit and just got that installed last week. I'll add some pictures for proof later!

Update on the engine. After getting it apart, everything looked good except the rings. He said the rings were shot. I don't know how or why, but they were. Also he checked the CR and it was not 15:1 as I was told (which I am very glad of). Turned out to be 13.9:1. Only thing I can figure is that the guy who originally calculated it did not account for the -6cc valve reliefs in the pistons. Take that out of the equation and it puts the motor right at 15:1. The motor has been torque plate honed and I'm awaiting the results to see if new pistons will be required or not. If not, we'll see how much we can mill off of them to get the CR even lower. If we could get down to 12-12.5:1, I'd be happy with that. We'll see. Also decided to go with a solid roller setup instead of the flat tappet. Should be able to squeeze some more power out of this sucker with the new cam and E85. If it doesn't make over 600hp, I'll be disappointed. Maybe I am dreaming. We'll find out sooner or later though.

The next order of business is wiring. Since I've had so many problems with the dash lights going on and off, dome light staying on sometimes, tail lights never working right, charging system overcharges, I've decided to pull it and start over. And since I don't like the factory gauge cluster, I'll be fabricating a new one. And in this new dash, a full set of Speed Hut gauges will be going in that I ordered. The speedo is a 4" 160 MPH GPS unit that will read out 0-60 time, 1/4 mile time, direction, elevation, time, speed, peak MPH, etc along with turn signal and high beam indicators. Tach is an 8K unit with built in shift light. Also got the rest of the small gauges in 2-5/8" for the water temp, oil pressure, fuel level, fuel pressure, and voltage. All of which have settable warning lights built in to them. They were not cheap but do have a lifetime warranty and will look really nice and will be functional for street and strip driving. The other big plus is that they will be much easier to wire in to the new harness than the old dash would have been. More to come later!
 
Nice car. Progressing nicely.
Just curious, anyone know how accurate the 1/4 mile times with a speedo like that would be?
 
-
Back
Top