1969 Dart Street/Strip (Re)Build

-
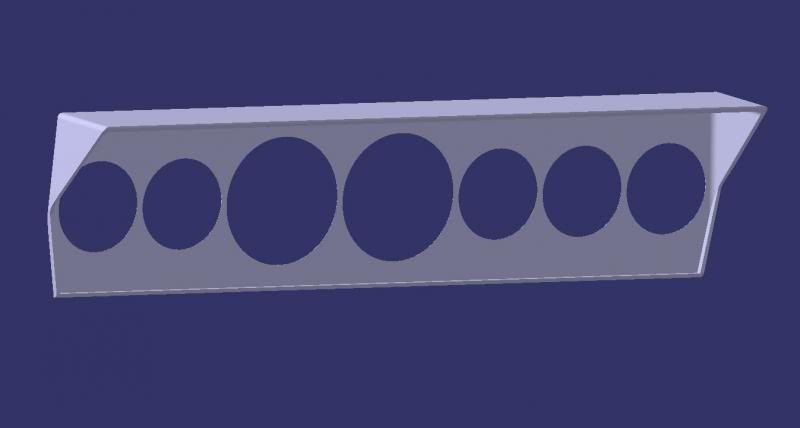
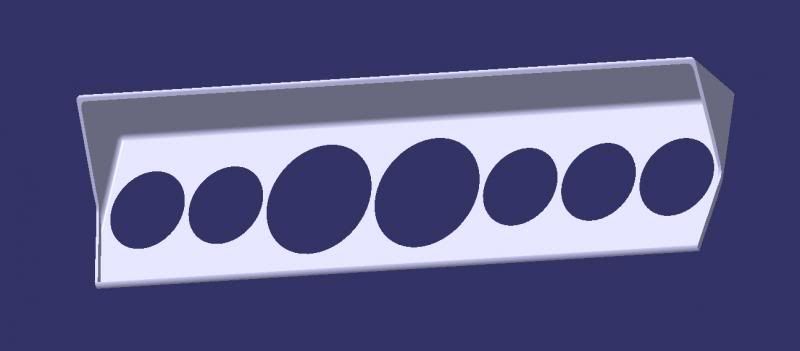
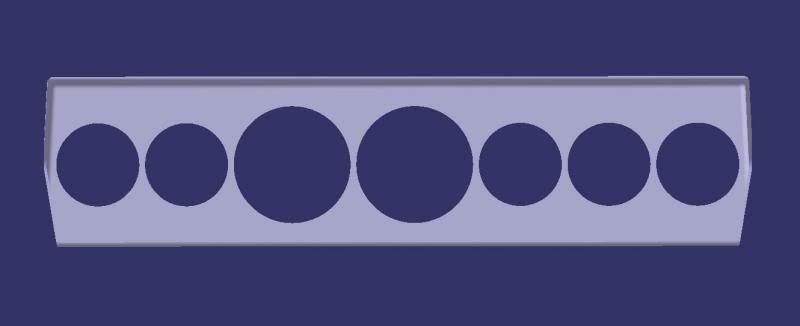
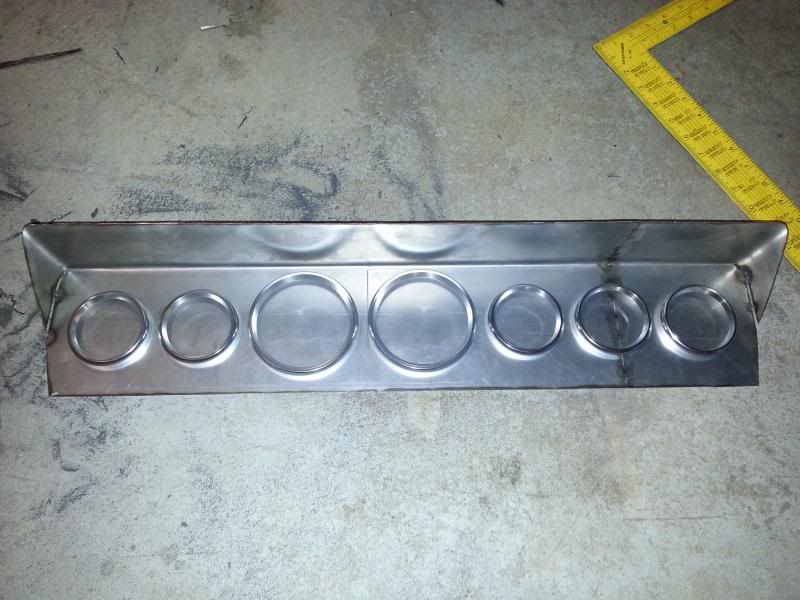
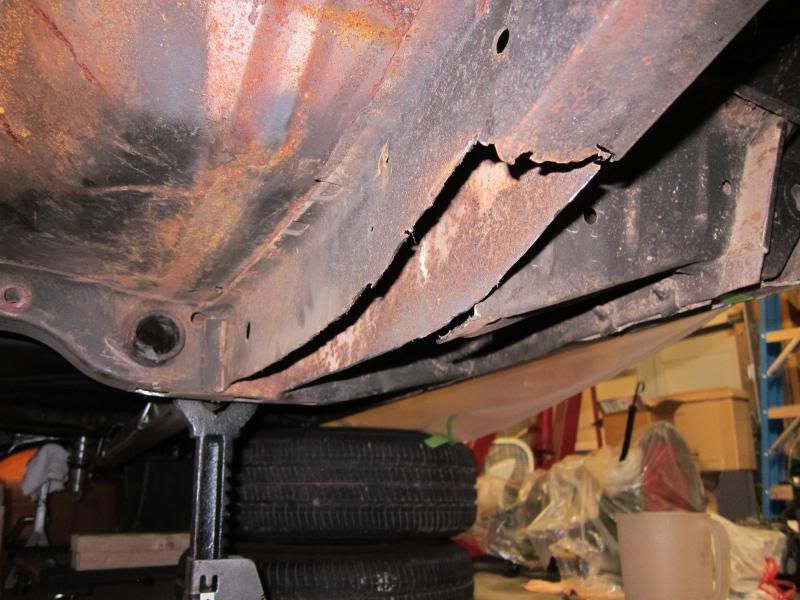
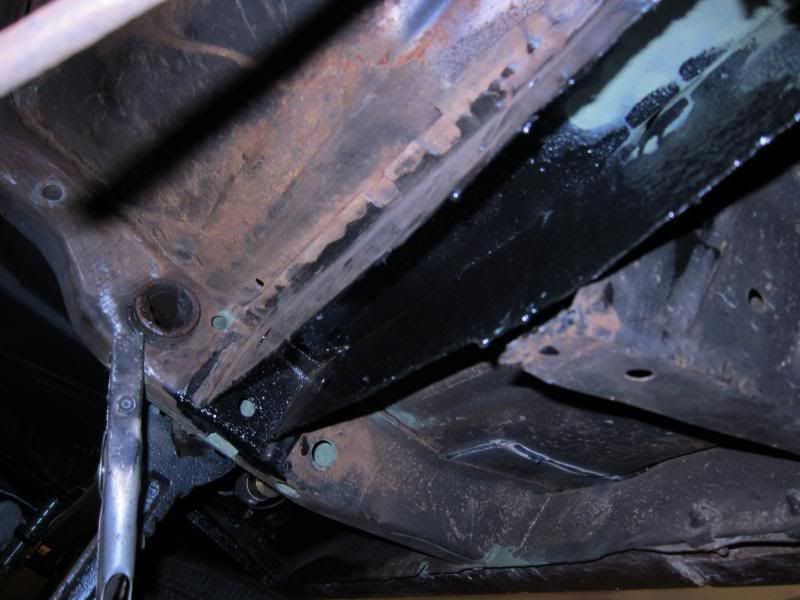
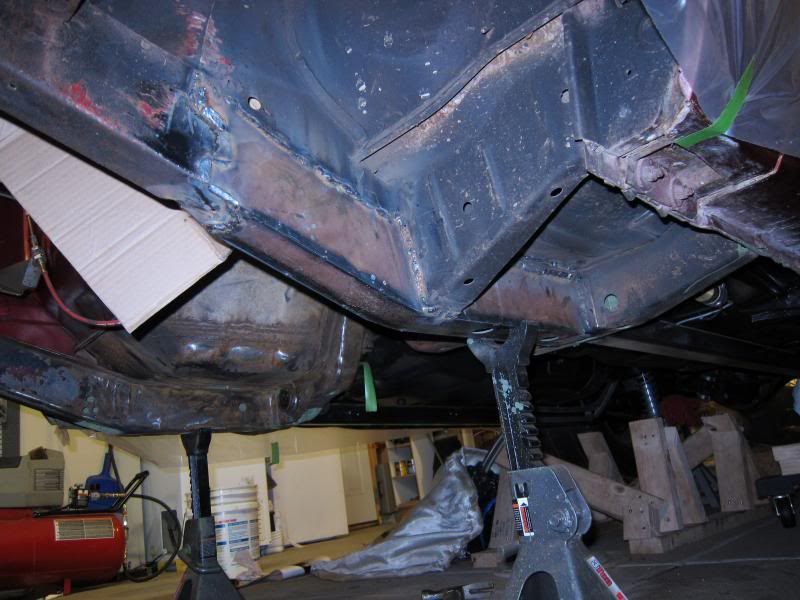
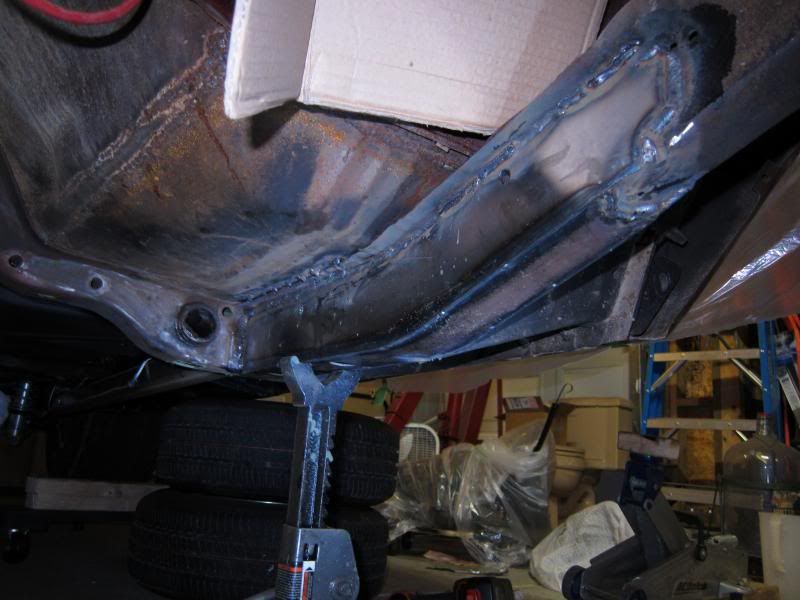
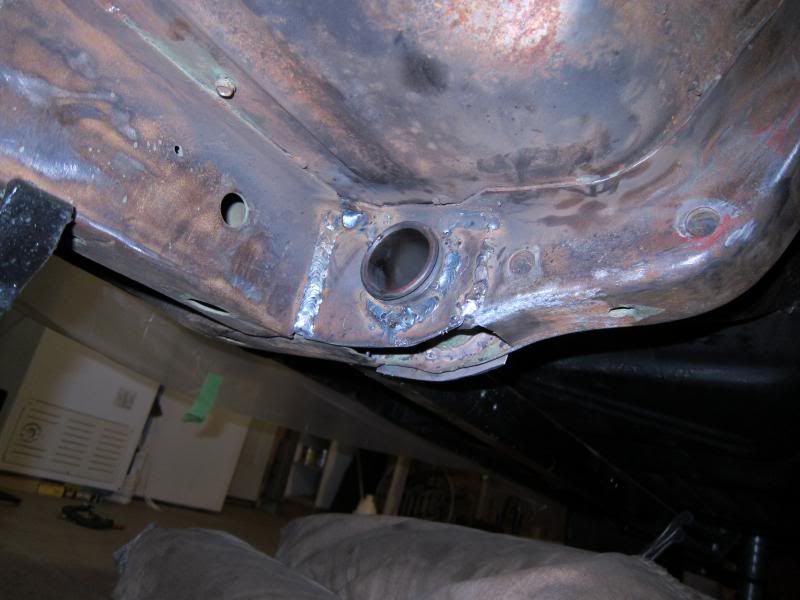
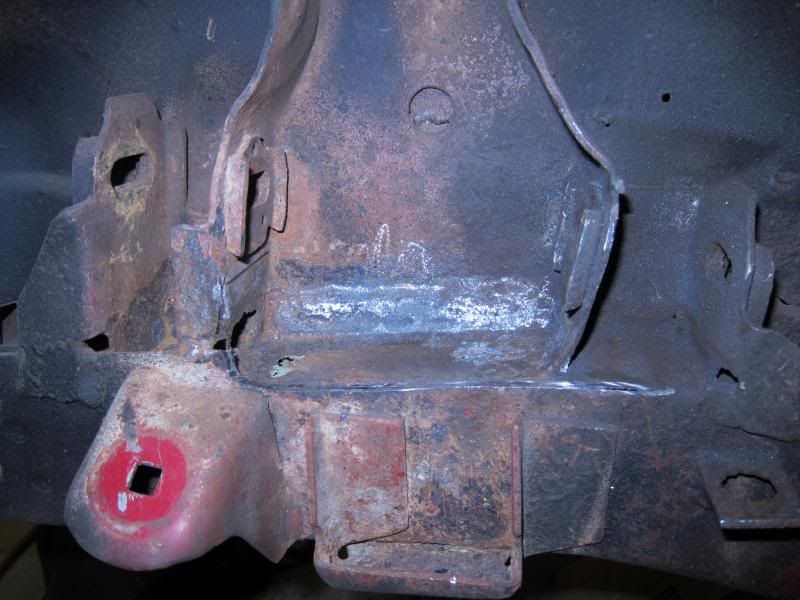
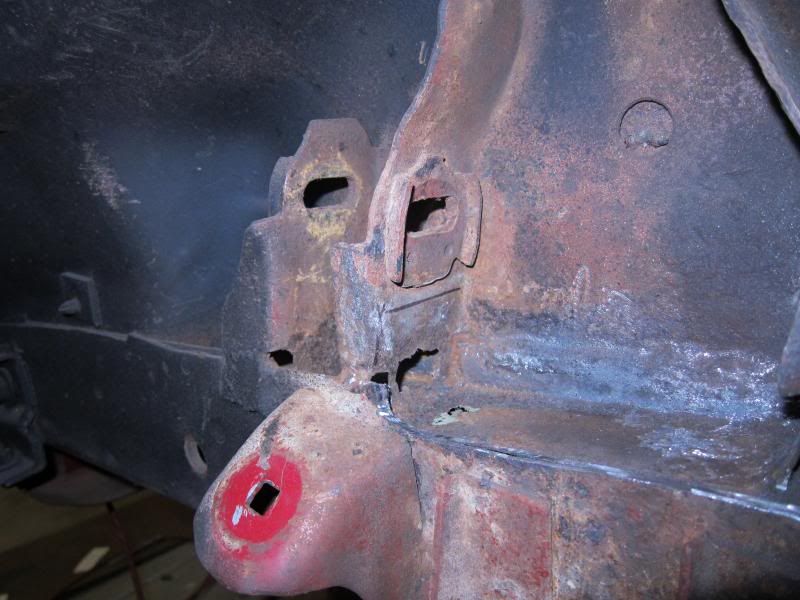
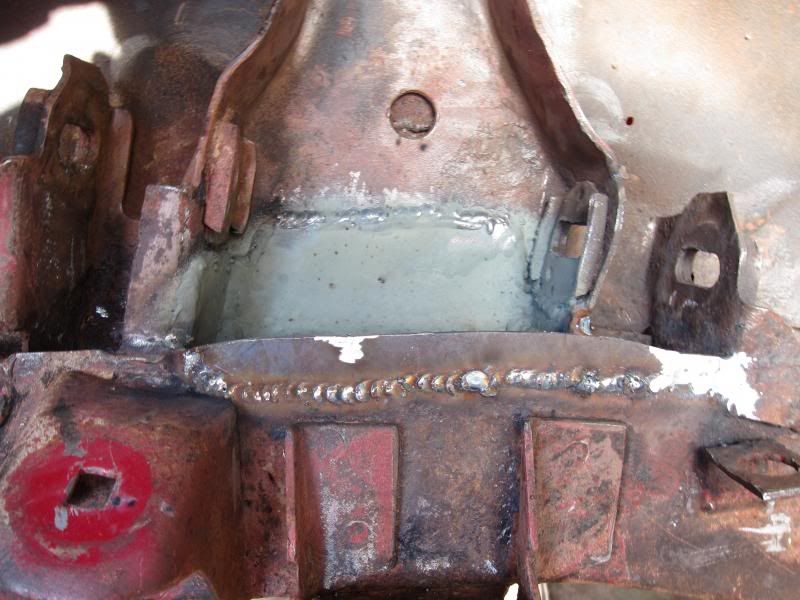
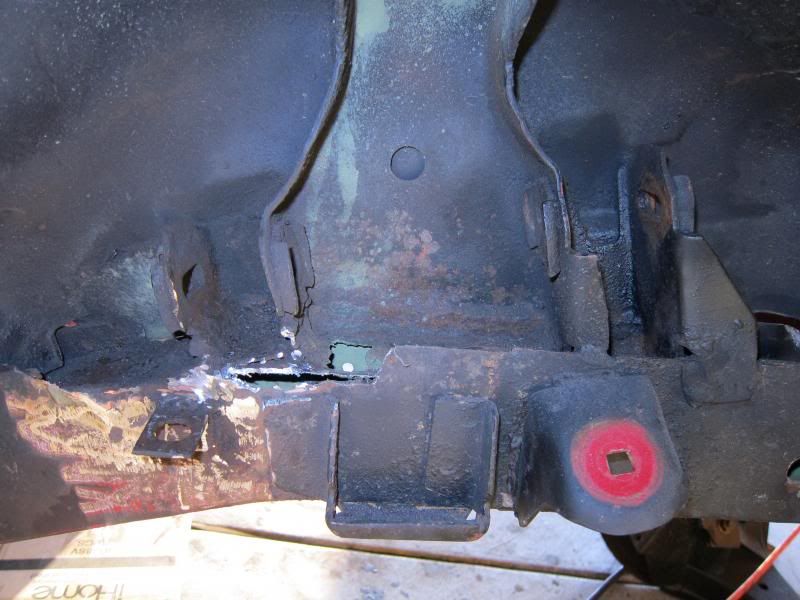
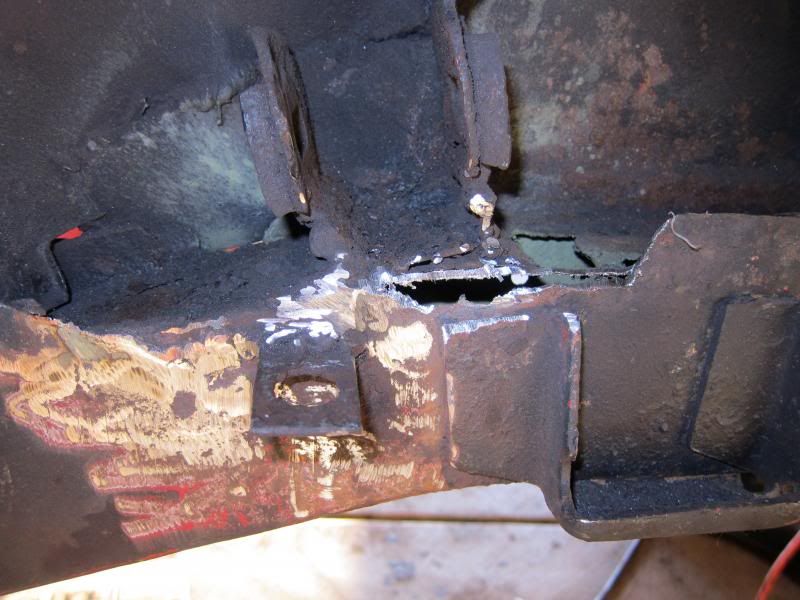
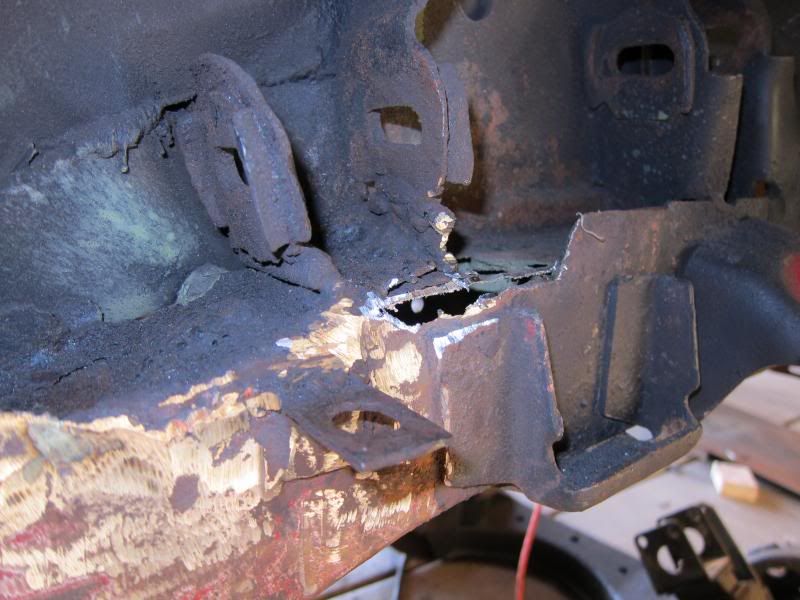
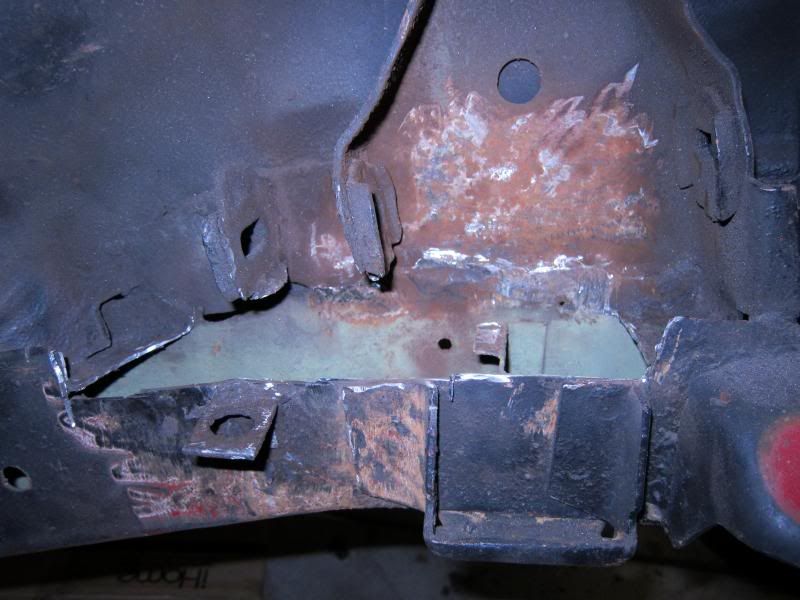
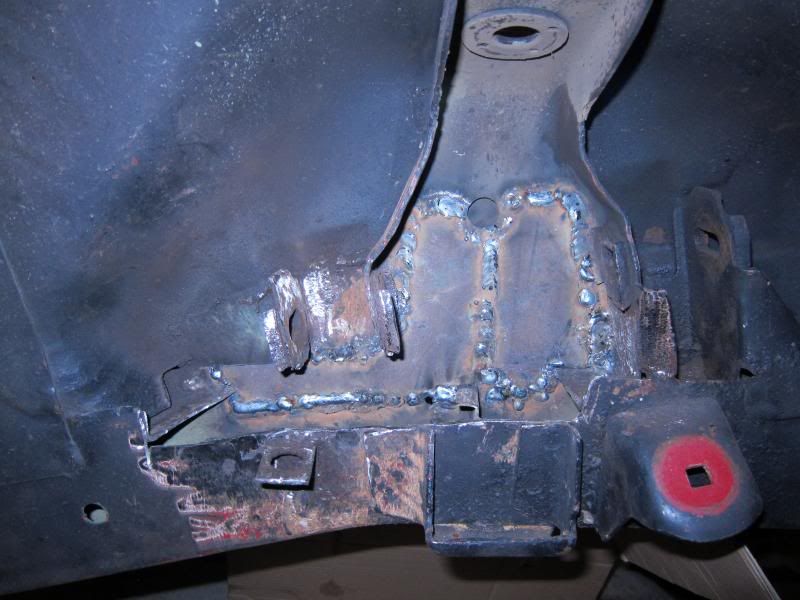
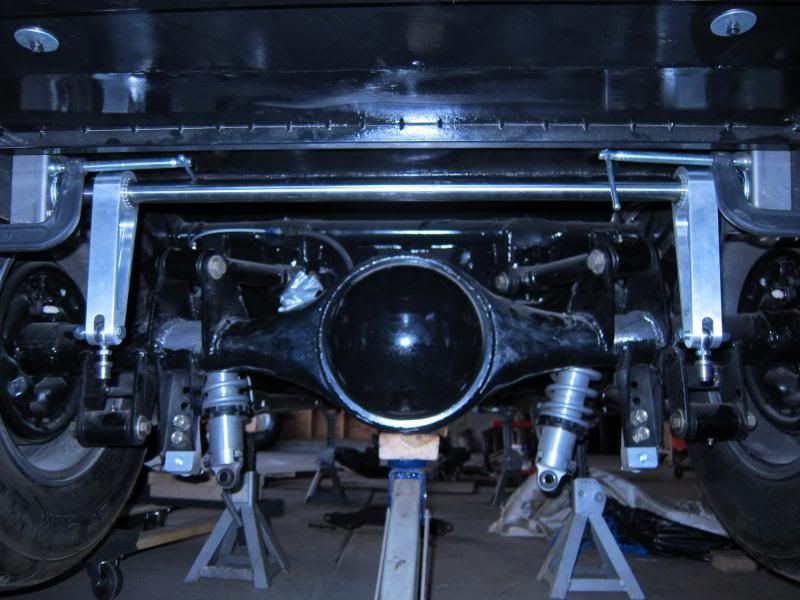
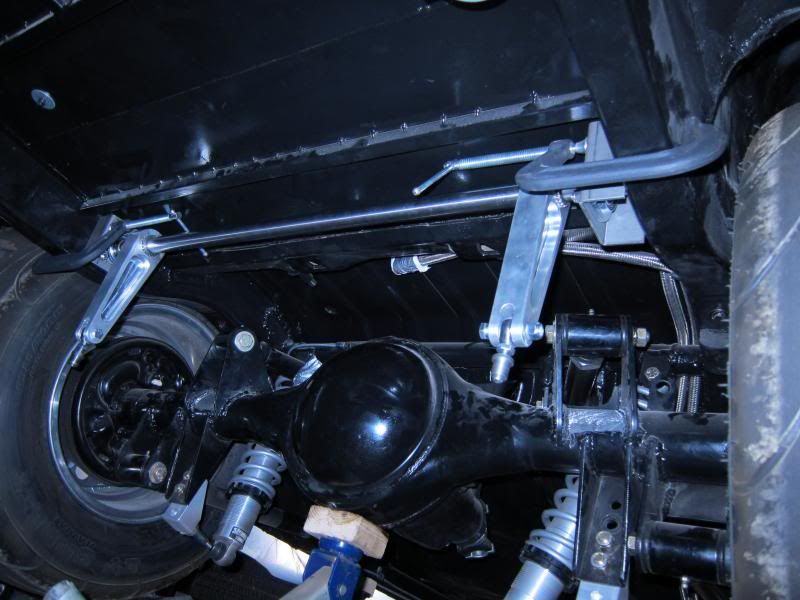
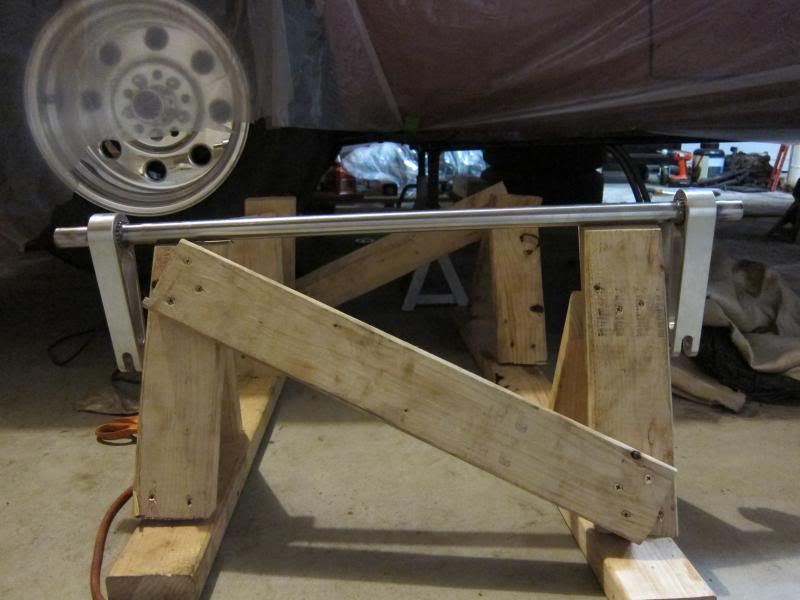
Well here's some updated pictures. I didn't realize it until now that I forgot to take pictures of some of the finished repaired areas I did. I'll get those later. So if you're wondering why you're not seeing everything fully welded up, that's why.

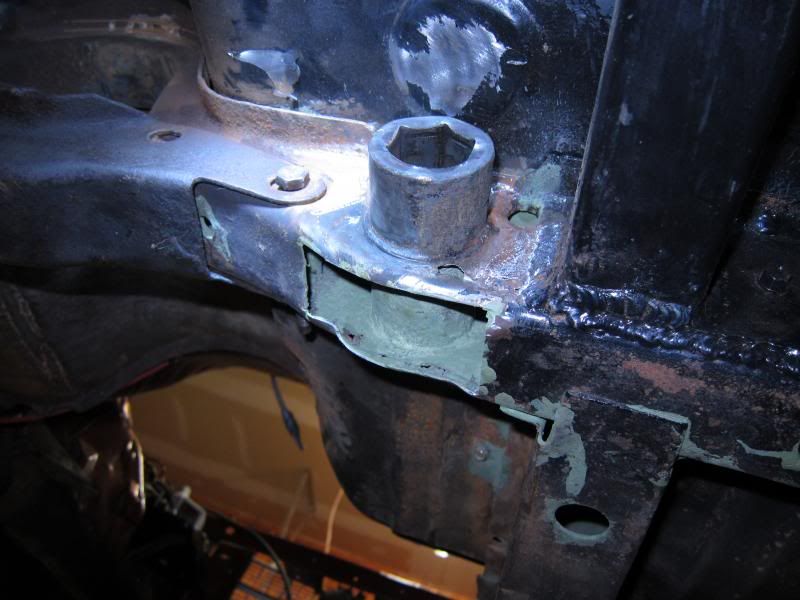
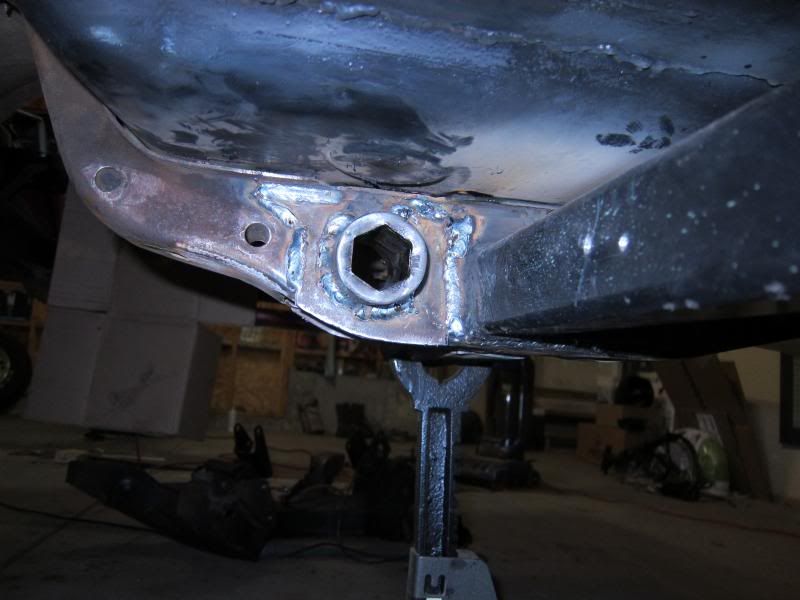
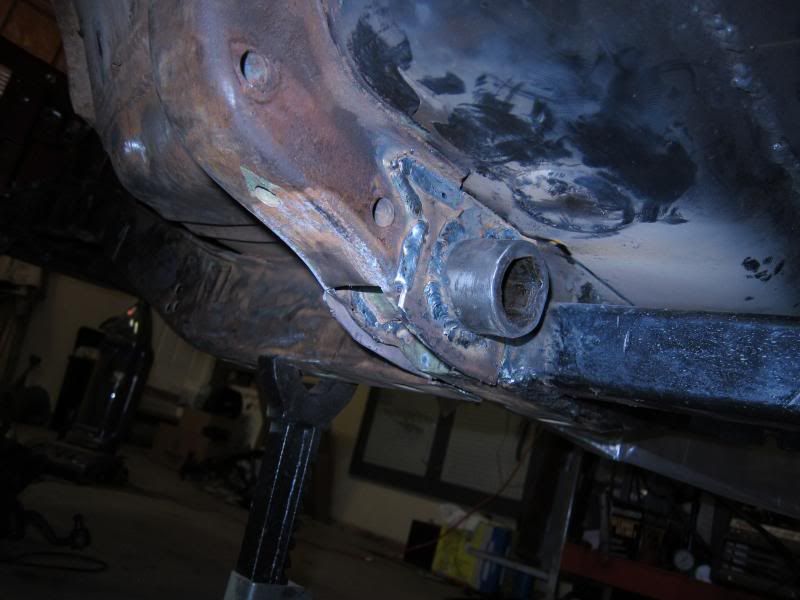
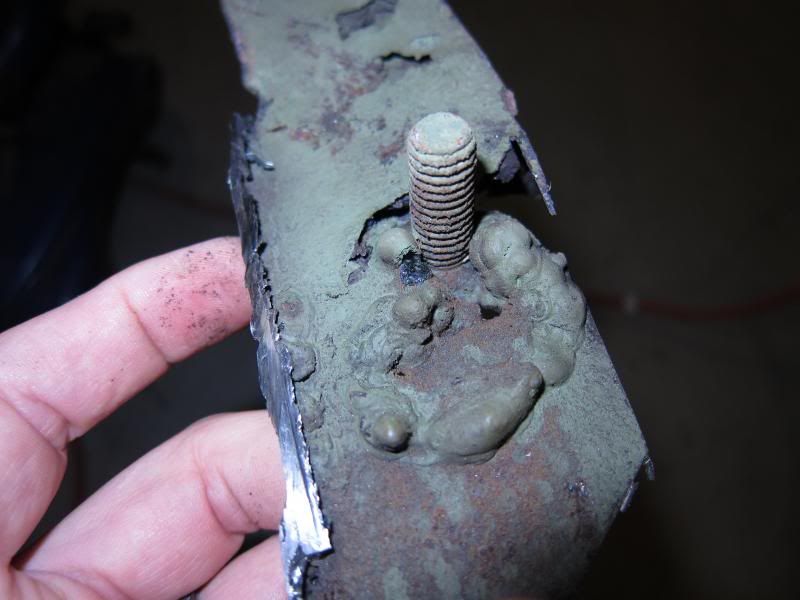
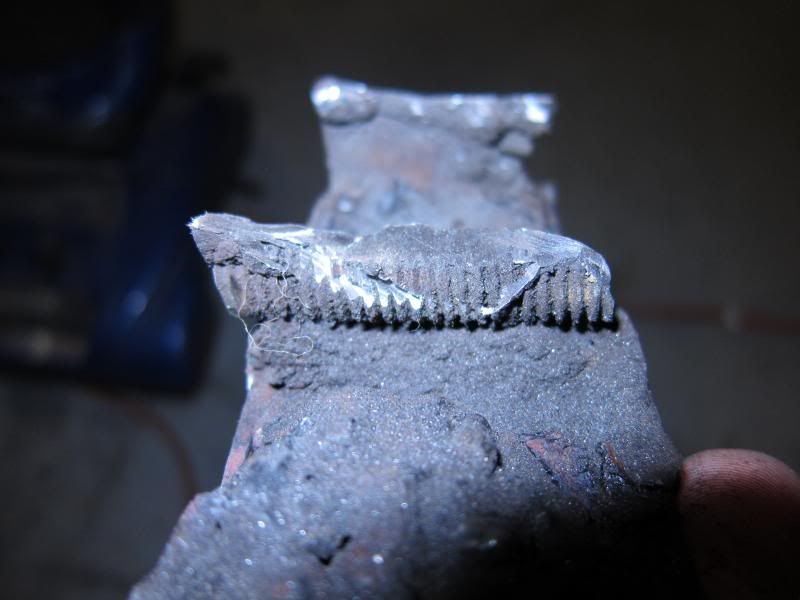
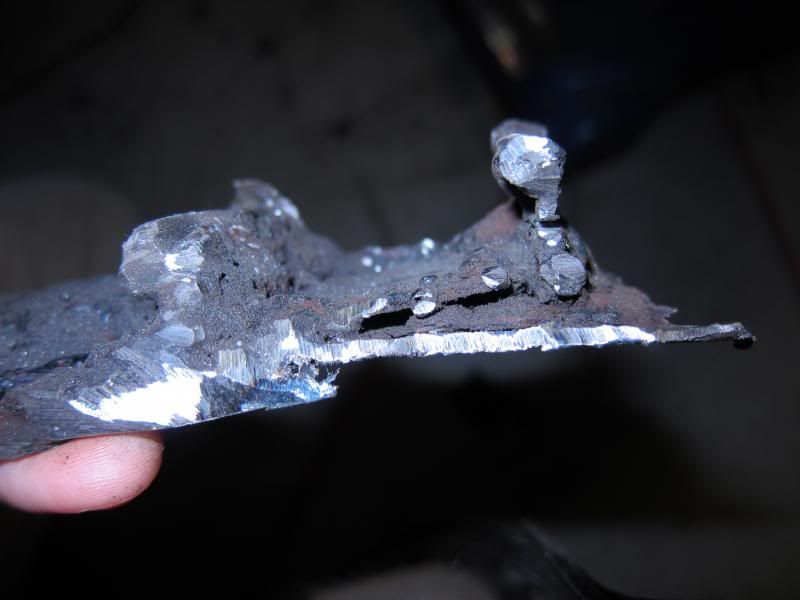
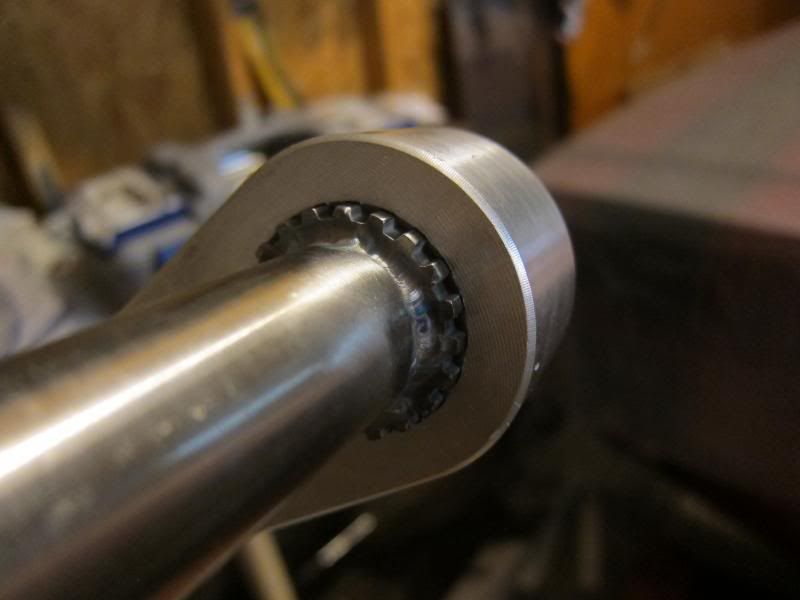
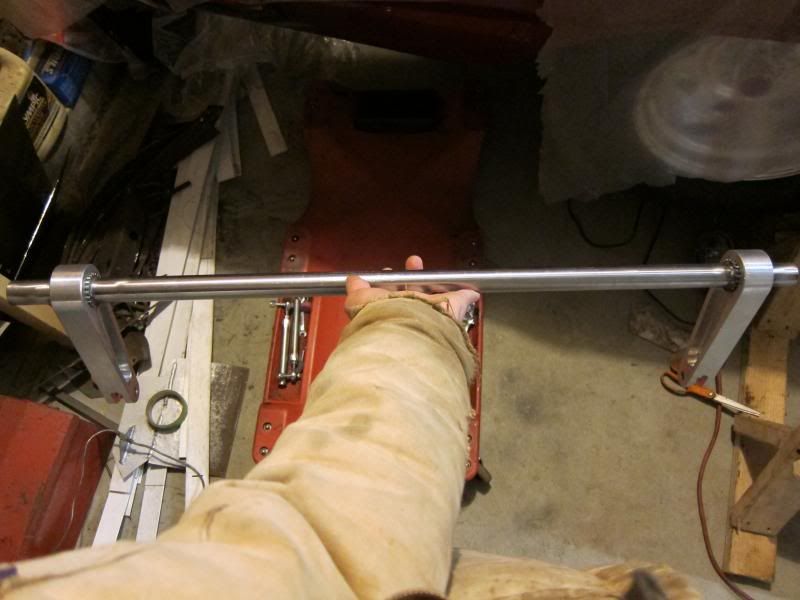
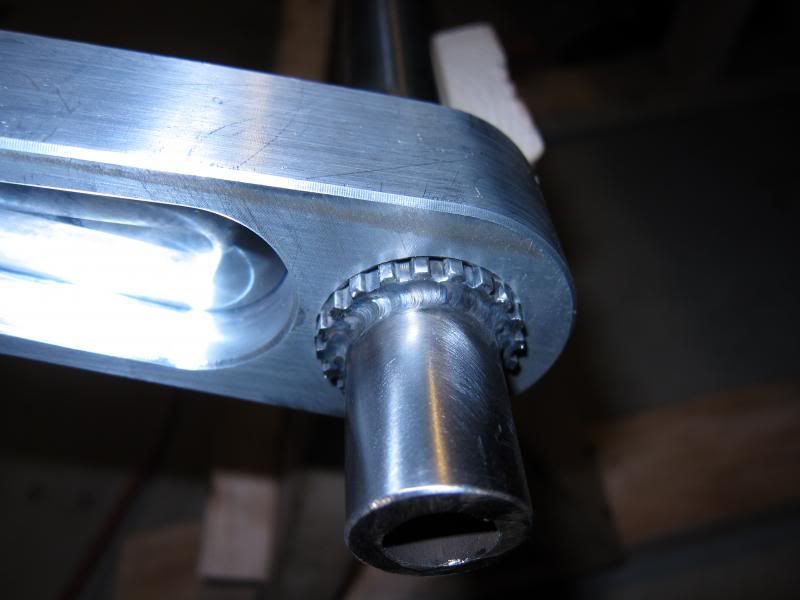
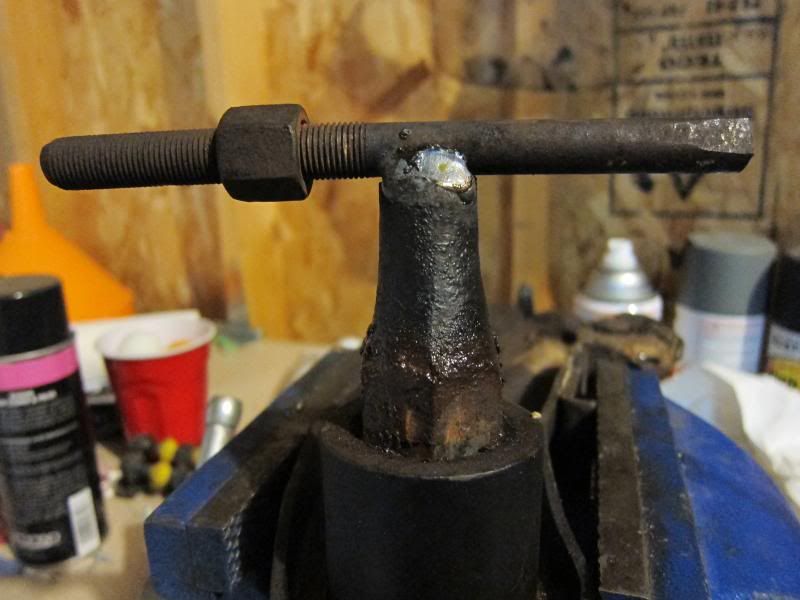
Here's how I had to get the torsion bar hex out of the LCA along WITH a rivet gun to pound that sucker out. Took about 5 solid minutes of hitting it until it moved.

001-2-1.jpg
 
Here is the driver's side frame that I had to cut out due to all the rust. Thank you rust technicians for the frame cap!

2031.jpg


2033.jpg


2035.jpg


2045.jpg


2046.jpg


2047.jpg


2048.jpg
 
And the torsion bar mount fix...

I'll get the finished repair pictures later on.

2037.jpg


2039.jpg


2049.jpg


2051.jpg


2052.jpg


2053.jpg


2055.jpg
 
Now on to the UCA mounts.

Driver's side:

2058.jpg


2060.jpg


2064.jpg


Passenger side (the bad one). Again need to get a pic of it all done. But look at how this was previously repaired! UNREAL! the frame was rusted out, the tabs were rusted all the way through, so what do you do? You stick a bunch of bolts in any hole and gap and fill it with weld of course! :banghead: I can't believe someone did this. I'm glad to have discovered the problem and got it fixed in a much better manner than it was. My repair may not be perfect, but I guarantee it will hold. The way it was repaired before was a crash waiting to happen.

2065.jpg


2066.jpg


2067.jpg


After getting all the bad stuff cut out. I couldn't have done this without the almighty dremel and snake with cutoff wheel.

2068.jpg


Hey looky! A bolt in the removed frame section!

2069.jpg


2072.jpg


Oh look! Another bolt to fill the gap between the UCA tabs and frame! :violent1:

2073.jpg


2074.jpg


The start of my repair job.

2075.jpg
 
And on to the anti-roll bar from Competition Engineering.

2082.jpg


2087.jpg


2086.jpg


2092.jpg


2093.jpg


2094.jpg


2096.jpg


This is how thick the bar is.

2097.jpg


Mounts welded in.

2103.jpg


2102.jpg


2106.jpg


2109.jpg


Due to where the 4 link tabs were, I had to mount the roll bar tabs on the shock mounts like so. Hopefully they will hold up.

2111.jpg
 
And the last picture for now, the headers re-coated by Jet Hot (for free!).

20130321_203944.jpg
 
Not busy enough Louis. I SHOULD BE at least halfway done if not all done with wiring by now. I haven't taken as much time working on the car as I did last year. I think I got burnt out and I was also a little overwhelmed with the rust issues. Figured I would take my time and get things right the first time. I'm pretty excited though with the new dash and gauges going in as well as the roller motor. I'm getting really eager to see what kind of power I'll get out of it. Instead of going with a color that's similar to the car, I'm going with a flat black block with aluminum painted intake and water pump/timing cover. Valve covers will be fabricated so it should look as good as it will run.
 
This is the engine that got me leaning towards that color scheme.

CoupeEngine89.jpg
 
Hi! nice car! wish I had your engine combo:)
maybe its been said before, but doesnt the w2-heads have the ports further up than the j-heads? thus giving you the headder issue?
keep on working, and take care of your better half!
 
Hi! nice car! wish I had your engine combo:)
maybe its been said before, but doesnt the w2-heads have the ports further up than the j-heads? thus giving you the headder issue?
keep on working, and take care of your better half

Thanks! The motor ran good before, but I'm hoping it will run even better after it's rebuilt. These TTi headers are made for the W2 heads. The normal headers have a different part number so I'm assuming they are not configured the same. If the headers were indeed up higher, it would actually help with clearances. I'm trying to get the wife involved a little more with the car. She did a good job of helping me pick out the configuration like the fonts, colors, and style of the new gauges. She's actually bought some Dart t shirts that she wears around the house! I think she's finally giving in.
 
yeah, the video was nice:) guess you long for the next! good heads and camshaft really wake up a 360!
hmm...ok,good luck on the exhaust routing next time! maybe you can do something with the motor mounts to make it fit better?!
hmmm..wish my wife was that deep into my hobby...its no interest at all. I have to force her into the car for a spin:burnout:
 
Damn fine progress. Maybe i'll see it out and about some weekend in the next few years.
 
Damn fine progress. Maybe i'll see it out and about some weekend in the next few years.

Thanks! I'm sure that once I get it together, you will be seeing it around. Maybe in a cloud of tire smoke!

There have been too many preoccupations happening lately. My wife recently had back surgery and I have to tend to her needs most of the time when I'm home. My next door neighbors got robbed and then a few days later, there was someone that was at my place that the neighbors chased off. So we've had to lock our house down, reinforce every door, hide things that were important or irreplaceable, take pictures of everything, etc just in case. Jeez, I can't stand thieves! Steal from you when you're at work, trying to make a living paying for the things they steal.

I did start pulling everything from the dash the other day though. I got the guage cluster out, heater controls (which never would have worked come to find out), stereo, and all the under dash wiring. Now time to start fabricating a new guage cluster base to install the Speed Hut guages in. More to come.
 
i like the roll control bar it some thing like the curries sway bar for jeeps should work really good man the car looks really good
 
just read the whole thread! good job so far,keep it up!
 
That is a very fine job you are doing.. I just love that car of yours
 
Thanks guys. I really appreciate the comments. Still haven't been at it too much since I am still working like crazy then going home to care for the wife. I have ripped out all the wiring, speedo panel, cut out the radio and heater control cutouts since those will not be used, and that's about it. The next course of action is fabbing up the new dash panel for the Speed Hut gauges to mount to and make it look factory-ish. Nothing over the top, but simple and clean.

Finally starting to get somewhere on that motor! Luckily, I haven't needed it yet so being 4 months over due is ok. People think I should be all pissed about it but no reason to be. He hit up his technical guy at Comp Cams and went over what we wanted the motor to do and what we had in the motor. Here's what he came up with: a custom grind roller with .650 lift, .264/.268 @ .050 dur, on 105 LSA. Says it should be "grouchy" as he puts it. I can't wait to hear it! The cylinders are slightly oversized now for the Diamond pistons so we're ordering custom made JE pistons for the cylinder bore. That will make the motor a 417 now instead of a 416. Since we went with custom pistons, I've decided that I want a pump gas motor so it's going down from 13.9:1 to 11:1. I'm hoping I still will get a lot of power with the big cam and W2 heads, even though we're lowering the compression that much. We shall see!
 
In some down time at work, I started playing around with the configuration of the gauges so see how they'd look when staggered, spaced, etc. I ended up just liking them in a straight line myself. When sitting in the car, it just seems that they will be easier to glance at rather than bouncing my eyes around the dash on a staggered setup. Drawing it up in Catia helps me out a lot since it gives me the size of dash I need and gives me the exact center to center spacing on the cutouts so that I'll end up with .20" spacing between the gauge bezels. The holes shown in the pics are the OD of the bezels. Here's some screen shots.

Dash1.jpg


Dash3.jpg


Dash2.jpg
 
Cool CAD. Wish I had that skill.
I'd consider relocating gauges to an area like the center console and spacing out what you have a bit for a better look.
 
There's no console nor any room for a console in my car. So this is it for the configuration. I wouldn't like to have console gauges anyhow. I want them to be up where I can see them easily without taking the eyes too far of the road or track. It should all look good when done, better than what was there anyway.
 
I spent a little time last week getting the insert trimmed up about where it needed to be. Here's what I've got so far. I started on the rolled bar edge and have the top done. Most of the rest of the bar pieces are bent, just need to tack them into place. No pictures of that so far. Here's going to be the layout of the gauges with bezels laid out (somewhat) in place.

20130701_211906.jpg
 
Looks nice. Are those bezels off your gauges? How did you bevel the holes?
 
Yes those are just the bezels off the gauges I'm putting in there. Unscrewed them from the housings and just placed them there for visual purposes.
 
-
Back
Top