Everytime I check in on this thread,I am blown away on your work and progress your doing:cheers:!
You are using an out of date browser. It may not display this or other websites correctly.
You should upgrade or use an alternative browser.
You should upgrade or use an alternative browser.
1970 Swinger 340 Hemi Orange 4 speed
- Thread starter Hemiorangeswinger
- Start date
-
Hemiorangeswinger
Dodge Material
Everytime I check in on this thread,I am blown away on your work and progress your doing:cheers:!
Thanks! It's slowly gettin there... My progress has come to a hault since I'm back to work, but I'll try and get the quarter all welded on before the weekend. Then I can work on the door and finally move on to a new challenge... Floor pan!
KENTON
Well-Known Member
Nice work, all around.
I really like your work it's amazing! Having your thread as reference how it should look like since I don't afford all those AMD sheet metal that I need. I have to fabricate my own inner wheel house, rocker panels and so on. I do have AMD quarter skins and trunk floor extension. So I'am real thankful for your thread. I have noticed one thing you have forgot and that is you haven't put the trunk floor extension support. Maybe I missed them? Here's a link to AMD how the trunk extension support looks like. Thumbs up for you great work!
http://www.autometaldirect.com/amd-...tension-brace---lhrh-sold-as-each-p-5038.html
http://www.autometaldirect.com/amd-...tension-brace---lhrh-sold-as-each-p-5038.html
Hemiorangeswinger
Dodge Material
Nice work, all around.
Thanks!
I really like your work it's amazing! Having your thread as reference how it should look like since I don't afford all those AMD sheet metal that I need. I have to fabricate my own inner wheel house, rocker panels and so on. I do have AMD quarter skins and trunk floor extension. So I'am real thankful for your thread. I have noticed one thing you have forgot and that is you haven't put the trunk floor extension support. Maybe I missed them? Here's a link to AMD how the trunk extension support looks like. Thumbs up for you great work!
http://www.autometaldirect.com/amd-...tension-brace---lhrh-sold-as-each-p-5038.html
Thanks for the compliment! I'm glad it will help you out.
About those braces... I bought the braces thinking my car had them, and it turns out it did not (original trunk extensions with no signs of braces) so I never put them in. I kinda did some research (by pics of people's cars) and I found that the 70+ cars never had them... I only researched the 70-72 cars. I'm guessing the rear valiance supported the lower quarters enough to not need them? I noticed 67-69 darts had them. (My 69 parts car has them) the 67-69 darts are a little longer in this area so maybe that's why they were needed?
I'm sure someone who knows the years these were put on will chime in! I'm interested to know.

ef8340
Well-Known Member
Randy love it, love it, love it I've been following this thread the whole time ive been driving semi lately and im out for 21 days at a time. and for you being 27yrs old your fab skills are top notch. i almost have all the pieces for my swinger then ill start getting back at it
Hemiorangeswinger
Dodge Material
Randy love it, love it, love it I've been following this thread the whole time ive been driving semi lately and im out for 21 days at a time. and for you being 27yrs old your fab skills are top notch. i almost have all the pieces for my swinger then ill start getting back at it
Thanks for the kind words! I'm glad you're enjoying the build. Do you have a resto thread of your car started?
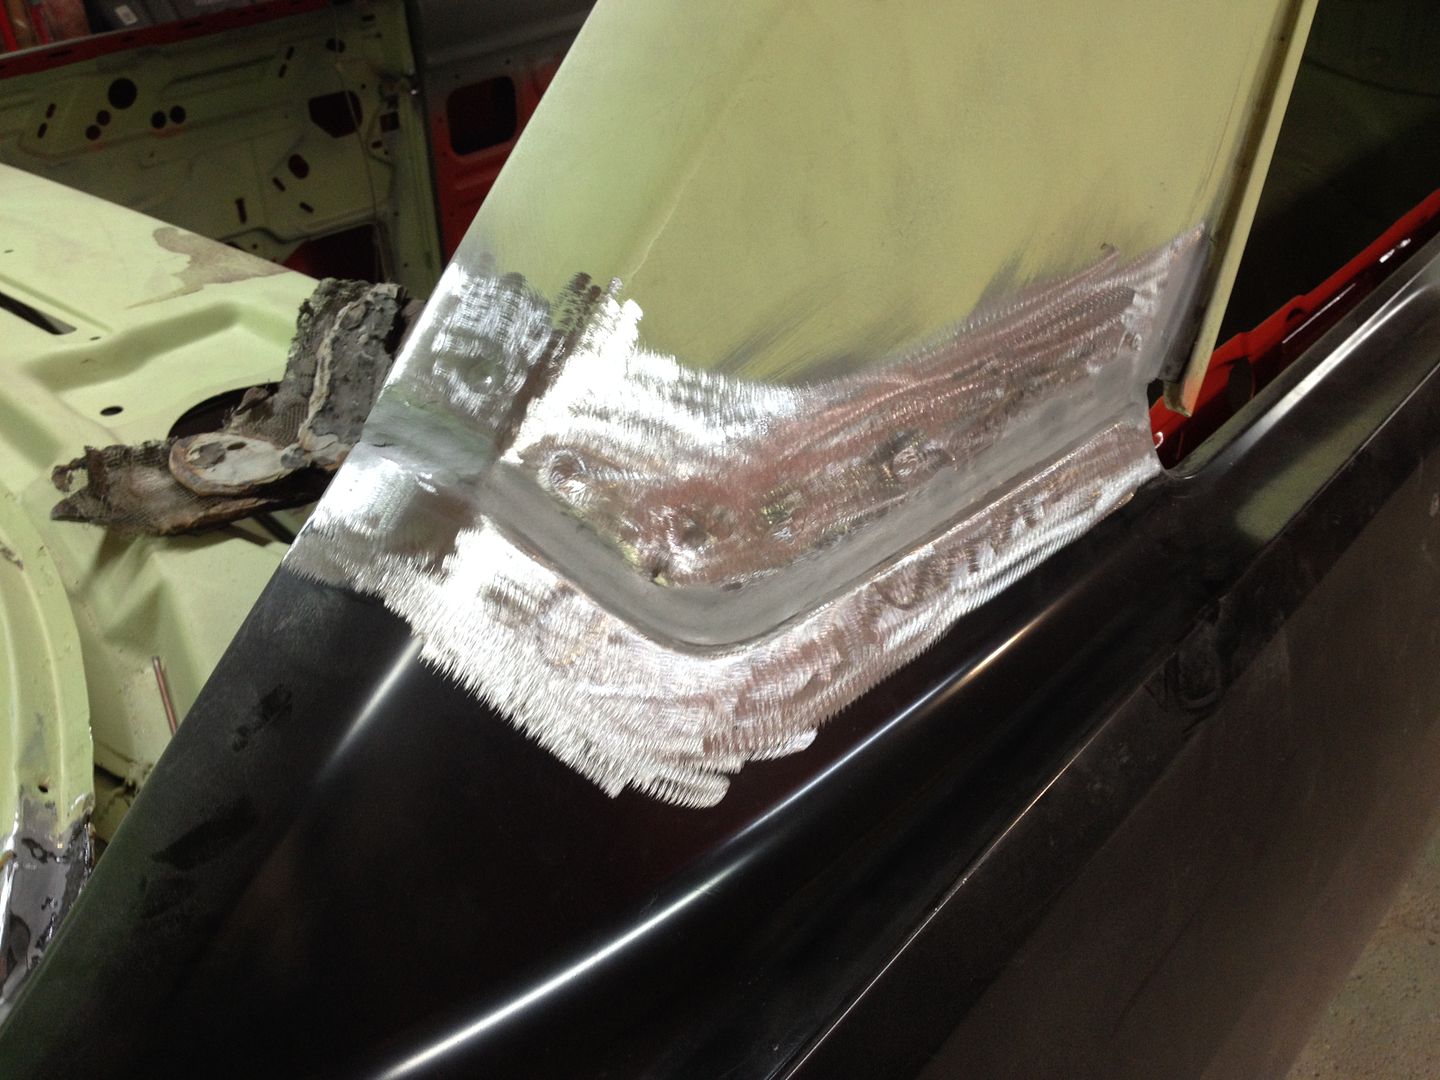
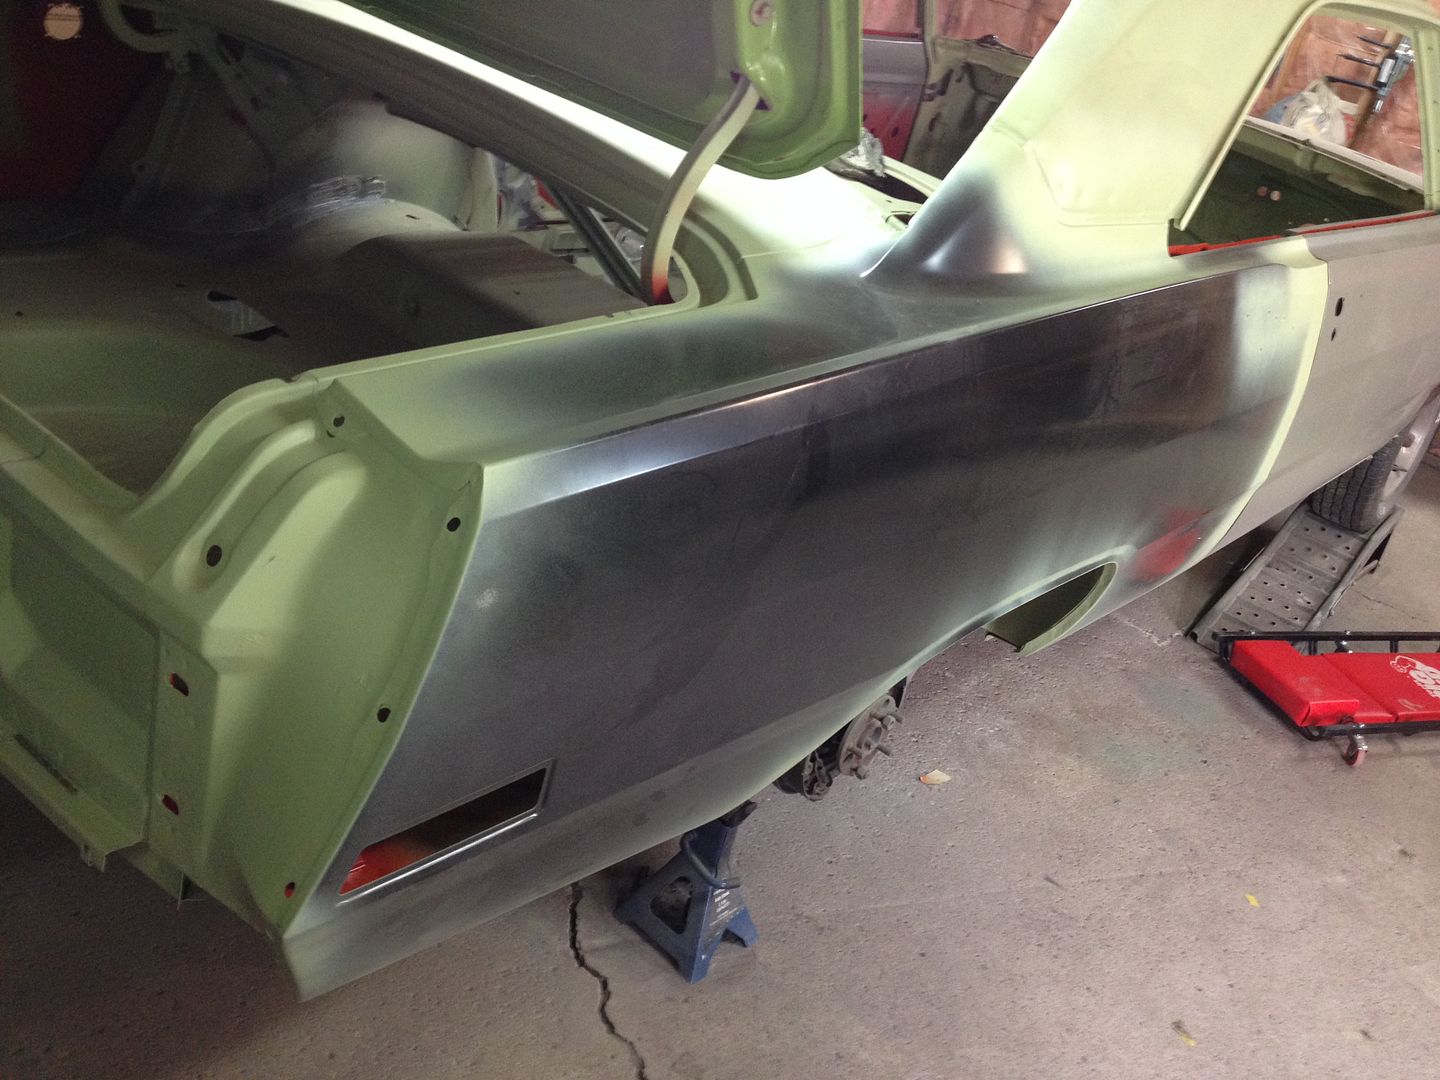
The 24" vise grips were one of my best investments so far.. It saved having To use sheetmetal screws a bunch of times.

All welded and ground down.

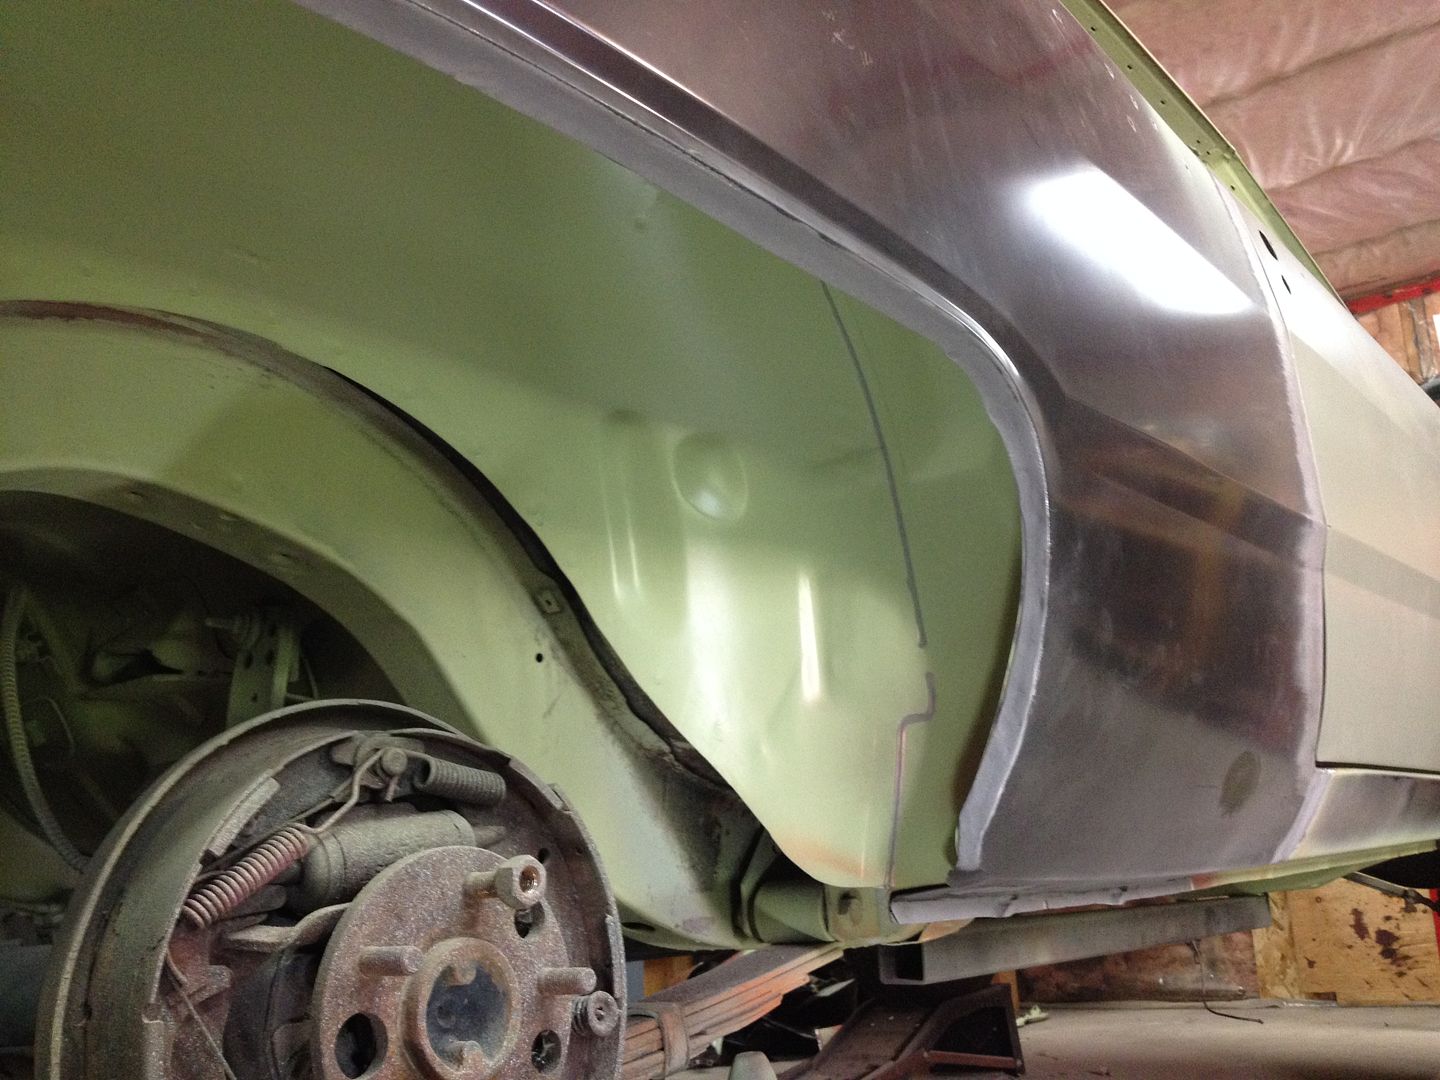
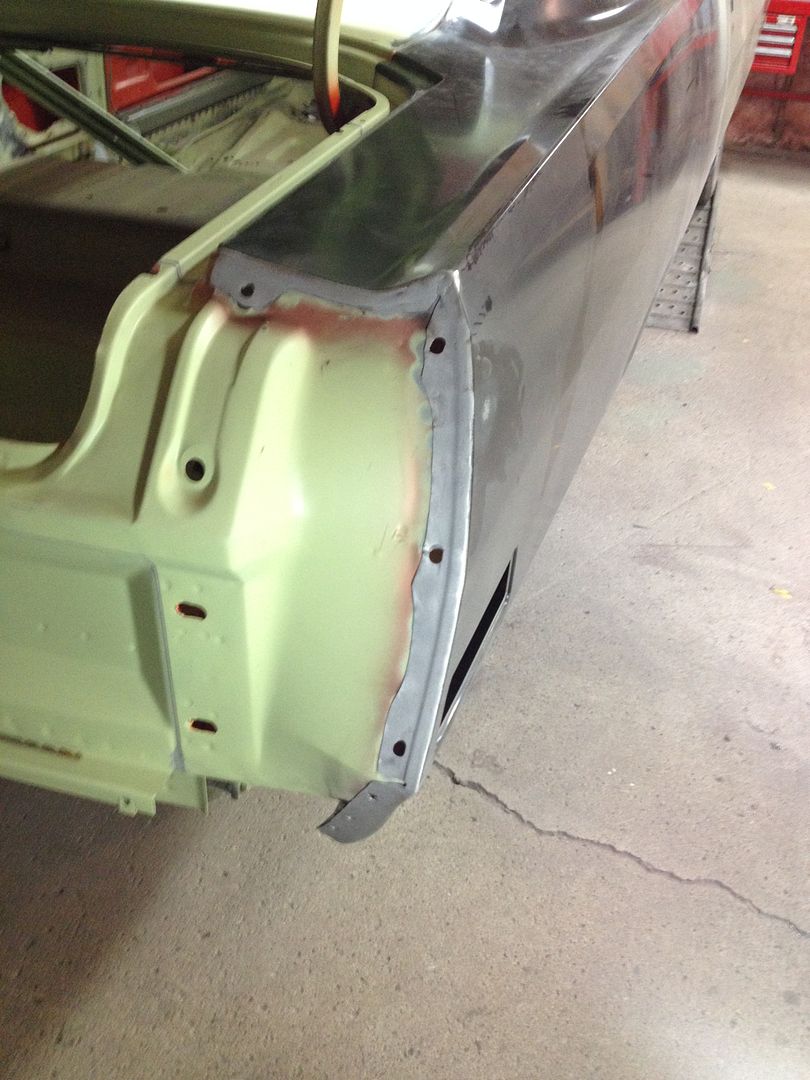
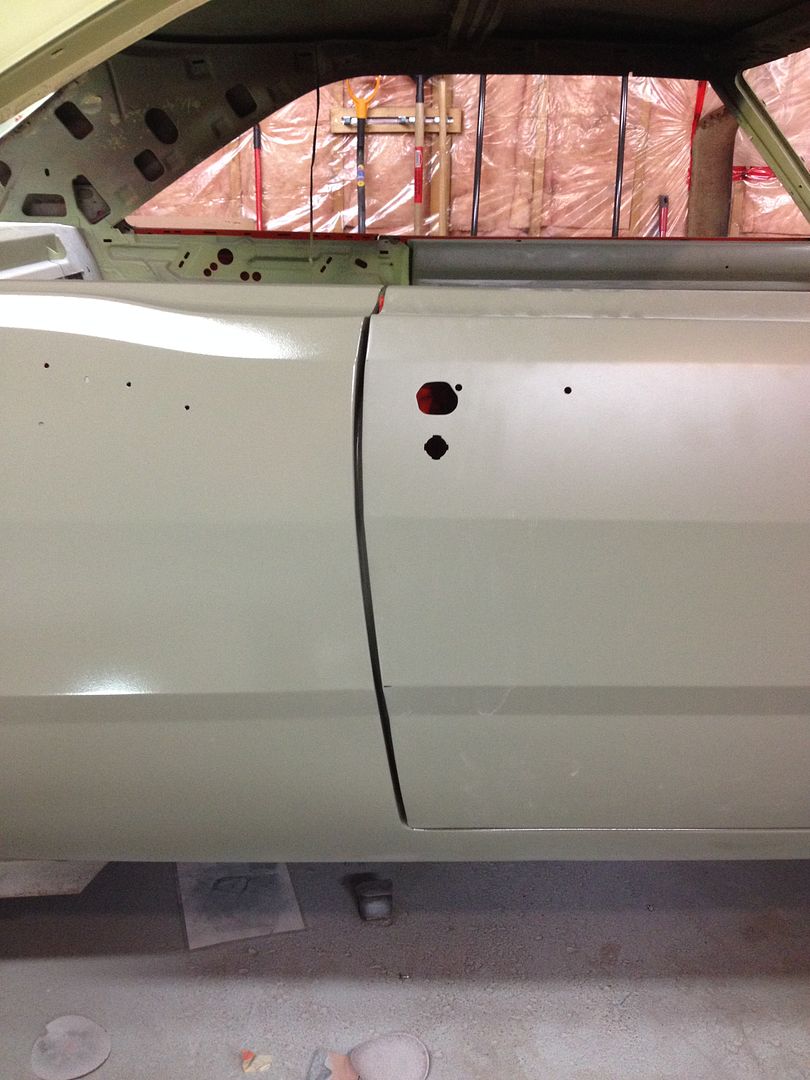
Holes were punched in the wrong spot for the lower valiance so I welded them up and will drill them out in the correct location. (The other side had the same problem with the quarter)

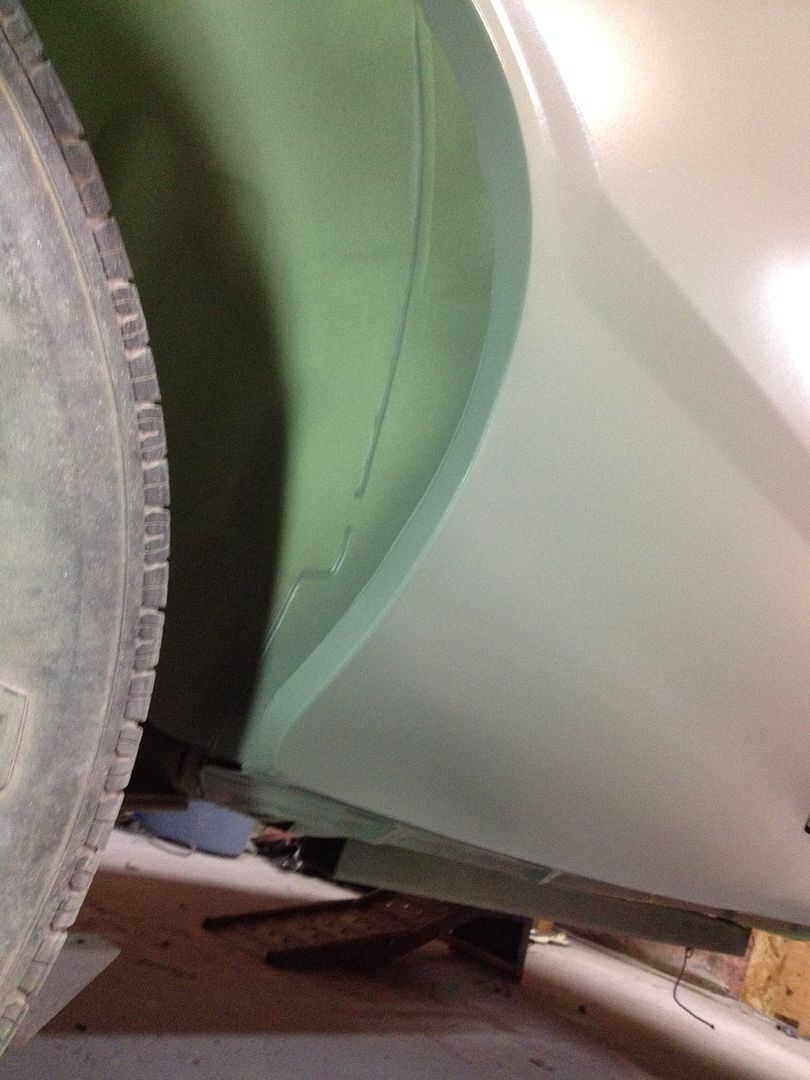
Nice gaps here.

Quarter all welded to the rocker and ground down.

I have the roof to quarter area and around the wheel well tub left to do.
I also picked up some chassis saver paint. I've read great reviews on it and figured I'd try it out.. Possibly in my torsion bar crossmember when I cut the floor out or some other project.

txstang84
Well-Known Member
I don't know why you're saying it's not moving quickly-you're making great progress from what I see, Randy.
ef8340
Well-Known Member
heres my old restoration thread
http://www.forabodiesonly.com/mopar/showthread.php?t=55516
ill be bringing it back soon once I get everything for it. I kinda feel ashamed as I have een neglecting it for awhile now
http://www.forabodiesonly.com/mopar/showthread.php?t=55516
ill be bringing it back soon once I get everything for it. I kinda feel ashamed as I have een neglecting it for awhile now
Hemiorangeswinger
Dodge Material
I don't know why you're saying it's not moving quickly-you're making great progress from what I see, Randy.
Thanks Jeff, I'm just comparing to last week when I spent whole days on it... Now I'm lucky if I get an hour or two a day, haha.
heres my old restoration thread
http://www.forabodiesonly.com/mopar/showthread.php?t=55516
ill be bringing it back soon once I get everything for it. I kinda feel ashamed as I have een neglecting it for awhile now
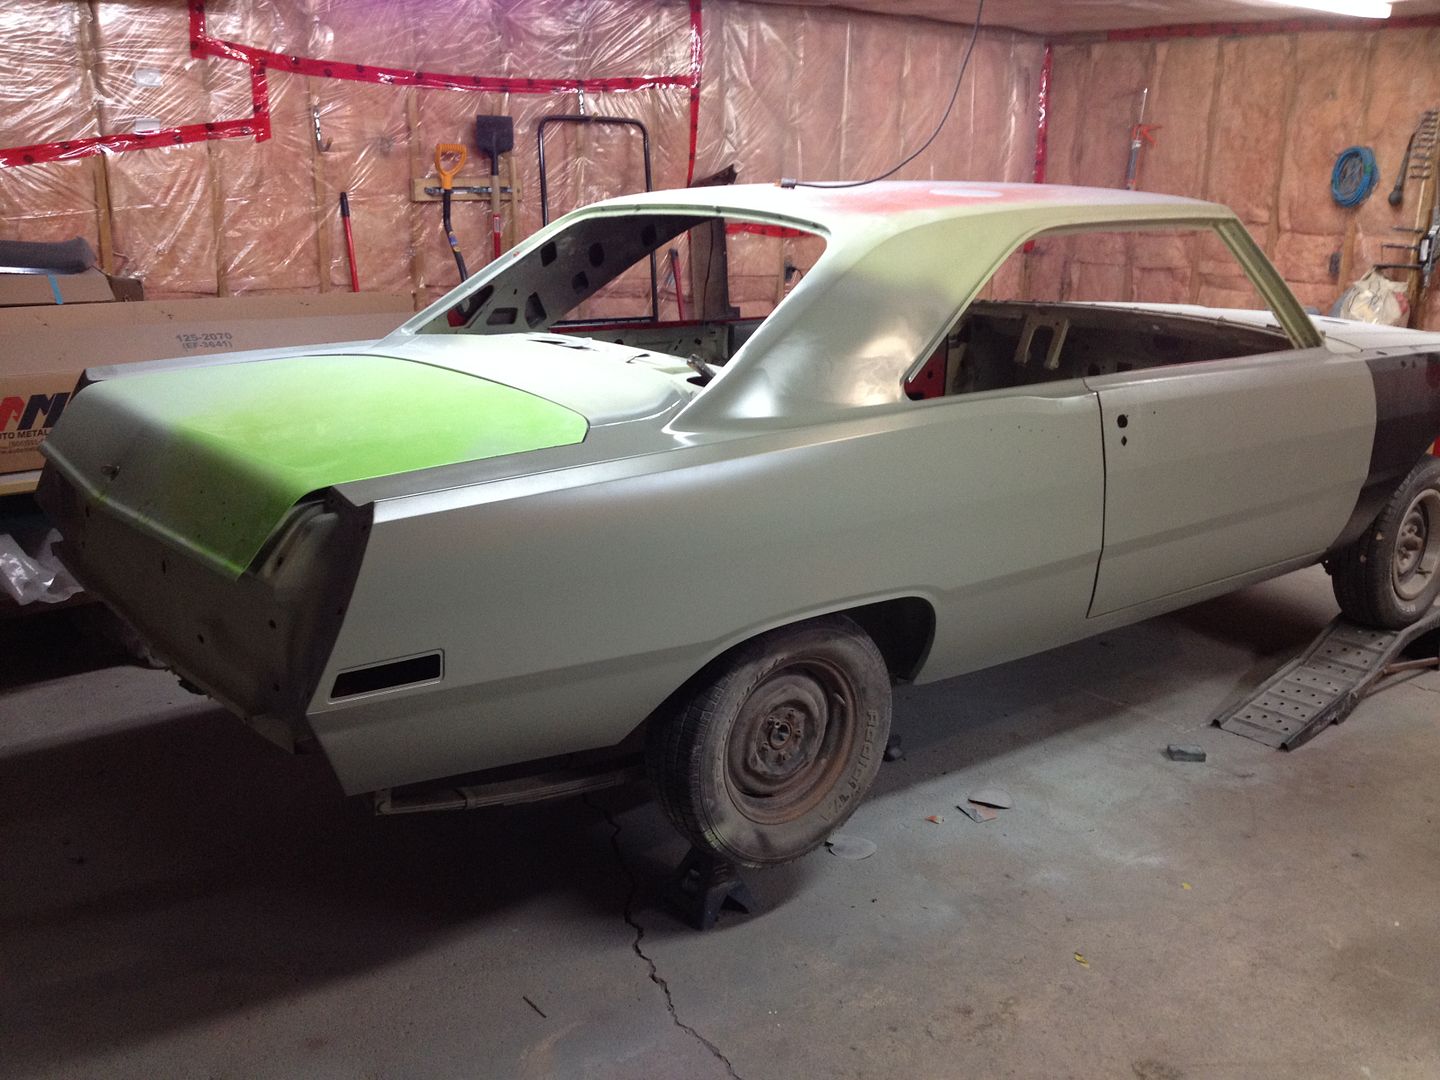
Looks like a nice solid car! I love the green. What's your next plans for it? Bodywork and Paint? Looks like there is no rust in it.
ef8340
Well-Known Member
my next step on mine is changing the complete drivetrain over to a 340/4spd/391 from the demon I bought as a parts car I really lucked out as the 340 is a 70 340. once I get all of the drive line done its off to paint and body the car is really solid I think the only rust hole in the trunk is no bigger than the size of a dime
txstang84
Well-Known Member
...the car is really solid I think the only rust hole in the trunk is no bigger than the size of a dime.
We should all be so lucky.
Hemiorangeswinger
Dodge Material
my next step on mine is changing the complete drivetrain over to a 340/4spd/391 from the demon I bought as a parts car I really lucked out as the 340 is a 70 340. once I get all of the drive line done its off to paint and body the car is really solid I think the only rust hole in the trunk is no bigger than the size of a dime
Sounds like a good plan! Be sure to post lots of pics! What's wrong with the demon?
We should all be so lucky.
Haha! I have to replace almost every panel on my car... Surprisingly my trunk pan in solid!
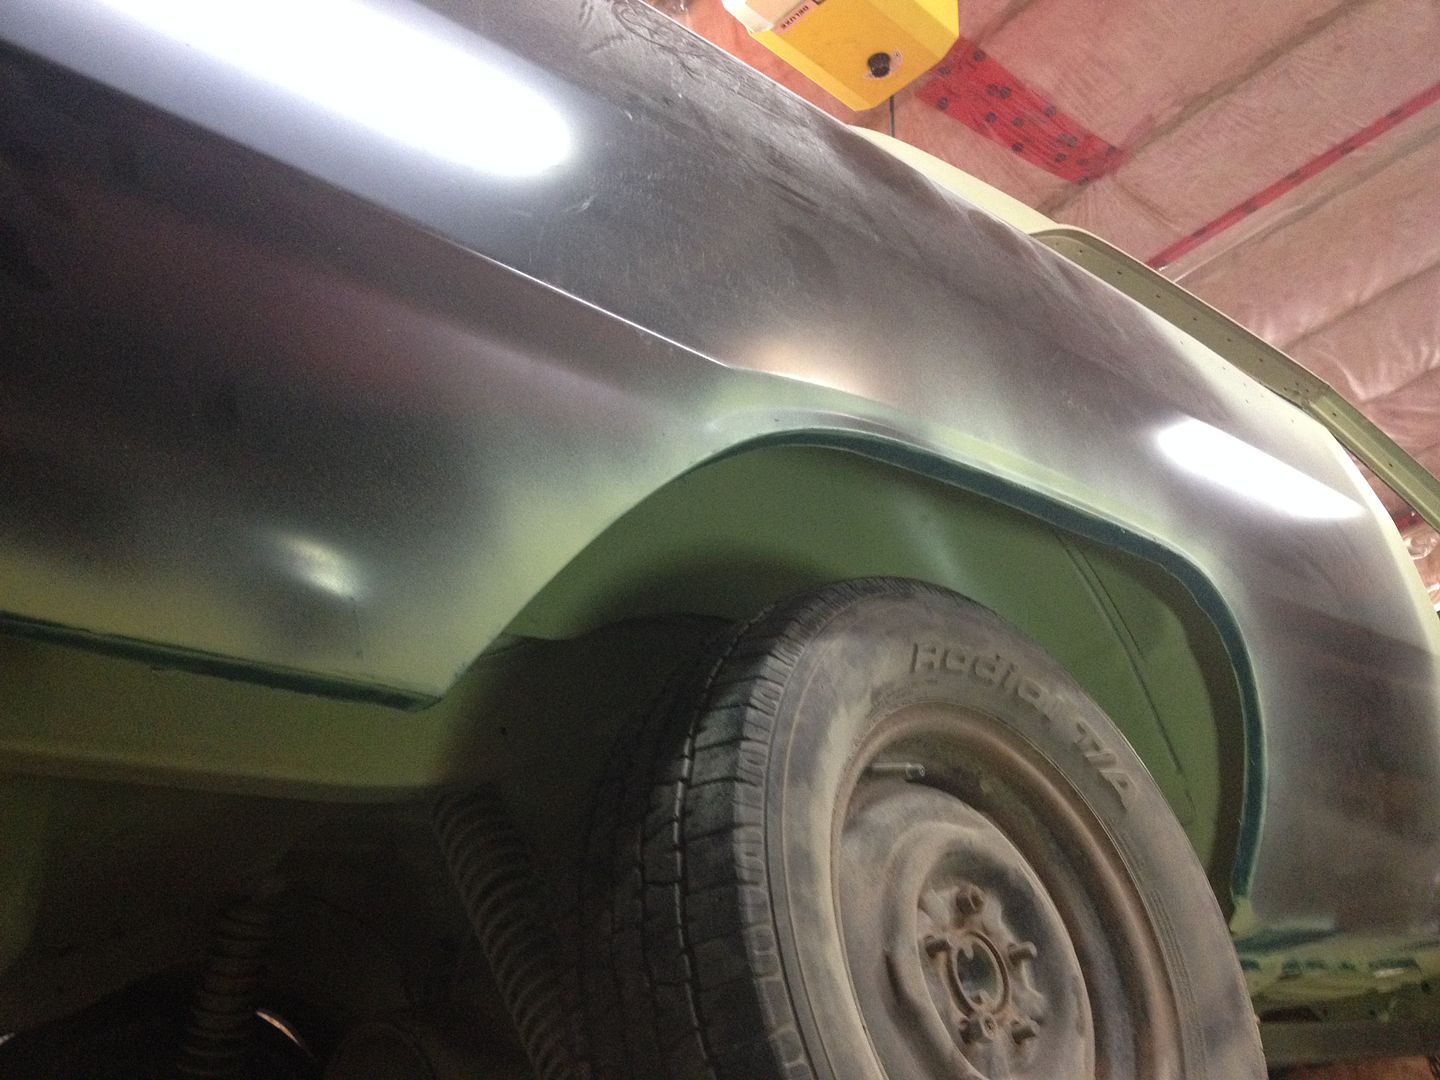
This weekend sucked for progress... I didn't get a chance to really go in the garage at all. I did manage to start welding up the roof to quarter seam tonight so I atleast got something done. I also got the reinforcement bracket glued/welded in. All that's left is welding the little corner piece in and around the wheel well tub. I'll see if I can get to it this week and finish all the welds.
Welded solid.

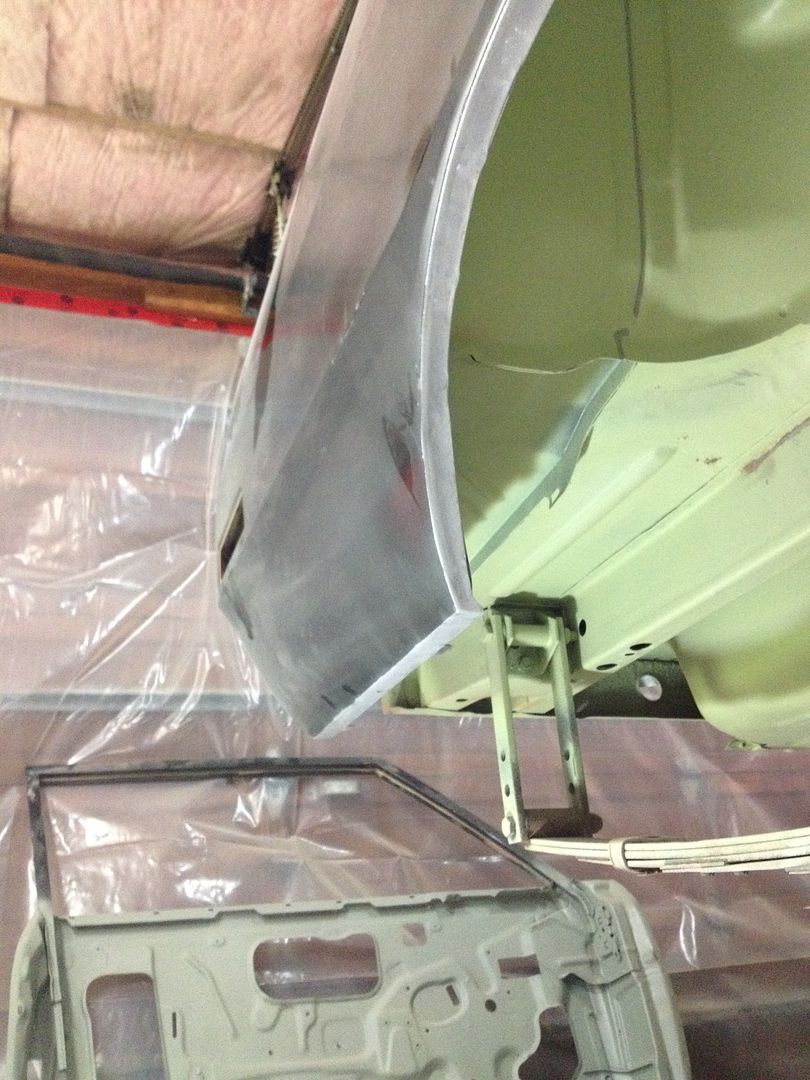
This piece had to be cut off in order to get the quarter on.

txstang84
Well-Known Member
Is that just another side effect of a panel stamped on a slightly off die?
Hemiorangeswinger
Dodge Material
Is that just another side effect of a panel stamped on a slightly off die?
The quarter was good in this area. I did this on the other side as well. If you leave the lower rear window corner bracket in place the quarter will not fit on the car. I found it easier to cut this tab off, then to remove the bracket.
All solid now.

Hemiorangeswinger
Dodge Material
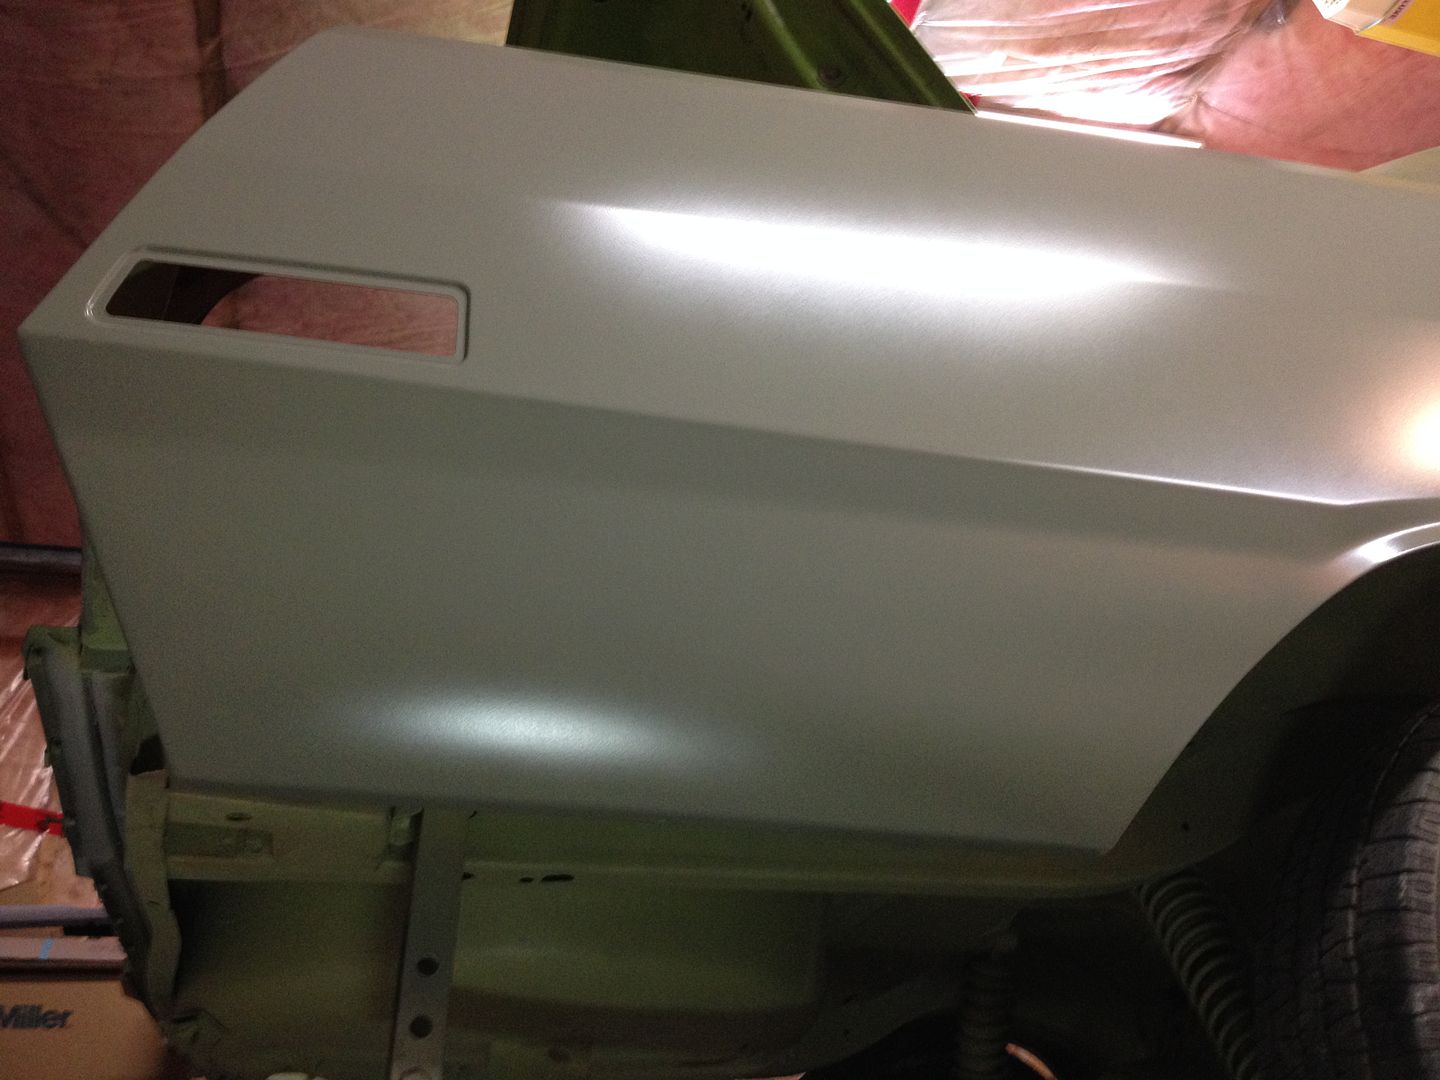
Progress has come to a hault this past week and a half.. I've had a lot of other things to deal with, but I did manage to get some work done today, and hopefully this week/weekend I can focus on the car a lot more. I finished welding the quarter on and sandblasted all my welds/edges and put them in epoxy. Tomorrow I'll start applying fibreglass over all my edges and factory lead seams. Once that is done I will strip the e coat off the entire quarter/rocker and epoxy it.


txstang84
Well-Known Member
hell yea!
340sFastback
Well-Known Member
Outstanding work!!
Hemiorangeswinger
Dodge Material
Thanks guys!
Spent a couple hours fibreglassing tonight. I have my third coat on the lead seams.. First coat was pretty much squeezing the fibreglass into every crevice to make sure there were no air pockets. From there it's sanding and applying more as I go until it's close. Tomorrow I will sand all the fibreglass and start stripping the e coat. Hopefully by Wednesday the quarter will have epoxy. Then it's just little details like pumping epoxy into every seam and edge, drip checking where it needs it and touching up the paint I burnt off the inside a piller from welding.
Hopefully I get all this done by Friday so I can start fixing the door gap. I'm going to put the striker and latch on while doing this... I might put the old seal on as well but I can't see that changing anything since i have the rubber bump stops in the door to hold the door where it's going to be.
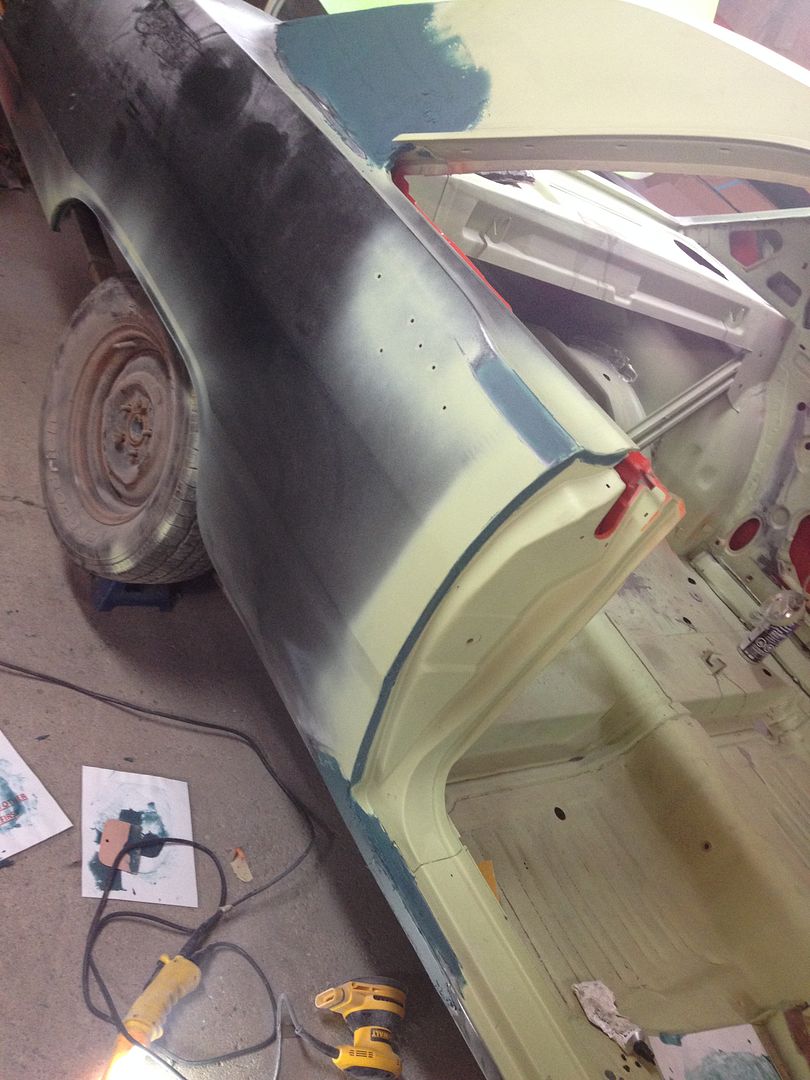


Hemiorangeswinger
Dodge Material
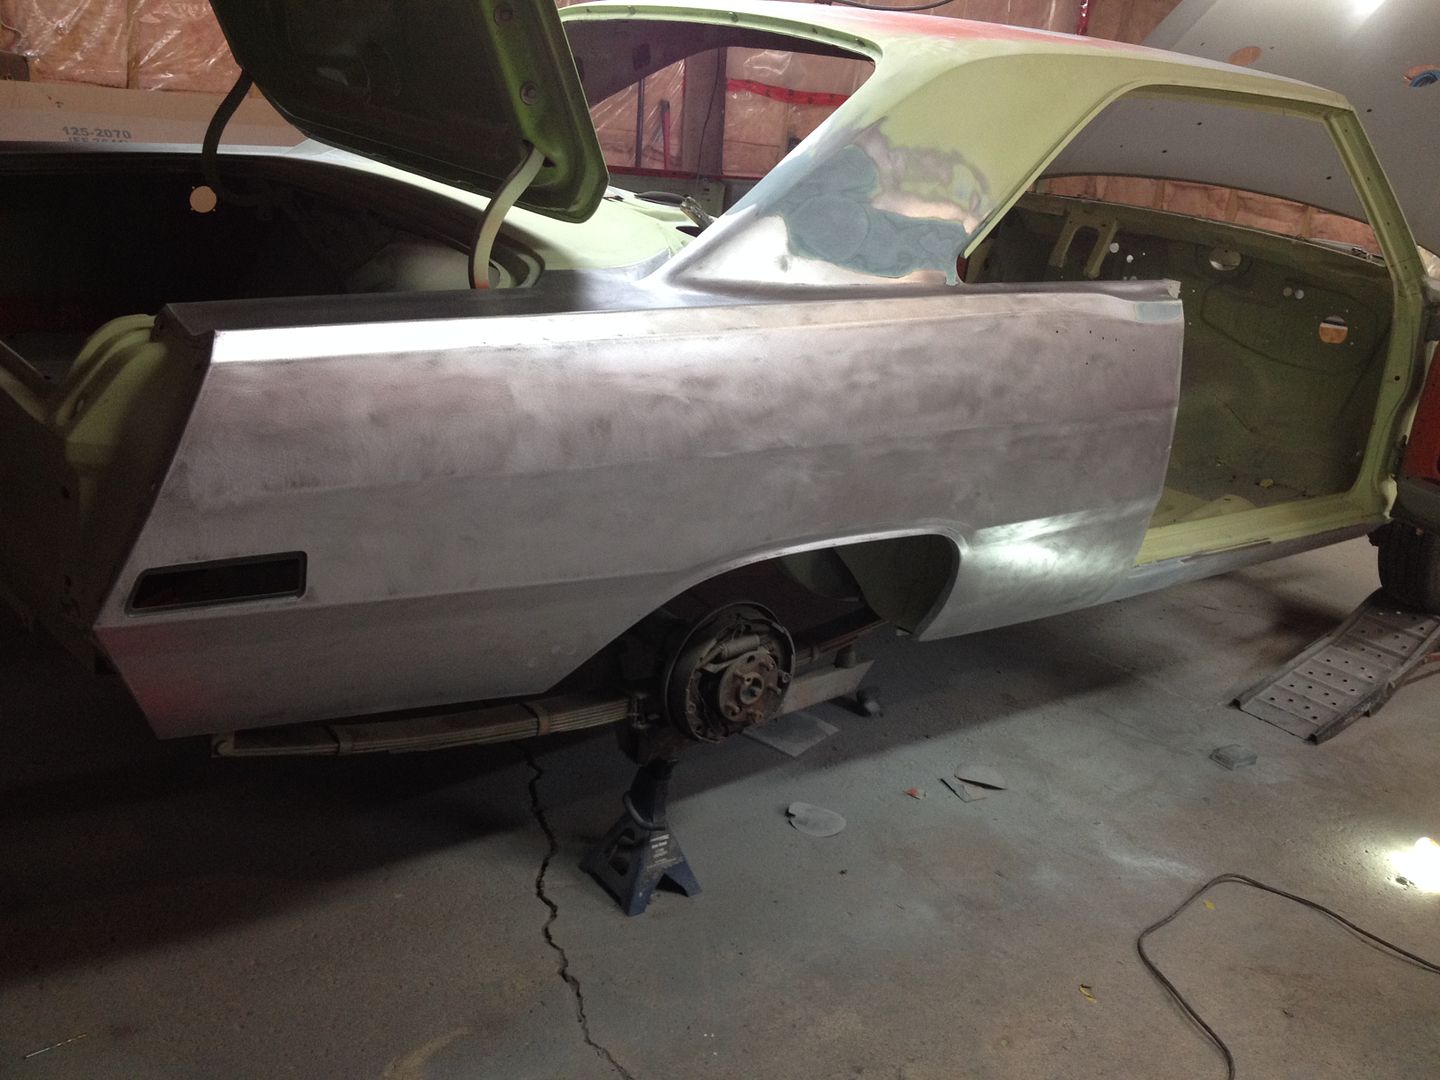
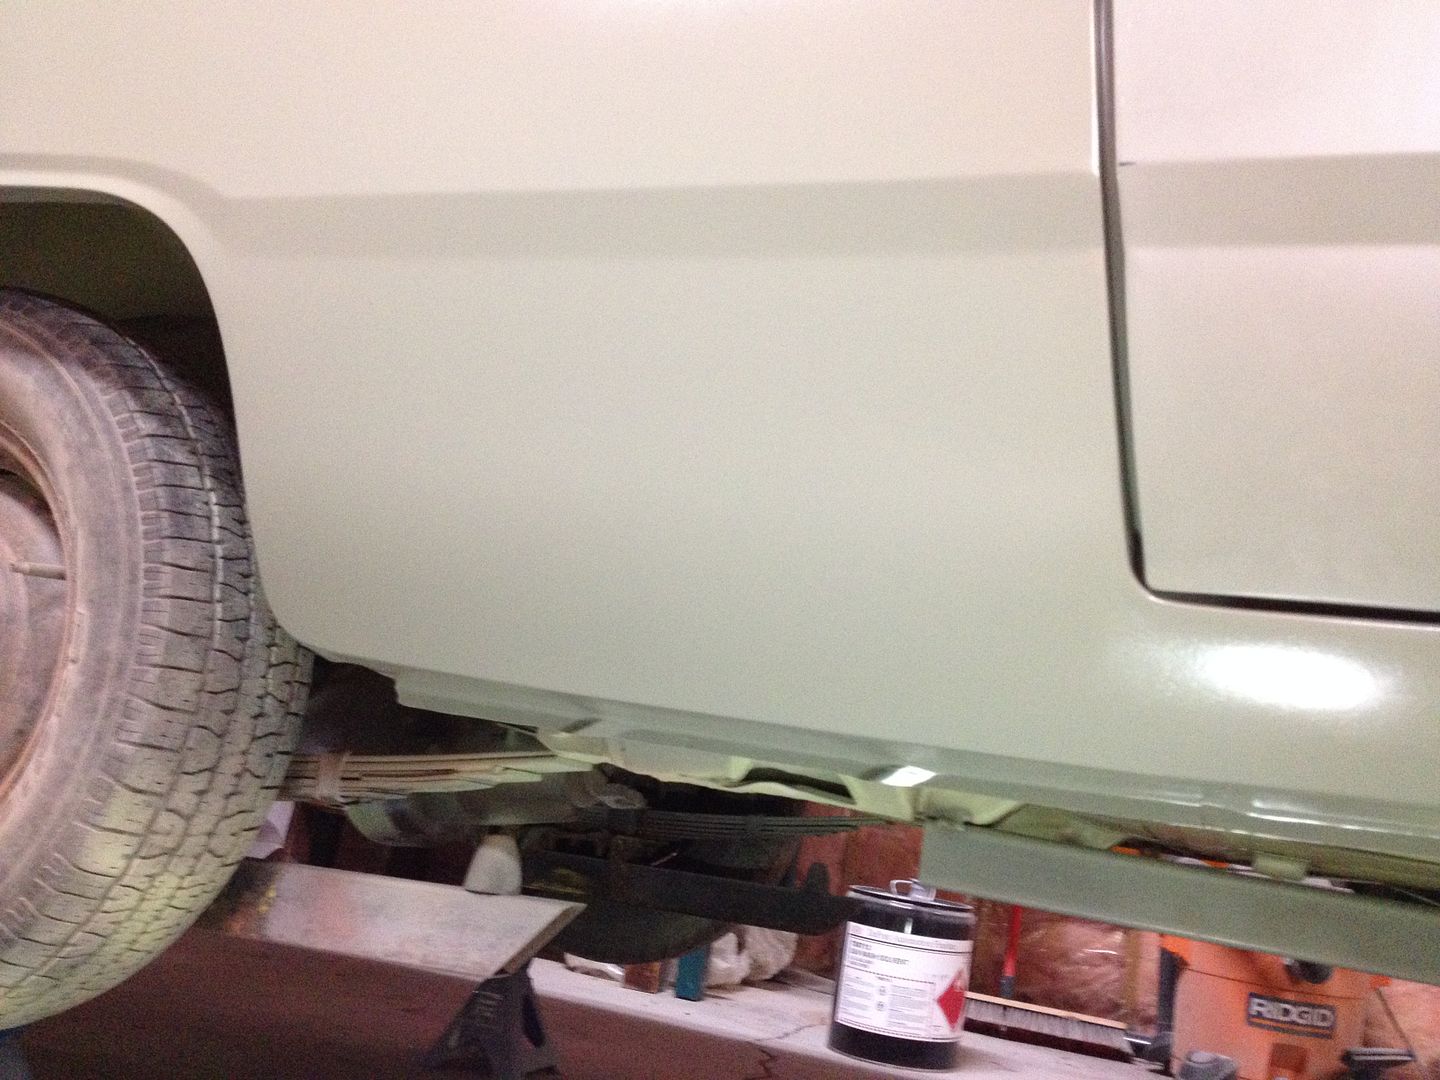
Another late night night in the garage... I got it in epoxy finally!
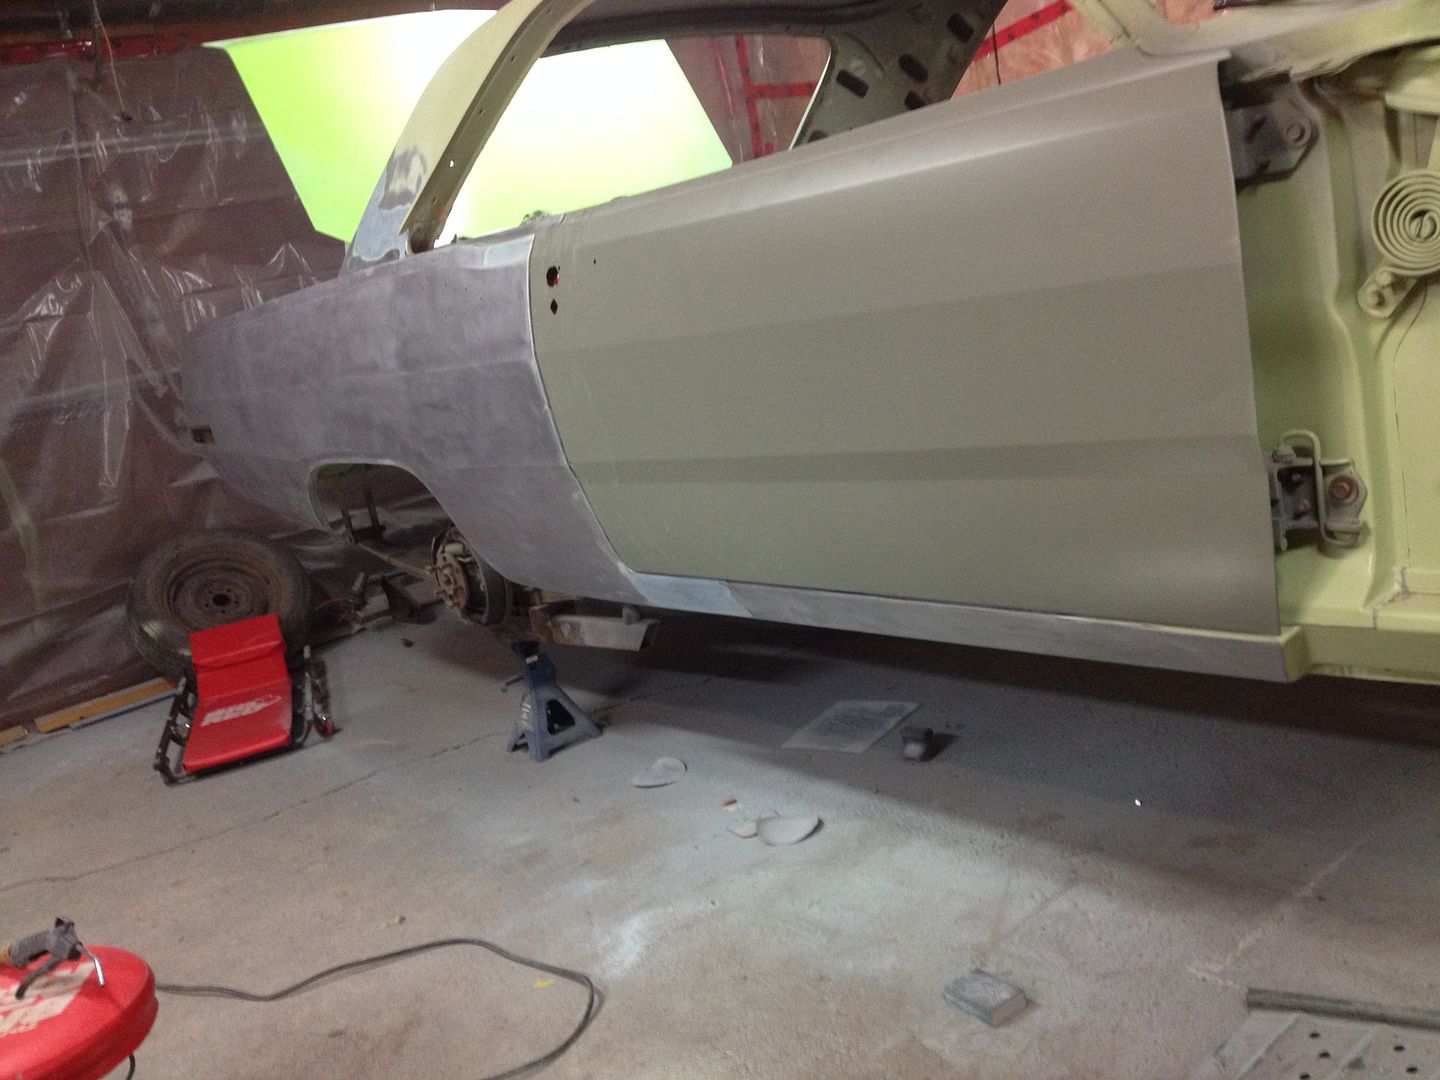
This is about a 1980's GM door gap... I will fix it this weekend.


This is about a 1980's GM door gap... I will fix it this weekend.

Hemiorangeswinger
Dodge Material
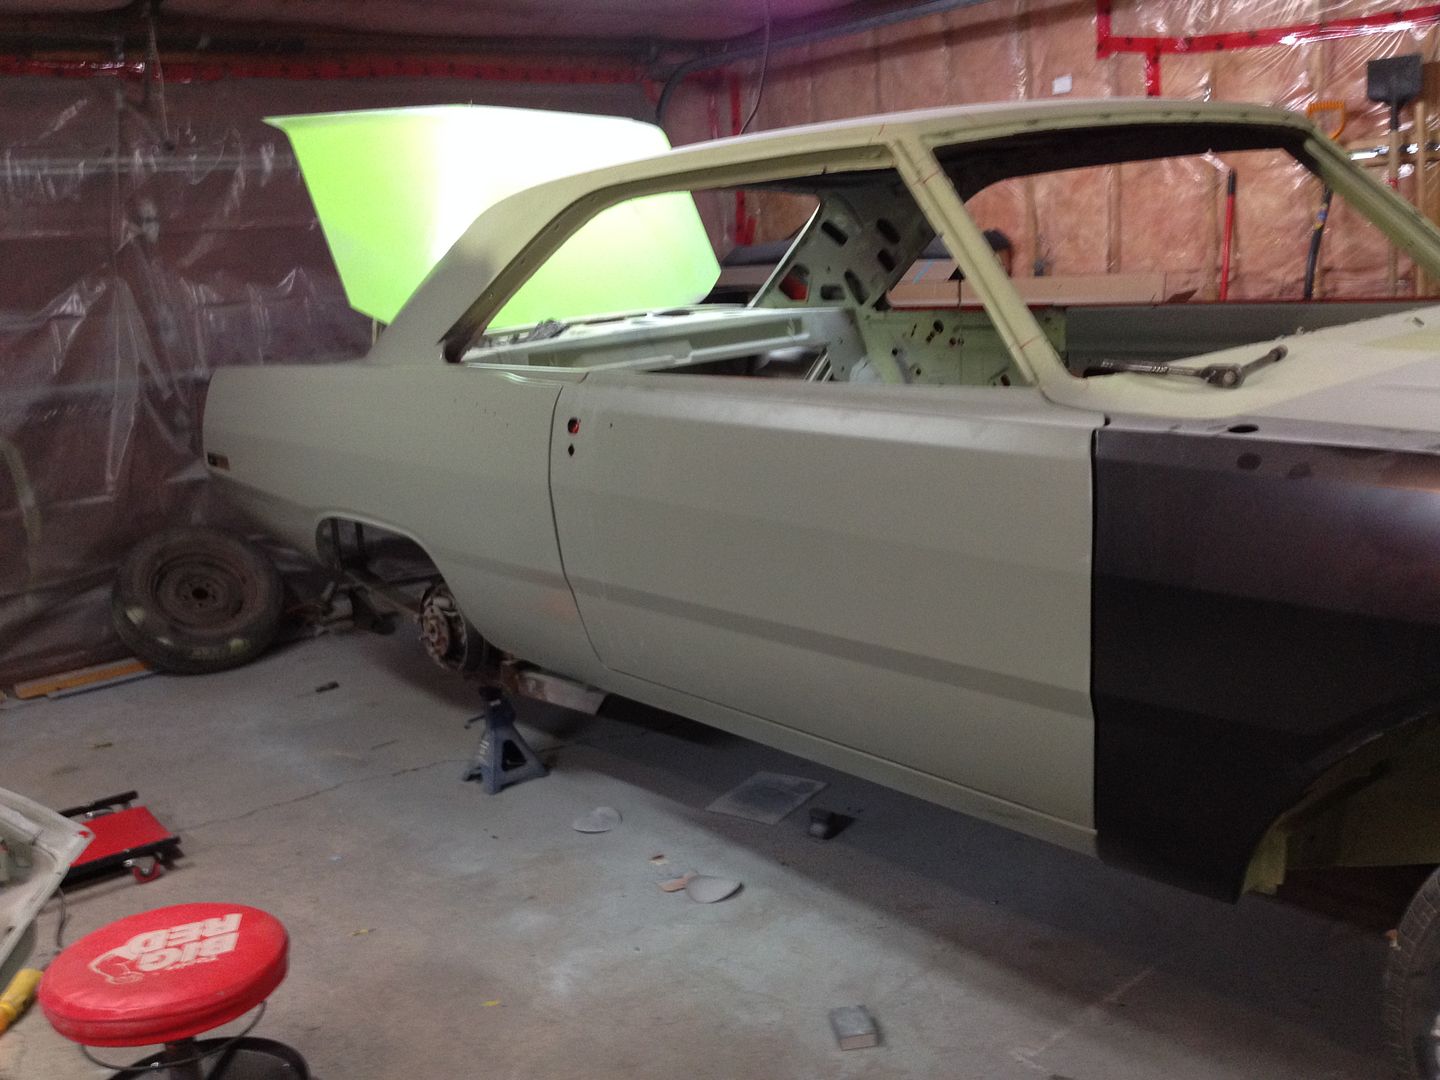
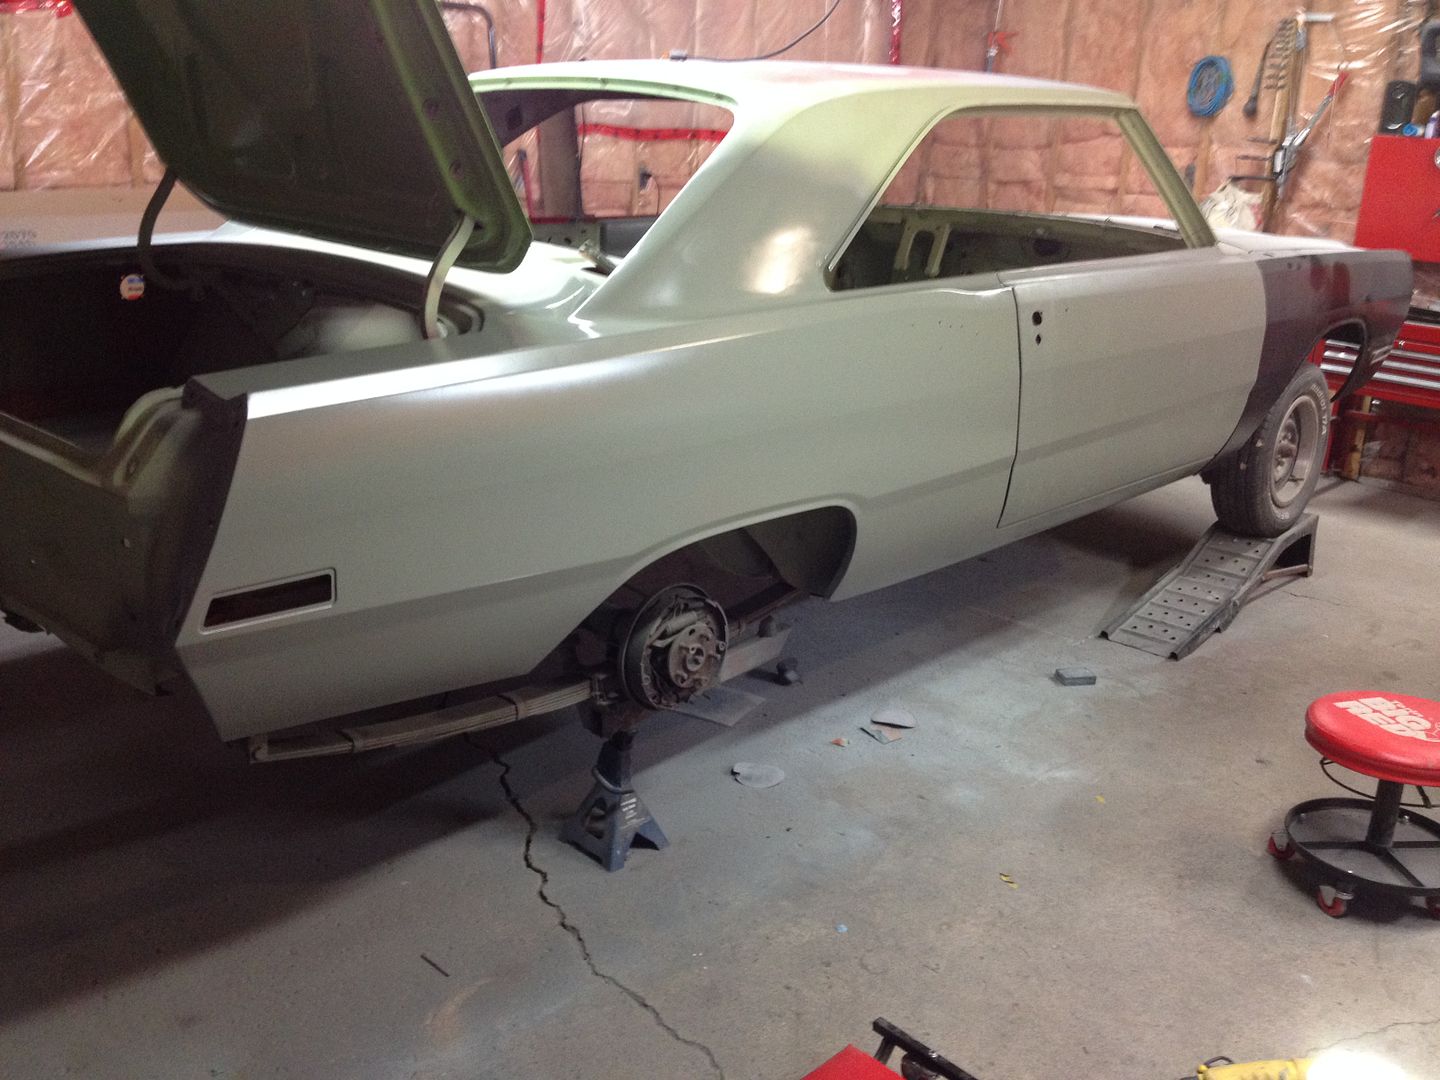
Before..

After..
Lower corner of door needs to be ground to match radius of quarter. I will fix it this weekend. It's actually the quarter that has to much of a radius, but it's easier to fix it at the door. The other side needs to be addressed as well. I think this is something that needs to be fixed by AMD


After..


Lower corner of door needs to be ground to match radius of quarter. I will fix it this weekend. It's actually the quarter that has to much of a radius, but it's easier to fix it at the door. The other side needs to be addressed as well. I think this is something that needs to be fixed by AMD


muddacres
Well-Known Member
A lot of man hours there. It's lookin great!!!!!!!!
jim
jim
Hemiorangeswinger
Dodge Material
A lot of man hours there. It's lookin great!!!!!!!!
jim
Thanks Jim! Yeah it was a lot of work. I know I'm over a 1000hrs so far.. I haven't been keeping close track tho.. I'm scared to add up my hours and receipts, haha.
I got the floor pan out of the spare room.. It sure is a nice heavy piece! Hopefully I can start on it next weekend. I got some nice used seat braces for the bench since mine are pretty thin.(thanks lee!) I also got an AMD four speed hump (mine is butchered) and AMD floor wiring covers. I have some firewall repairs to do and I'm sure I'll find more surprises along the way but I'm looking forward to a new challenge!!
I will also be leaving my temporary subframe connectors in while doing the floor pan. I will add some additional 1"x1" square tubing crossways for extra safety, especially around the torsion bar crossmember.


txstang84
Well-Known Member
I'm glad I decided to log in-awesome job Randy. I know you said there's a few things to sharpen up, but it looks magnitudes better. I believe I'll forward this link to my brother. His Scamp has some sporadic perforation in his floor pan too and asked if replacing the whole thing would be a good idea. I told him yes, if you can keep the chassis immobilized during the replacement. He might decide to go one side at a time, but still definitely needs floors.
Hemiorangeswinger
Dodge Material
I'm glad I decided to log in-awesome job Randy. I know you said there's a few things to sharpen up, but it looks magnitudes better. I believe I'll forward this link to my brother. His Scamp has some sporadic perforation in his floor pan too and asked if replacing the whole thing would be a good idea. I told him yes, if you can keep the chassis immobilized during the replacement. He might decide to go one side at a time, but still definitely needs floors.
Thanks! I think the one piece floor pan is the way to go. Way less welding and an overall cleaner looking job when done. If your car is sitting on its wheels and the rockers are solid you could probably get away with cutting the entire floor out without anything moving at all. I think bracing is almost overkill, but it can't hurt any. A convertible would definitely need bracing or if the car is on a rotissory, since the car is hanging by the front and rear edges.
Here's some pics of what's next...
Flintstones floor pan!

Someone took a ball peen hammer to the four speed hump and tore and dented it. B or E body four speed is my guess?

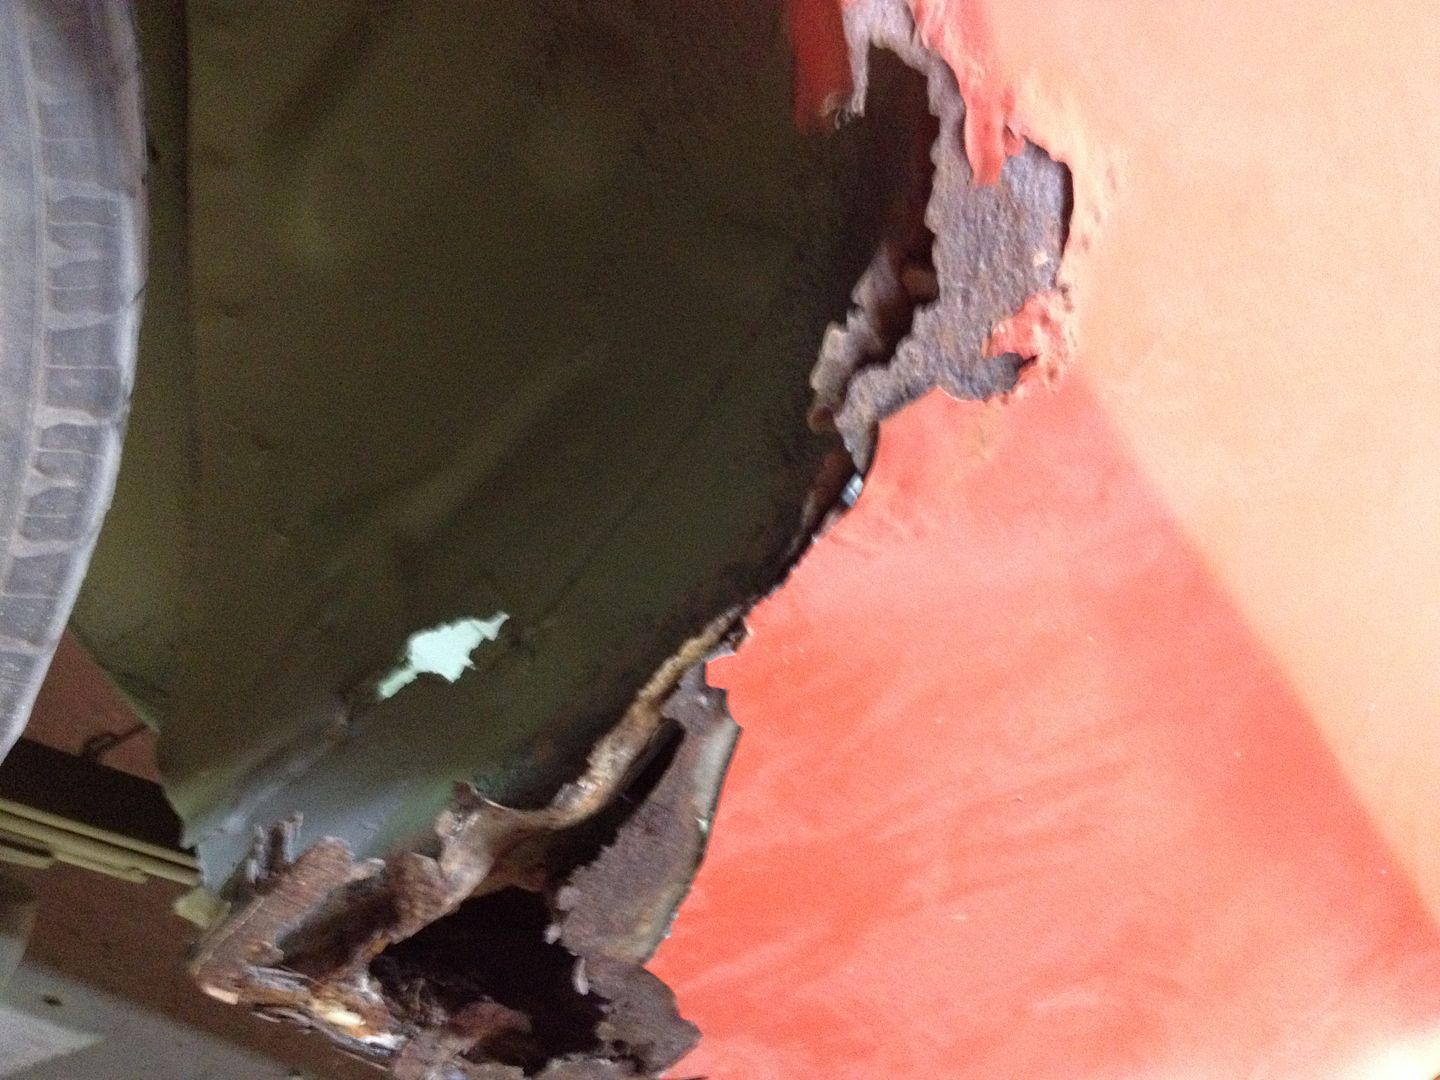
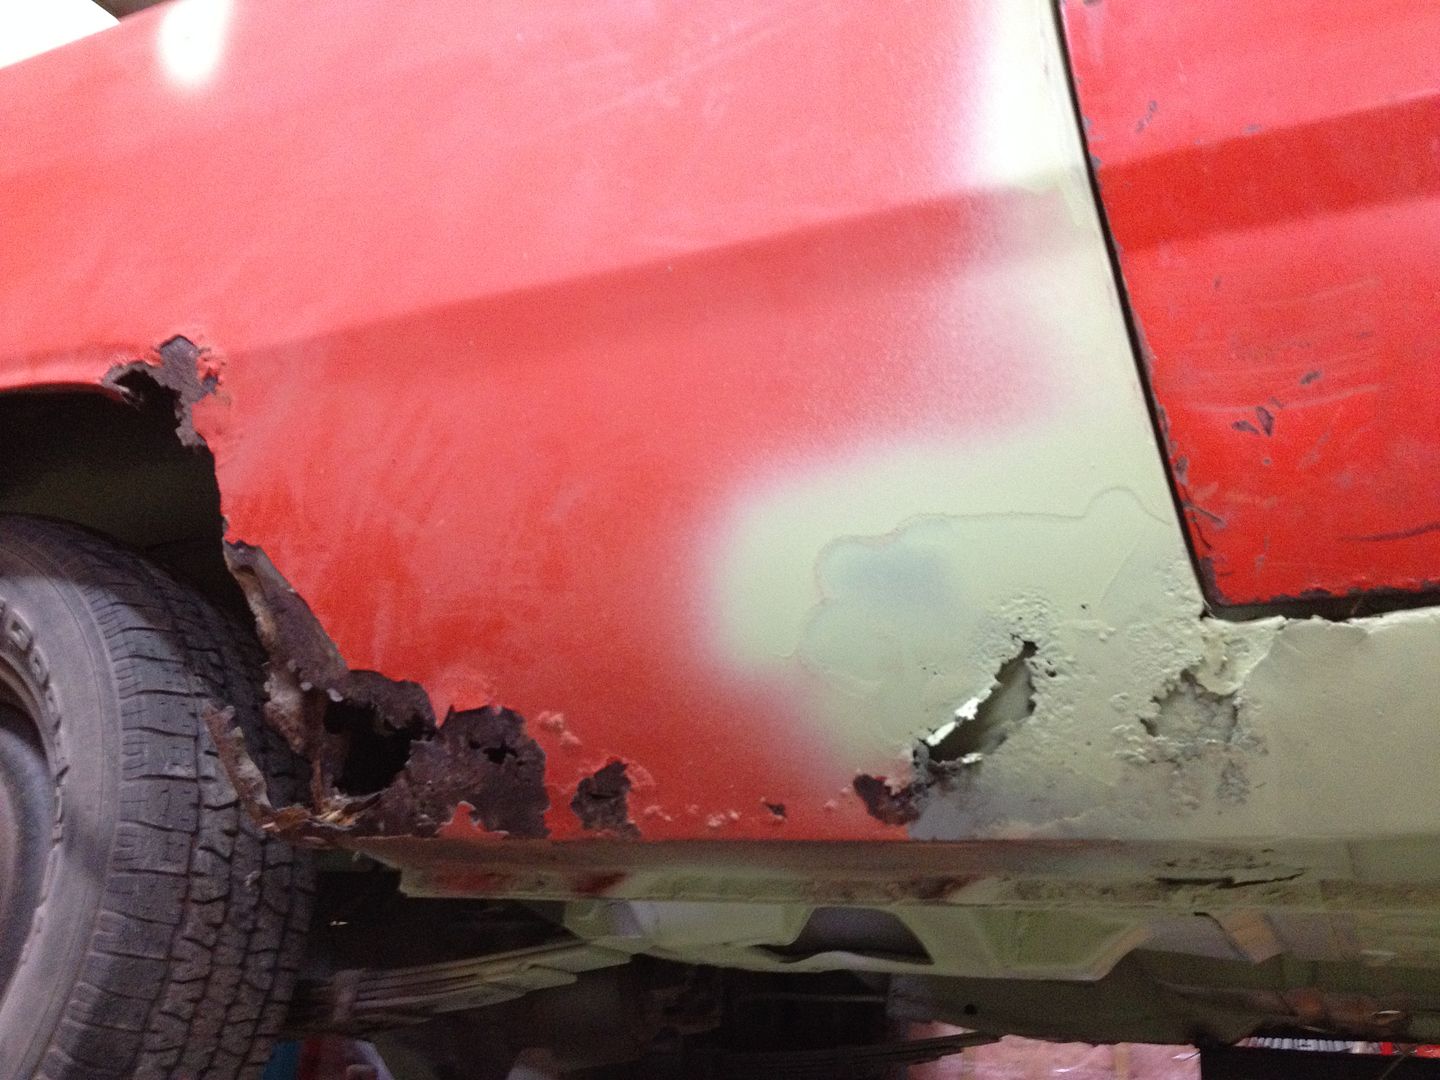
Passenger side is paper thin.

Here is where the firewall needs repair.

This is how hard this car has been launched. Not only is the pinion snubber mount caved in underneath, this brace is stress cracked everywhere. I have this replacement piece.

Roof brace will be replaced as well. Someone jumped on the roof at some point and caved it in. My Dad has already started hammering out all the creases and the roof will need very minimal filler once he's done.

This corner of the roof will be cut out and replaced. I already have a perfect doner piece. (Thanks Lee)

Hopefully by the end of July I can have all this repaired. Then it's on to the front clip.
Tonight I touched up the paint on the inside B piller, pumped the seams full of epoxy. (With a turkey baster and hose) and drip checked all the seams that needed to be sealed so the quarter is officially finished! This weekend will be fixing gaps.


-
Similar threads
- Replies
- 38
- Views
- 1K
- Locked
- Replies
- 11
- Views
- 2K
- Replies
- 0
- Views
- 116


