The Magnum heads exceeded every expectation upon inspection and testing - and no cracks to boot.
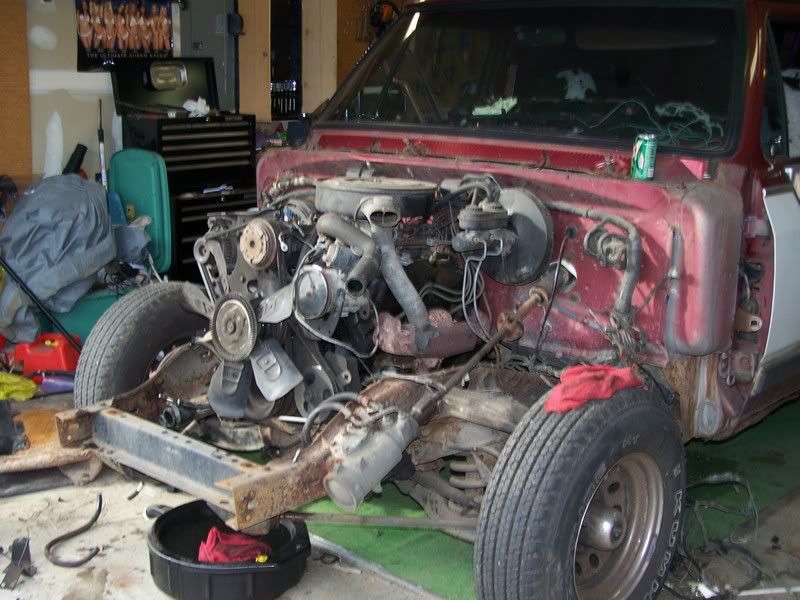
Cleaned up the decks on both the heads and block, and put them in today with new Fel-Pro head bolts. She's looking nice:

Mind you, this is more or less a mockup. I'm short two rockers, pushrods, an intake (the Eddy was there mainly to keep the lifter gallery free of paint as was the oil filter and spark plugs) and that nasty looking lifter.
Still, there's enough here that I can put it in the engine bay and worry about all of that later.
I have a week off, so it's going into the car without drilled heads. I'm going to bite the bullet and dig up a Magnum-compatible M1 intake and call it a day. Could be worse.
EDIT: Just realized that the dipstick isn't strictly in its factory spot. Arrugh...
-Kurt
Cleaned up the decks on both the heads and block, and put them in today with new Fel-Pro head bolts. She's looking nice:
Mind you, this is more or less a mockup. I'm short two rockers, pushrods, an intake (the Eddy was there mainly to keep the lifter gallery free of paint as was the oil filter and spark plugs) and that nasty looking lifter.
Still, there's enough here that I can put it in the engine bay and worry about all of that later.
I have a week off, so it's going into the car without drilled heads. I'm going to bite the bullet and dig up a Magnum-compatible M1 intake and call it a day. Could be worse.
EDIT: Just realized that the dipstick isn't strictly in its factory spot. Arrugh...
-Kurt