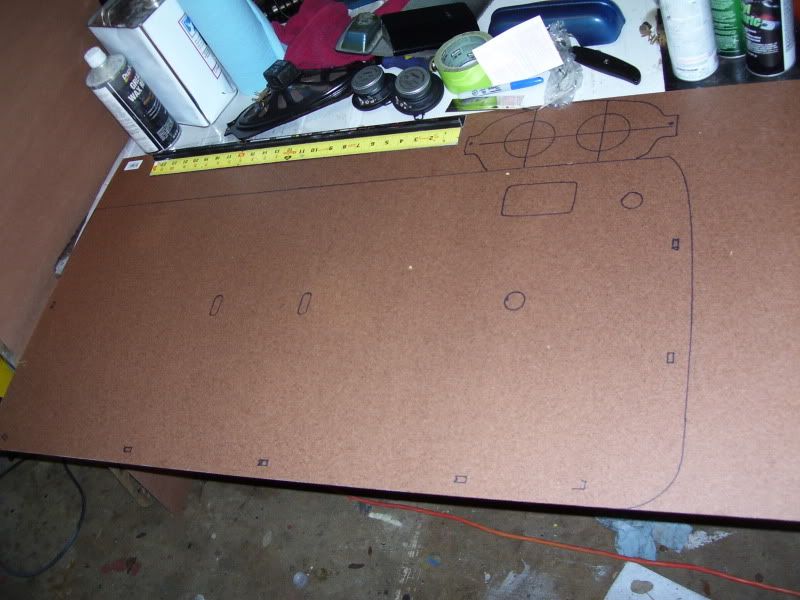
Another fine mess...75 Dart Swinger...

-
Thats not true at all. I had a 74 plymouth duster that had bbp drums on the front.

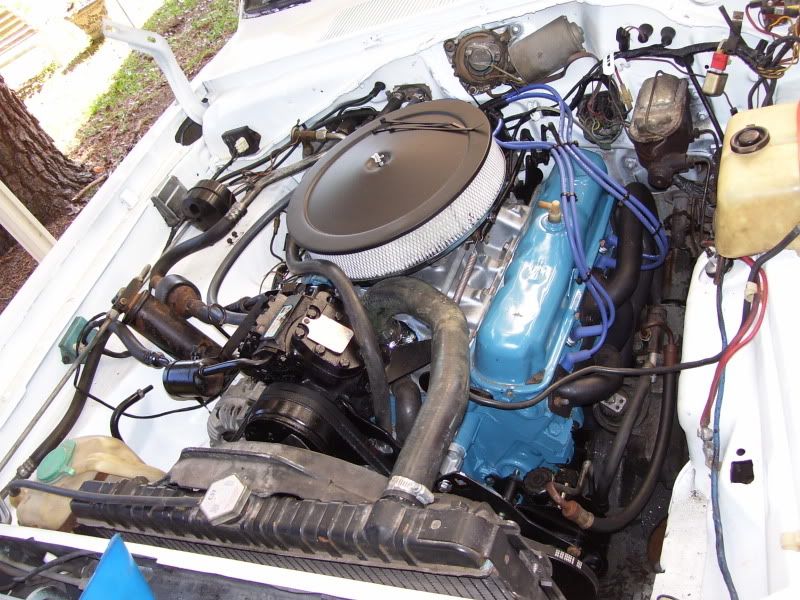
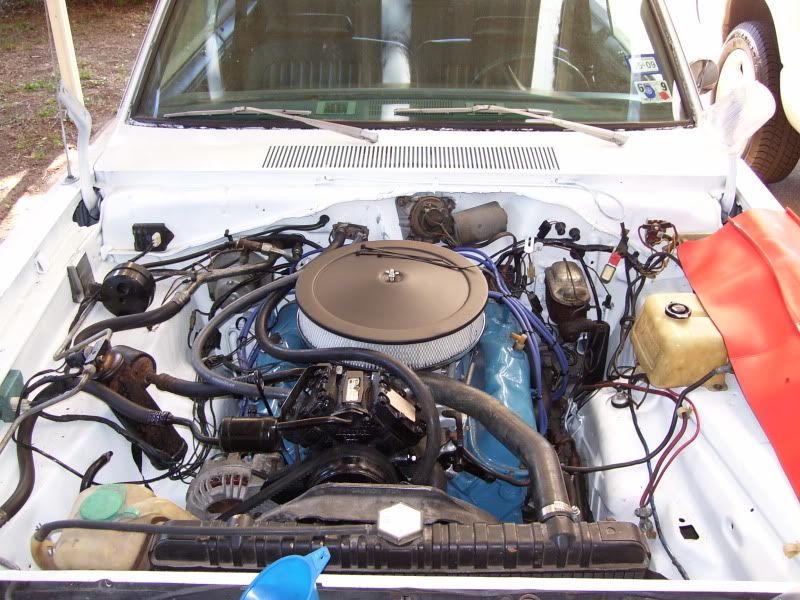
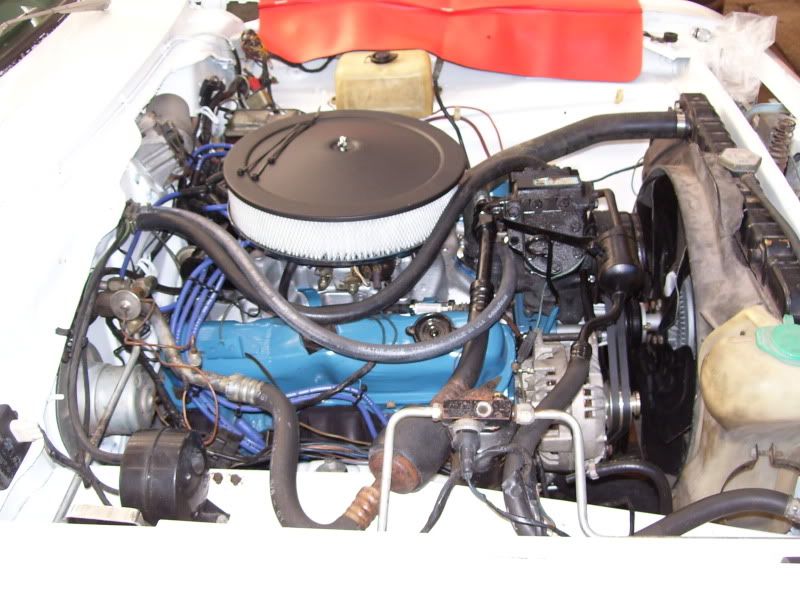
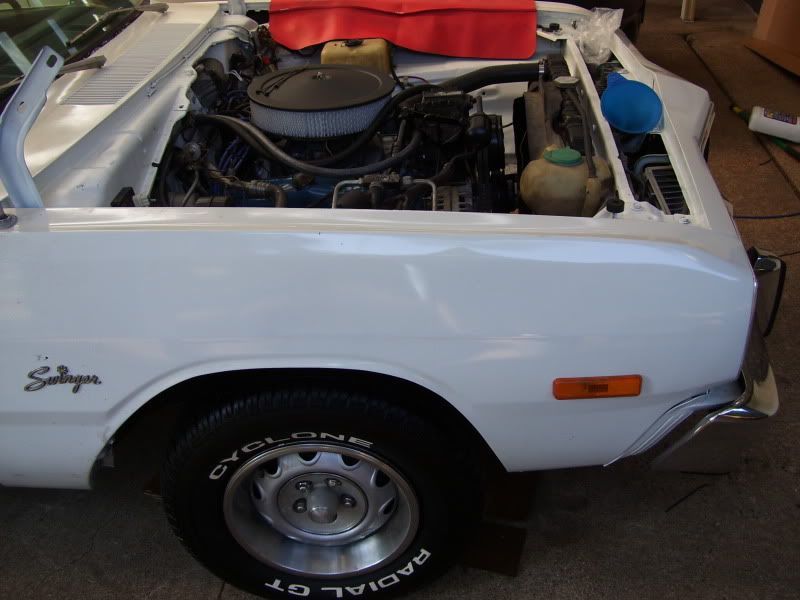
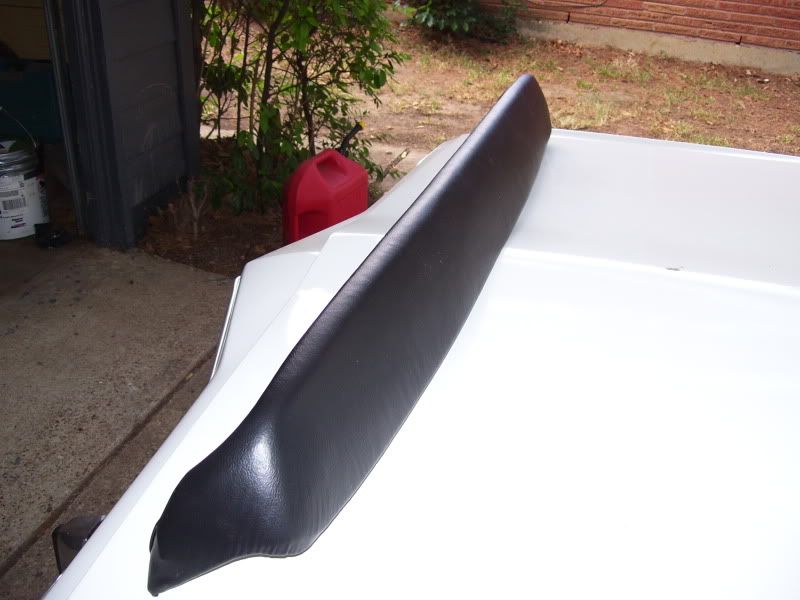
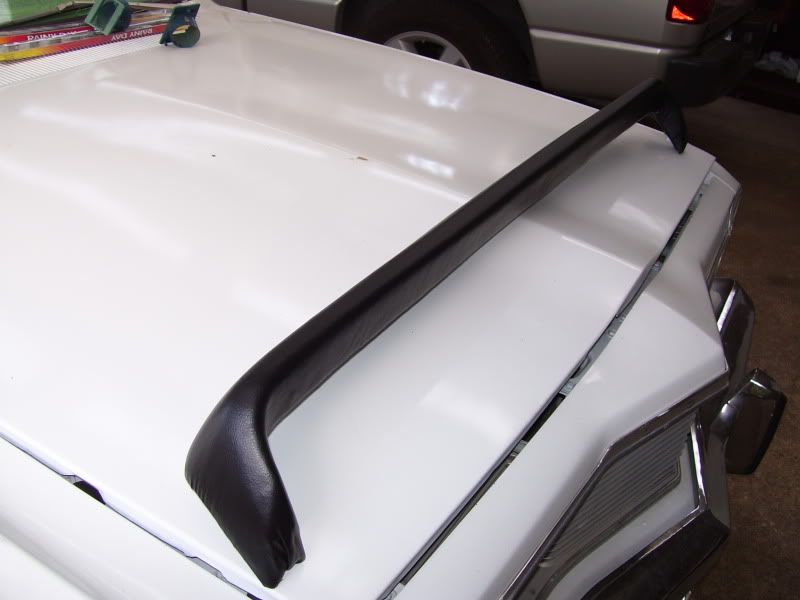
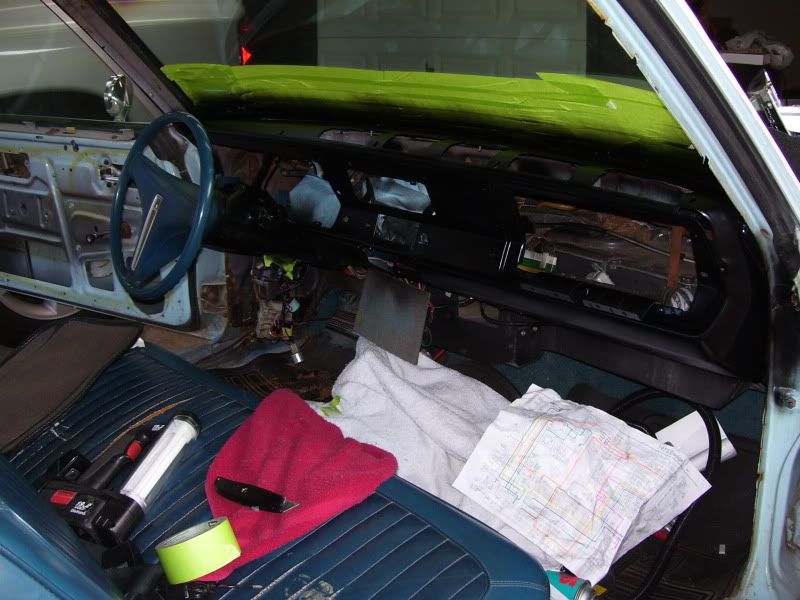
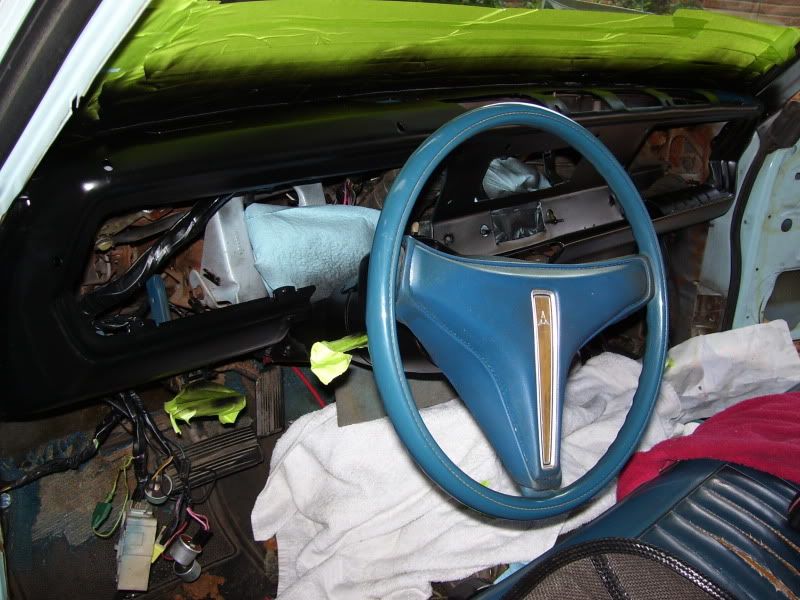
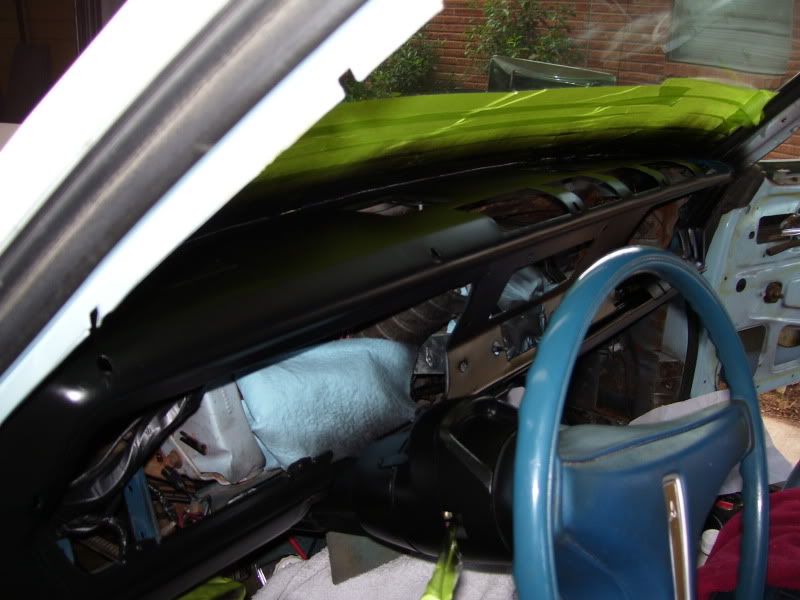
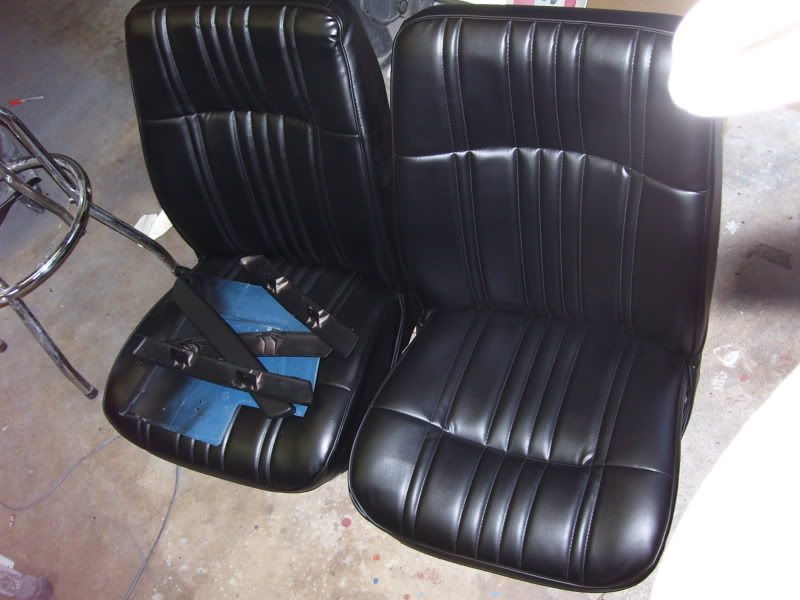
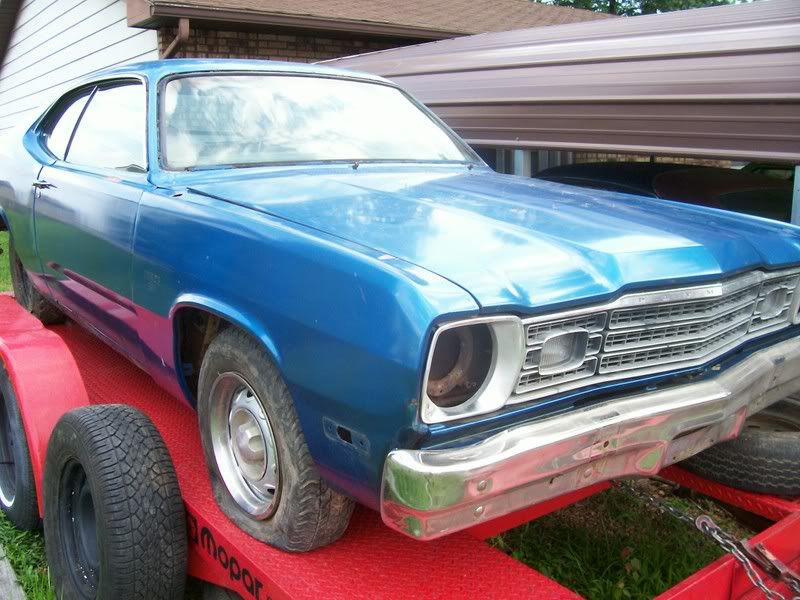
Here is the car I am talking about

74Partsduster002.jpg

I think what you have there bigstrok is somebody putting b body bbp drums on the front of that duster, I have seen a couple guys do it cause discs were more money than they had. I actually have a car like that where the previous owner did it and I still have it like that today. To do it you have to use the disc brake upper control arm but they used the stock a body lower control arm with b body bbp drums thats what I was told anyway never done it myself. I'm not calling you a liar at all I've seen a couple myself but as far as I know the a body never came with bbp drums stock they were all sbp stock.
 
Well im not lieing to you. The car pictured had lbp drums on the front.

I didn't call you a liar, just wondered how the car got bbp drums, if it was factory or changed out by someone. My duster has the original drums all around, 10 inch not the 9 inch drums even though it was a slant six car. So I was just wondering why the factory would put two different sets of bolt patterns on the same size of brakes on the same model year....assuming the car you have pictured is 10 inch drums.
 
You guys sure it might have been some kind of a factory option.

I dont know, Chrysler did wierder stuff with their cars before. Ive seen a 73 duster with a factory 225 slant six and a factory 8.75 rear end....according to everyone else it wasnt supposed to have a 8.75 at all (since the last year for 8.75 was 72), but it did and it was origional, the owner knew it had never been swapped out since he bought the car new off the lot. Its possible that car you had came like that from the factory but Ive never heard of them doing that. It woulda been nice to just do that with all the cars. I dont see any benefit of chrysler using sbp on any of their cars. It wasnt cheaper to produce, then you had to make 4 inch bolt pattern wheels for the cars, not any any benefits too it that I can see
 
The car is almost done!

I am waiting on a new starter, just have to install the duals and the B&M shifter. I tried to get it started last Sunday, but had a bad starter and a leaking waterpump, so I spent a lot of time backpedalling, I ordered a new Mini starter from 440 source. I have a Pypes Dual 2 1/2 system, and a B&M quicksilver waiting to go in. Hopefully I can wrap it up Saturday. I have some more pics to post also.
 
if i ever do a smallblock mopar one thing i know for sure, i will never use the headers that go under the steering.
 
It looks like today is the day I finally get it started. Here are a few pics from last week.

100_2983.jpg

100_2984.jpg

100_2985.jpg

100_2986.jpg

100_2987.jpg
 
Quick update, as everything has fought me every step of the way, the Pypes exhaust was no different. Not a single pipe lined up right. I had to make several pie cuts and had to reweld to get the proper angles from the headers to the tailpipes. I finally got it in, but it took 8 hours of work for a 2 hour job (not to mention running out of welding wire, thanks to Home Depot for coming to the rescue). The right side hangs a little lower than the left, but its still no lower than the headers.

I did try to start it last night, but the first crank was to try and get some fuel into the carb, no joy. I pulled a dummy move on this one, I hooked up the fuel pump backwards! DOH! After that I tried to start it again, no go. I have spark, fuel, crank, but it wont fire. I next have to check the dist phasing tonight, I am also pretty sure that the nuetral safety switch is bad.
 
After that I tried to start it again, no go. I have spark, fuel, crank, but it wont fire.

I had that problem when I tried to fire my fresh 360 in my duster, my distributor was 180 degrees off, got her set straight and it fired. Of course there are alot of things it could be but might check into it.
 
Yea, just take a break from it for a day or two. I like the air cleaner lid blacked out like that, looks cool. As far as the pypes exhaust I had a similar experience with one of their off road x-pipes in my stang it was nowhere near fitting, it sucks, I pulled it and am gonna chop it up when I swap the headers around and add a turbo one of these yrs after my duster is done. Yea, it didn't fit worth a damn.
Good luck,
Jr.
 
I got it started, it runs crappy, it has a huge vaccuum leak at the base of the carb, I had to order an adaptor plate. I also have a few trans and coolant leaks I need to track down, but at least it runs and starts now.
 
I finally had the engine running right, it turned out there was a clogged passage inside the carb, no fuel at idle for the whole left side of the carb, and since it was a dual plane manifold, the 1, 4, 6, and 7 cylinders were sucking a little fuel from under the 1/4 carb spacer, which was why the car idled so bad. I took the carb apart and found the blockage, now it runs fine.

Then I took it for a test drive, and a bad vibration started. WTF! Do the problems ever stop? Not sure what the problem was, I replaced the balancer, no dice...still vibrated. Now, I have no choice but to pull the trans and check out the torque converter and flexplate. As soon as I pulled the inspection cover, I found that o0ne of the balance weights on the torque converter came off. I unbolted the trans, slid it back 3" and replaced the flexplate with a B&M 360 external balance, then I got my die grinder and cut the other balnce weight off the converter, making it a neutral balance. I should be wrapping up the work tonight after work, then I can finally drive the damn car, after I get a new inspection sticker.
 
Good news is, it worked. It runs great. I ordered a jet kit for the carb and a shift kit for the trans, I will be getting that stuff ironed out this weekend, and trying to get the A/C working since it is over 100F.
 
Must feel good to drive one for a change you have been working on both for so long. If I ever get back to Dallas I will stop bye and check it out.
 
Sorry I have not posted any pics for a while, I have been working on rewiring the dash and charging system, and decided to do a full interior resto and change to black interior. Pics to be posted soon.
 
Update:

After having some odd problems, I had an intermittant ignition switch, I decided to tear into the dash to check out the problem.

Symptom:
All the items on the accessory circuit of the ignition switch ocassionally would stay on after stutting the ignition off and pulling the key. This included the radio, blower, wipers, and gauges.

WHat I thought it was:
I figured it was a bad ignition switch stuck in the on position. I tested the connection at the bottom of the collumn and found something odd, the accy circuit was powered up, with the switch totally disconnected! :???:

What the problem was:
I pulled the gauges and started unwrapping the harness, i found all the wires stuck togehter like they were glued together. They were melted together from the heat. Individually I started pulling each wire from its sibling and inspecting ever inch from the firewall back. I managed to save all but three wires. I fixed it by replacing the wire that feeds power to the alternator to the ammeter with a 10 ga, and the same with the wire that goes from the other side of the alternator to the firewall, both were melted and had damaged insulation, I also found another wire that was back-feeding power to the accy circuit, I replaced it also. I then made a jumper wire to go across both lugs of the ammeter circuit to disable the ammeter entirely. I then also added a new 10 ga charging wire from the started relay on the firewall to the ammeter with a new fusable link, this keeps the charging from going through the inside of the car and keeps that line across the firewall on the outside of the car. the other wire was disconnected from the alternator.

100_3011.jpg

100_3012.jpg

100_3013.jpg

100_3014.jpg

100_3015.jpg

100_3017.jpg

100_3019.jpg

100_3020.jpg

100_3021.jpg

100_3022.jpg
 
Part two:

Since I had the dash apart, I figured it was a perfect time to change the interior color to black and update and clean everything up.

I recovered the dash with black vinyl and super 90 glue, the finished product you see is attempt #2, wrinkles are a *****!
100_3146.jpg

100_3147.jpg

100_3148.jpg

100_3152.jpg

100_3153.jpg

100_3154.jpg

100_3155.jpg


I then recovered the door panels. Since the old panels had huge speaker holes in them and there were some cracks and tears in the vinyl, I made some new panels out of 1/4" by tracing the old panels onto the new ones, cut them out with a jigsaw, attached foam, cut out a pattern I liked, then covered them, using Super 90 adhesive.

100_3157.jpg

100_3158.jpg

100_3159.jpg

100_3160.jpg

100_3161.jpg

100_3162.jpg

100_3163.jpg

100_3164.jpg

100_3167.jpg


I then repainted the dash and collumn satin black. died the new buckets black, added a new Grant sterring wheel, recovered the headliner.
100_3149.jpg

100_3150.jpg

100_3151.jpg

100_3156.jpg


The finished interior is coming, i had to wait for the carpet to come in.
 
Wow! Nice job on that dash pad and great looking door panels! I love to see the ingenuity that people on this site display. This is going to be quite the transformation.
 
Wow looks great. Love the door panels and dash pad. I will be sending you my dash pad. Thanks in advance.
 
Wow looks great. Love the door panels and dash pad. I will be sending you my dash pad. Thanks in advance.

Send me your dash...I will send it back with a bill. :thebirdm:

Actually, it took me two tries and about 8 hours to do the dash, its really tricky getting the wrinkles out.
 
-
Back
Top